Feb 22, 2017
Build a Scene Week: Let’s Hit the Road!
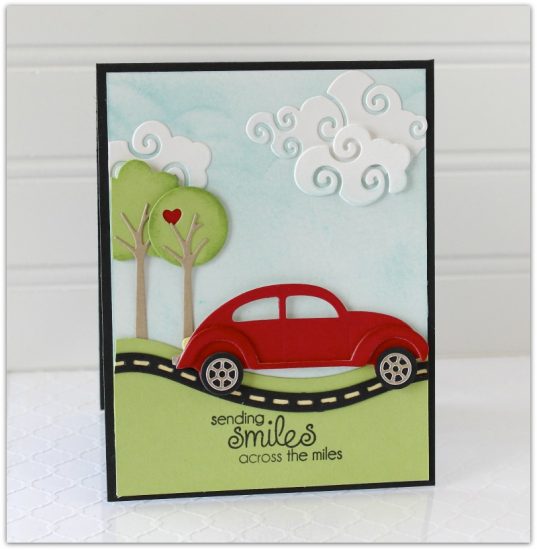
Happy Wednesday, crafty peeps! It’s day two of our Build a Scene week here on the TE Blog! If you missed Kerri Michaud’s Easter door scene card, visit THIS post! Today, designer Melody Rupple shows how easy it is to use our Build a Scene dies to create a scene that really wows. This collection of dies was designed to make scene building a breeze! Check out Melody’s card below and find out how she created it…

Notes from Melody…
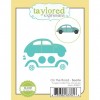
Scene building dies are a fun, easy, and creative way to make your cards come to life! Other than the time it took to die-cut the pieces, the only thing I had to do was add a little sponging, trim to fit and adhere! The On the Road – Beetle Die is one of my favorites, so I used this die as inspiration for my card.
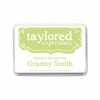
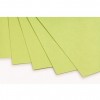
I cut the card front from Sugar Cube Cardstock and the hill of grass from Granny Smith Cardstock with the Build a Scene – Rolling Hills Die.
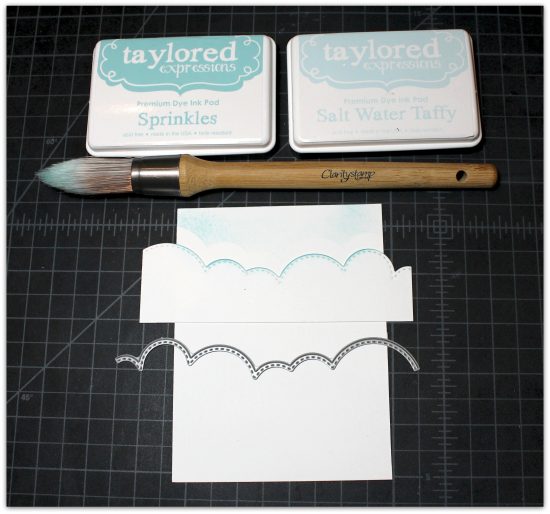
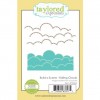
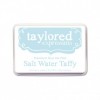
I decided I wanted to create the background sky with ink to keep the background soft. I used the Build a Scene – Rolling Clouds Dies to create a mask I could use to create soft clouds in the background. I brushed on ink with a Clarity Stencil Brush, which is a great tool when you want a softer background. I used a mixture of Salt Water Taffy and Sprinkles Ink. You can also use a sponge or sponge tool to achieve a similar look.
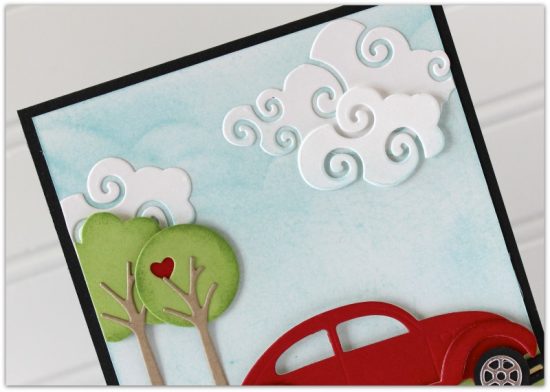
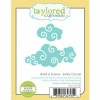
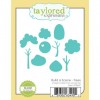
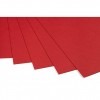
I decided to add additional clouds to the top of the card. I cut three clouds with the Build a Scene – Swirly Clouds dies. I trimmed the larger cloud to fit the card. Next, I cut two trees with the Build a Scene – Trees dies. On the round tree I backed the heart with Cherry Pop Cardstock. I attached the trees with foam tape to add extra dimension and interest.
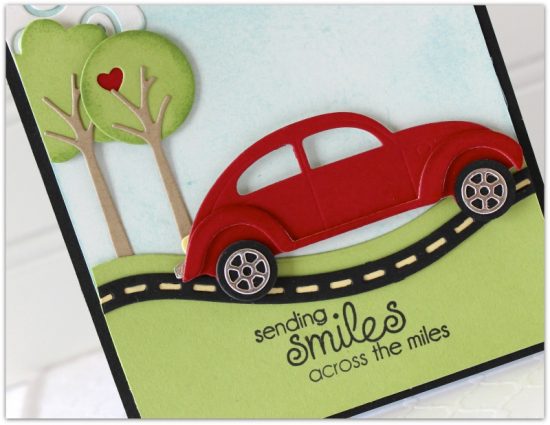
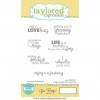
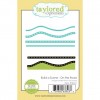
Here is a closer look at the bottom of the card scene. The road is created with the Build a Scene – on the Road Die. The sentiment is from the Go Beep stamp set. One of my tricks to add extra dimension to a die-cut is to use a light weight chipboard. For the car I cut the bumper out twice, once from a light weight chipboard and once from Cherry Pop Card Stock and adhered the two layers together. This keeps things sturdy for mailing!
I hope I have inspired you to build a scene of your own! The possibilities are endless!
Thanks so much, Melody, for sharing how to build this wonderful scene! For more of her work, visit her blog, A Paper Melody. Join us tomorrow for another cool scene building project and have a joyful day!


