Mar 14, 2017
Ombré Week: Ink-blended Cardstock Birthday
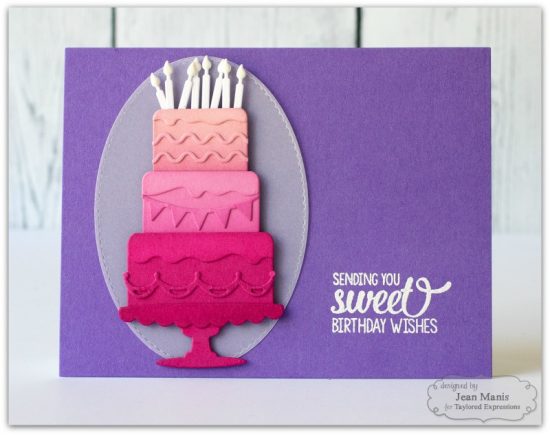
Hey there, crafty friends! We are going to have some fun this week as we explore the very fun and on-trend technique known as ombré. Our talented Creative Team will be sharing some tips and tricks and gorgeous projects with you this week. First up is the lovely and talented Jean Manis who has created a stunning birthday card using ink blending on cardstock using Taylored Expressions Matched Premium Ink. Ink blending on cardstock can give you incredibly rich, vibrant results! She’s sharing step-by-step instructions on how to create her fabulous die-cut card. Check it out…

Notes from Jean on her project…
Ombré – French for “shade” – is the gradual blending of one color hue to another, usually from light to dark. Shading has become enormously popular over the last several years in graphic design, hair coloring, home decor and even cake decorating. My project uses the technique with die-cuts created with Taylored Expressions dies, cardstock and inks.
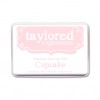
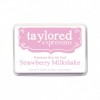
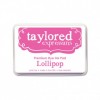
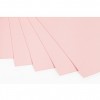
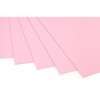
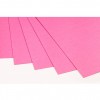
Knowing that I would be using the Build a Cake die to create a three-layer cake, I looked at my Taylored Expressions cardstock to determine which color I had three shades, ultimately choosing three shades of pink: Cupcake, Strawberry Milkshake and Lollipop.
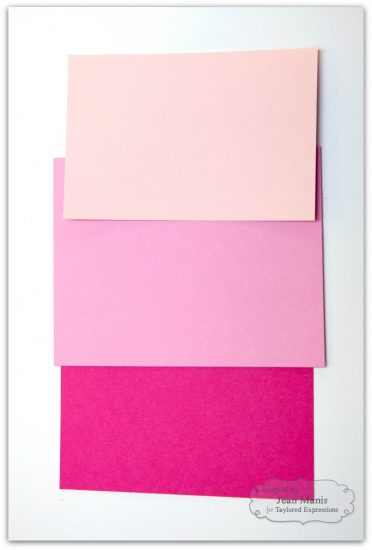
I cut the layers of the Build a Cake die set from the three cardstock colors.
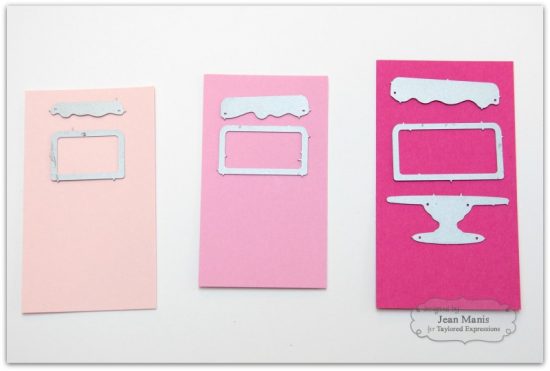
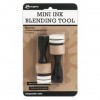
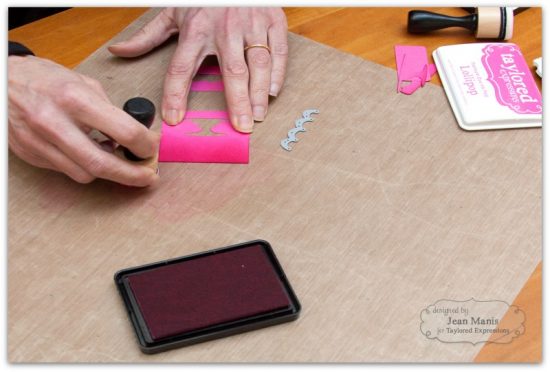
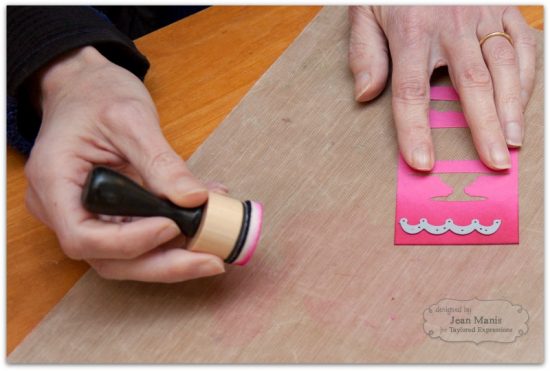
With the matched TE inks, I began to add shading to the pieces with the Ranger Mini Ink Blending Tool starting with Cupcake ink on the Cupcake cardstock cake layer.
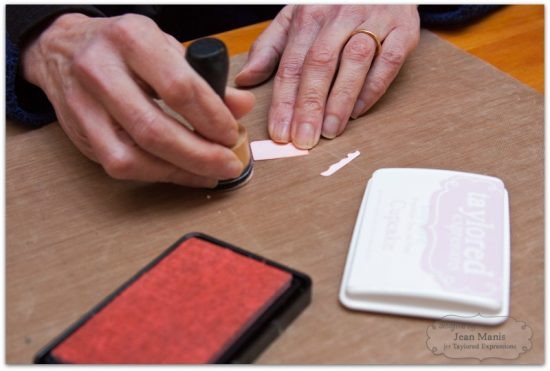
I added Strawberry Milkshake ink to the Strawberry Milkshake cardstock pieces. Lastly, I added Lollipop ink to the Lollipop cardstock pieces.
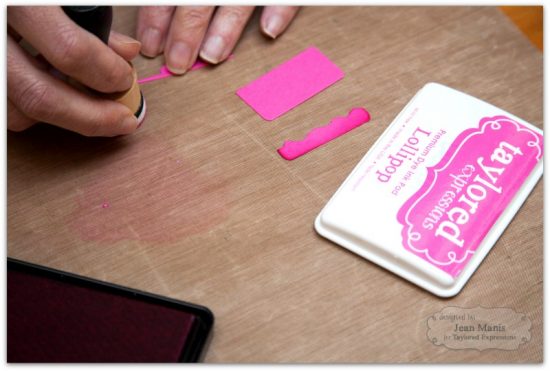
For the detailed pieces embellishing the cake layers, I colored the cardstock before cutting with the smaller dies.
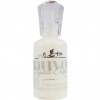
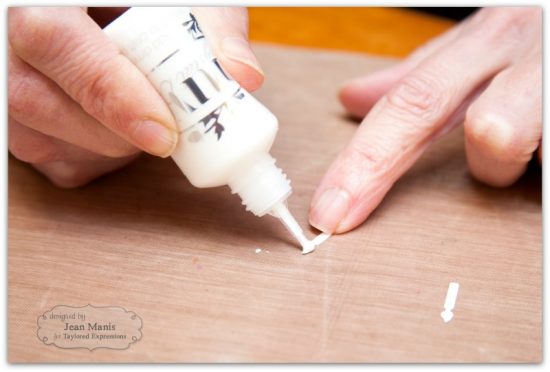
Once the cake layer pieces had been cut and colored, I turned my attention to the candles. I felt that adding yellow ink to the candles, for the flames, would distract from the ombré idea. To add texture and visual interest, I applied Nuvo White Crystal drops to the flame area of the candle die cuts.
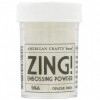
With the cake assembled, I looked through my Taylored Expressions cardstock to evaluate which background color I wanted to use with the pink cake. I wanted a color dark enough on which to heat emboss in white, as I wanted to tie in the white birthday cake candles with the sentiment. (I didn’t think that a sentiment stamped in black or gray would tie in with the candles in as strong of a manner.)
To soften the interface between the cake and the background, I cut a piece of vellum with an oval die from the Stitched Oval Stacklets set. I attached the die-cut cake to the oval with foam adhesive and the oval to the card base with tape adhesive.

I hope I have inspired you to incorporate ombré into your next papercrafting project. Happy crafting!
Thank you, Jean, for sharing with us today! For more of Jean’s work, visit her blog, Right as Rain. Join us tomorrow for more ombré tips!


