Happy Wednesday, inky friends! This week, we are exploring how to use inks and tools to achieve a beautiful ombré look on card projects. Yesterday, team member Jean Manis showed us how to use TE Premium Matched dye-based ink on cardstock to create a rich and vibrant look. Today, we are sharing a darling card by Gayatri Murali who is sharing how to use distress ink to create a duo ombré background for her whimsical dragons. Check it out…

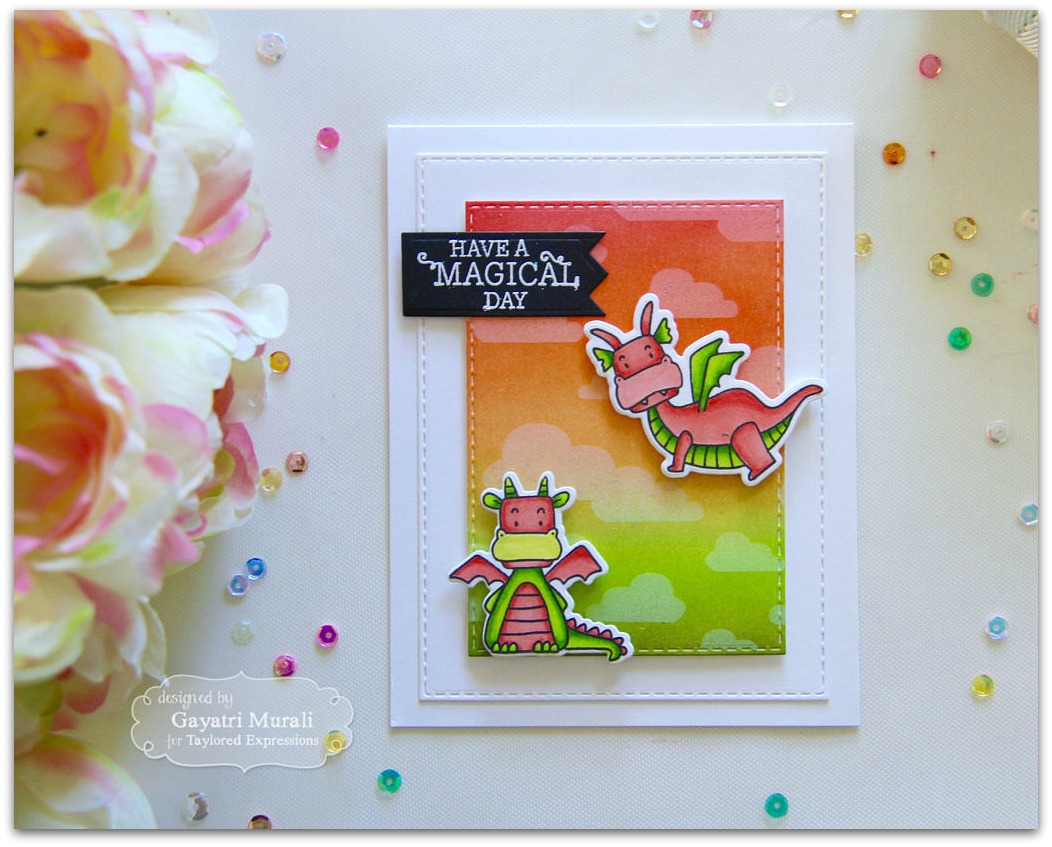
Instructions from Gayatri:
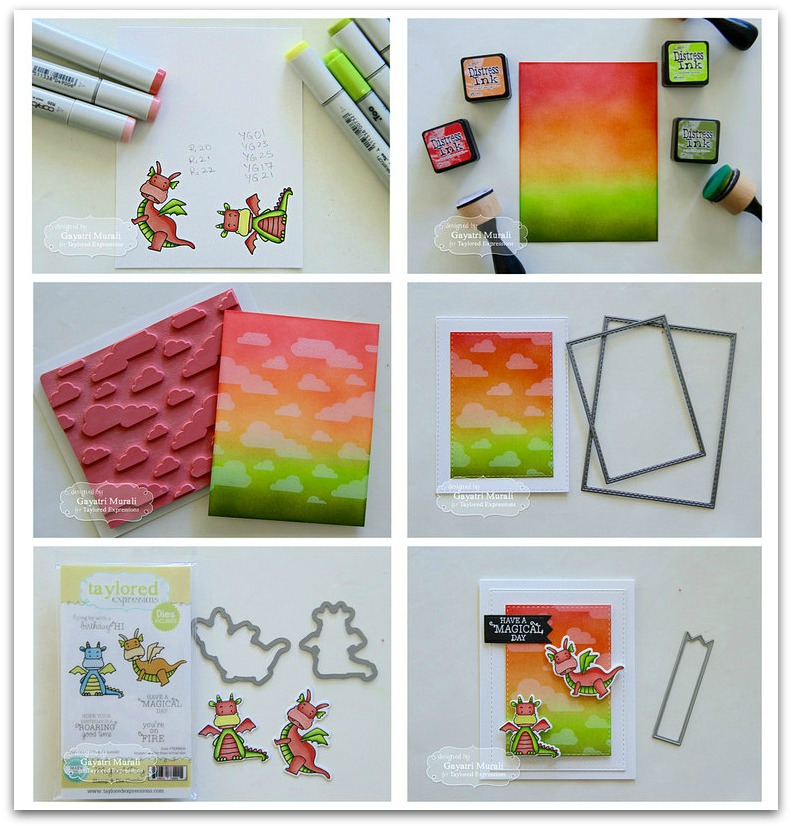
1. Stamp and color the dragons from the Magical Days stamp and die combo using Copic markers. Gayatri used R20, R21, R22, YG01, YG21, YG17, YG23 and YG25.
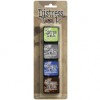
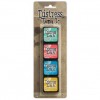
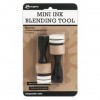
2. For the background, blend distress inks – Abandoned Coral, Dried Marigold, Twisted Citron and Peeled Paint – with an ink blending tool. Begin on the top using Abandoned Coral, blending down and adding Dried Marigold. Begin on the opposite end with Peeled Paint, blending up and adding Twisted Citron. Continue blending until the two ends meet in the middle. (Hint: You can do with with any color combination, simply choosing dark to light shades in the same color for each end.)
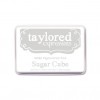
3. Stamp the Cloud Nine background stamp on the ombré panel using Taylored Expressions Sugar Cube white pigment ink.
4. Die-cut the ombré panel using the third largest Stitched Rectangle Stacklets die and another white panel using the largest stitched rectangle.
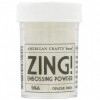
5. Die-cut the dragons using the coordinating dies and white heat emboss the sentiment on Oreo cardstock. Die-cut the sentiment using the smallest banner die from Banner Stacklets 4.
6. To assemble the card, adhere the ombré panel on the white panel using foam adhesive. Also use foam adhesive on the dragons to adhere.
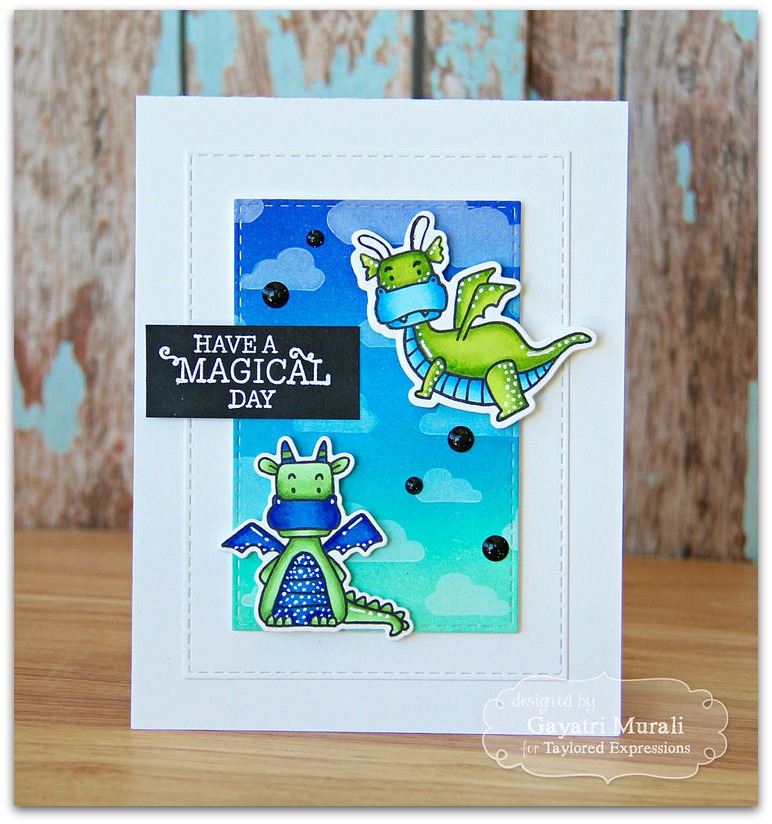
Gayatri also created a different version of the card, adding TE Enamel Shapes and applying different ink colors in a single color family.
Thanks so much, Gayatri, for sharing this cool technique with us! For more of her work, visit her blog, Handmade by G3! We’ll be sharing another project tomorrow, so come on back! Have a joyful day!


