May 09, 2017
Fun with Felt Week: Tips, Tricks, and Felt Basics
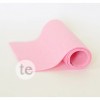
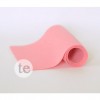
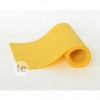
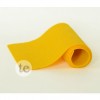
Happy Tuesday, crafty friends! This week is going to be a FUN week, as we get craft with Felt! Our amazing Creative Team has been playing with our 100% Wool Felt (did you know we have 55 scrumptious colors?) and they will be sharing some gorgeous projects with us! Today, designer Kim Singdahlsen kicks things off with some terrific tips on storage, adhesive, and more! Check it out…

A note from Kim about her project…
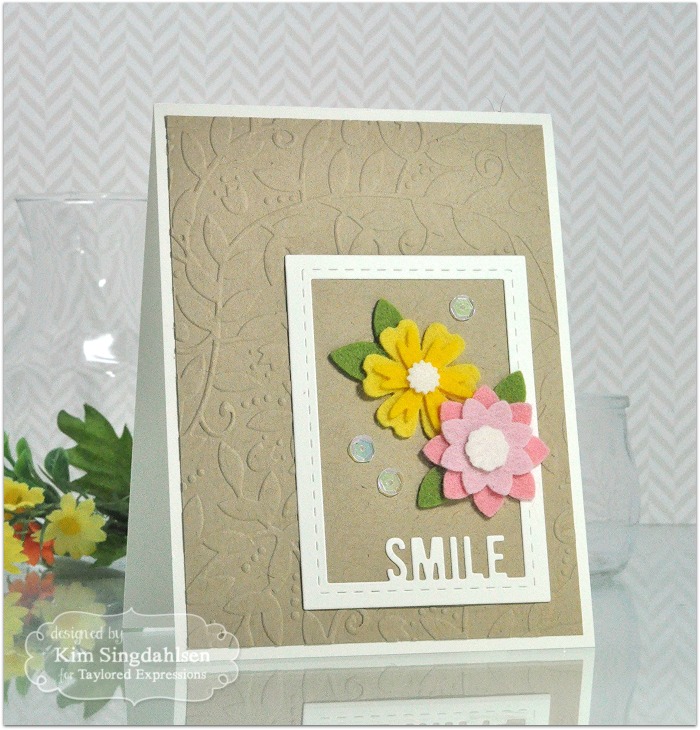
Using felt on your cards is a great way to add a unique touch, and if you get the right felt, it’s very easy to use! Wool felt, such as TE’s 100% Wool Felt is more dense than synthetic felts – it cuts cleanly and adheres easily. I made a very simple card that looks extra special just because of the felt.
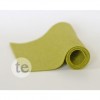
TIP: As my collection of felt has grown, I’ve found that the easiest way to store the rolls of felt is upright so that I can easily see the colors. I found a box that is exactly the right height. (Bring a roll to your local craft or notions store and see what works best!) I used to keep my felt in a basket but I am happy with this box and its lid as my felt is now better protected from dust…and from my cats!
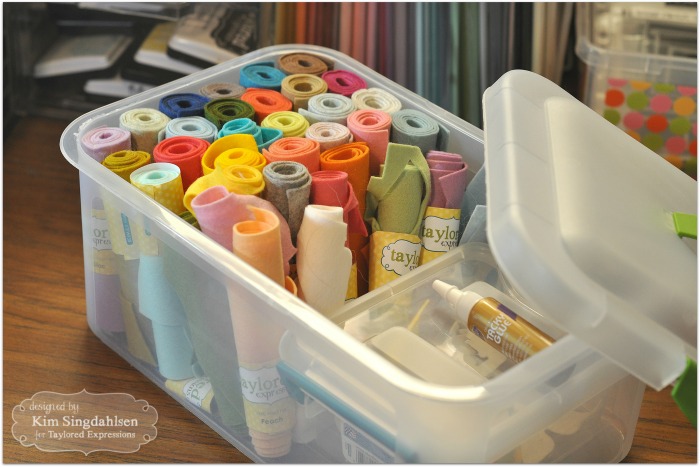
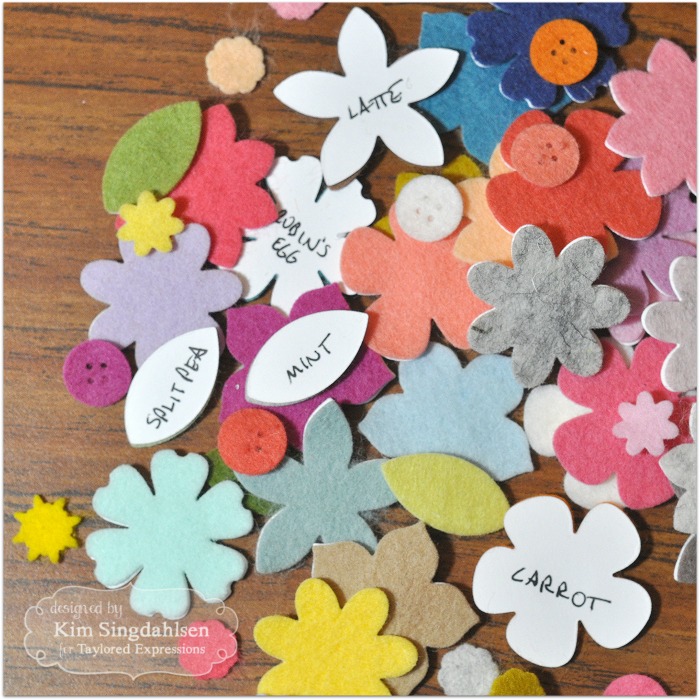
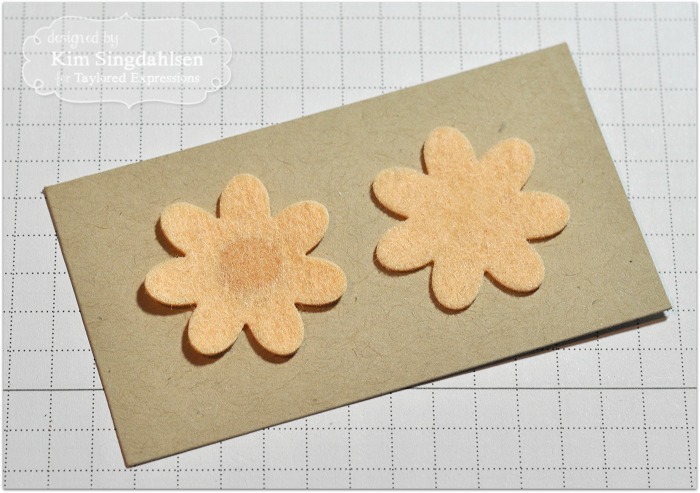
As of now, there is room in my box for another small box which holds scraps, my adhesive and also my color samples. For each color of felt, I have used a flower or a leaf die and cut a sample. I adhere it to plain cardstock and write the color name on the back. This makes it so easy to identify the color that I am looking for and I can see how the colors will look together when I mix and match them up.
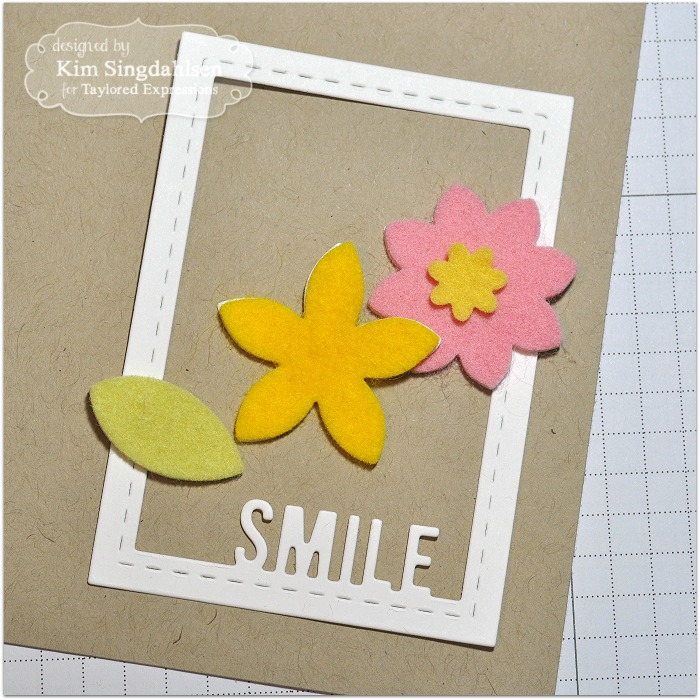
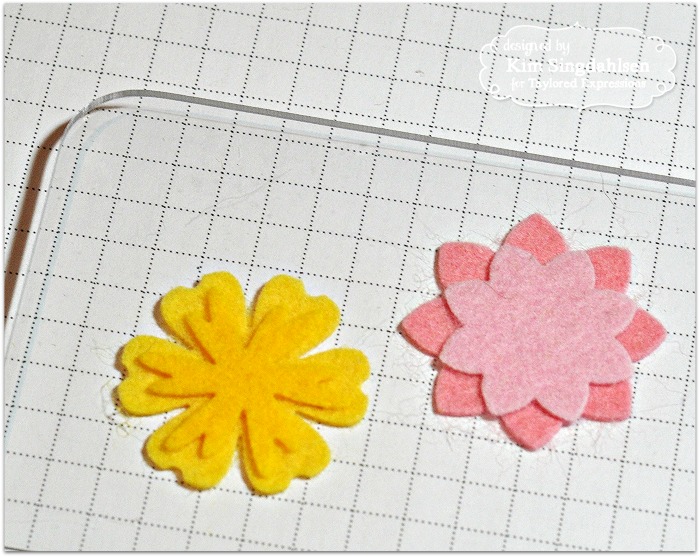
My color samples help me track of the colors in my collection plus I use them to make color decisions for a card before I cut into my felt. I lay out my sample colors on the cardstock and decide whether they work. Here’s the first few colors I pulled out for my card. I liked the pink and yellow, but I felt the colors needed some depth. So I played around a little more, added a dark and a light for each flower, a darker leaf and then white centers to connect with the frame. I made all of these decisions before cutting into, and potentially wasting, any of my beautiful felt!
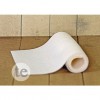
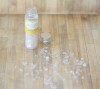
It is important to have the right adhesive to adhere felt to cardstock. Felt or fabric adhesives are not formulated to adhere to cardstock. Hot glue guns are good for wool felt, but they tend to buckle cardstock. I gave paper glue a try since I use it for my own cardmaking – but it clearly demonstrates that a crafter needs a variety of glues. In the photo below, my paper glue is the glue on the left; it soaked right through the felt! On the right is Aleene’s Tacky Glue; it works beautifully. (Tip: You still want to be careful not to use too much because large amounts can soak through. I also like Aleene’s Quick Dry Tacky Glue.
Another tip to avoid the glue soaking through the felt is to apply even pressure as you are adhering the felt. In the above picture, I used my thumb to push down on the flowers and you can see exactly where I pushed. I’ve gotten in the habit of applying my adhesive and then laying something flat on top with a bit of weight. Generally, I used one of my plates from my die-cutting machine and my mug of coffee!
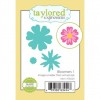
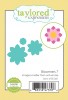
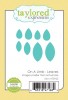
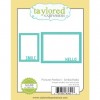
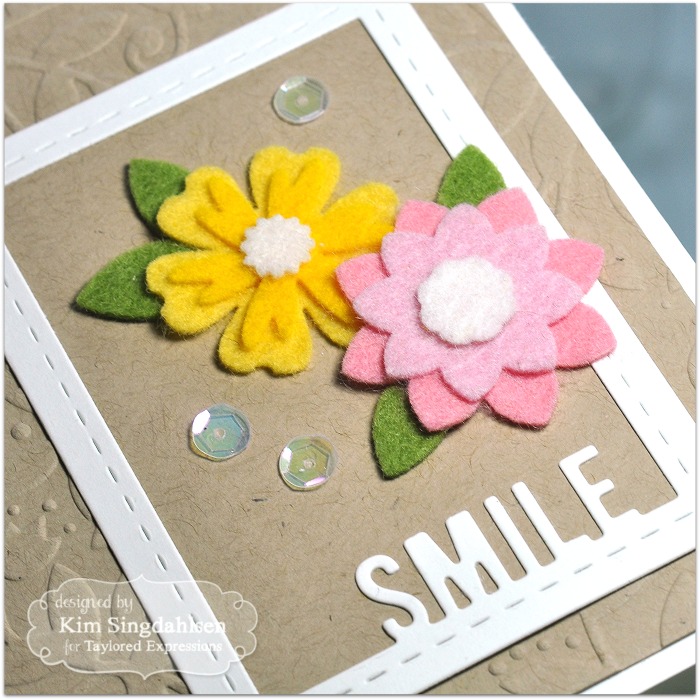
The yellow flower above uses the Bloomers 1 die set with Butter Felt and Sunflower Felt. The pink flower uses Bloomers 7 with Cherry Blossom Felt and Cotton Candy Felt. The centers (below) are Marshmallow and the leaves are Split Pea. I finished my card with an embossed background using the Leafy Vine Embossing Folder, the Smile frame from Picture Perfect – Smile/Hello and a sprinkling of sequins from the Snow Flurries set.
Felt truly is a fabulous way to add interest to a card. The soft texture and the dimension is such a lovely look. The 100% Wool Felt at Taylored Expressions is the best option – it is high quality felt in a rainbow of beautiful colors!
Thank you so much, Kim, for sharing your wonderful tips and project with us today! Tune back to the Blog tomorrow for more fun with felt and have a joyful day!