May 10, 2017
Fun with Felt Week: Fabulous Felt Florals!
Hey, hey, crafty friends! It’s day two of our Fun with Felt Week. If you missed out on our tips and tricks from yesterday, be sure to checkout this post HERE. Today, we’re taking our felt for a spin with a striking card from Jen Shults, who share more tips and tricks for working with felt. Felt is just so perfect for flowers that you’ll be creating your own felt bouquets in no time! Plus! Check out the two bonus projects at the end of this post!

A Note from Jen…
I really love using felt to help add unique texture to cards. Taylor’s felt comes in so many fun colors and die cuts wonderfully — it’s perfect for adding something extra. One thing that is sometimes a bit challenging when using felt is finding the right adhesive and, after trying lots of different types I’ve found two that I really love – Glossy Accents and foam tape. Glossy Accents works so well over other liquid adhesives because it’s a bit thicker and does not absorb right into the felt. Foam tape is perfect when you need to add a bit of structure to the felt and the felt stays in place. TIP: When die cutting I use a piece of parchment paper in between the felt and die so the felt particles come clean from the die.
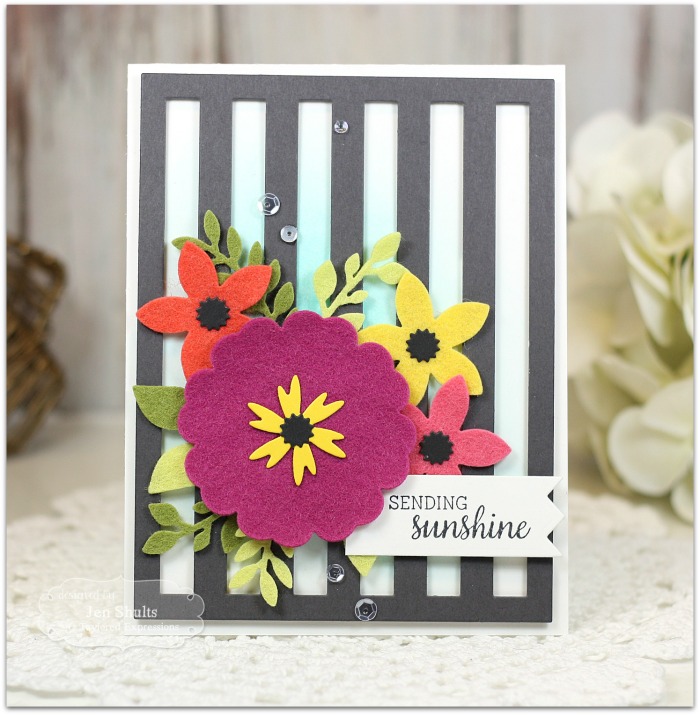
To create this card we will be using lots of gorgeous colors of Taylored Expressions felt. I picked a few bold colors of felt to stand up to the bold striped background of the cutting plate!
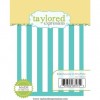
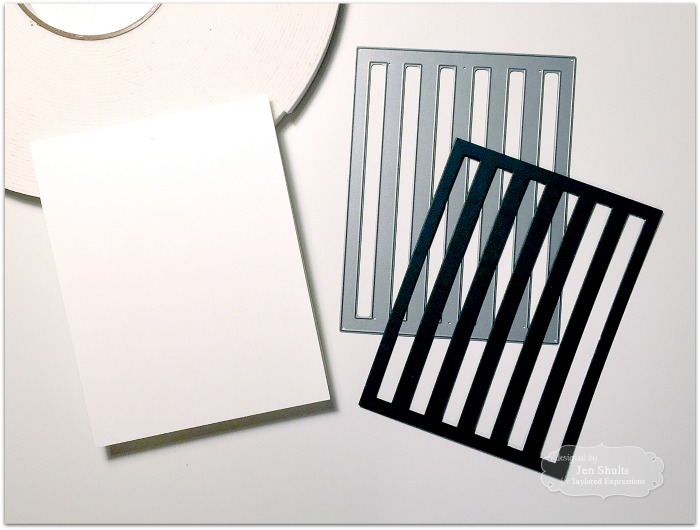
Cut a 4.25×5.5” piece of Sugar Cube Cardstock and fold to make a cardbase. Die cut the Basketweave Cutting Plate from Poppy Seed cardstock.
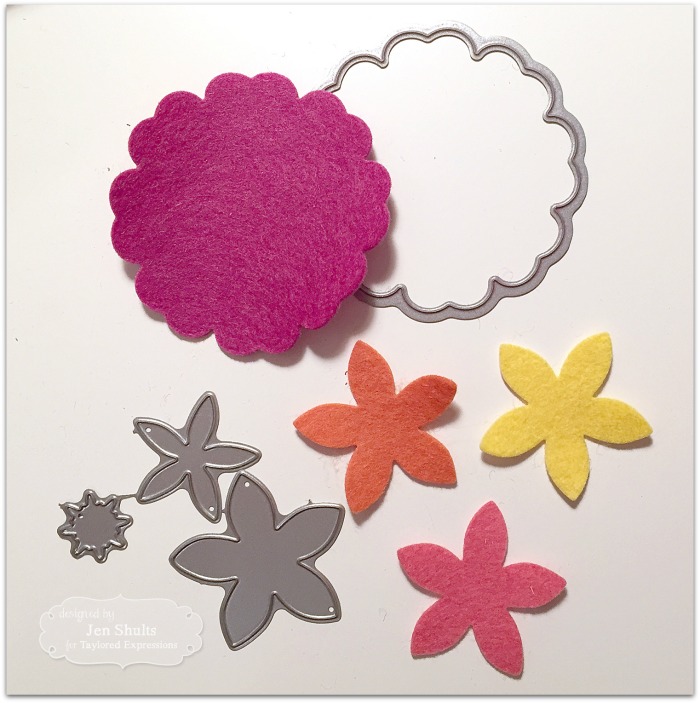
Die cut the following:
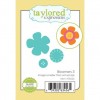
- Bloomin’ Stacklets 2 (mid-sized flower) from Raspberry Jam felt.
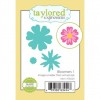
- Bloomers 5 from Persimmon, Butter and Papaya felt
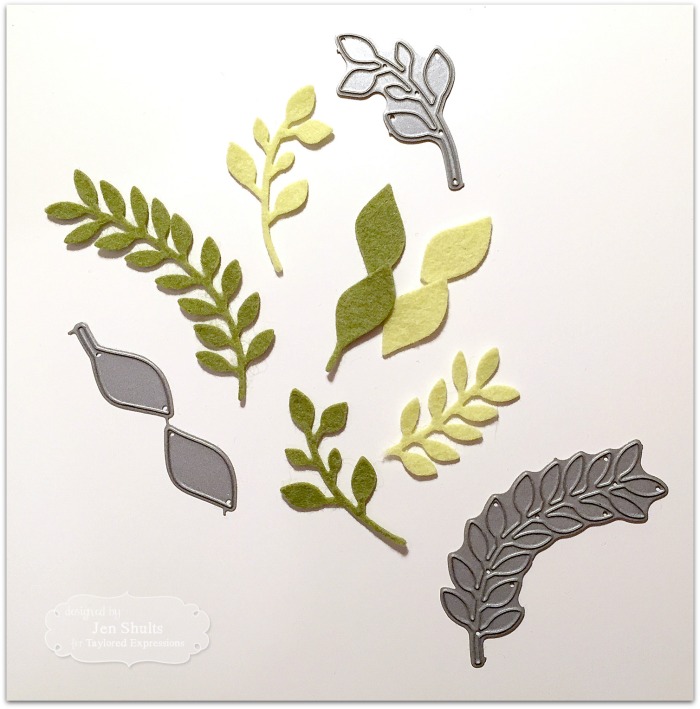
Continue die cutting:
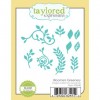
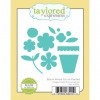
- Bloomers Greenery from Split Pea and Pear felt. You will need an assortment of large and small leafs.
Continue die cutting:
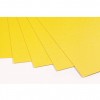
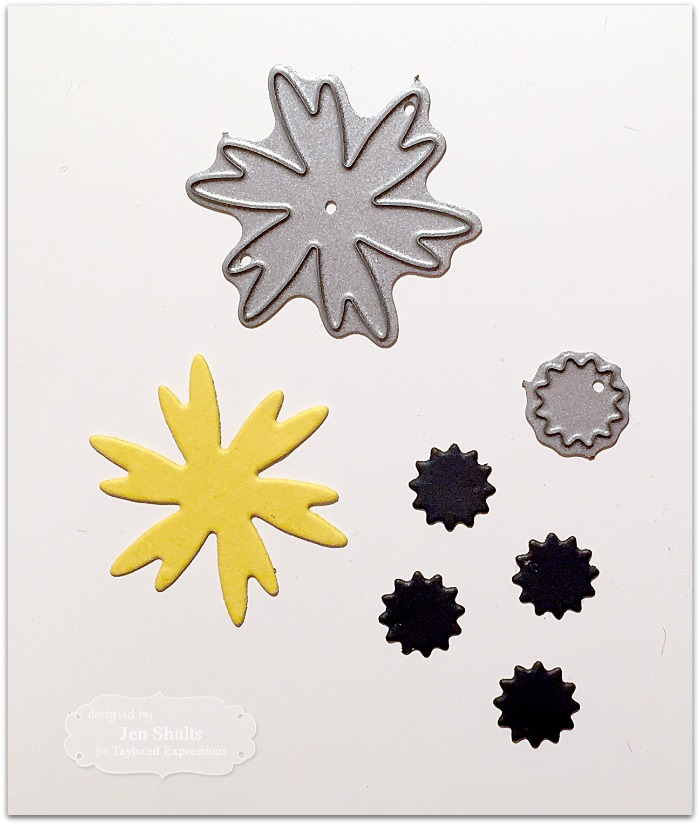
- Bloomers 1 large flower center from Lemon Meringue
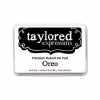
- Bloomers 1 small flower center from Oreo (x4)
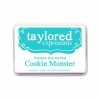
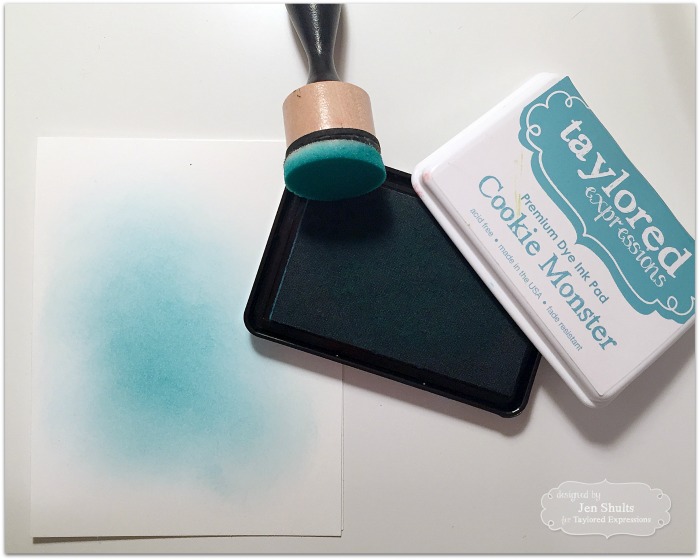
Sponge Cookie Monster ink on the center of the cardbase using a foam blender and light circular strokes. Be sure to blot your foam blender on scrap paper after picking up ink, this will help soften the ink as you apply it You can also use a stencil brush to create this same look.
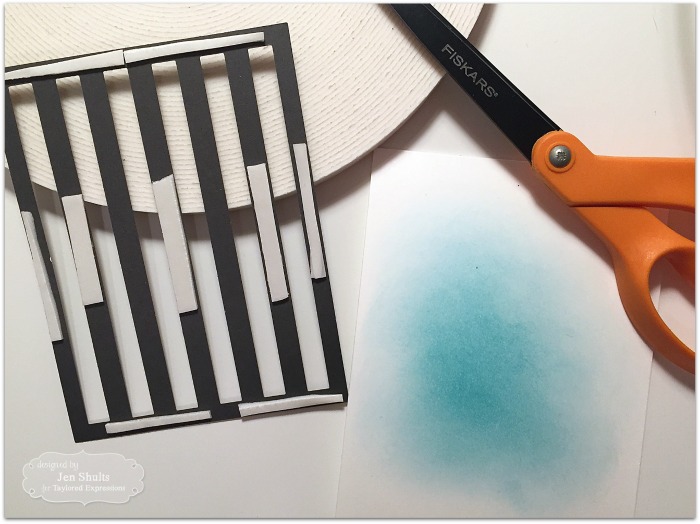
Cut strips of foam tape and apply them to the back of the striped die cut and adhere to cardbase.
Use Glossy Accents to adhere flower centers. Arrange the smaller flowers and greenery to the lower left side of the card. Use the large purple flower to help guide placement. Adhere flowers to card with Glossy Accents.

Adhere foam squares to the back of the large purple flowers. Adhere to the center of the flower cluster.
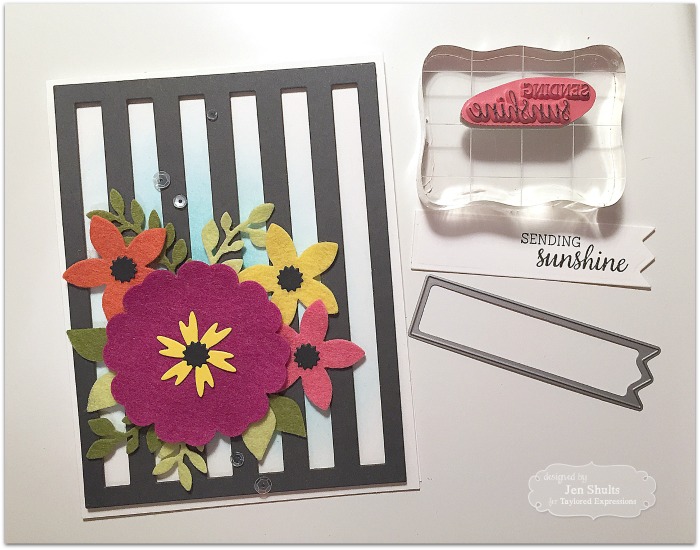
Stamp the sentiment on Sugar Cube using Oreo ink. Die cut with Banner Stacklets 4. Trim the left edge of the banner with scissors to shorten. Adhere to card under the lower right edge of the large purple flower. Add a few Snow Flurries sequins down the center of the card.

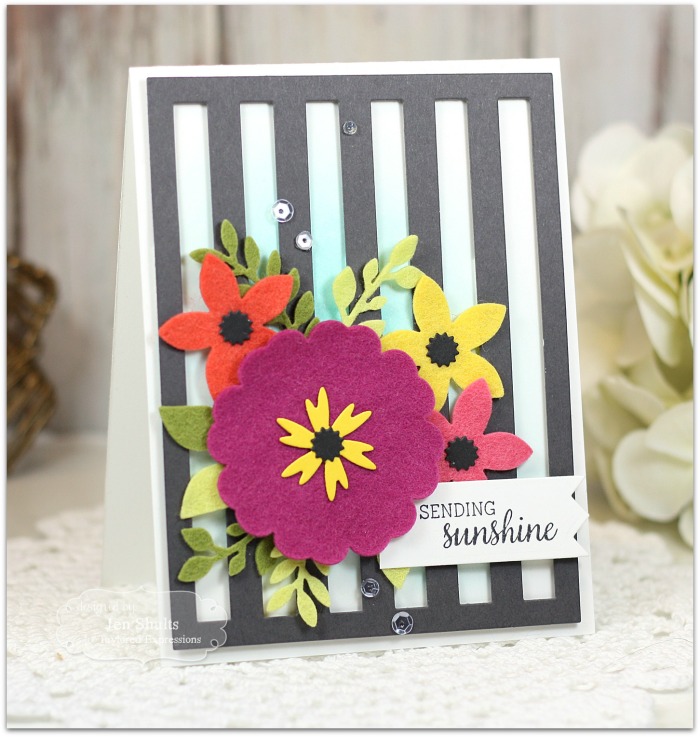
We love this gorgeous card! Don’t you? Now that you have an idea of how to die-cut our Wool Felt, here are a couple more beauties to inspire you to play with Felt today!

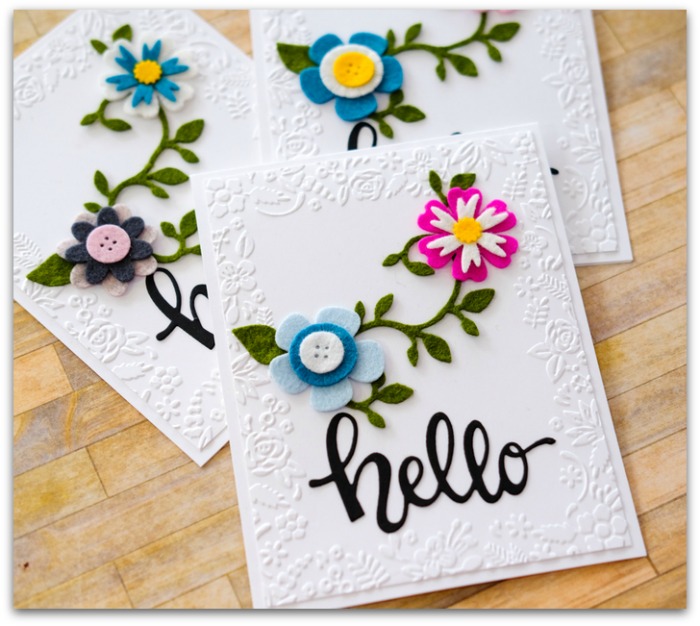
A note from Shelly…
I can always use some extra generic cards on hand and decided to use felt to add extra texture and dimension to my cards. This felt cut like butter and I had no issues with it not cutting all the way through. I used Bloomers 1, 2 & 3, and Bloomers Greenery with Heather Berry, Cherry Blossom, Sunflower, Grass Green, Ocean, Powder, Charcoal, Lip Gloss and Marshmallow felt for my flowers and stems. I really love how the Garden Party Embossing Folder frames my felt flowers!

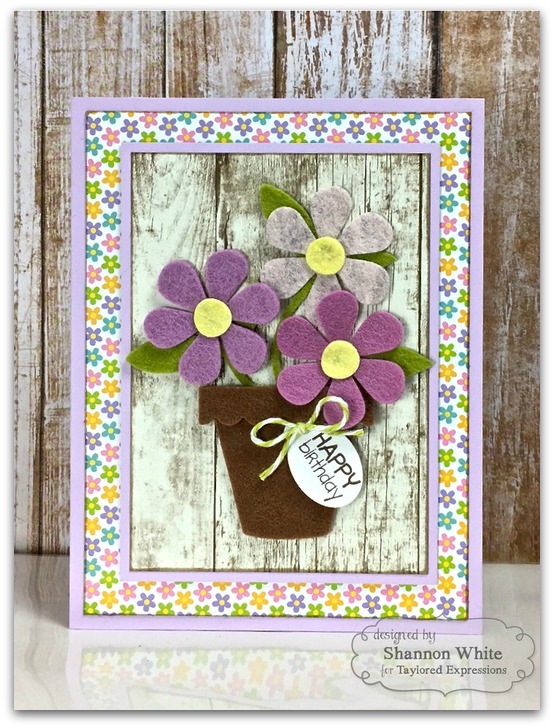
A Note from Shannon…
I don’t know about you, but I go through Birthday cards more than any other kind, so I am always needing to replenish my stash. With Taylored Felt, it was super quick to whip up my darling Bloom Where You’re Planted focal piece! I used Lilac, Orchid, Heather Berry, Split Pea and Latte Taylored Felt and just love how well the colors coordinated — so many fun and versatile colors to choose from! To finish it all up, I just added a sweet little Mini Tag die cut stamped with a Many Minis Occasions sentiment in Chocolate Truffle ink and all topped off with a fun little twine bow.

Jen’s Card
Shelly’s Cards
Shannon’s Card


