Apr 25, 2018
Stencil Showcase: Embossed Stencil Brushing
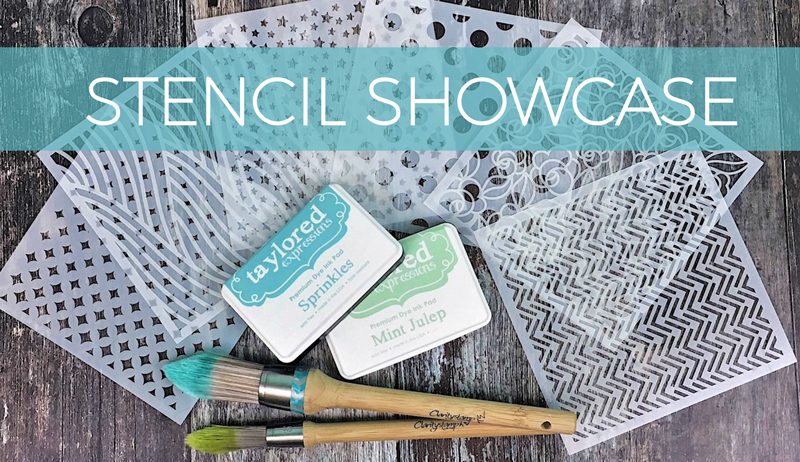
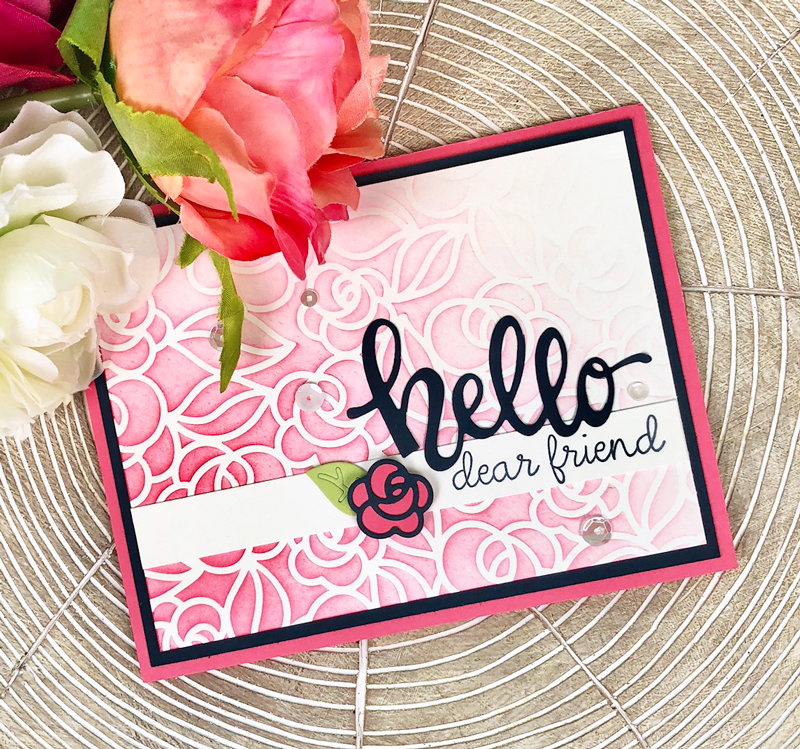
Hey there, crafty friends! I hope you’re having a great week! Here on the TE Blog, I’m continuing on with our Stencil Showcase as we dive into unique ways to use the beautiful stencils we recently added to our collection. Today I want to share a technique I’ve named Embossed Stencil Brushing along with a photo tutorial featuring a card that Susan, a teacher at our local studio, recently shared in a sold-out class!
Did you know you can emboss with stencils? It’s a different effect than what you achieve with an embossing folder, but when paired with stencil brushing it produces such a cool effect that makes the design look 3D! And all you need to achieve this look is a set of embossing pads! They might not look like anything special, but they pack a big punch and can also be used to create an impression using your thin, steel dies.
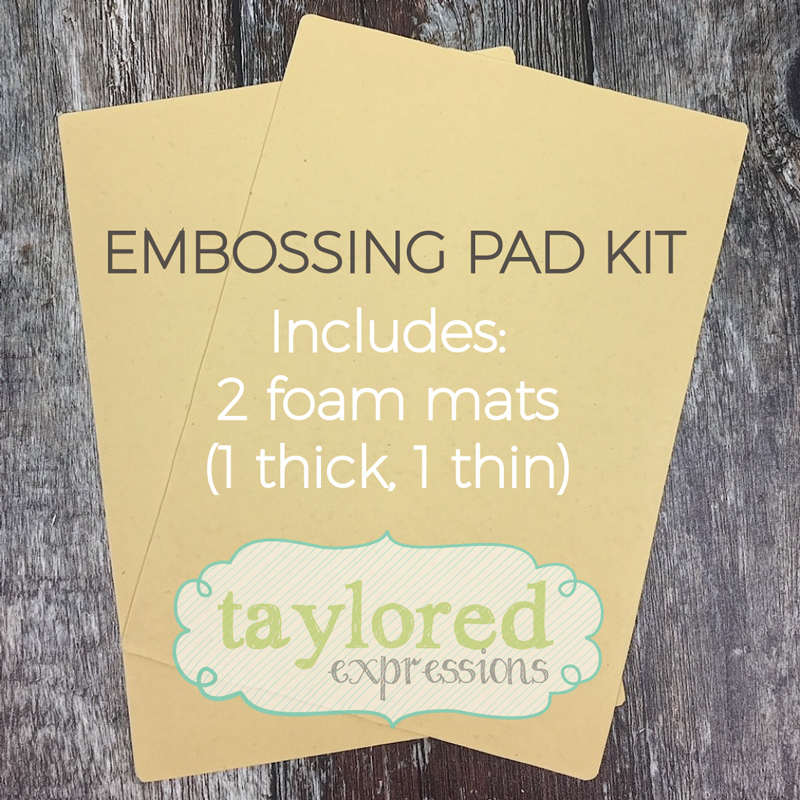
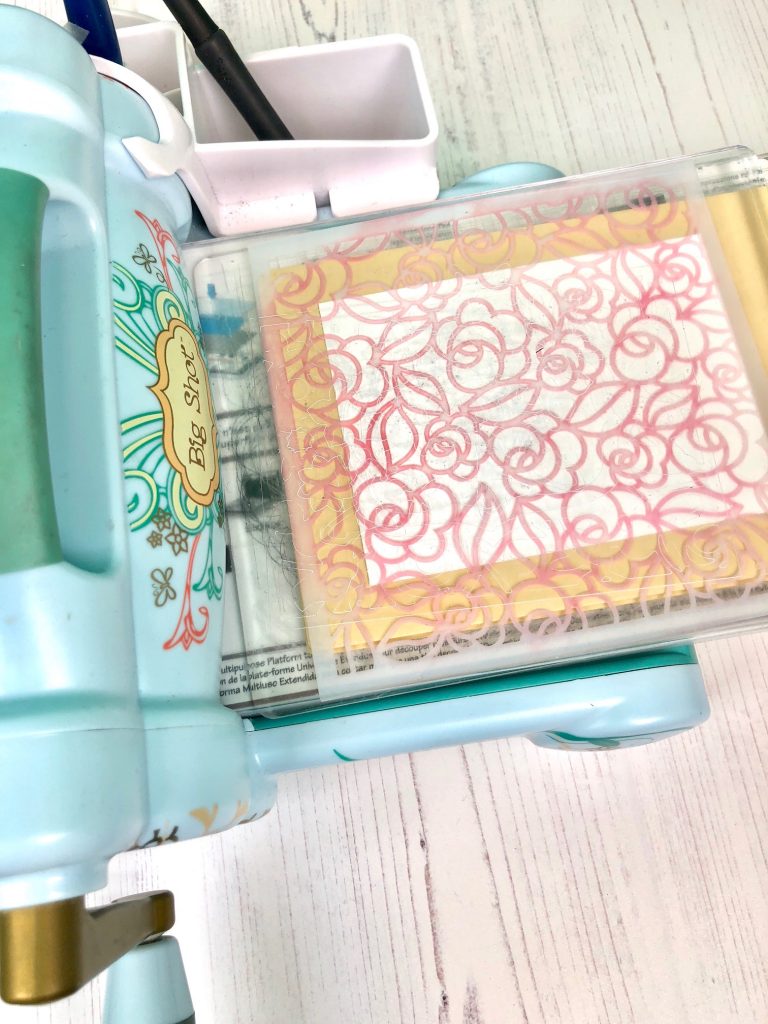
The first step is to impress the stencil design into your paper. With my Big Shot machine I opened Tab 2 and built the following sandwich from the bottom up:
Clear Plate – Embossing Pads (2 – thick + thin) – Cardstock – Stencil – Clear Plate
Note: Tape your stencil to your cardstock before you run it through your machine. It will be important that the stencil remains in the same place when you remove it from the machine and begin to do your stencil brushing. It also helps to tape it from the back so that the tape will not be in the way as you add ink with the stencil brushes.
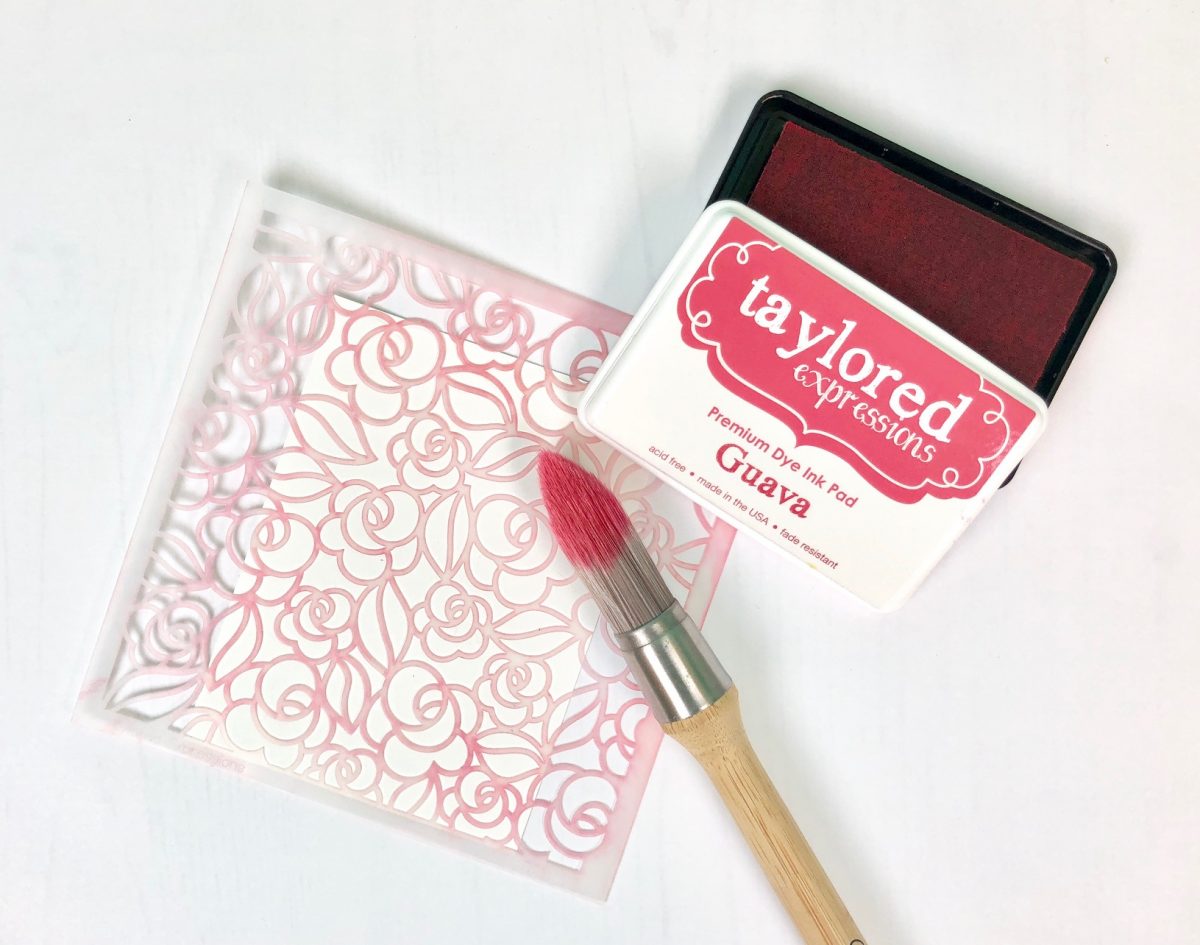
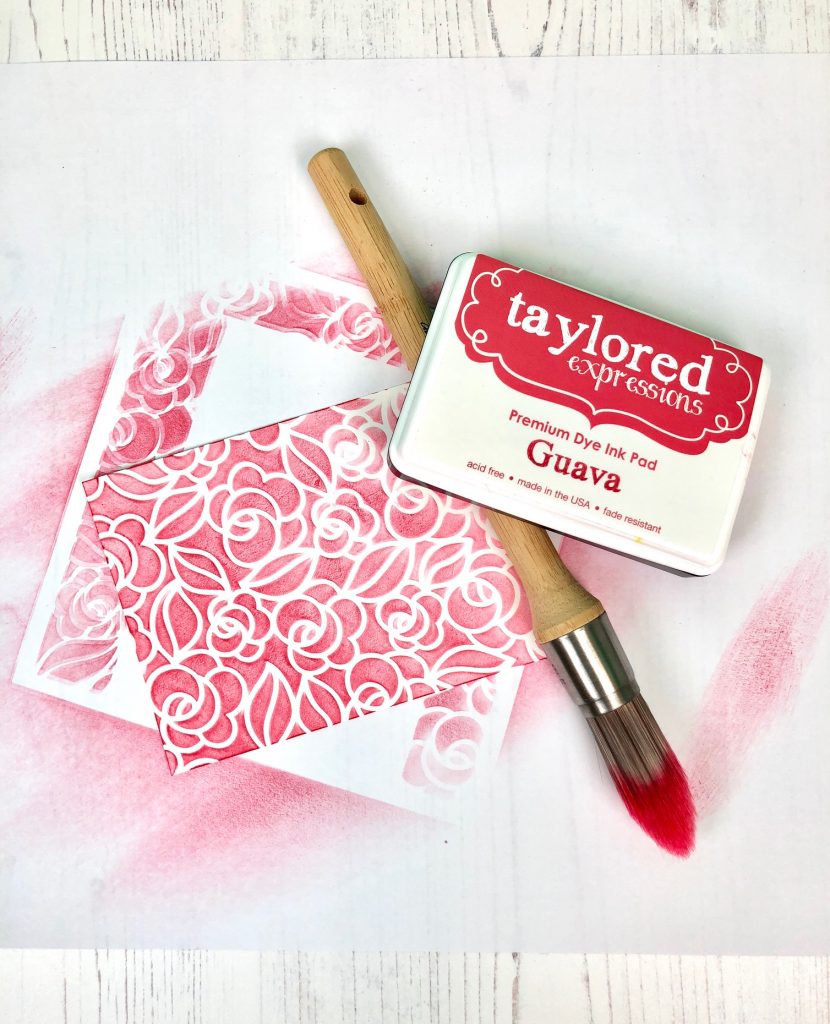
Remove from your machine and transfer to a placemat to do the stencil brushing. Again, make sure the stencil remains in place on your cardstock. Using a Clarity Stencil brush and Guava ink, brush back and forth across the design. In order to create an ombre effect as shown on the card, brush with a heavy hand starting in one corner and continue toward the opposite corner brushing increasingly lighter as you reach the opposite edge.
When you remove the stencil from your cardstock, you’ll notice the white spaces are impressed giving it a really cool look (which is equally difficult to capture in a photo!). Now just finish your card, but don’t cover up too much of your beautiful background! Thanks for stopping by today! I’ll be back tomorrow with a video roundup of stencil techniques!
