Feb 19, 2019
Hop on Over for Easter Fun With On a Hinge – Chick!
Hey, crafty friends! How was your weekend? I know that it may have been an extra long weekend for some of you with the Presidents Day holiday on Monday. Did you do any crafting? Did you use some of the elegant Easter color combinations that we shared with you last week on the blog? I think my favorite projects from last week were the stained glass inspired ones that I shared with you on Saturday by Noriko and Taylor.
This week we are having some fun with some cute Easter ideas. I know you are going to love all of the fun and interactive inspiration that we have to share with you!
Let’s start off with the new On a Hinge – Chick stamp set and coordinating die collection. You can create interactive projects that feature the chick’s legs swinging out from underneath the chick, out from under the broken egg, and you can also have the chick bob side to side peeking out of the broken egg! Let’s take a look at how to assemble the On a Hinge mechanism to create this effect.
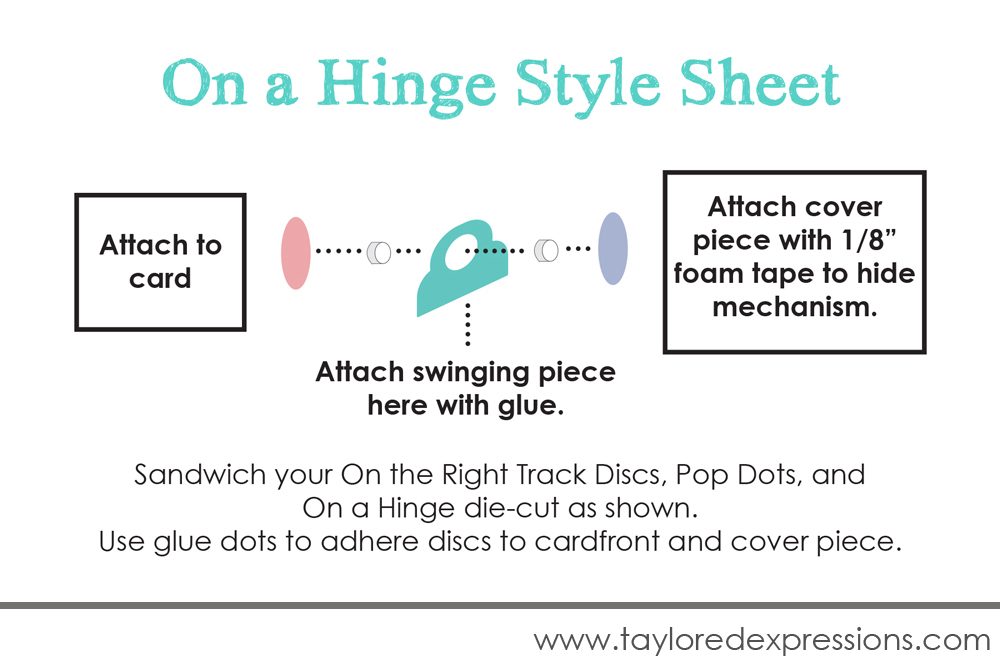
This step out graphic shows how you sandwich the On a Hinge die, the Pop Dots, and the On the Right Track Discs to make the mechanism to create the swinging motion on your project with the On a Hinge collection. You can also CLICK HERE to view a video tutorial to use the On a Hinge collection on the TE YouTube channel.
Let’s take a look at examples from a few members of the TE Creative Team using the On a Hinge – Chick stamps and coordinating dies:
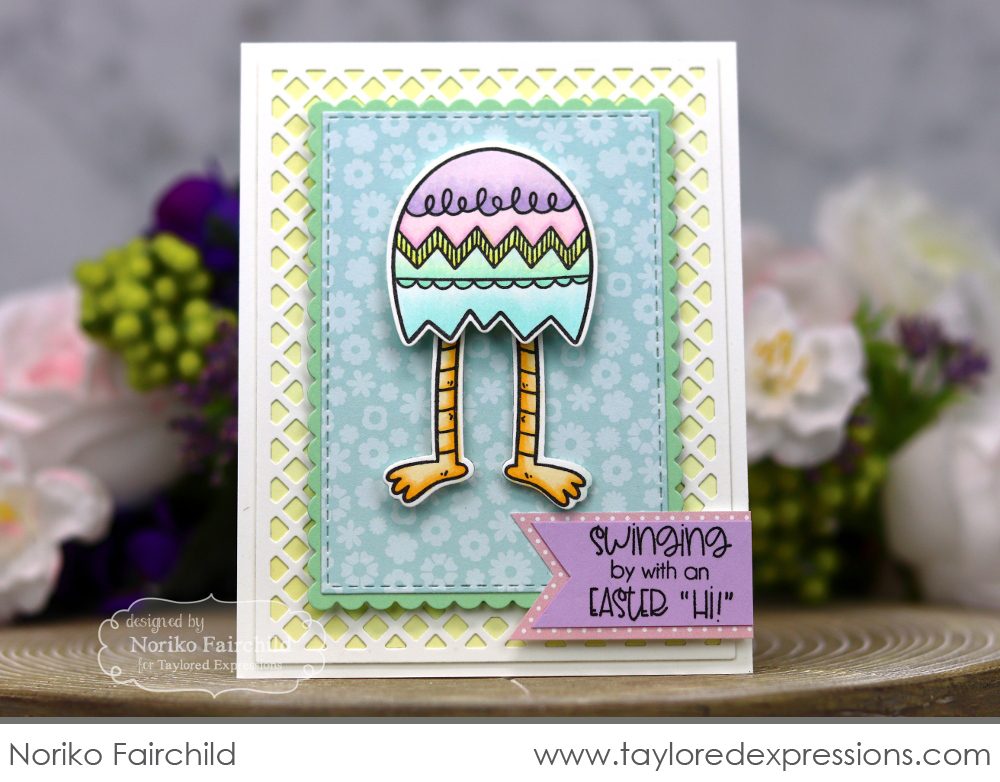
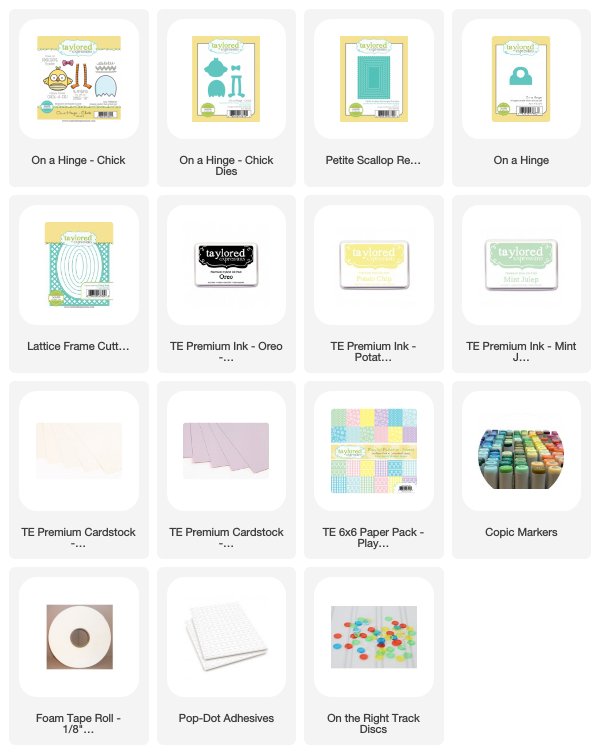
Noriko Fairchild had the chick’s legs swing out from underneath the broken egg on her project using On a Hinge – Chick. The egg and chick legs are colored with Copic Markers and then added to a background with lots of springtime colors and details. I love the lattice border created with the Lattice Frame Cutting Plate die with the Potato Chip color peeking through and the scalloped border created with the Petite Scallop Rectangle Stacklets dies.

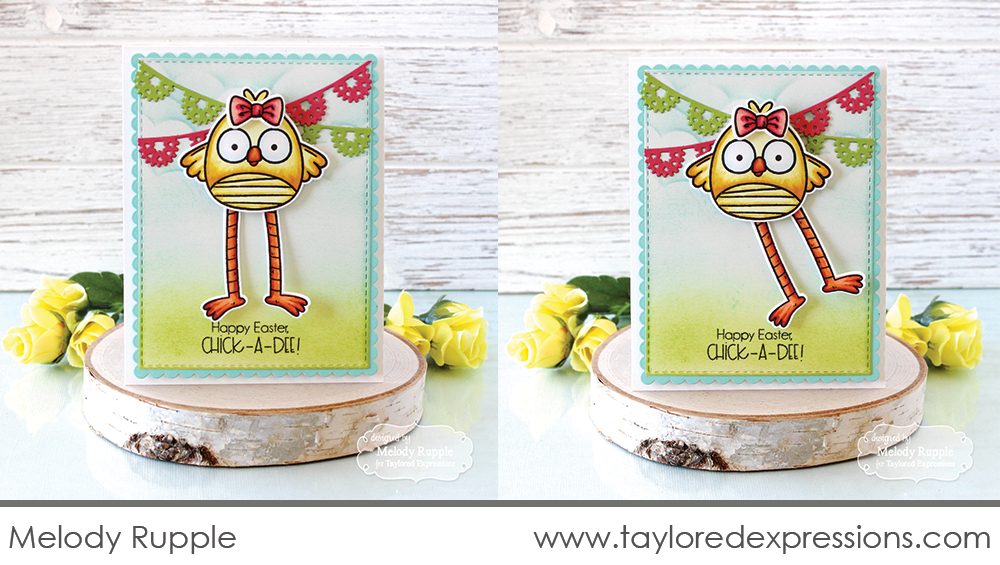
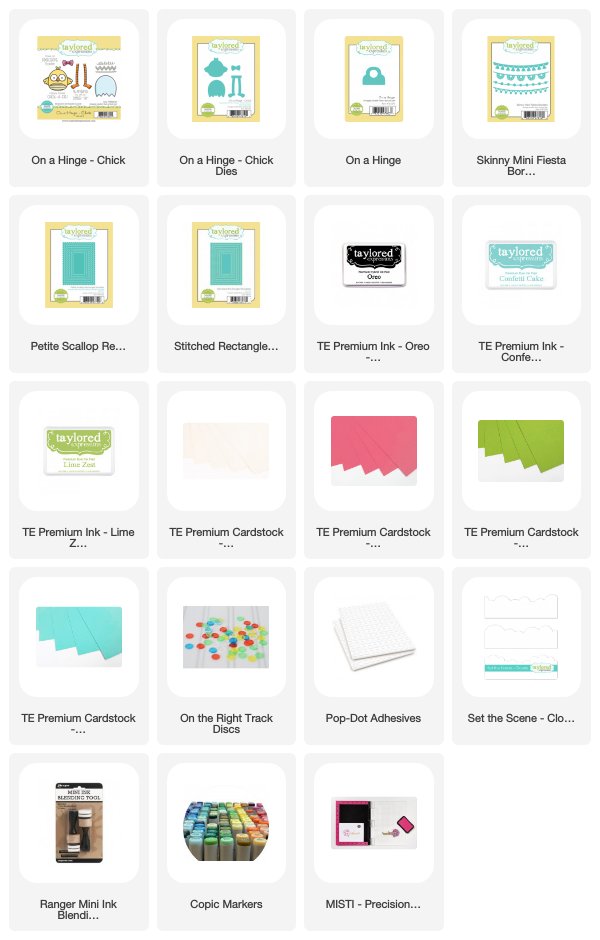
Melody Rupple had the legs swing out from behind the chick itself on her project created with On a Hinge – Chick. She colored the chick with Copic markers and I love the cute bow on top of the chick’s head! For the background, Melody inked Lime Zest ink for the ground and used the Set the Scene – Clouds stencil strips with Confetti Cake ink for the sky.

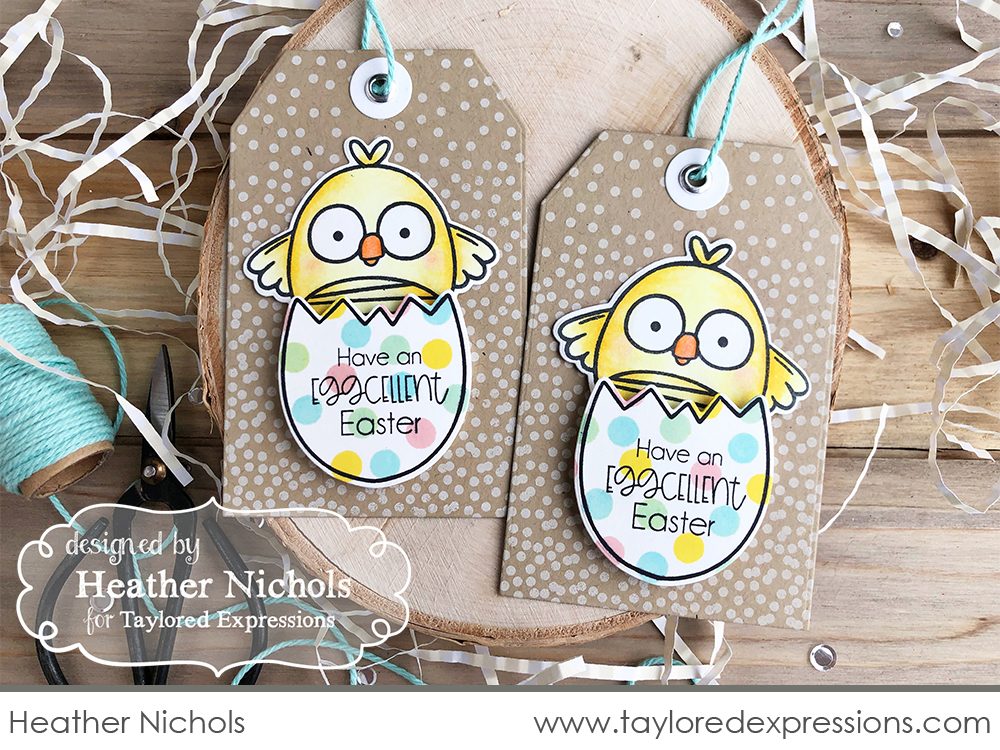
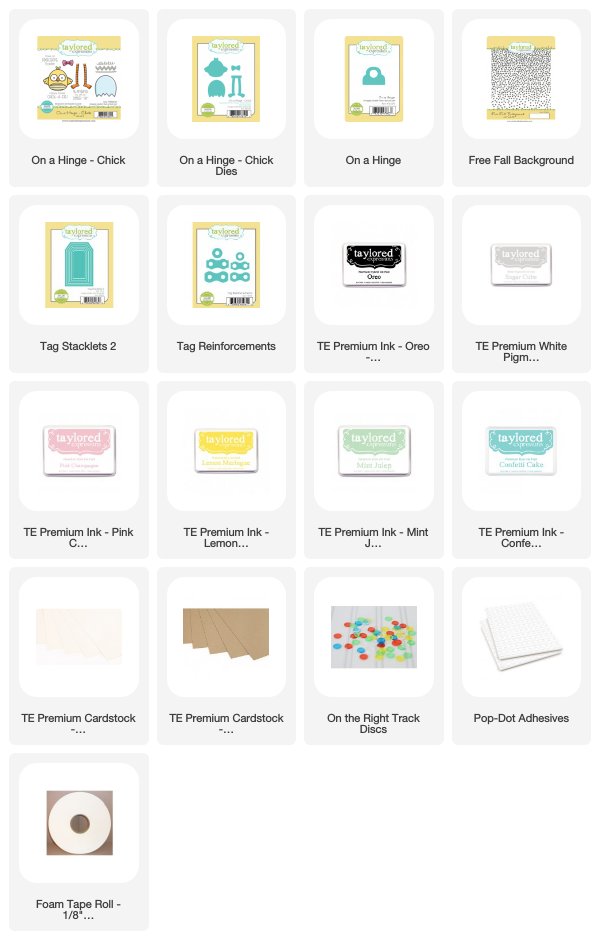
This pair of tags are created by me (Heather Nichols) and feature the chicks from On a Hinge – Chick peeking out of the broken eggs. When you tip the tags side to side the chicks bob back and forth in the eggs. My tip on this project is to work upside down from the main video tutorial directions. The chicks are where the swinging legs would be on the other projects, otherwise the directions are the same! I colored the chicks with Copic markers and the polka dots on the eggs are created by stamping with a pencil eraser. I can’t wait to tie the tags onto some Easter baskets!

Using the On a Hinge die to create the swinging elements on your cards really easy to do and the results are the cutest, like you have seen on the projects that were shared today!
Thank you so much for stopping by today and be sure to hop on back tomorrow for some more cute and fun Easter inspiration!
Did you know that you can subscribe to our blog and get our posts right in your inbox? Just sign up right HERE – that’s all there is to it to make sure you don’t miss any of our crafty inspiration!


