Feb 26, 2019
Dressing Up Die Cuts & Lots of Llamas!
Hey, crafty friends! Do you remember when die cuts were one of the newer products in the paper crafting world? To use them, you had to go into a craft store that had the big machine and use the dies they had in their collections – and you probably had to buy their paper to use or pay a fee. If you wanted to cut out your stamped images, you had to *gasp!* cut them out by hand!
Now die cuts (and personal die cut machines) are widely available and are something I use, and I bet you do too, on pretty much every project that I create! I think I have coordinating die cuts for most of my stamped images and cutting things out by hand is pretty rare these days. Sometimes, the main image on my project is made of just die cut images and a little bit of stamping.
This week we are going to take another look at die cuts and share some different ideas and tips to dress them up a bit to take your projects to the next level! Today, I have a glittering tip to use with die cuts and I have a whole lot of llama inspiration to share with you too!
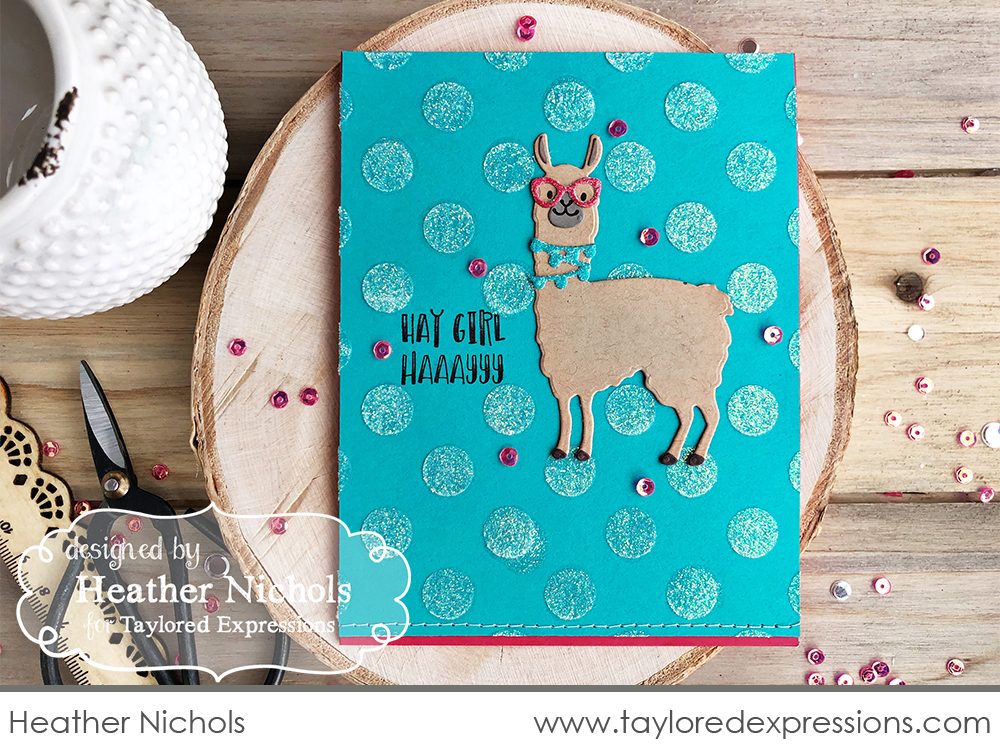
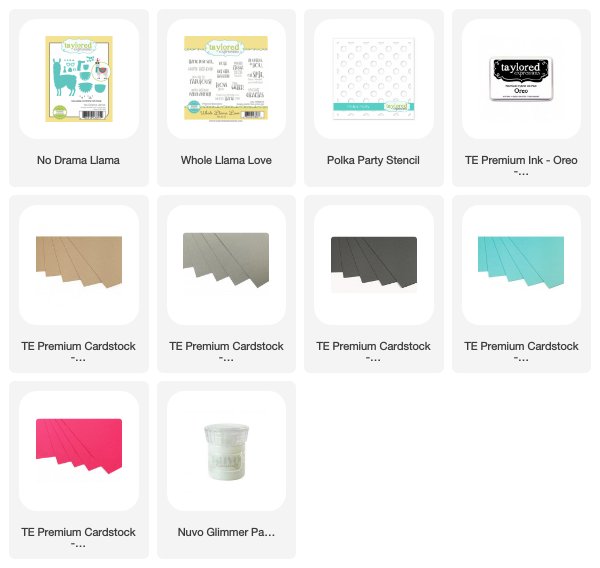
This llama card was created by me (Heather Nichols) for the February release with the new No Drama Llama die collection and Whole Llama Love stamp set. This die cut llama is just the cutest and she (her name is Dolly, if you didn’t know!) comes with a bunch of great accessories to dress her her up. I added spunky glittery glasses and glittery beads to go with the way too fun “hay girl haaayyy” sentiment.
Adding glitter to an intricate die cut shape can be tricky. There are some different options that you can do: you can use embossing ink with a glittery embossing powder, you can use a glitter paint, you can use a glue pen and add glitter on top, and I am sure there are some more ideas too!
Let me share a trick to add glitter to your die cuts that I learned a long time ago and still use all the time when I am creating.
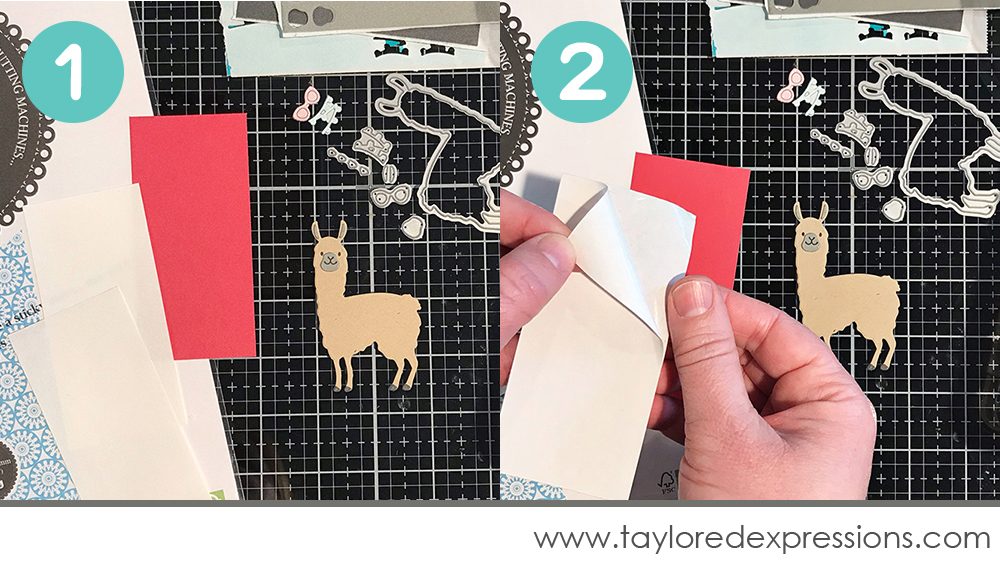
- You are going to need a double sided adhesive for this technique. You can use a sticker machine or a product like Stick It, which is what I am using here. I have a piece of cardstock ready to die cut the llama glasses from and 2 pieces of Stick It cut to match.
- Peel off one side of the Stick It paper to apply it adhesive side down to one side of the cardstock piece, leaving the rest of the sticker paper in place.
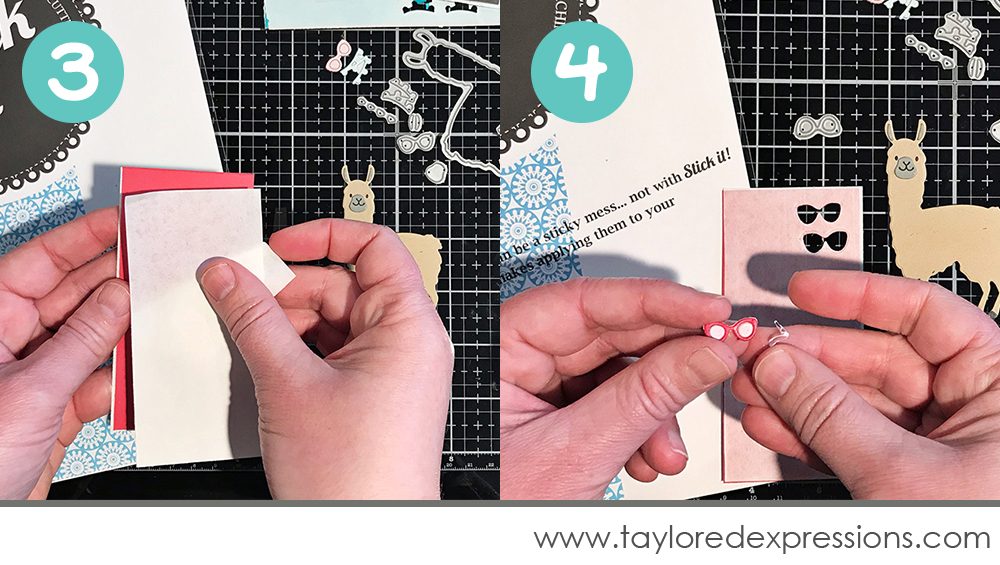
- Once the first piece of Stick It is applied, turn the cardstock piece over and apply the other piece of Stick it to that side in the same way that you applied the first piece.
- Die cut your shape (the llama glasses here.) There will be sticker paper and adhesive on both sides of the die cut. Peel away the sticker paper where you want to apply the glitter. On the glasses, I wanted the glitter on just the frames and so I removed the sticker paper from that area.
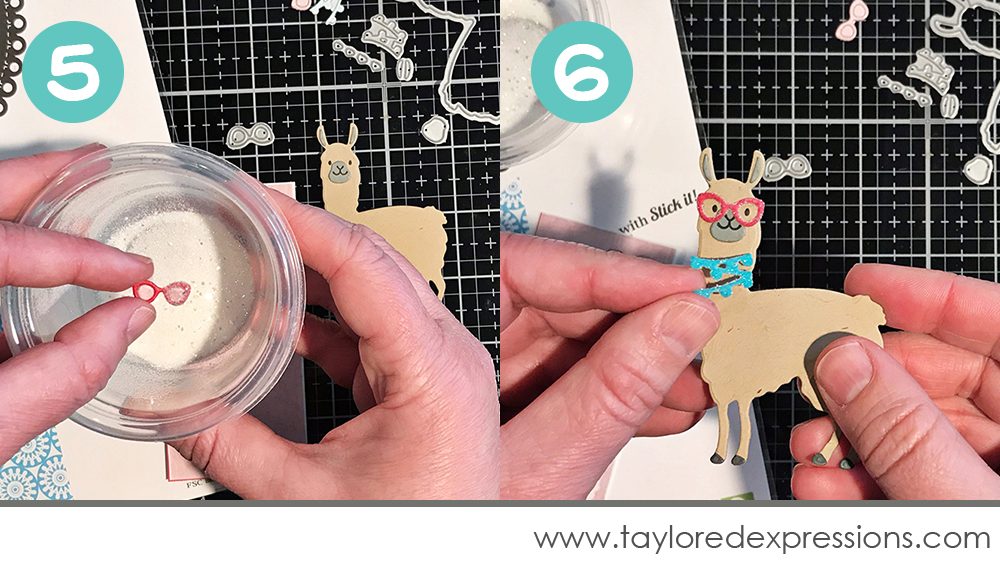
- Dip the die cut shape into glitter. Wherever the adhesive is exposed, the glitter will stick to it.
- Now you can add your glittered die cut to your project by peeling away the sticker paper on the back of the die cut. I added the glasses to the llama’s face and then added a glittered necklace die cut to the llama’s neck.
This is my favorite – and pretty mess free – way to add glitter to a die cut shape, especially an intricate shape that is difficult to add adhesive to. I hope this tip will help you out the next time you want to make a die cut sparkle!

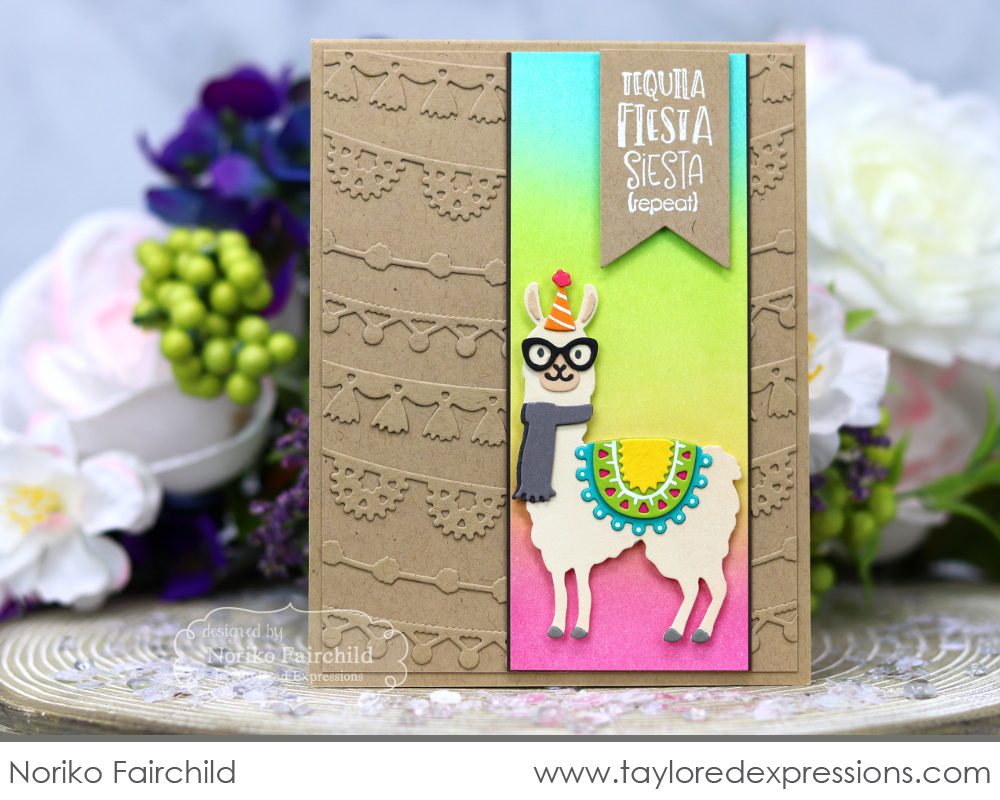
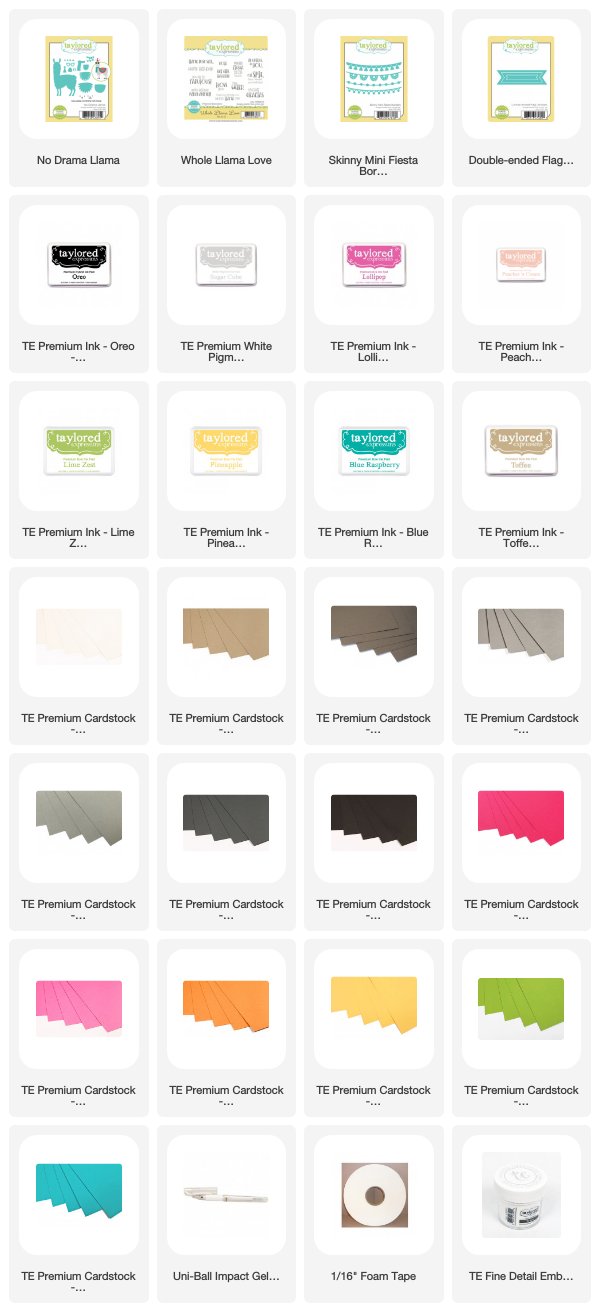
Here’s another llama card by Noriko Fairchild that she created with the No Llama Drama die collection, Whole Llama Love stamp set, and Skinny Mini Fiesta Border die collection. Noriko did a few fun things to dress up her die cuts on this project. On the llama, Noriko used a white gel pen to add patterns to the party hat and saddle. I also love how Noriko created a tone on tone effect using die cuts to create the background on her card using the Skinny Mini Fiesta Border dies. She layered Toffee cardstock borders onto a Toffee cardstock background. It adds amazing texture to this project!

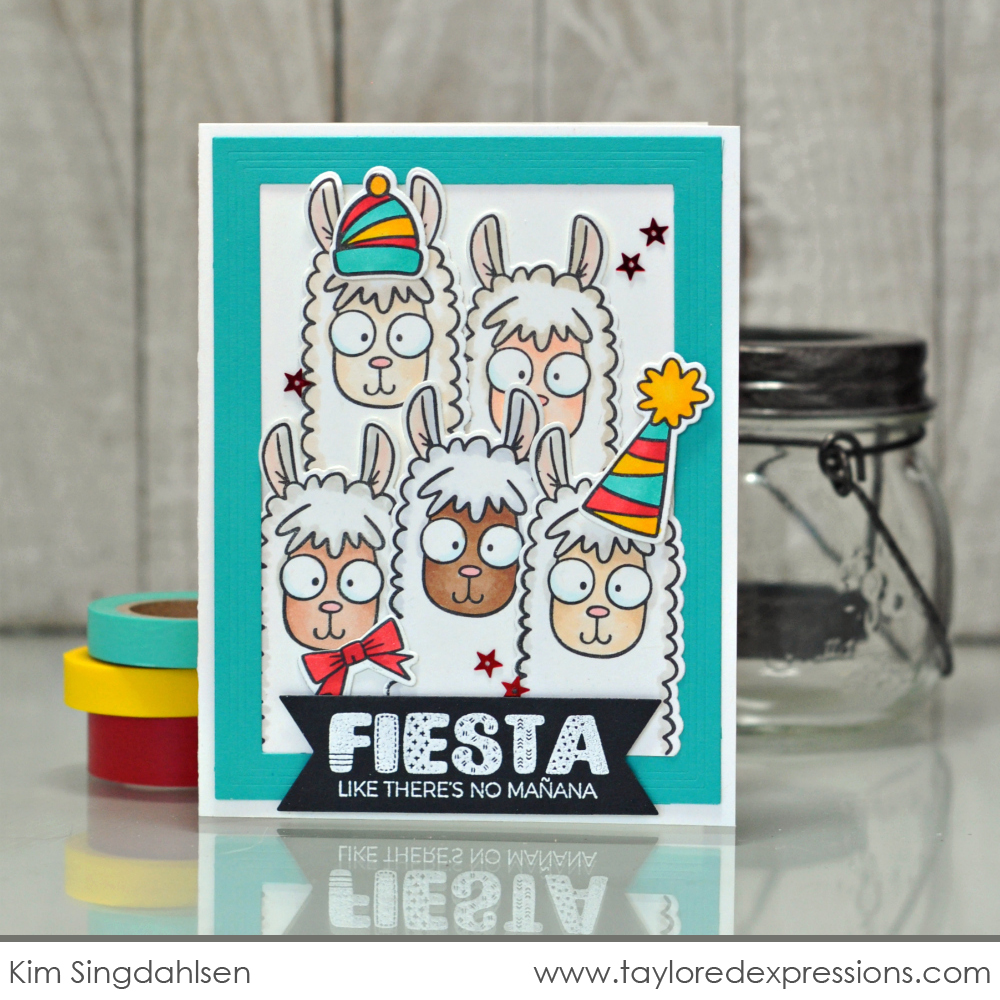
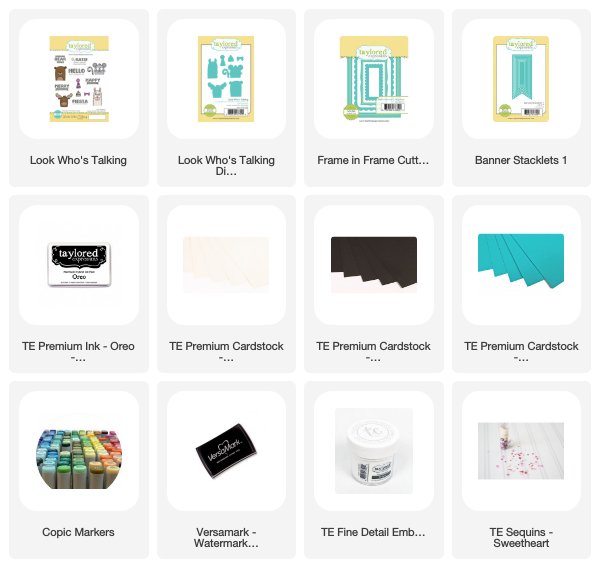
Kim Singdahlsen die cut a whole party of llamas with the Look Who’s Talking stamp set and coordinating dies for this fun fiesta card that is perfect for celebrating a special event. The dies from the Look Who’s Talking collection do not cut across the bottom of the critter images and that gives you some creative animal peeking options for your projects. You can always cut across that line with scissors, like Kim did here, so you can layer and arrange the critters from the set in different formations.

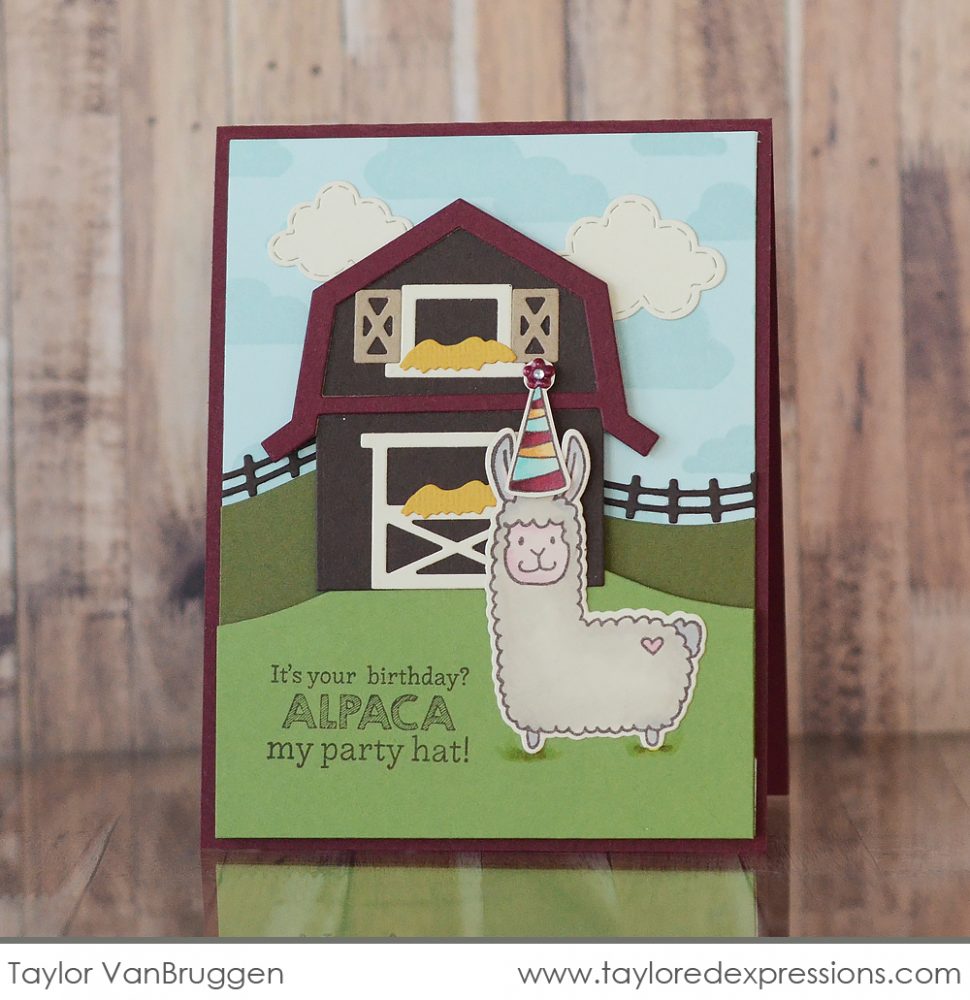
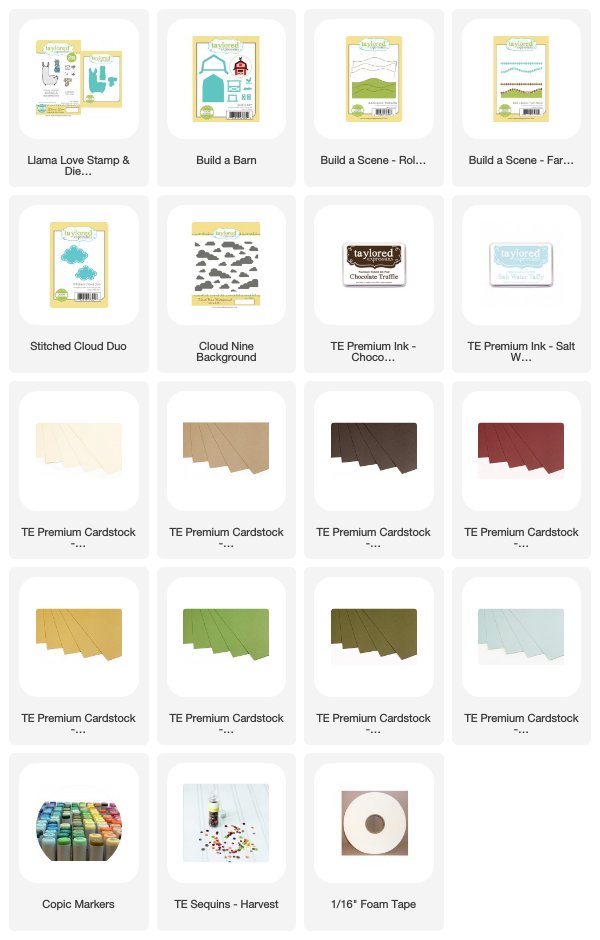
There are so many fun options for using die cuts and different cardstock colors to create a background scenes for your project, like Taylor did here with the Llama Love stamp & die combo and Build a Barn die collection. Don’t forget about the Press ‘n Seal tip that Taylor shared in THIS VIDEO for arranging die cuts and then keeping them in place while adding them to your project.
P.S. This card has a sentiment that references alpacas, which are similar to llamas in some ways, but they are definitely different! You can read more about the differences HERE between these camelid cousins!

So that’s 5 different die cutting ideas that you can use on your next projects that I shared here with you today: glittering die cuts, adding patterns to die cuts with a white gel pen, layering same colored die cuts to create a textured background, arranging and layering several of the same die cuts together, and using different colors of cardstock for a die cut background scene on your project.
Thank you so much for stopping by today. I will be back again tomorrow with some more tips and tricks for dressing up your die cuts so please stop back again to check them out!
Did you know that you can subscribe to our blog and get our posts right in your inbox? Just sign up right HERE – that’s all there is to it to make sure you don’t miss any of our crafty inspiration!


