Feb 27, 2019
Dressing Up Die Cuts & Cute Cacti!
Hey, crafty friends! Did you love the tips that I shared with you yesterday to dress up your die cuts for your next projects? I think one of my favorite ideas from yesterday was using a white gel pen to add detail and patterns to a die cut. It’s such a simple technique that adds an extra punch to your project!
I have more die cut tips to share today while we feature a bit of the desert with the newly released Can’t Touch This stamp set and coordinating dies. This collection is just perfect for the dressing up your die cuts theme this week! The stamps are perfectly designed to add patterns to the die cut cactus shapes. It’s like 2 step stamping, but with a combination of die cuts and stamps. I also LOVE the punny sentiments, face options, and extras to build your cactus projects!
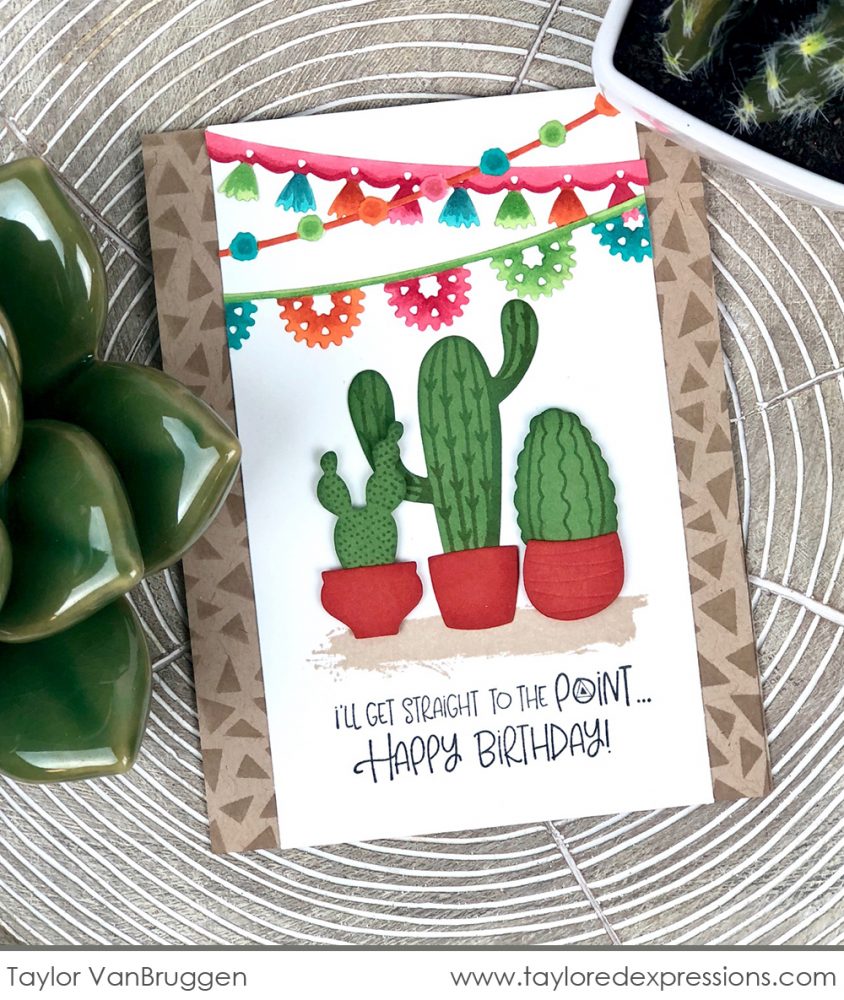
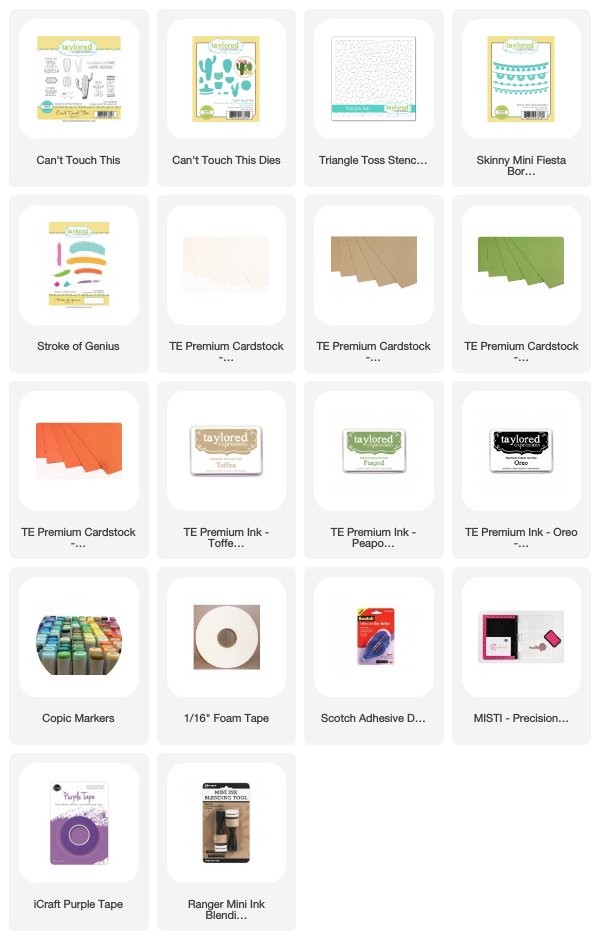
Taylor paired the Can’t Touch This stamp set and coordinating dies with the new Skinny Mini Fiesta Borders die collection and Triangle Toss stencil to create this birthday fiesta card. She did a couple of techniques to dress up the die cuts on this project that you can learn about in the video below:
Taylor shared some great tips in this video! She shows you how to line up coordinating stamps and die cuts in your MISTI, how to shade colored die cuts with an ink blender, and adding color to Sugar Cube cardstock die cuts using Copic markers.

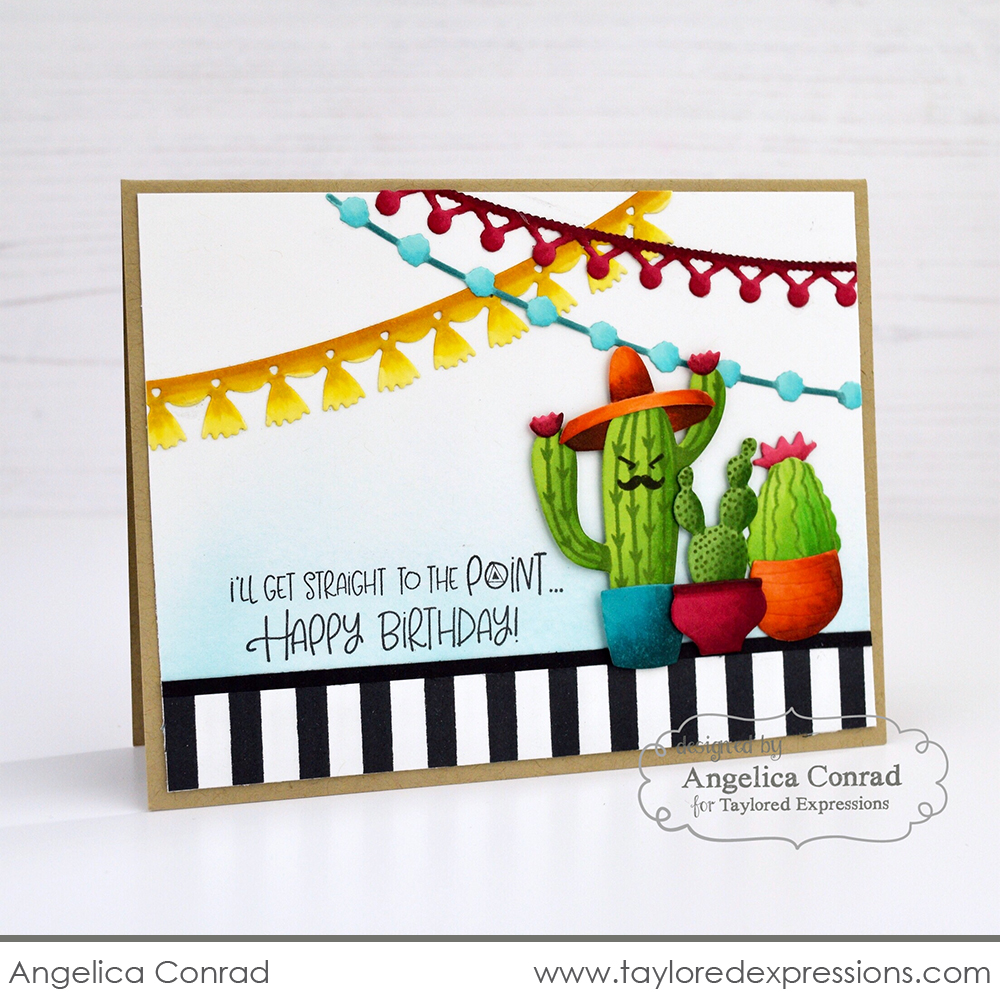
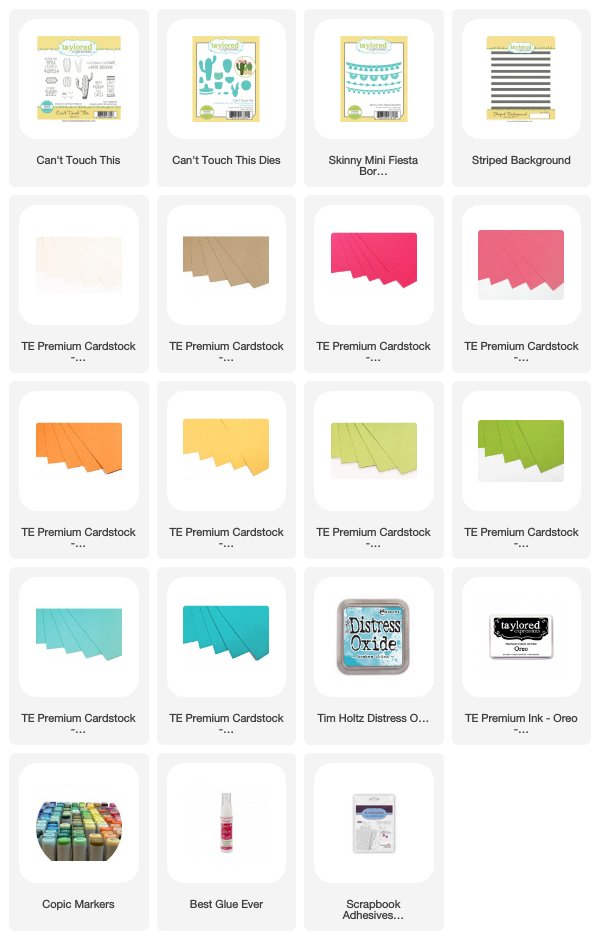
Here’s another birthday fiesta card created by Angelica Conrad using the Can’t Touch This stamp set and coordinating dies paired with the Skinny Mini Fiesta Borders dies. Angelica cut her die cuts from different colors of cardstock for her project and then used Copic markers to add shading to them. The effect is pretty stunning and I love the dimension that it adds to the cacti, banners, and pots.

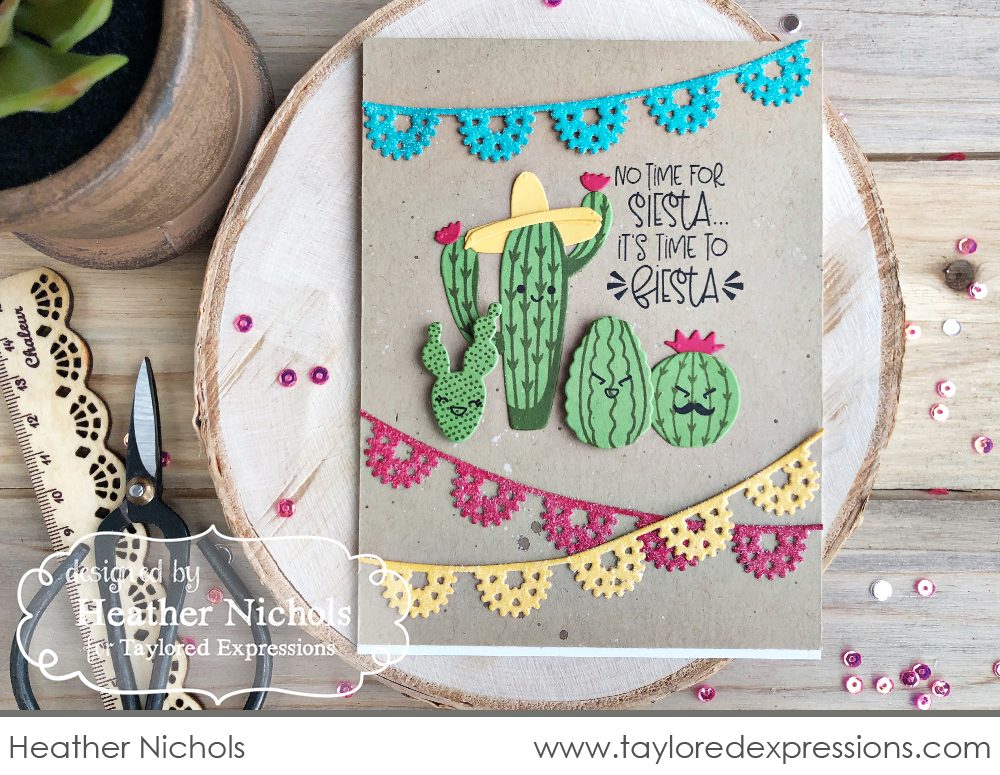
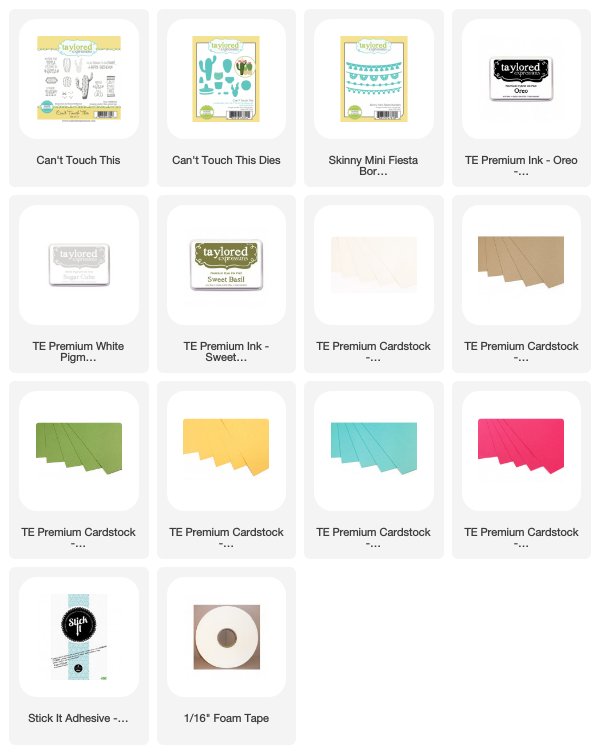
This fiesta card was created by me (Heather Nichols) using the Can’t Touch This stamp set and coordinating dies paired with the Skinny Mini Fiesta Borders dies. The cacti die cuts are stamped with the coordinating patterns from the stamp set and then I added glitter to the fiesta borders using the technique that I shared with you yesterday. If you missed how to glitter intricate die cuts, make sure you CLICK HERE to visit yesterday’s post.

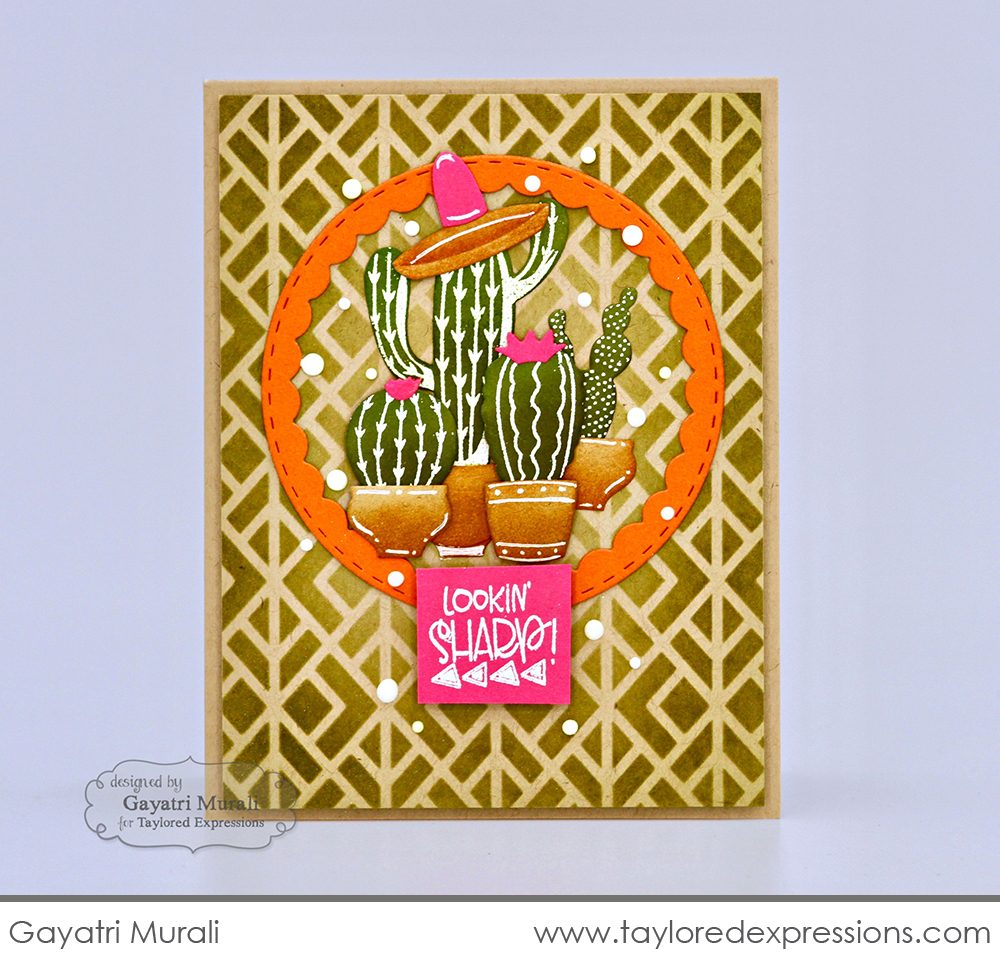
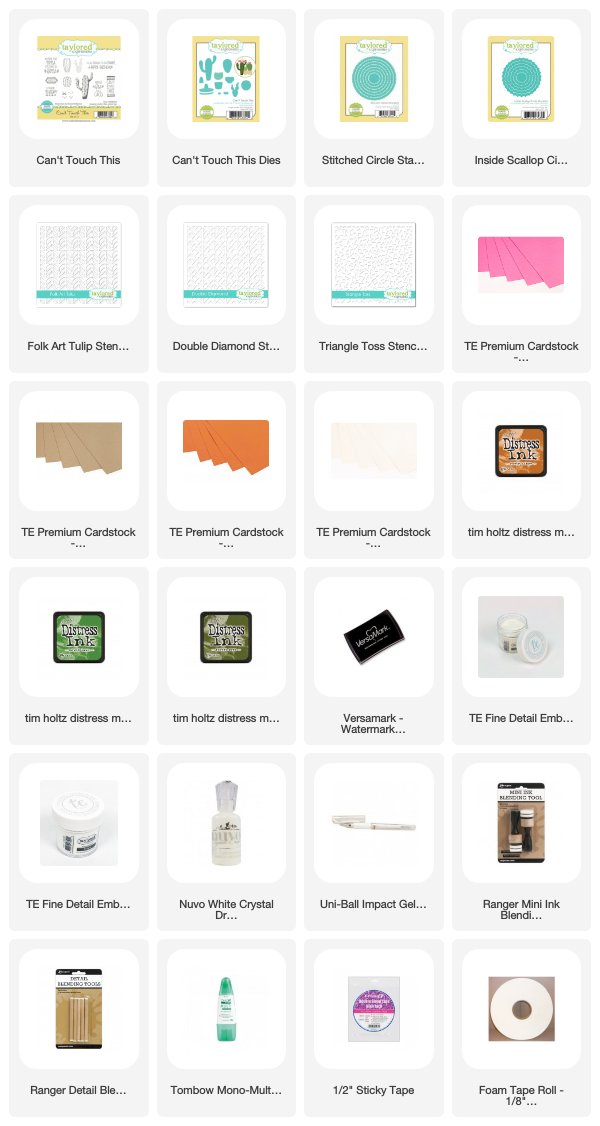
Here’s one more project by Gayatri Murali created with the Can’t Touch This stamp set and coordinating dies. Gayatri die cut the cacti on her project from Sugar Cube cardstock, added color to them with an ink blender, and then embossed the patterns onto the cacti with white embossing powder. The pots were die cut from Toffee cardstock, are shaded with an ink blending tool, and have details added using a white gel pen.
My favorite dressing up dies technique that Gayatri did on her project was creating the circular frame using a Stitched Circle Stacklets die with the center cut out of it using a Inside Scallop Circle Stacklets die. I bet if you take a look at some of the different dies in your own collection, you will find some great die combinations to create fun frames to use on projects!

There were 5 more tips today for dressing up your die cuts: stamping (and embossing!) on dies with coordinating stamps, shading die cuts with ink, coloring white cardstock die cuts with Copic markers, shading colored cardstock die cuts with Copic markers, and using dies to create a frame for your projects. There were also more examples of adding glitter to intricate die cuts and using a white gel pen to add detail and pattern to die cuts.
I need to make a list in my stamping journal of all of these ideas to dress up die cuts! I will be back Friday with more ideas to share, so please stop back again and thank you so much for stopping by today!
Did you know that you can subscribe to our blog and get our posts right in your inbox? Just sign up right HERE – that’s all there is to it to make sure you don’t miss any of our crafty inspiration!


