
Mar 01, 2019
Dressing Up Die Cuts & Sweet Succulents!
Hey, crafty friends! I am back again today with some more ideas for dressing up your die cuts. One of the things I love about this paper crafting hobby is that there are always new ideas and new things to learn. I still get so excited when I see something new that inspires me! So, let’s get on to some more ideas that might be new to you!
Today, we are visiting the world of succulents. Now, you don’t just find succulents in the desert. They do grow there and cacti are succulents. Succulents are very popular and trendy in the gardening world and have inspired aspiring gardeners because of their ease of care. Succulents have popped up in the crafting world too and they are so much fun to add to projects with their interesting shapes and colors!
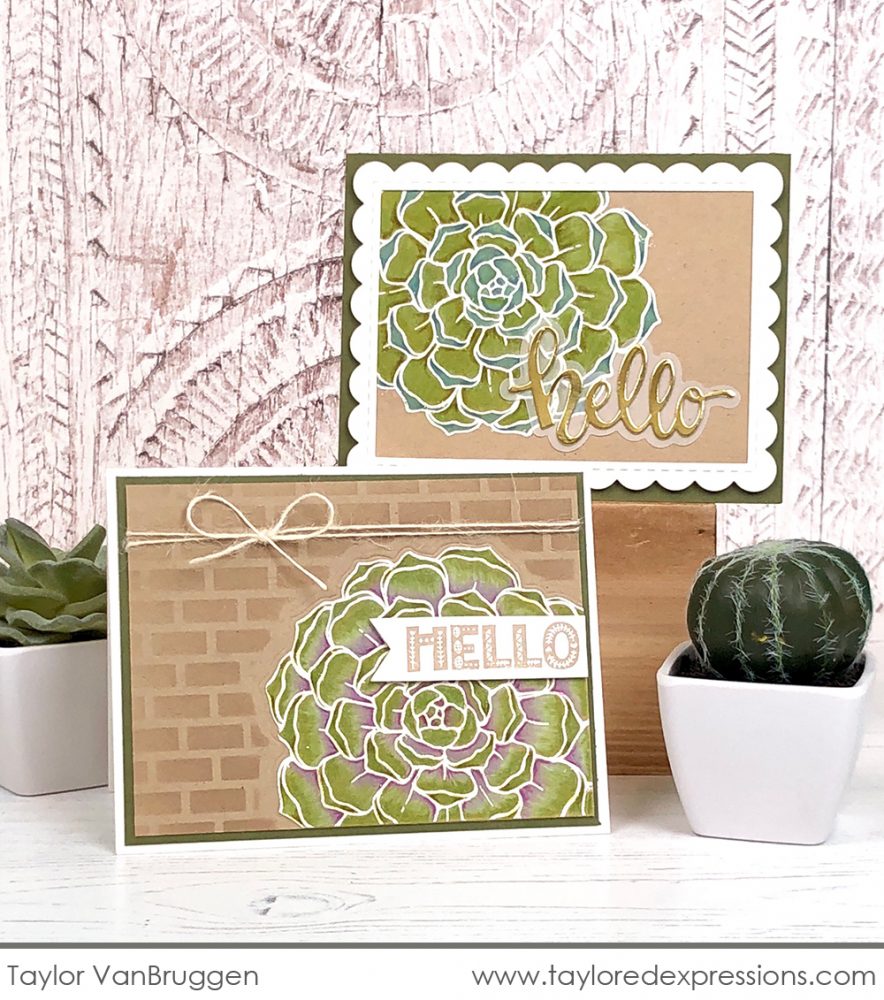
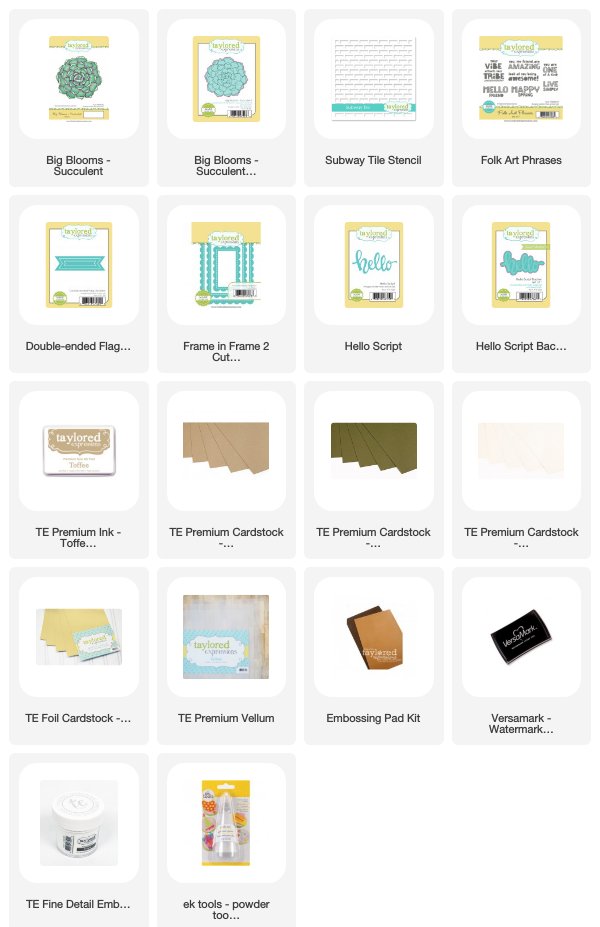
Taylor put together a pair of succulent cards using the Big Blooms – Succulent stamp set. She embossed the succulent images with white embossing powder and added color with colored pencils. Both of them include a little die cutting and we are going to take a closer look at the bottom card in this photo.
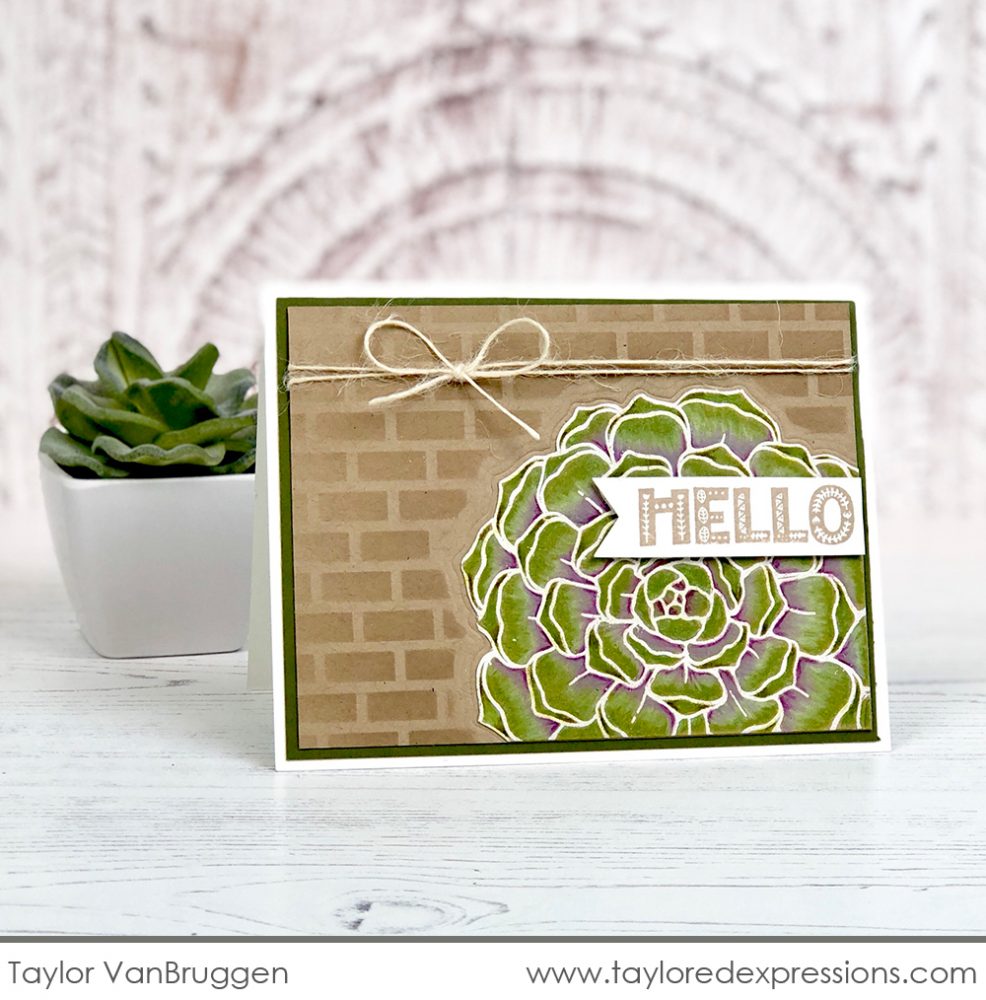
Taylor did a couple of fun techniques to dress up her die cutting on this succulent card. First, instead of using the Big Blooms – Succulent die to cut out the succulent, she impressed the die into the cardstock around the succulent image. Next, she used the die as a mask over the succulent to add a stenciled background on the card.
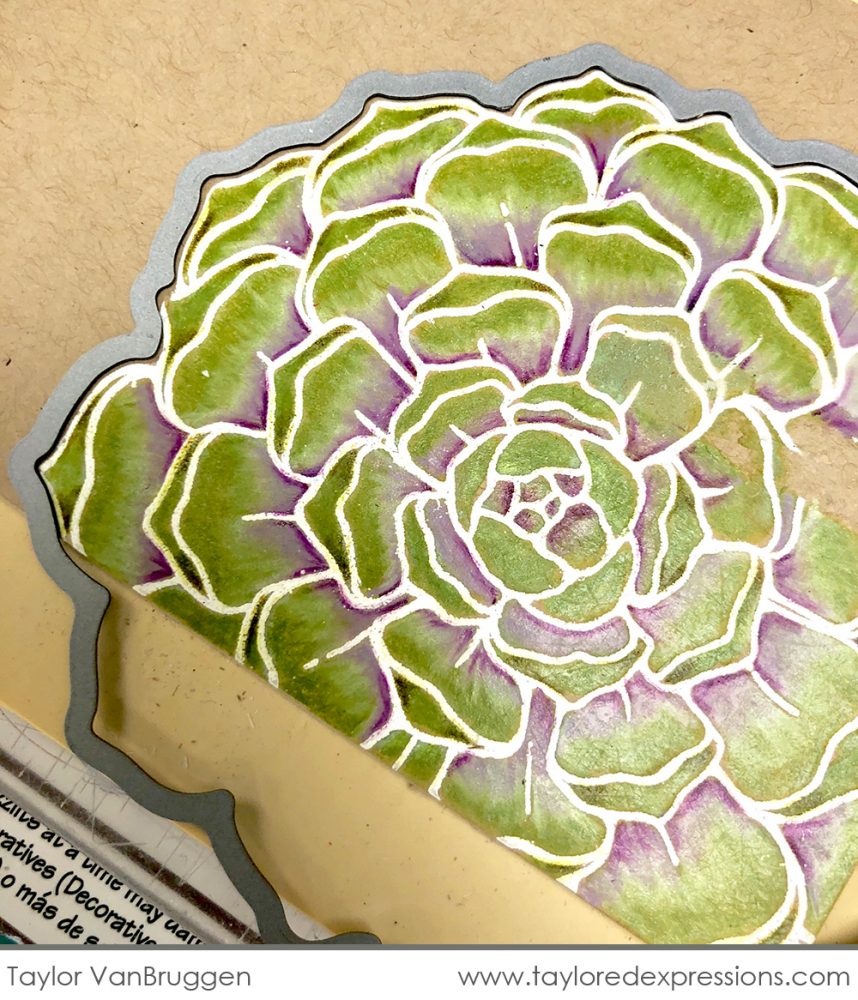
Here’s a closer look at how to make an impression of your die versus cut it completely through your cardstock. You will want to use embossing pads and use a sandwich with your die cut machine for embossing. Each die cut machine is different, so refer to the instructions that came with your personal die cut machine to set it up for embossing. Once you have your machine set up and the die in place, you can send it through your die cut machine and it will leave an impression in the cardstock.
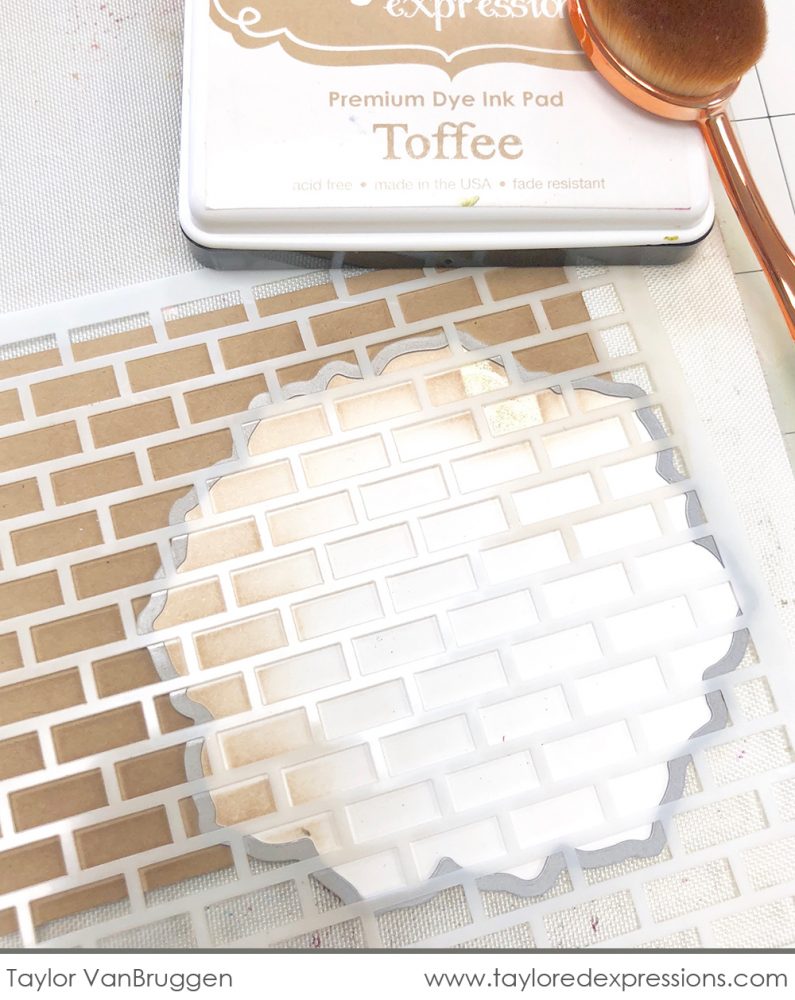
Here’s a closer look at creating a mask with your die. Keep a piece of cardstock that is die cut inside the die to cover the stamped image. With everything in place, you can add a background like Taylor did here with the Subway Tile stencil.

Using the die as a mask leaves a bit of a border around the outside of the stamped image and that helps to highlight and pop the image on the card. Taylor finished the card with a sentiment from the Folk Art Phrases stamp set on a Double Ended Flag Stacklet die and a bit of twine tied into a bow around the stamped layer.

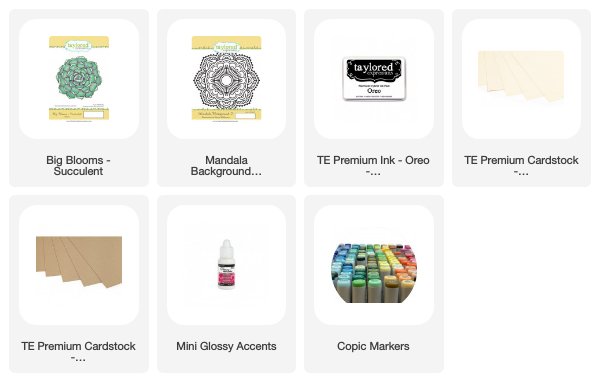
Gayatri Murali also used the Big Blooms – Succulent set on this beautiful card. I love how she dressed up her die cut image by stamping another image to peek out from under the main succulent die cut with the Mandala Background 2 stamp. It adds a wonderful, dimensional effect to her project. She also added water droplets to the succulent leaves using glossy accents and it really adds a realistic touch to her card.
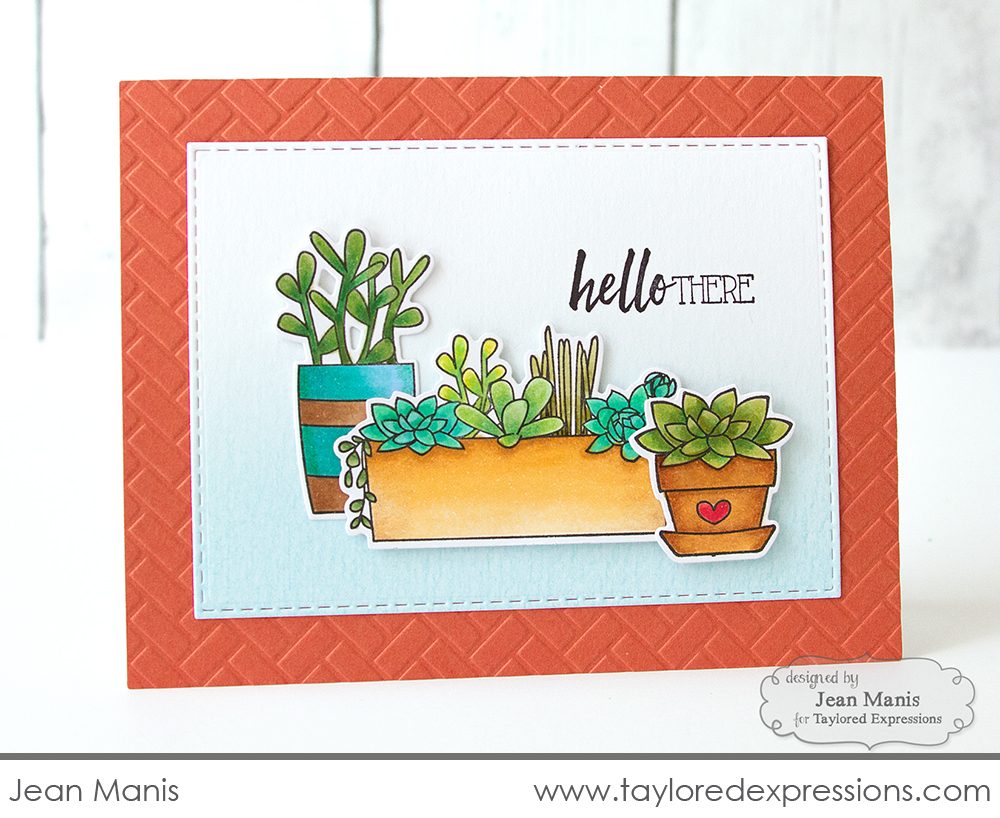
Here’s another succulent card designed by Jean Manis that we had to revisit today. She used the Simply Succulents stamp set and die combo to create this sweet card to send a happy hello to a friend. The die cutting on her card is pretty straight forward. Jean used the coordinating dies to cut out the stamped images from the set. She also used a Stitched Rectangle Stacklets die to create the background for her main image and added some Sprinkles ink blended across the bottom of the die cut to help ground the succulent images. It’s a simple, but a very effective technique!
You will find that we have lots of stamp and die combo sets in the Taylored Expressions webstore. These sets are a one stop shop for getting stamps and coordinating dies – make sure to check out all of the great options!
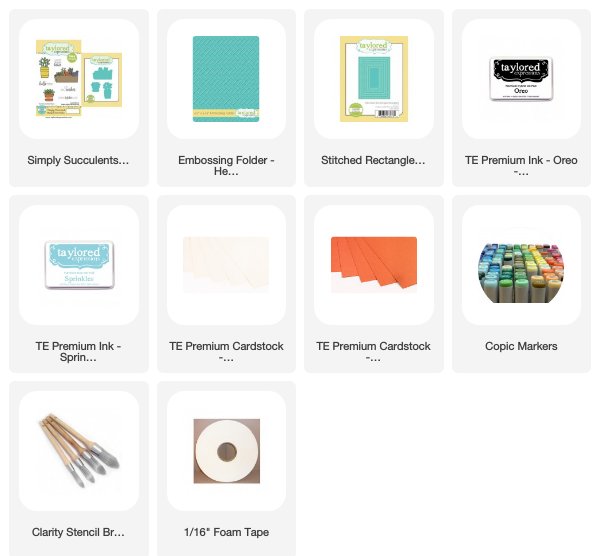
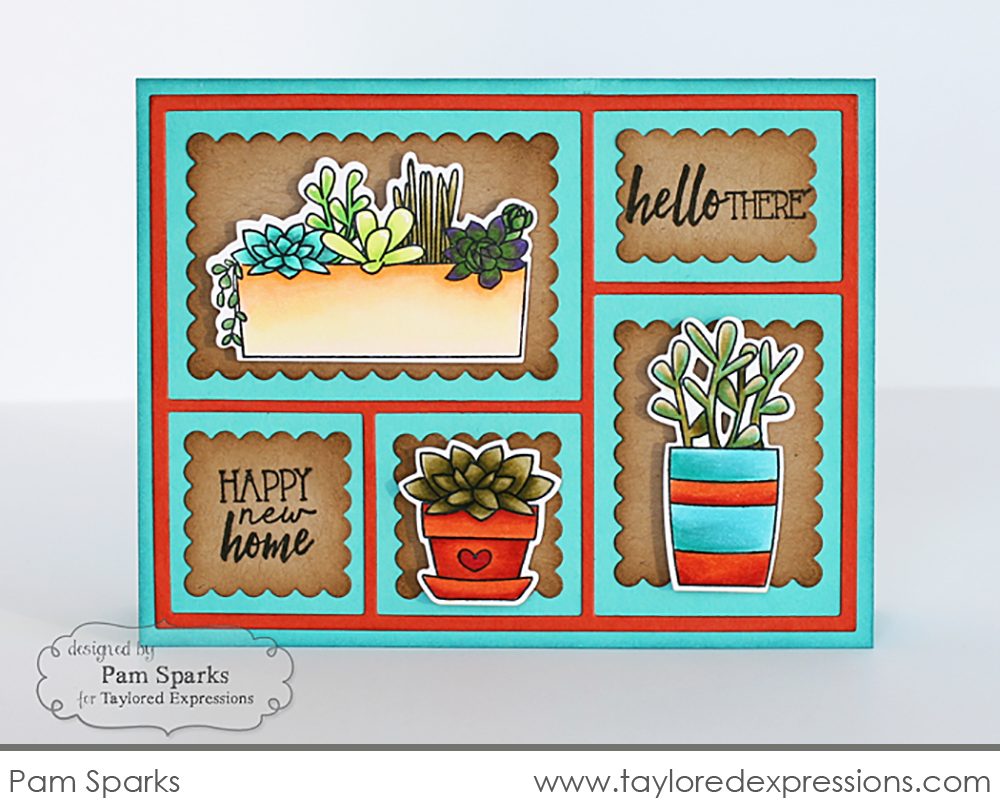
Finally, we are revisiting this card created by Pam Sparks created with the Simply Succulents stamp set and die combo. Pam got creative with the Color Block Cutting Plate die to dress up her project. When you die cut the Color Block Cutting Plate die, it has different parts and pieces that cut out inside of each block. You can mix and match how you put the pieces together which means there are so many different options to dress it up! I love the pop of color that Pam did with the Cookie Monster and Pumpkin cardstock to frame the different succulent images.

Today I had 5 tips to share with your today to dress up your die cuts: using your dies to create an impression versus cutting through your cardstock, using your dies to create a mask, stamping an image to peek out from under a die cut, blending a simple background on a die cut, and getting creative with die cut elements from the same die.
Tomorrow I will have some more inspiration to share with you to dress up your die cuts and an opportunity that will be available for a limited time. Stop back then to find out more! Thank you for stopping by today!
Did you know that you can subscribe to our blog and get our posts right in your inbox? Just sign up right HERE – that’s all there is to it to make sure you don’t miss any of our crafty inspiration!
