Oct 24, 2019
New Masking Stencils! Create a Beautiful Floral Wreath!
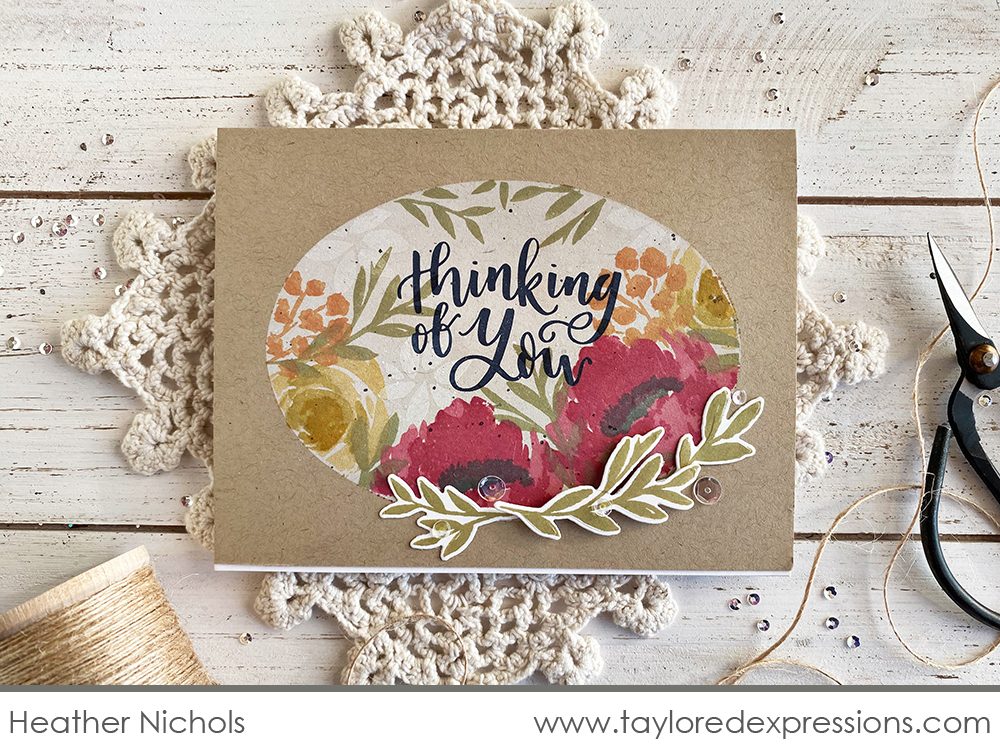
Hey, crafty friends! Heather here today to share a pretty floral arrangement with you that was made possible with the new designer masking stencils in the oval shape. I love how these stencils easily make a vision come to life! No more creating masks from cardstock or masking paper, crossing your fingers that your mask is centered, or ripping your card front while removing the mask. Simple, quick, and error-proof!
If you haven’t tuned in yet this week, then there’s still time to take advantage of our special launch promotion. Just scroll down to the bottom of the post for all the details. Before you go, take a look at the video I created for you:
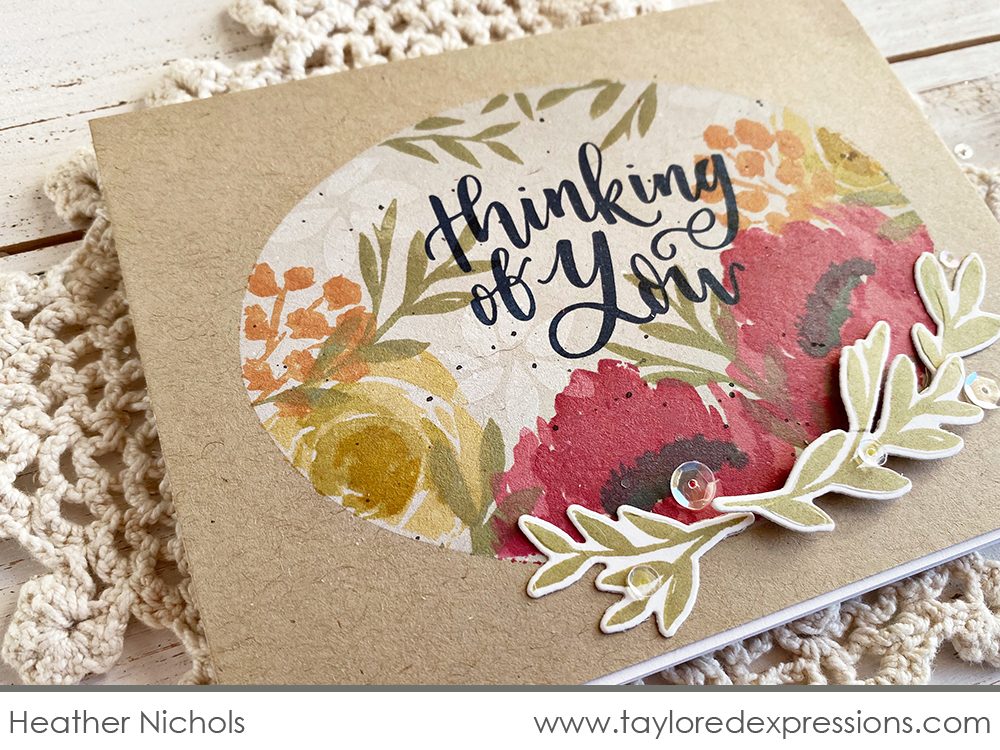
Creating the masked oval shape was simple with the help of the designer stencil mask and my favorite Sugar Cube ink. This created a spot for the florals that I began stamping around the edge, starting with the largest florals, building outward with the smaller florals, and finishing by filling in the design with greenery.
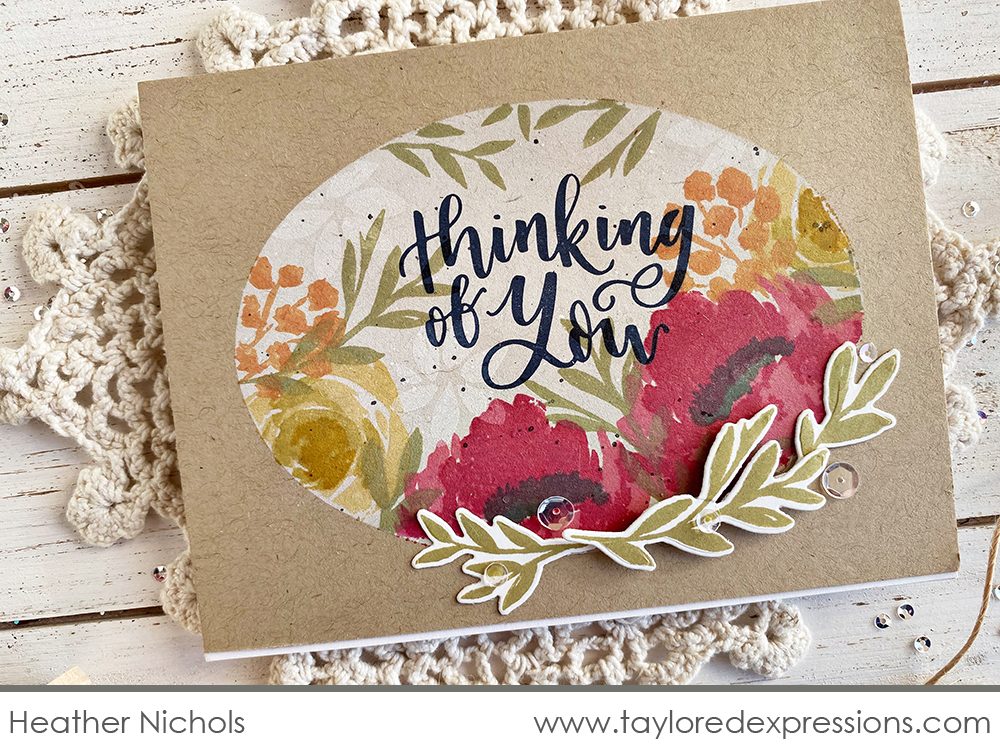
I finished the project by adding a few die cut pieces of greenery to the bottom edge of the oval, popping one up for dimension, and adding clear sequins surrounding the greenery.
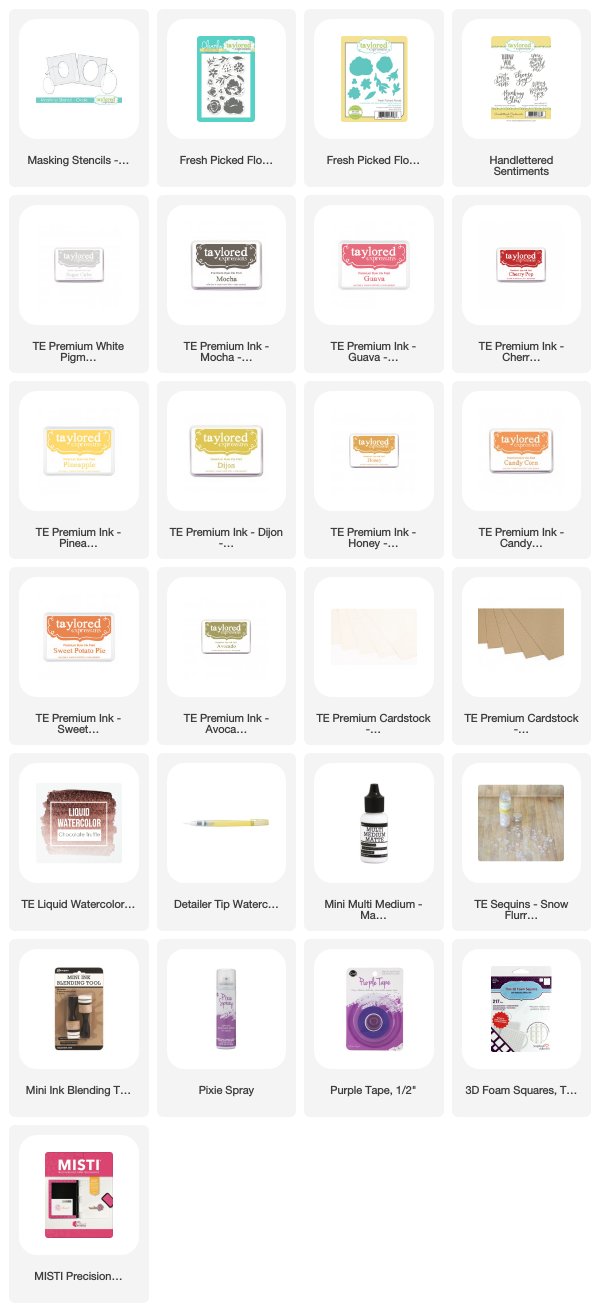
Here’s a look at all of the supplies that I used on this project:

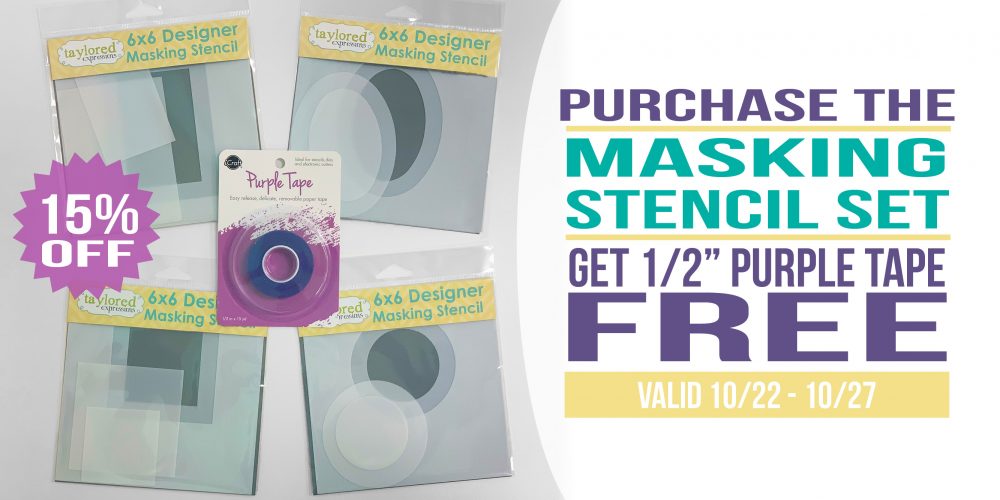
Don’t forget that you can get all four sets of Masking Stencils (oval, circle, rectangle, and square) at the special introductory bundle price of $48 (regular price is $56) plus receive a 1/2″ roll of purple tape FREE. This offer is valid from October 22-27.
Thank you so much for joining us over last few days for our Designer Masking Stencil debut! Make sure to link up to the TE Creative Team and special guests listed below (including Laurie herself!) to see the incredible Designer Masking Stencil inspiration that they have to share with you.


