Nov 11, 2020
Create A Unique Calendar With the NEW Handcrafted Calendar Kit!
Hey, crafty friends! It’s Heather here today! Don’t you just love this newest calendar concept and the possibilities for creating unique gifts? I have more inspiration to share using the new Handcrafted Calendar Kit. I have a video from Mindy Eggen as well as more calendar creations from the TE Team.
Before we get started, here’s a quick overview of the new kit:
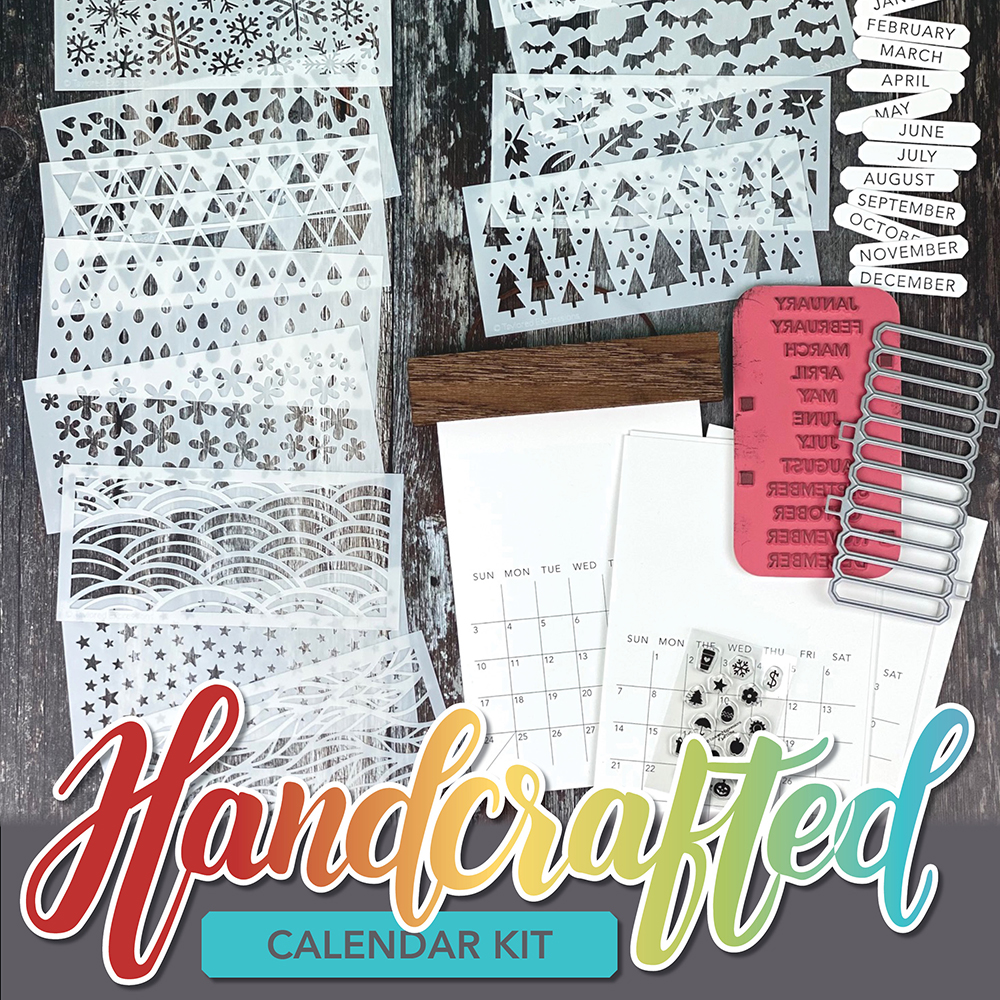
Calendars are one of our favorite crafts to make, and one of our favorite gifts to give or receive. This year, we’re offering this exclusive Handcrafted Calendar Kit to help you get ready for 2021! It includes everything you need to make a customized 5″ x 8″ calendar designed to hang from a magnetic walnut wood hanger. It comes packaged in a plastic clamshell box with an exclusive kit sticker (perfect for gift-giving!), and includes:
- Walnut Wood Hanger Frame (includes 12″ length of leather cord)
- 5×8 2021 Dated Grid Calendar (12 individual 5″ x 8″ sheets printed on 100 lb. Sugar Cube cardstock)
- Stencil Strips – Calendar (set of 12, numbered to correspond with the months of the year)
- Group Text – Months stamp
- Group Text Die
- Clearly Crafty It’s a Date stamp set
Most items not available to purchase separately. Limited quantity available.
The items that are available to purchase separately for this kit release are: 5×8 2021 Dated Grid Calendar, the Walnut Wood Hanger Frame, 5×8 Clear Calendar Boxes, and the Stamp & Style Pouch.
Click below to shop now for the new Handcrafted Calendar Kit and then keep scrolling for more information and inspiration!
Our video today is from Mindy Eggen and she is sharing how she put together the first few months for next year’s calendar using the Handcrafted Calendar Kit:
In the video, Mindy shows how she uses the stencils to create blended background designs on the top part of the calendar pages, how she embossed and cut out the month names for each page, how she put the pages together using a few other stamp sets from the Taylored Expressions collection and how she added the pages into the Walnut Wood Hanger Frame.
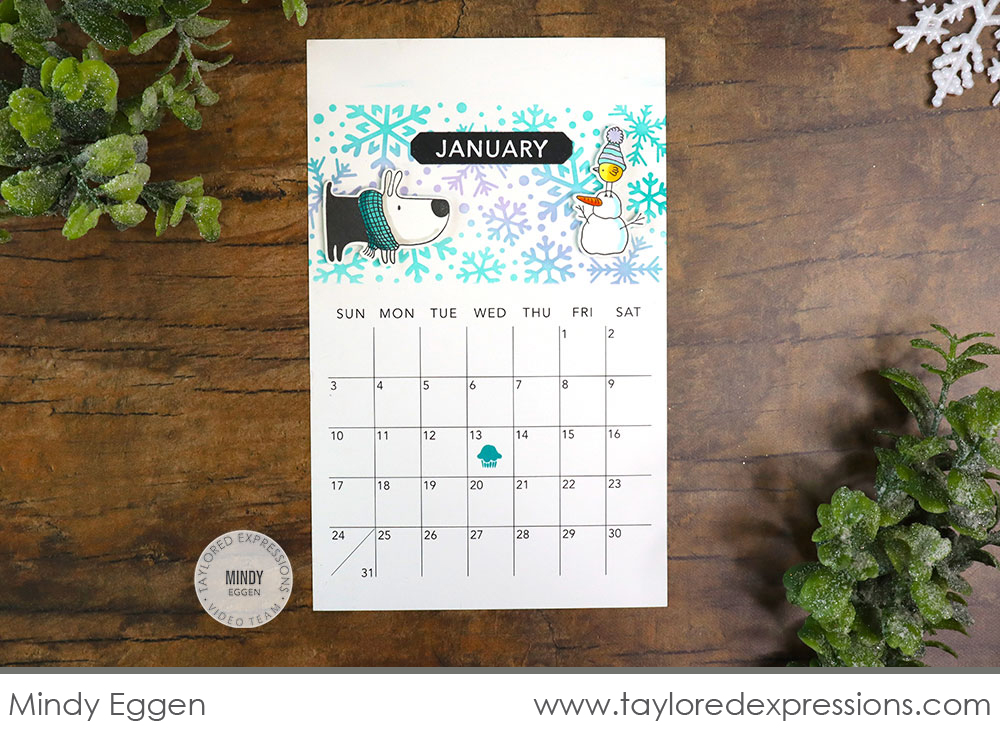
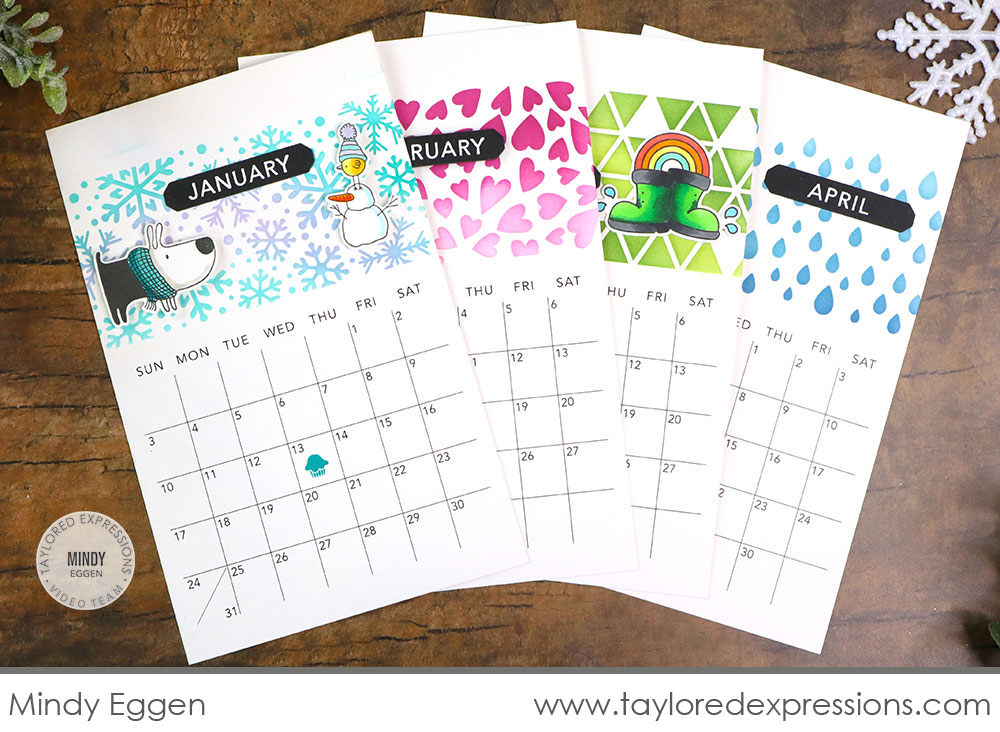
For January, Mindy stenciled the snowflake background using Lavender Glaze and Blue Raspberry inks. She added die cut images from the Gus & Gertie Holiday Adventures stamp set and the month label to complete her January scene.
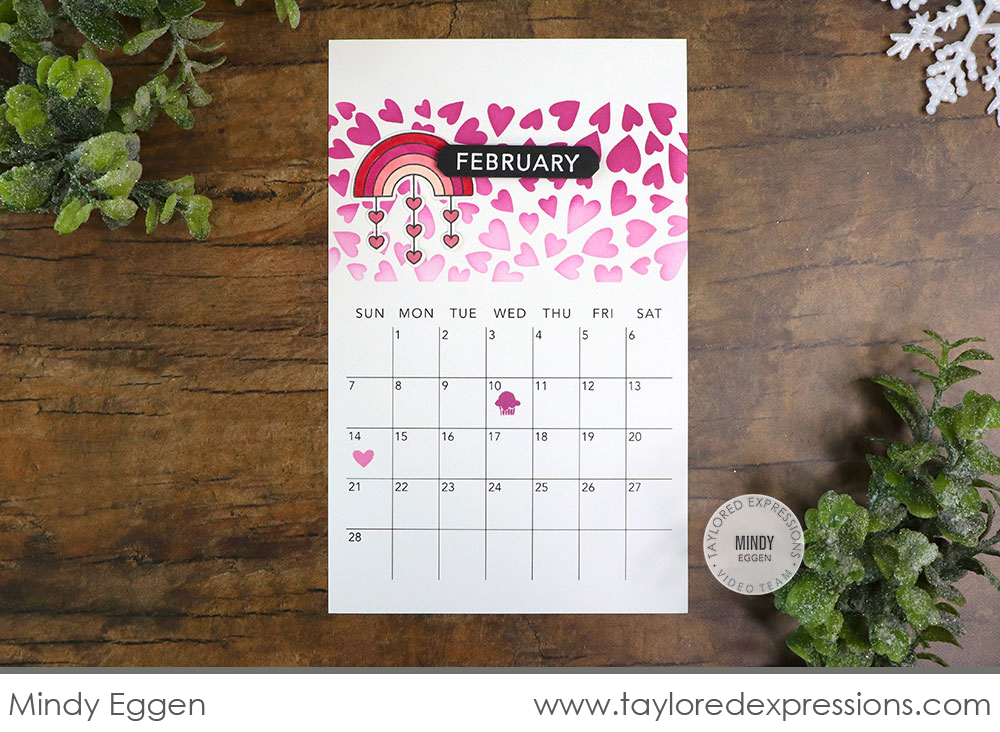
The hearts in the background on the February page are stenciled using Strawberry Milkshake and Lollipop inks. Mindy added the rainbow from the Brighter Skies stamp set along with the February label to finish off this page.
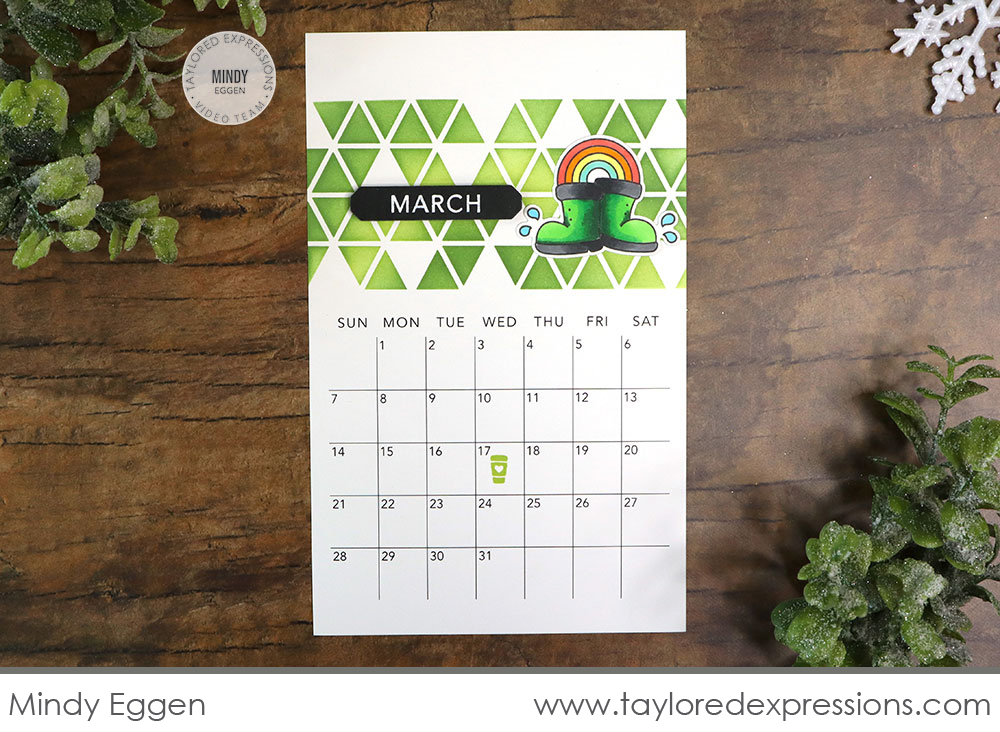
Mindy kept true to the St. Patrick’s Day colors for the month and stenciled the triangle design on the background of the March page using Granny Smith and Cilantro inks. She colored the rain boots from the Brighter Skies stamp set in green for a leprechaun look and added them with the March label for this calendar page.
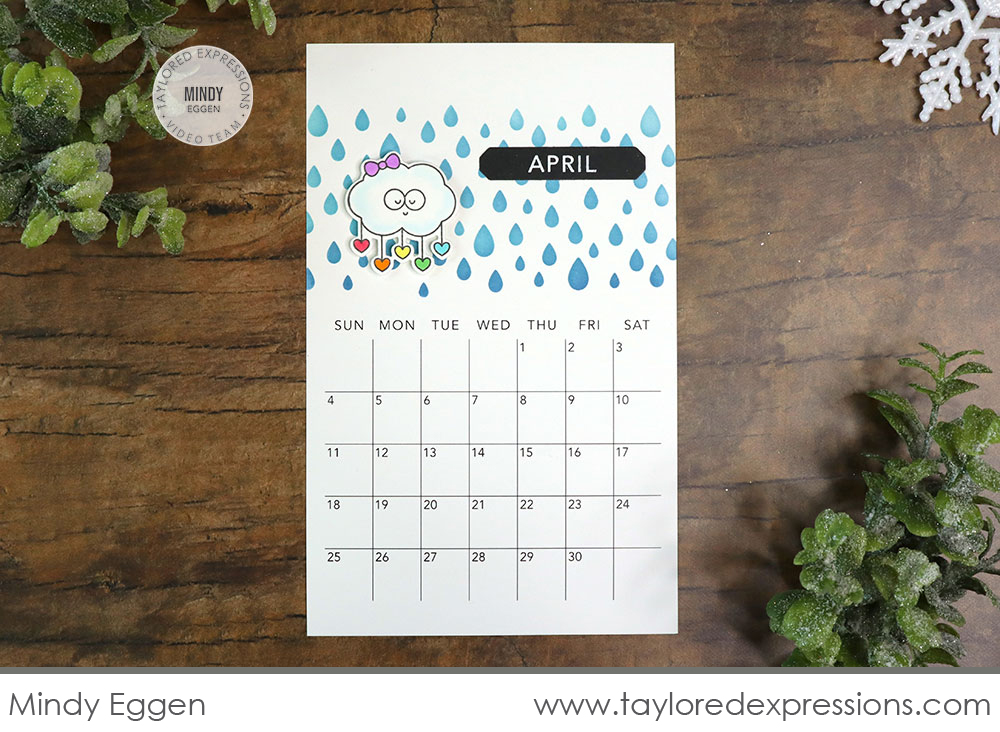
On this last calendar page that Mindy designed, she added the raindrop background using Sprinkles and Blueberry inks. The cute cloud from the Brighter Skies stamp set and the April label complete the page.
See the list below for the supplies that Mindy used to create her calendar pages:

Here’s another roundup of calendar inspiration from the TE Creative Team using the new Handcrafted Calendar Kit:
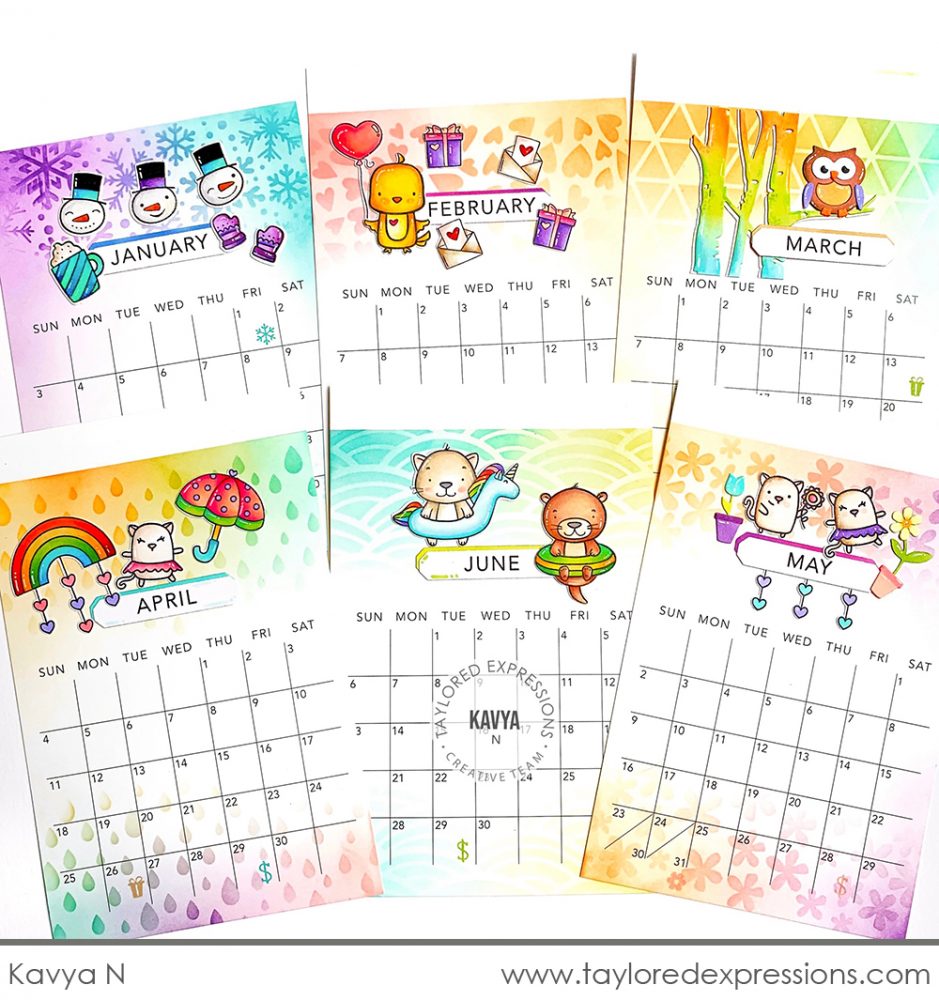
This cute and colorful calendar was created by Kavya and it just makes me smile! I love how Kavya added the stenciled designs to both the top and bottom of her calendar pages. She used a variety of stamps and dies to decorate each month and let her Copic coloring and blending skills really shine. Kavya added colored cardstock shadows behind the months to help them stand out and coordinate with her pages.
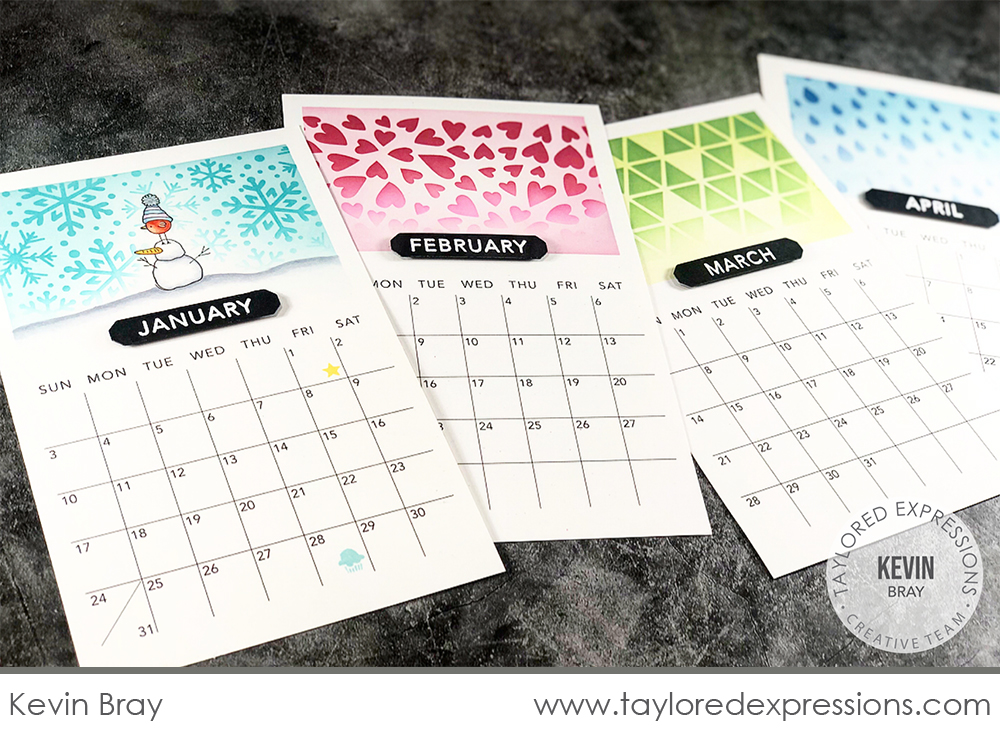
Kevin Bray kept things clean and simple for his calendar. He added the stencil backgrounds with a few details and added the months embossed in white on Oreo cardstock. I really like how he used the Masking Stencils – Rectangles set to frame each design at the top of the calendar pages – it gives the pages a polished look! Check out Kevin’s blog to see how he used the Wooden Walnut Hanger Frame as a stand for his calendar instead of adding the string for hanging it.
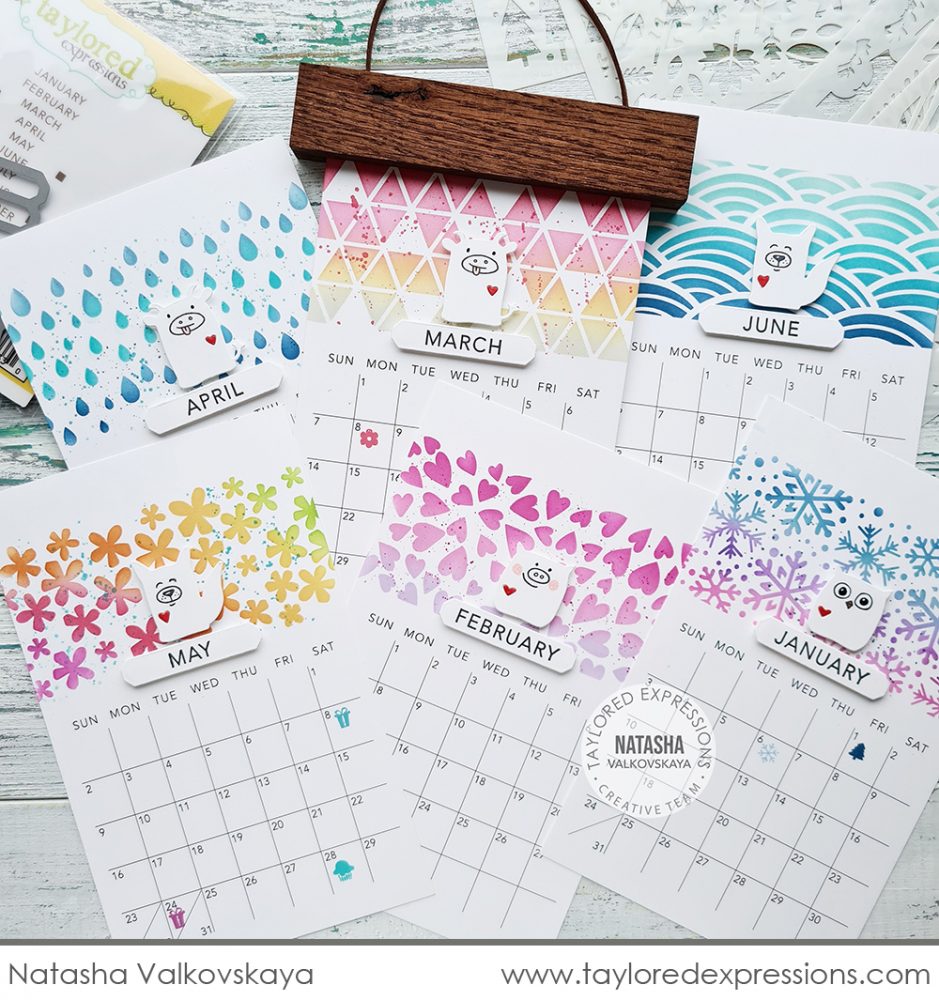
Natasha Valkovskaya added cute critters onto the stenciled & splattered backgrounds of each of her calendar pages using the Quick Critters Stamp & Die Combo set. The critters are die cut from Sugar Cube cardstock, the faces are stamped with Oreo ink, and she added other details with cardstock and markers. To coordinate, she added the months stamped with Oreo ink on Sugar Cube cardstock to each calendar page.
That wraps up the inspiration that I have to share with you today using the new Handcrafted Calendar Kit. Have you picked your kit up yet? Do you have calendar gift making plans? Stop back here at the TE Blog tomorrow for another video and more inspiration for your calendar creations using the Handcrafted Calendar Kit!
Did you know that you can subscribe to our blog and get our posts right in your inbox? Just sign up right HERE – that’s all there is to it to make sure you don’t miss any of our crafty inspiration!


