Dec 31, 2020
Product Spotlight: Celebrate With Millie’s Birthday Bash!
Hey, crafty friends! While I love crafting for the holidays, I am ready to work on something a little bit different. I like to peek through my card stash to see what occasions need restocking and I pretty much always need more in the birthday category! I love being ready to celebrate at a moments notice and birthday themed projects are among my favorite to create.
One of our popular birthday themed sets from this last year features the cute and adorable Millie the mouse. She’s normally hanging out with Max the cat, but in the Millie’s Birthday Bash stamp set, Millie is getting all of the party preparations put together for Max’s big birthday party. Today, I have a few cards to share from members of the TE Creative Team that are made with this set to inspire your next birthday card creations!
Before we get to the inspiration for today, here’s one last reminder about the sale happening in the TE webstore – today is the last day!
Now, through December 31st, you can save 40% of select products in the TE webstore during our Clear the Shelf Sale. Plus, every order of $25 or more will receive a FREE Build a Scene Christmas 6×6 Patterned Paper Pack. Click below to shop:
Here’s a closer look at the Millie’s Birthday Bash stamp set (+ coordinating dies) and then keep scrolling for the inspiration from the TE Creative Team:
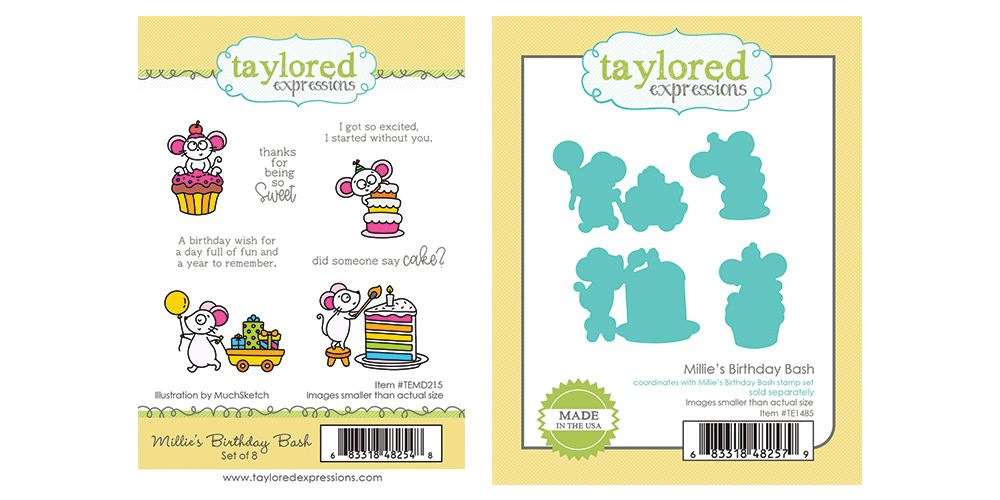
It’s Max’s birthday, so his best friend, Millie, is prepping for the party in our Millie’s Birthday Bash stamp set (+ coordinating dies). The set features four images of the little mouse decorating a cupcake, pulling a wagon full of presents, tasting the birthday cake and lighting a candle, as well as several fun sentiments.
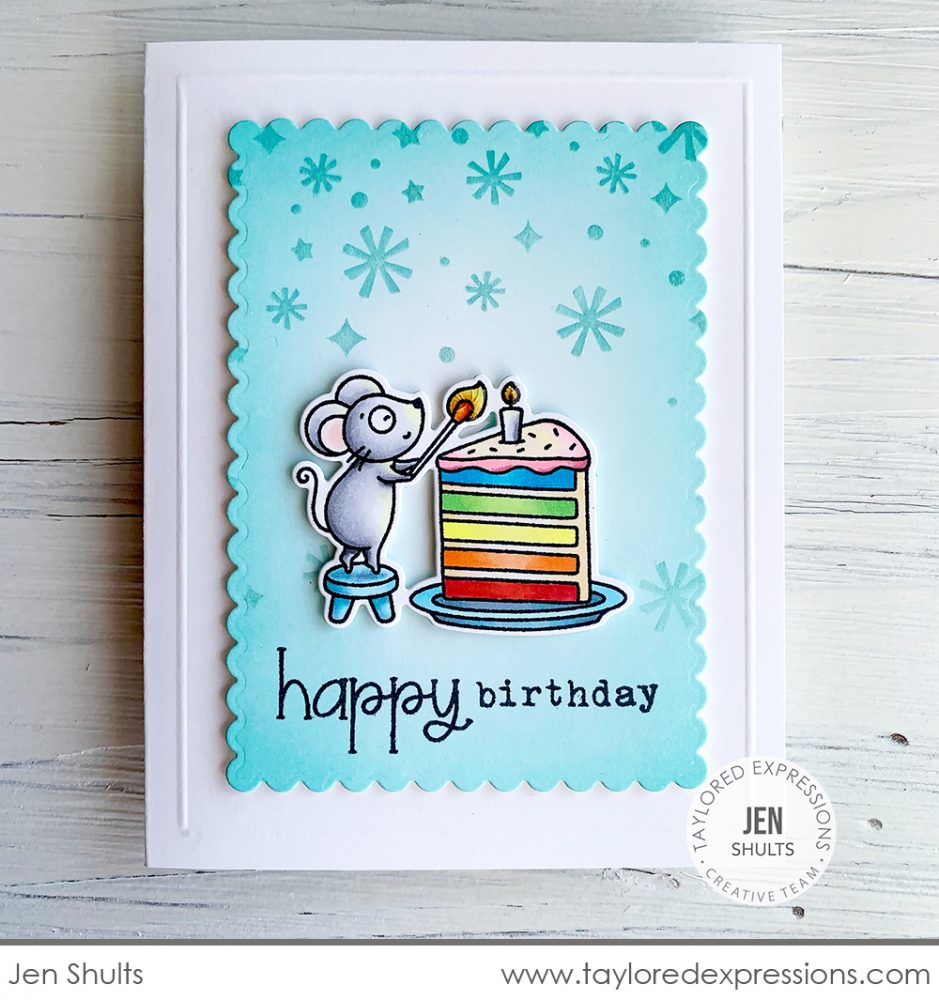
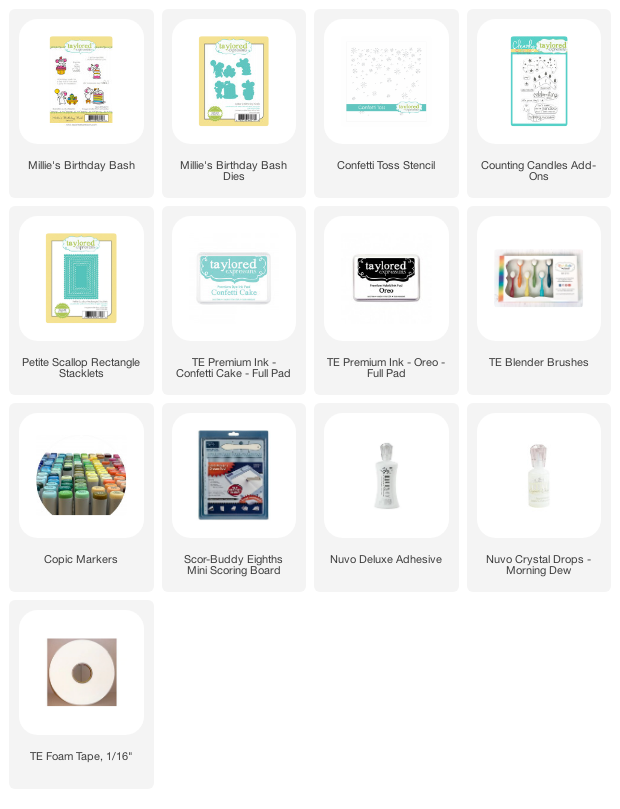
If you love to color, then Millie’s Birthday Bash is a great set for you! Jen Shults shows off her expert Copic coloring skills on this cute as can be card featuring Millie lighting the candle on a piece of rainbow cake. I love her confetti filled background that is created with Blender Brushes and the Confetti Toss stencil. You could customize the background in any color to add the perfect personal touch for the card recipient. The ‘happy birthday’ sentiment at the bottom of the card is from the Counting Candles Add-Ons stamp set.

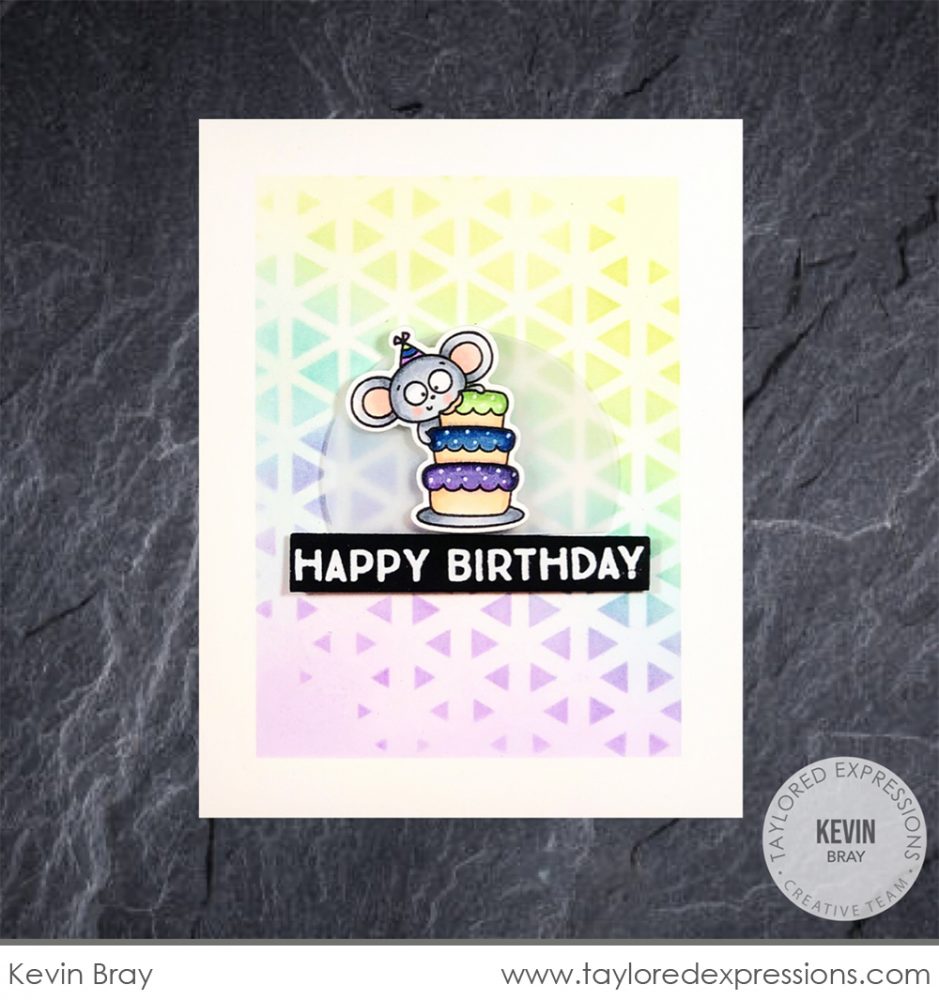
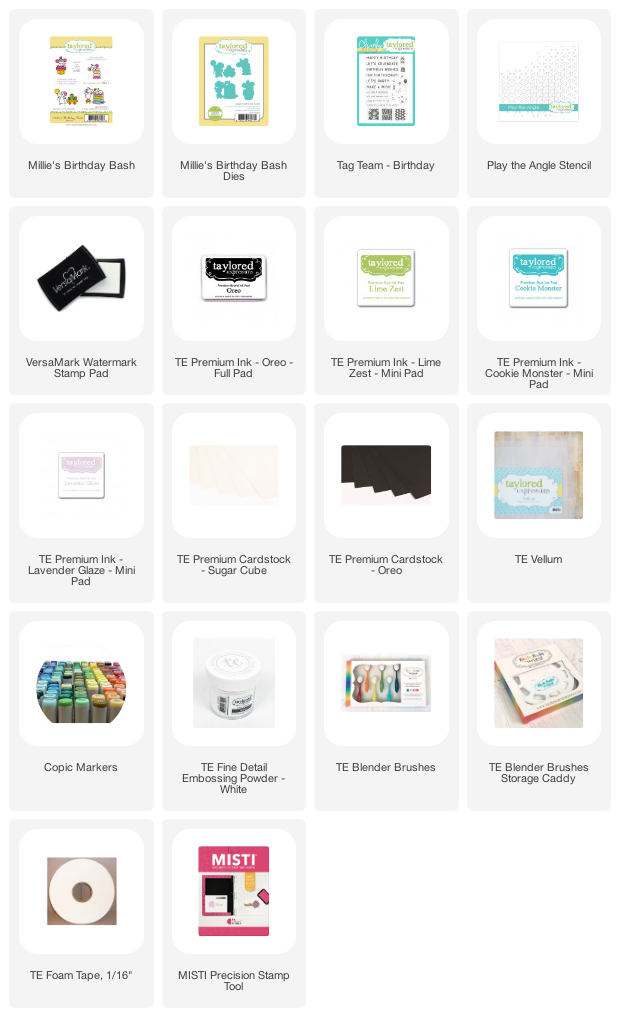
Kevin Bray created a fun confetti look on the background of this card with Blender Brushes and the Play the Angle stencil. He laid down a color blend first on Sugar Cube cardstock in lighter ink tones and then added the stenciled design in coordinating darker ink tones over the top. Millie and her cake from the Millie’s Birthday Bash stamp set are colored with Copic markers and added onto a vellum circle so that she stands out on the busy background design. The ‘happy birthday’ sentiment is from the Tag Team – Birthday stamp set and is embossed in white on Oreo cardstock.

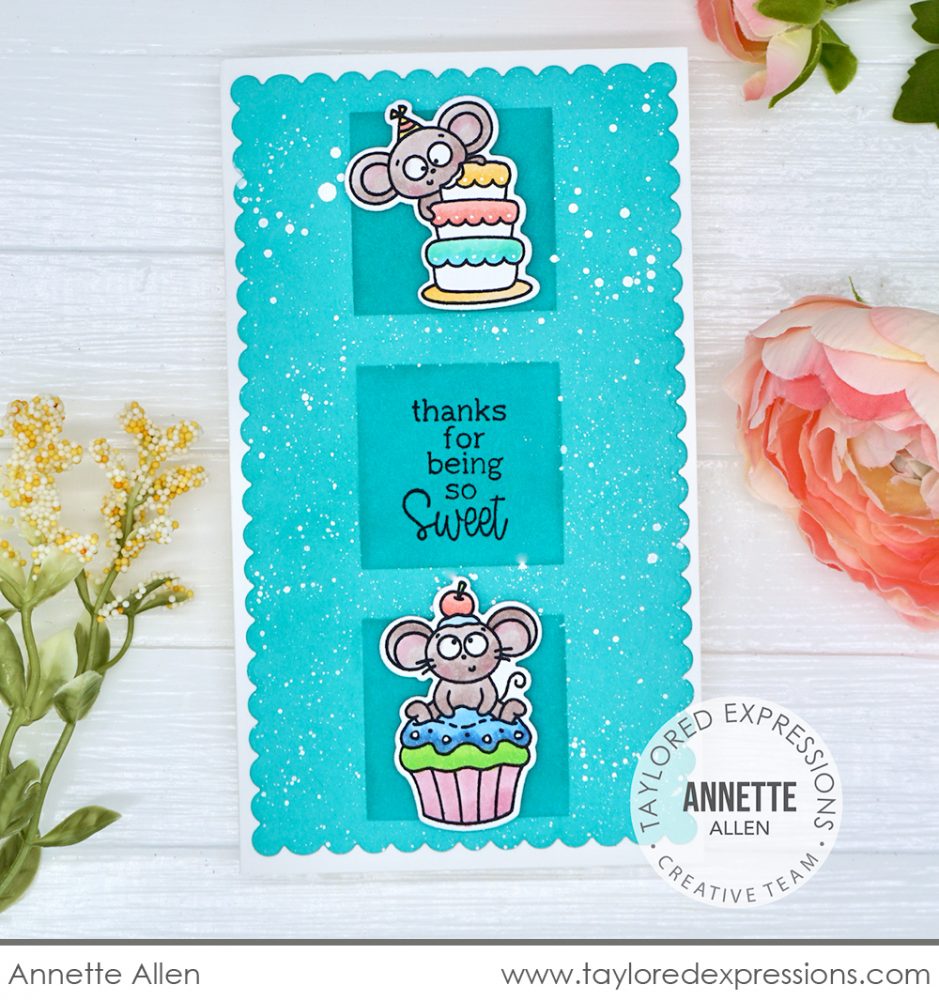
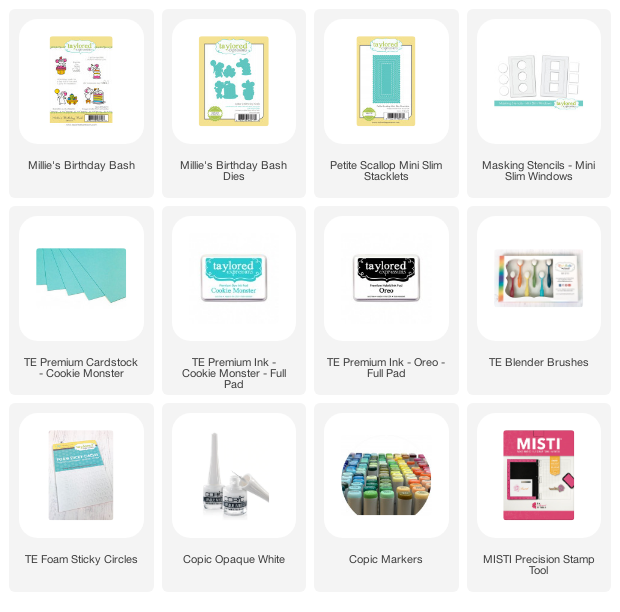
This Mini Slim thank you card created by Annette Allen features all of the best sweet treats to celebrate a birthday! Annette used Blender Brushes and the square stencils from the Masking Stencils – Mini Slim Windows set to create the background with Cookie Monster ink on Cookie Monster cardstock for a bright and fun tone on tone look. She added Millie with her cake and cupcake images from the Millie’s Birthday Bash stamp set into the top and bottom squares and stamped the ‘thanks for being so sweet’ sentiment with Oreo ink into the center square.

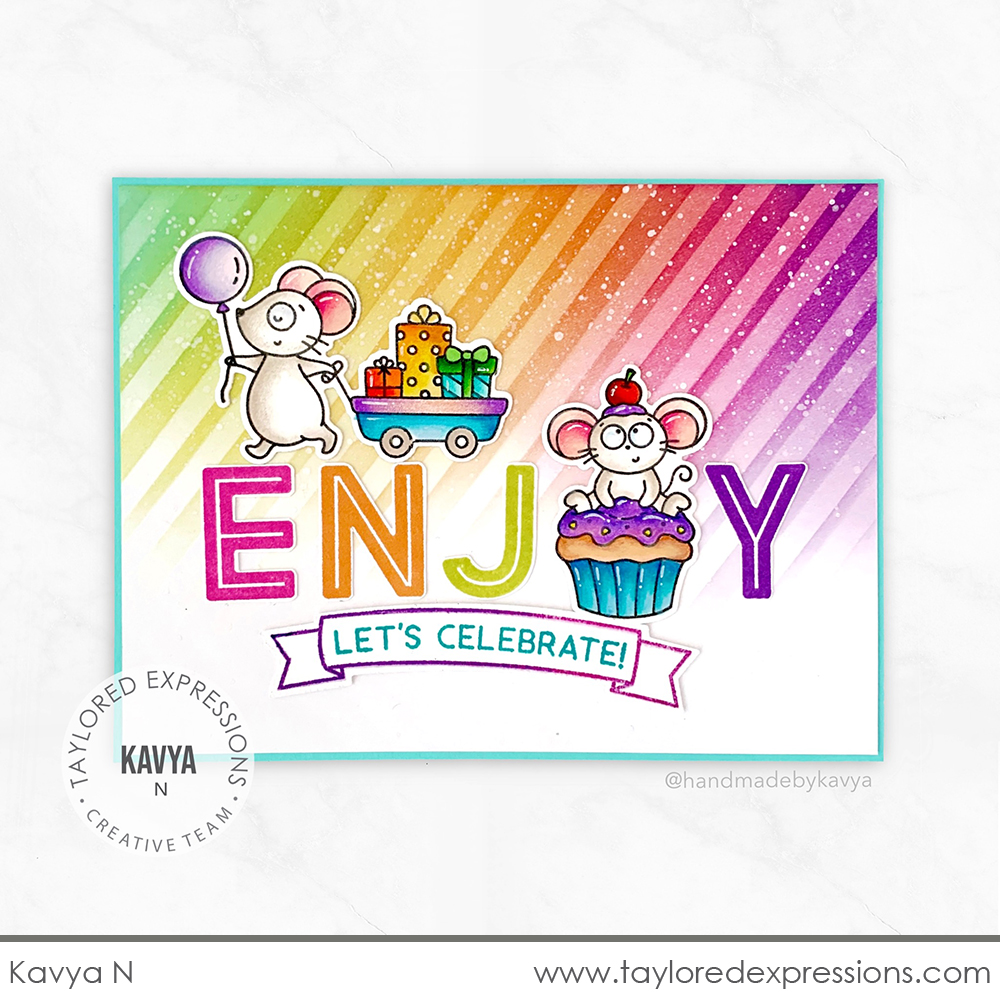
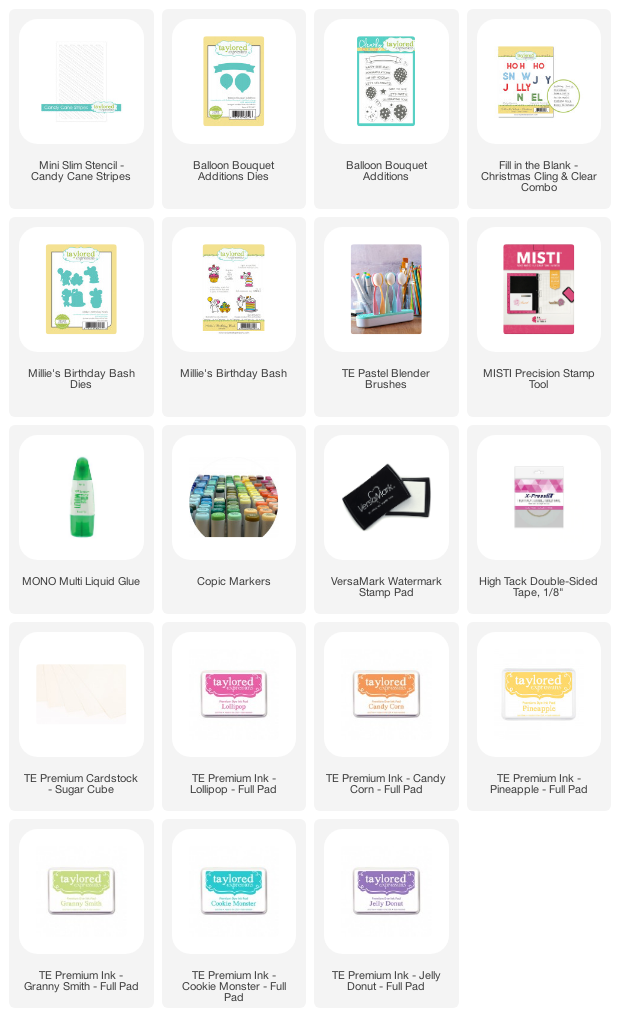
And finally for today is this bright and colorful birthday card created by Kavya. The background on this card is a showstopper and is created with the Mini Slim – Candy Cane Stripes stencil. Kavya laid down a rainbow blend in lighter tones, blending down just the top half of her cardstock, added the stenciled striped in darker tones over the top, and finished things off with lots of white splatters. I love how she trimmed out single letters from the Fill in the Blank – Christmas stamp set to spell out the word ‘enjoy’ and used Millie on the cupcake from the Millie’s Birthday Bash stamp set as the ‘O’. Millie pulling the wagon of presents is walking across the top of the sentiment and Kavya added the ‘let’s celebrate’ banner created with the Balloon Bouquet Additions stamp set (+ coordinating die) underneath.

I don’t know about you, but I have several ideas that I want to try out on my next birthday projects that are inspired by the projects above. Which project is your favorite?
Thank you so much for stopping by the TE blog today. Next week, we have lots of new products and inspiration coming your way for our Valentine release. Stop by the blog this weekend for a sneak peek!
Please note: Taylor is taking this week off from the T Time broadcasts on the Taylored Expressions Facebook Page. She will be back next week for our Valentine release!
Did you know that you can subscribe to our blog and get our posts right in your inbox? Just sign up right HERE – that’s all there is to it to make sure you don’t miss any of our crafty inspiration!


