Feb 11, 2021
Bring on the Flowers With the NEW Field Notes 2 Kit!
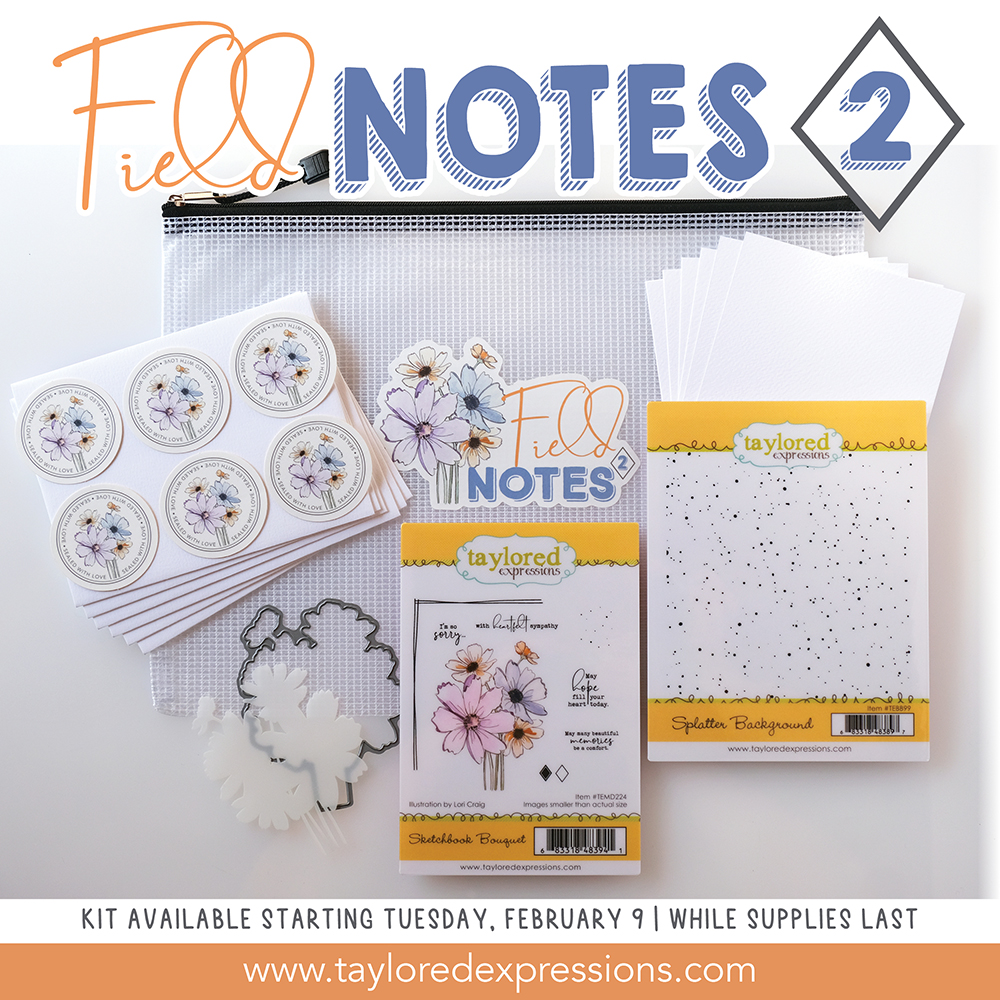
Hey, crafty friends! It’s Heather here today! We are blown away by all of the excitement over the new Field Notes 2 Kit! I love the floral bouquet image in the kit and it gets me anxious for warmer weather so I can think about filling up my yard with flowers. That won’t be for a while yet though here in Minnesota! In the meantime, how about I fill up today’s post with lots of floral inspiration from the TE Creative Team using the kit? I have a new video to share with you too.
If you haven’t checked out the new kit, click below to go to the TE webstore. Then keep scrolling for all of the flowers!

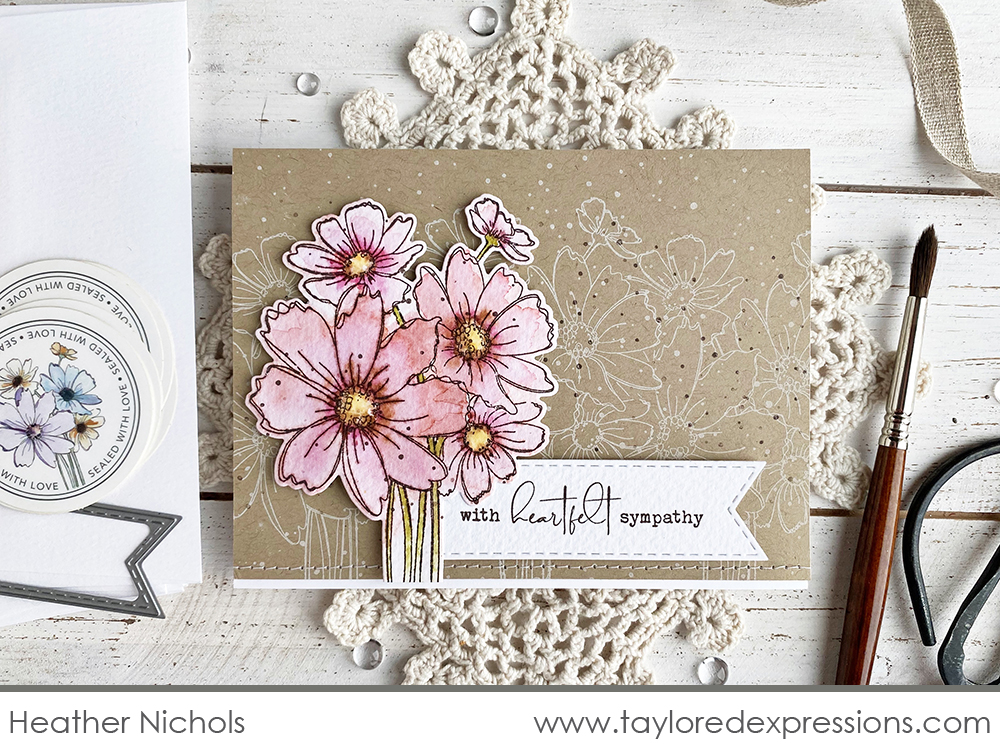
For today’s video, I am sharing a heartfelt sympathy card that I created with the Field Notes 2 Kit. Watch below to see how I created this card from start to finish:
In the video, I show you how I created the stamped background for my project using the bouquet image from the Sketchbook Bouquet stamp set with the coordinating Sketchbook Bouquet stencil mask. I add splatters to my background using the Splatter Background stamp and the smaller splatter stamp that is a part of the Sketchbook Bouquet stamp set. For the main image on my project, I show you how I watercolored the bouquet of flowers using colors from my Karin BrushmarkerPRO TE Palette Pack.
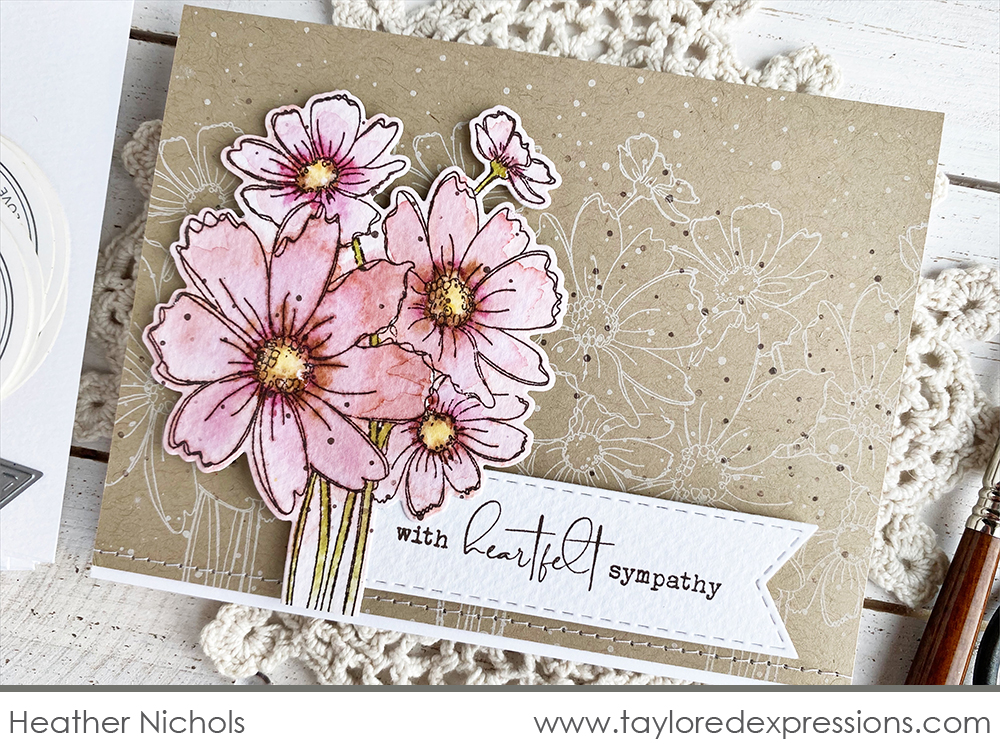
I tried to keep things simple when coloring the floral bouquet with the markers. I started by doing a watercolor wash of color over the whole image using a mixture of the Burgundy and Henna Karin Brushmarkers. After doing the wash, I went back and added shading with Burgundy around the flower centers, colored the stems with Curry, and colored the flower centers with Blush and Henna. I find that adding color works the best using a wet on wet technique. The color flows nicely on the wet surface and I use my paintbrush to move color where I want it to go.
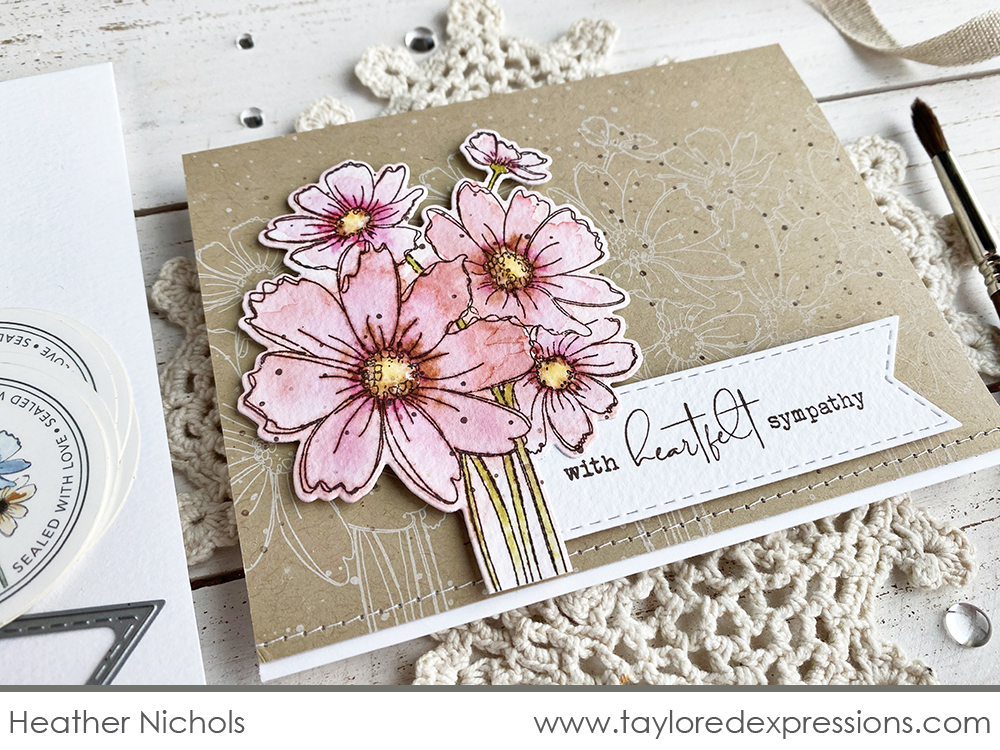
The neutral background created by stamping with Sugar Cube ink on Toffee cardstock lets the colored floral bouquet image shine. It’s popped up with foam squares on the card front along with the Stitched Banner Stacklets die cut stamped with the sentiment.
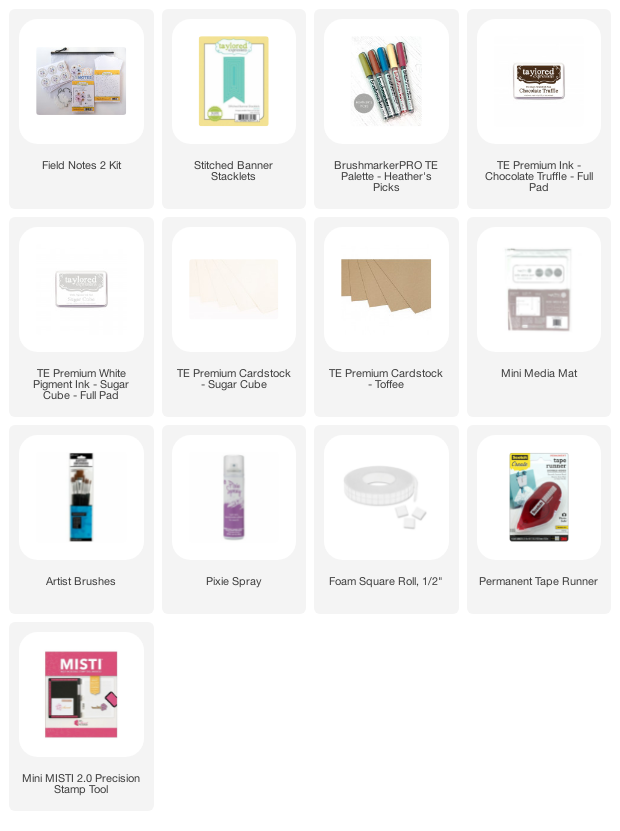
The list below includes the supplies that I used to create my project:

Here’s more inspiration from the TE Creative Team using the new Field Notes 2 Kit:
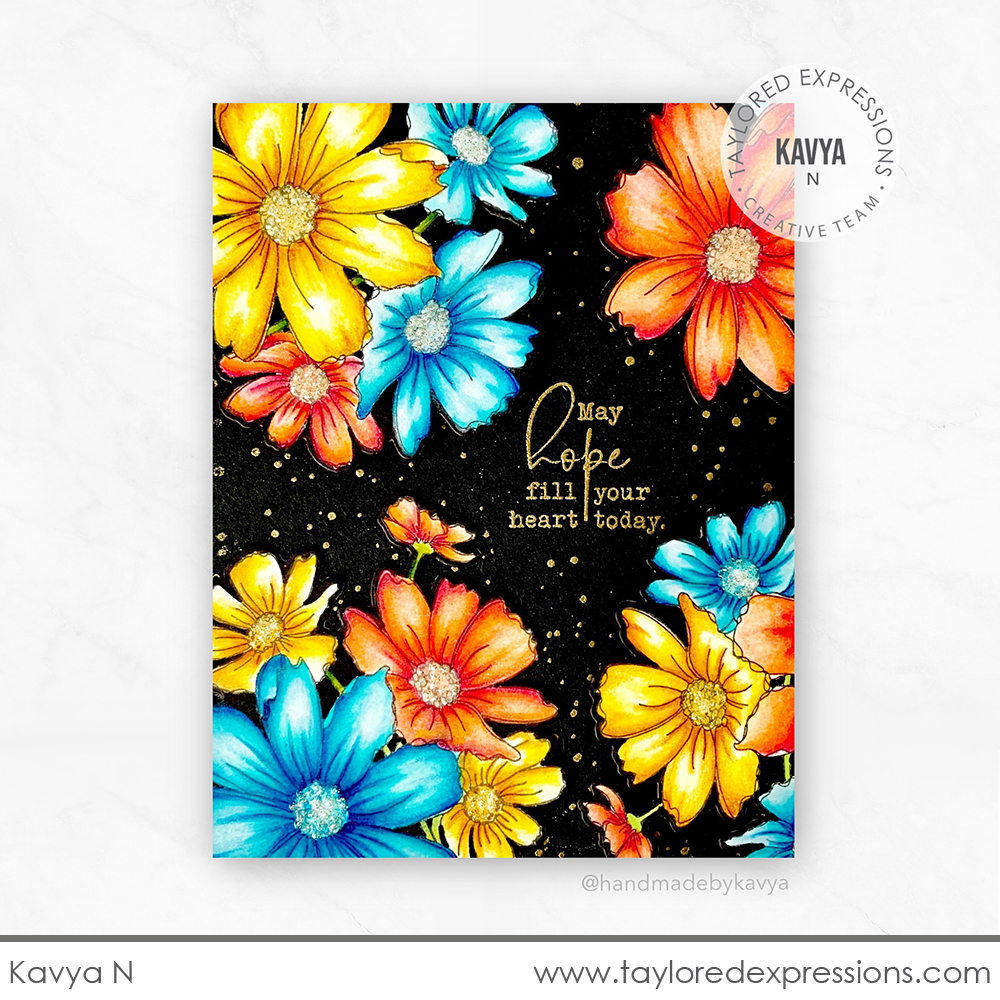
This striking card was created by Kavya with the Field Notes 2 Kit. She used a combination of mediums to color the flowers: Karin Brushmarkers, ink applied with Blender Brushes, and Copic markers. The flowers are set onto a black background and I just love how those bright flowers really pop! Kavya added metallic touches to her project by embossing the Splatter Background and sentiment with gold embossing powder.
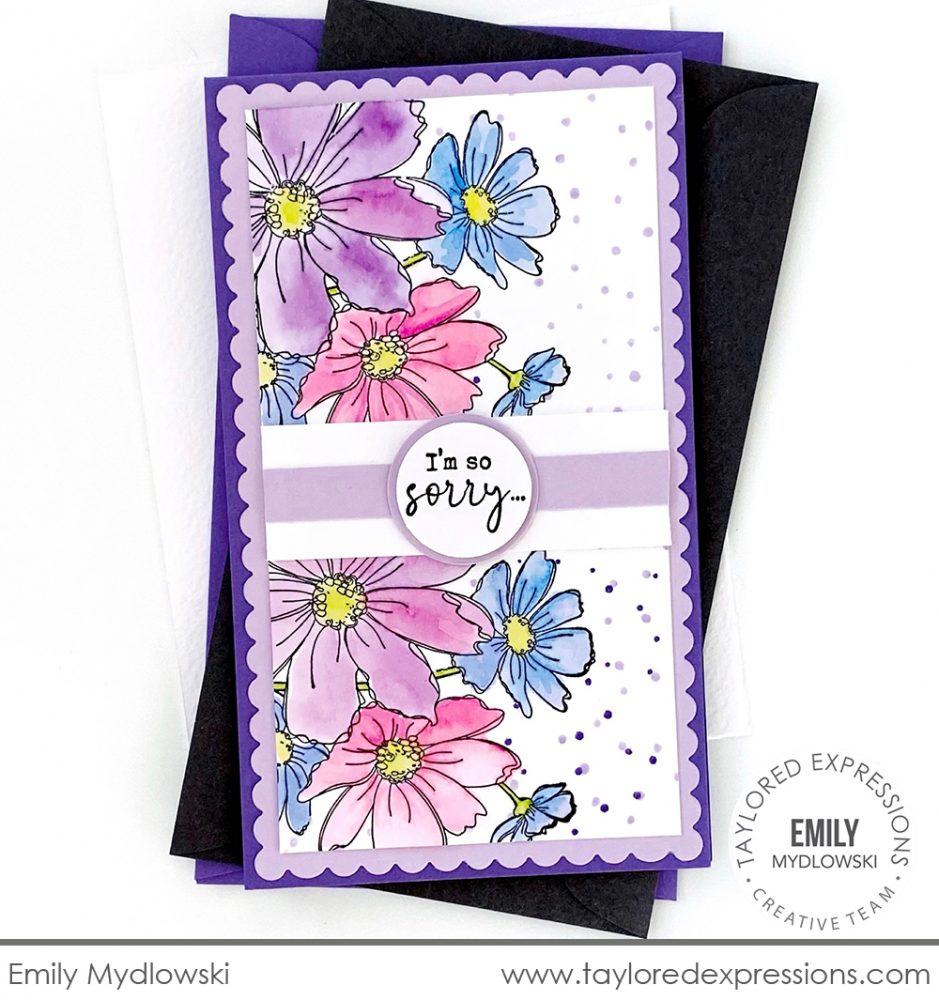
Emily Mydlowski created a colorful floral border down the side of this pretty Mini Slim card. She stamped the flowers using the floral bouquet stamp in the Sketchbook Floral stamp set and colored them with Taylor’s Picks BrushmarkerPRO TE Palette Pack. Emily used the stencil mask to cover the flowers to stamp the dots along the opposite side of the card using the small splatter stamp.
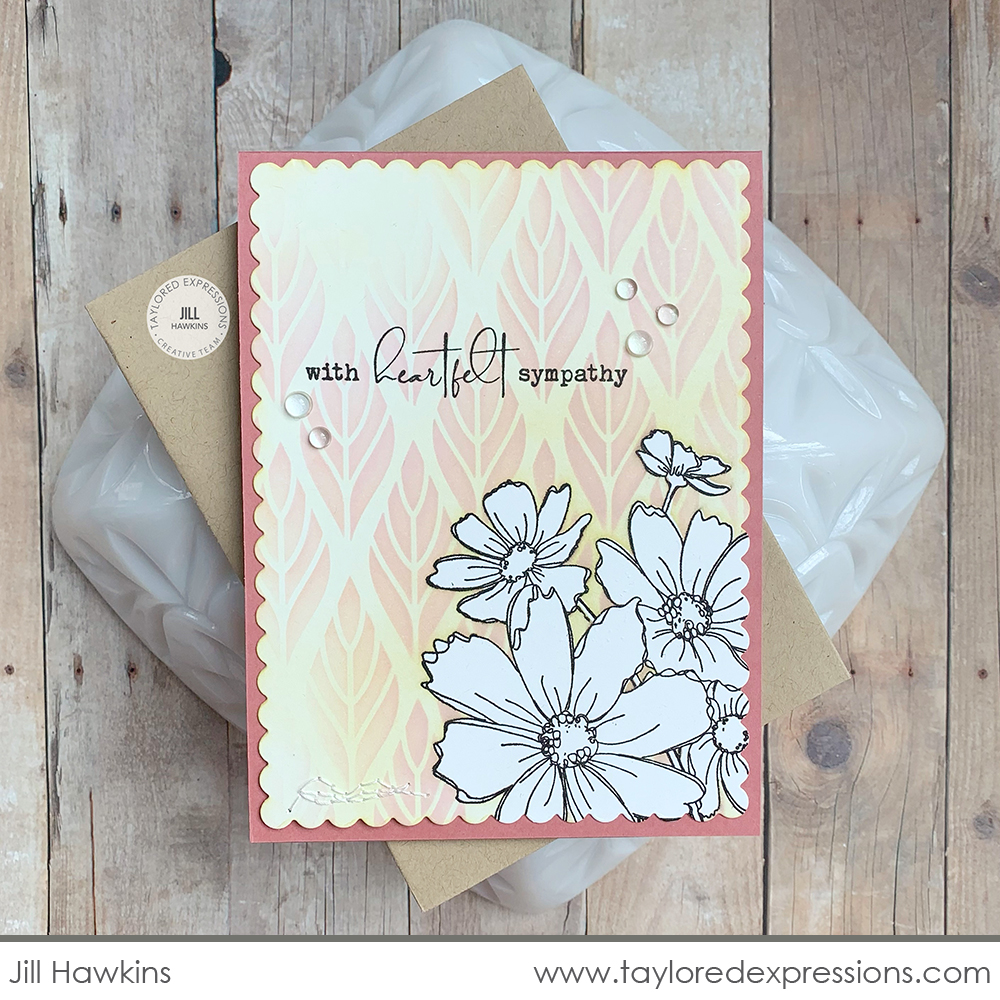
I can’t get over how great the Sketchbook Bouquet stencil mask is to create quick and easy designs with the Sketchbook Bouquet stamp set! Jill Hawkins used it here to mask the floral bouquet and added the background with the A New Leaf stencil and her Blender Brushes. Once that was complete, Jill added the sentiment and a few other details to finish the card. Stop by her blog to see another version of this card design done with the Breezy stencil!
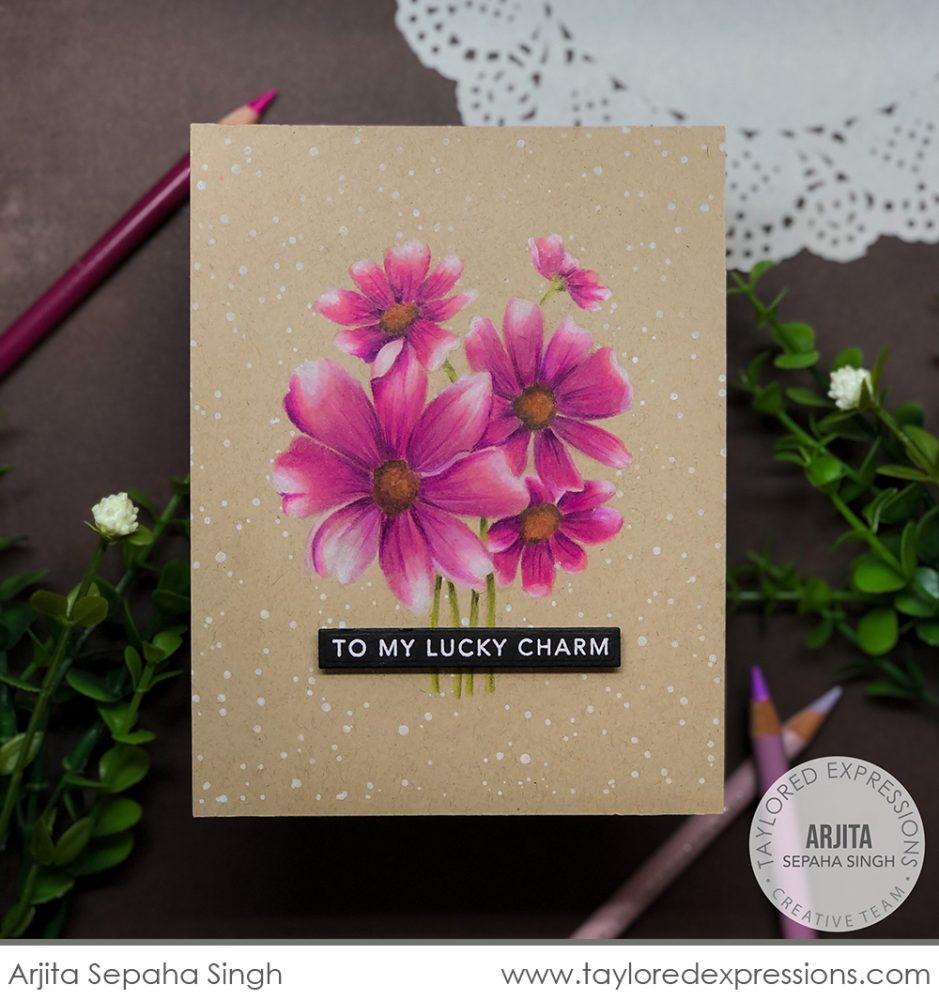
Arjita Sepaha Singh did another beauty of a card with the no line coloring technique! For this card, she stamped the floral image with Toffee ink onto Toffee cardstock and colored the image using Prismacolor pencils. It’s just amazing, isn’t it? She masked the image and stamped the Spattered Background stamp using Sugar Cube ink for the background on her card. The ‘to my lucky charm’ sentiment is from the Mini Strips – St. Patricks’ Day stamp and is embossed in white on Oreo cardstock.
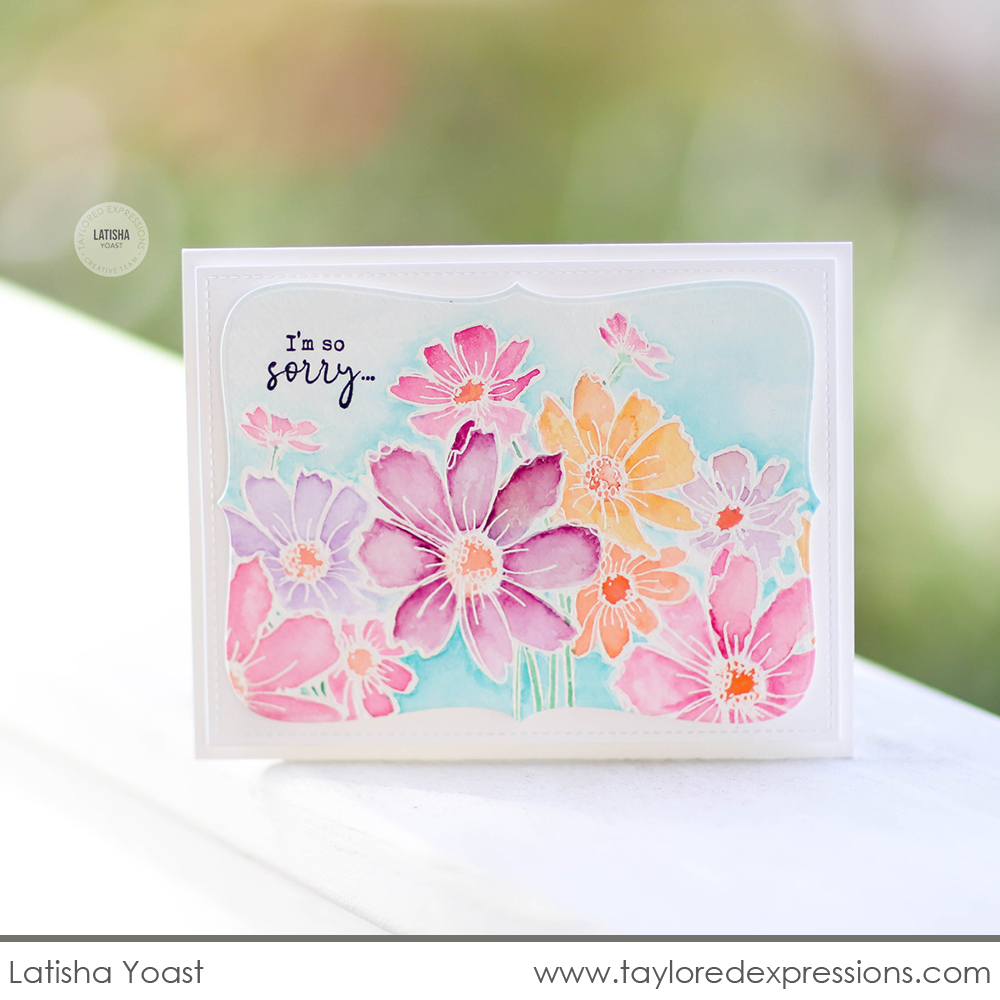
Latisha Yoast used my favorite technique on this card: emboss resist! She embossed the flowers across a watercolor cardstock panel and added color to them using Karin Brushmarkers. The raised lines from the embossing are perfect to contain the color to the different areas in the image. Once the image was colored, Latisha cut it out with an Inside Bracket Stacklets die, added the sentiment, and layered it onto a Sugar Cube card base.
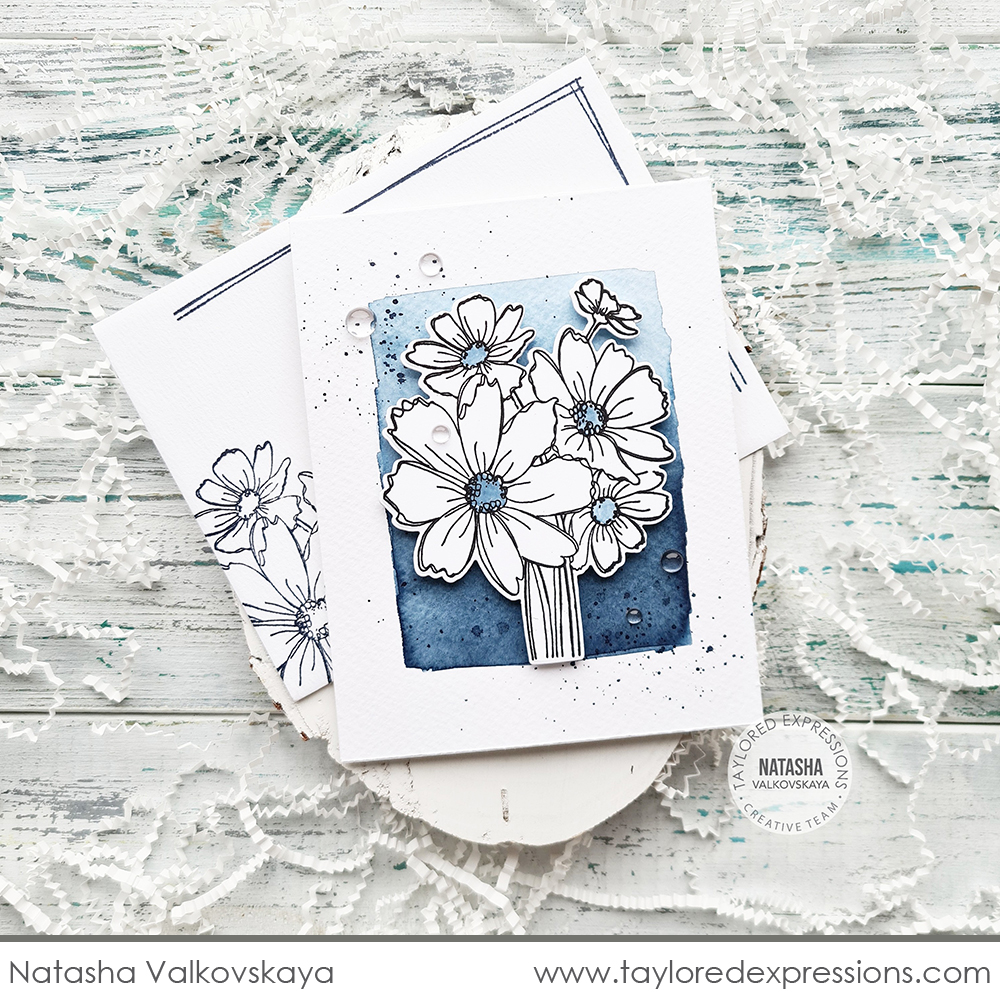
I love the pretty pop of blue that Natasha Valkovskaya did on this card created with the Field Notes 2 Kit! The blue block in the background is painted with Blue Corn liquid watercolor. The floral bouquet is stamped with Blue Corn ink, cut out with the coordinating die, and popped up on the background. I love how Natasha also added the blue to her flower centers and added a few Bits & Pieces – Clear Drip Drops to complete the look on her card. Make sure to stop by her blog to see more about the stamping she did inside her card and on the coordinating envelope!

Join Taylor today for “T Time” at 1pm Central on the Taylored Expressions Facebook Page. We would love to have you join us for some crafty chat! Hope to see you there!
I hope you have enjoyed all of the inspiration we have shared this week with the Field Notes 2 Kit! I am looking forward to seeing all of the projects that you create over on the Fans of Taylored Expressions Facebook Page! Thank you so much for stopping by the TE blog and check back again soon for more crafty inspiration!
Did you know that you can subscribe to our blog and get our posts right in your inbox? Just sign up right HERE – that’s all there is to it to make sure you don’t miss any of our crafty inspiration!


