
Apr 06, 2021
Flowers for Your Mother – and MORE! It’s Release Day!
Hey, crafty friends! It’s Taylor here today! It’s 70 and sunny here in Iowa and we’ve got a super fun and springy release for you just in time for Mother’s Day! Moms love flowers so there are lots of those plus a little sweet and some humor too! As always, the Creative Team and I have been busy making new projects with the goodies from this release and we’re ready to set your thoughts toward spring with some beautiful inspiration! This release includes 13 new products including new floral and botanical stamps and dies that work to use for a wide range of occasions, new sentiment options perfect for Mother’s Day and more, and a new pierced cutting plate design!
Here’s what you’ll find on the blog this week:
- Our blog posts (Tuesday – Thursday) will feature a video showcasing the new release products.
- New products are available to purchase RIGHT NOW in the TE webstore!
- Receive FREE shipping on orders of $50 or more in the United States!
- Earn a free, exclusive product with purchases of $100 or more. CLICK HERE for more information.
- Last, but certainly not least – take advantage of our special offer for this release (details below).
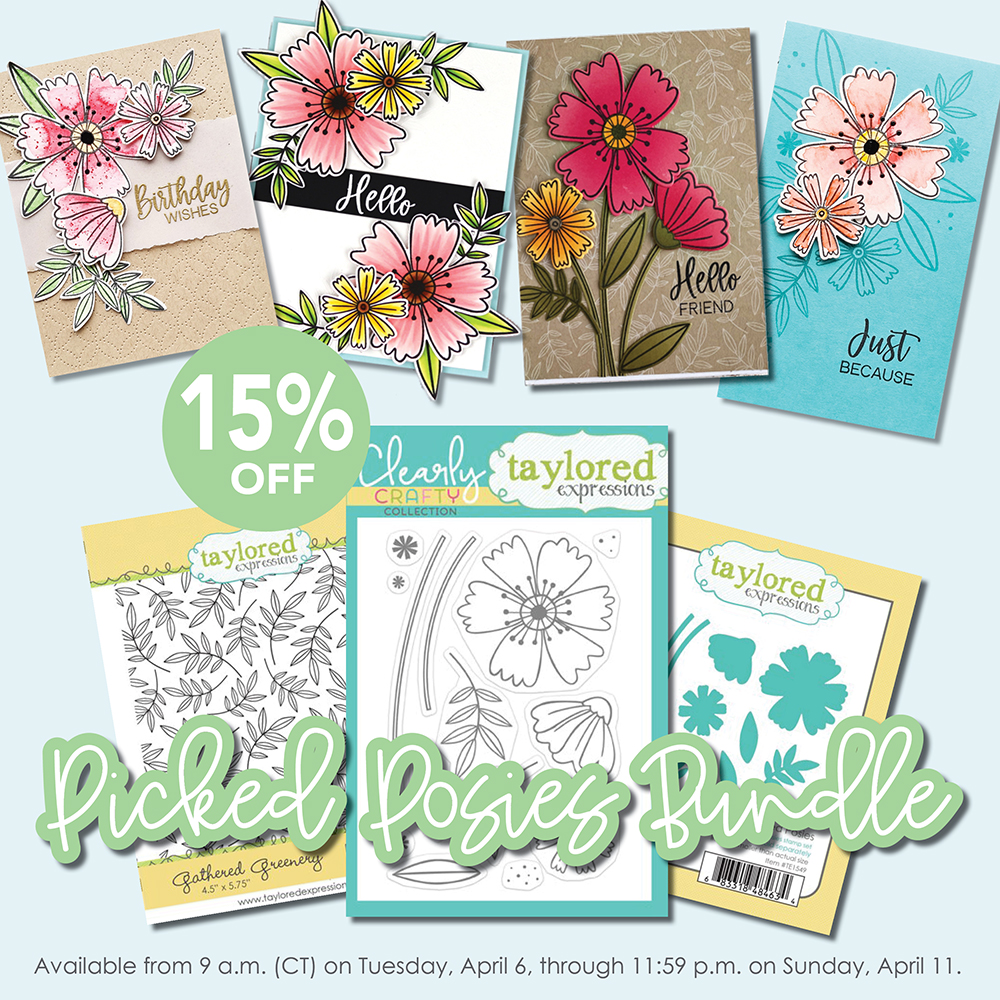
Right now, through Sunday, April 11th (or while supplies last), You can get the Picked Posies Bundle for 15% off! The bundle includes the Clearly Crafty Picked Posies stamp set, Picked Posies die collection, and Gathered Greenery Background stamp. The discounted bundle price is only available through Sunday, April 11th.

Click above to visit all of the new products for this release in the TE webstore and then keep scrolling for all of the inspiration from the TE Creative Team!

Heather Nichols created this pair of cards featuring the products from the Picked Posies Bundle. I love the colorful bouquets that she created and you’ll love the way that she chose to add color! Watch the video below to see how she created the cards from start to finish:
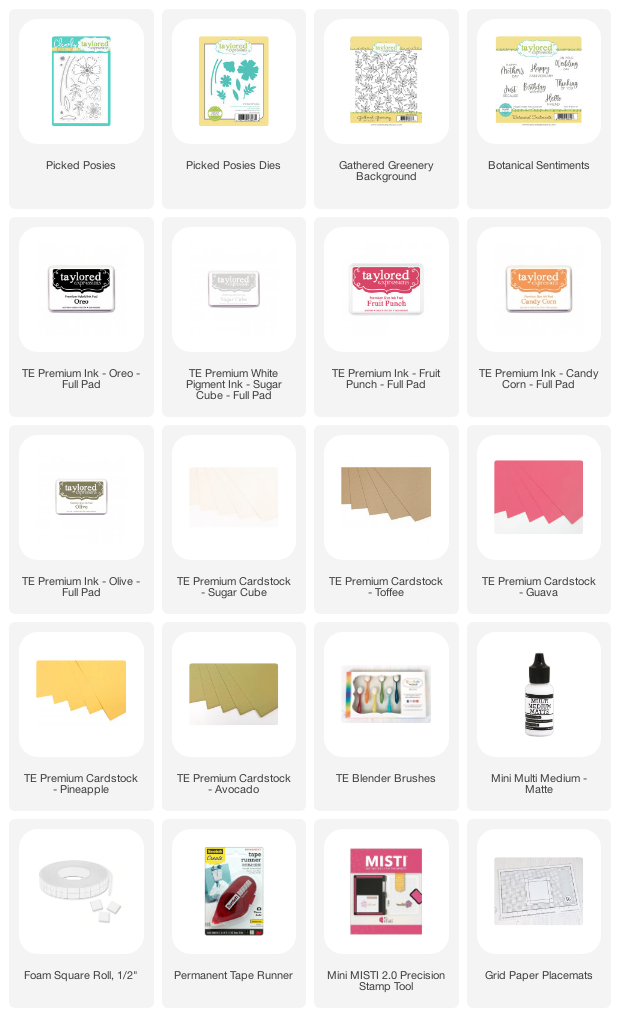
In the video, Heather cuts out the flowers, stems, and leaves using the Picked Posies dies from different colors of cardstock. She adds blending to the die cuts with her Blender Brushes and shows how to use your MISTI to set up a template to stamp the images. She stamps backgrounds for her cards using the Gathered Greenery Background stamp and arranges the floral elements a few different variations for the two card. She finishes off the card with sentiments from the Botanical Sentiments stamp set.

While the floral images are perfect for various coloring techniques, Heather used another great option. She die cut the different elements from colored cardstock, added blending with her Blender Brushes (Fruit Punch ink on Guava cardstock, Candy Corn on Pineapple cardstock, and Olive on Avocado cardstock), stamped the outline images, and did paper piecing to create multicolored looks. If you are intimidated by coloring or just want a different option, this is a great technique!
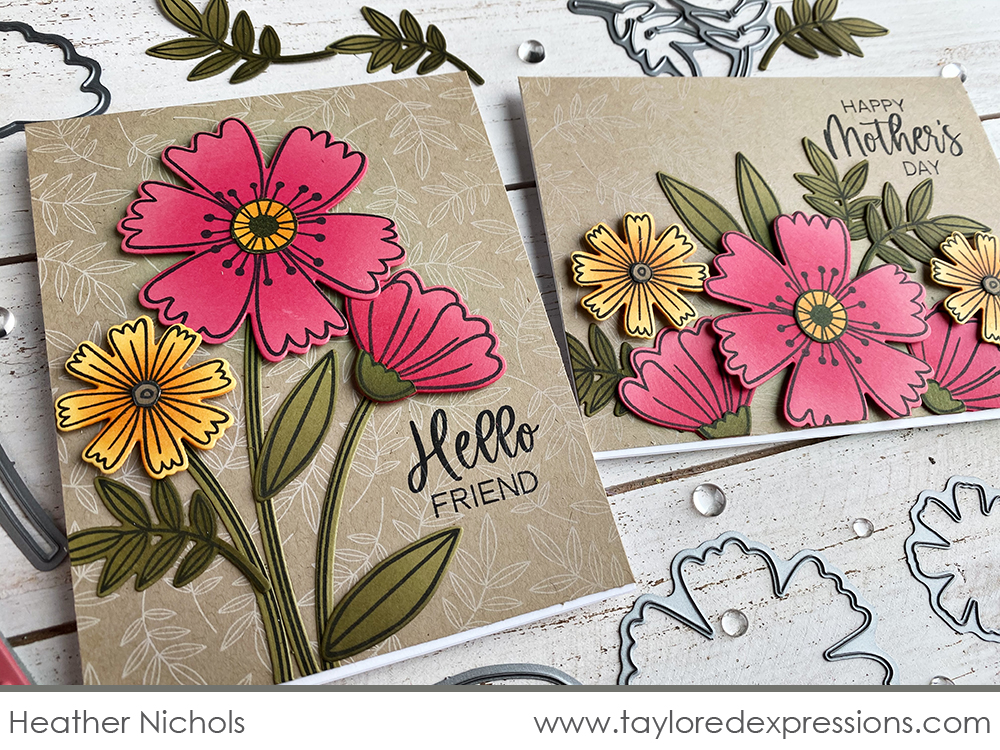
There are so many possibilities for arranging the florals froth Picked Posies stamp set on your cards. You can use the stems like Heather did on the left, create a spray or other style floral arrangement like Heather did on the right, use the florals or leaves on their own, create a pattern, and more!
Heather stamped the Gathered Greenery Background stamp with Sugar Cube ink on Toffee cardstock which is definitely a signature look for her, but it’s also a great neutral look that coordinates with any color and style!
Now, let’s take a closer look at the new products that we are releasing today along with inspiration from the TE Creative Team:
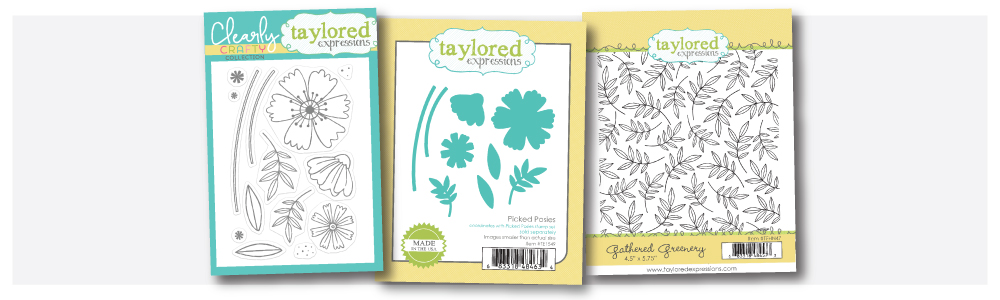
You just saw the new Clearly Crafty Picked Posies stamp set (+ coordinating dies) in the video above! The set includes flowers, stems, greenery, and more that you can arrange to create all sorts of floral looks. Pair the florals with the coordinating Gathered Greenery Background stamp that features a botanical leaf pattern.
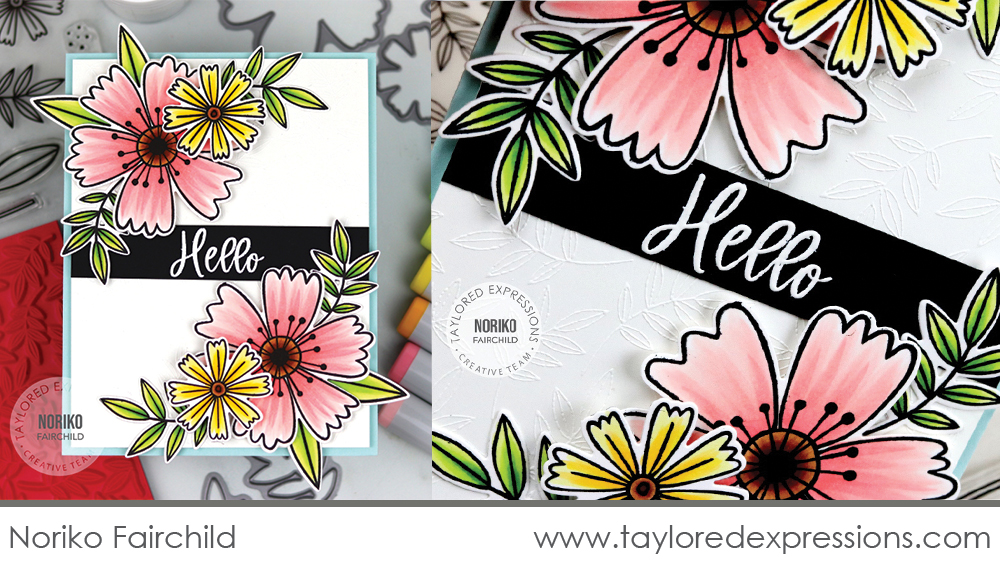
Noriko Fairchild broke out her Copic markers to add color to the flowers and leaves in the Picked Posies stamp set. I love how she created an arrangement that tucks perfectly into the corner of her card and repeated it on the opposite corner. It frames the ‘hello’ sentiment on the center of her card from the Botanical Sentiments stamp set that is embossed in white on an Oreo cardstock strip. Check out the close up on the right photo to see the Gathered Greenery Background stamp embossed in white for a beautiful and subtly textured background on Noriko’s card.
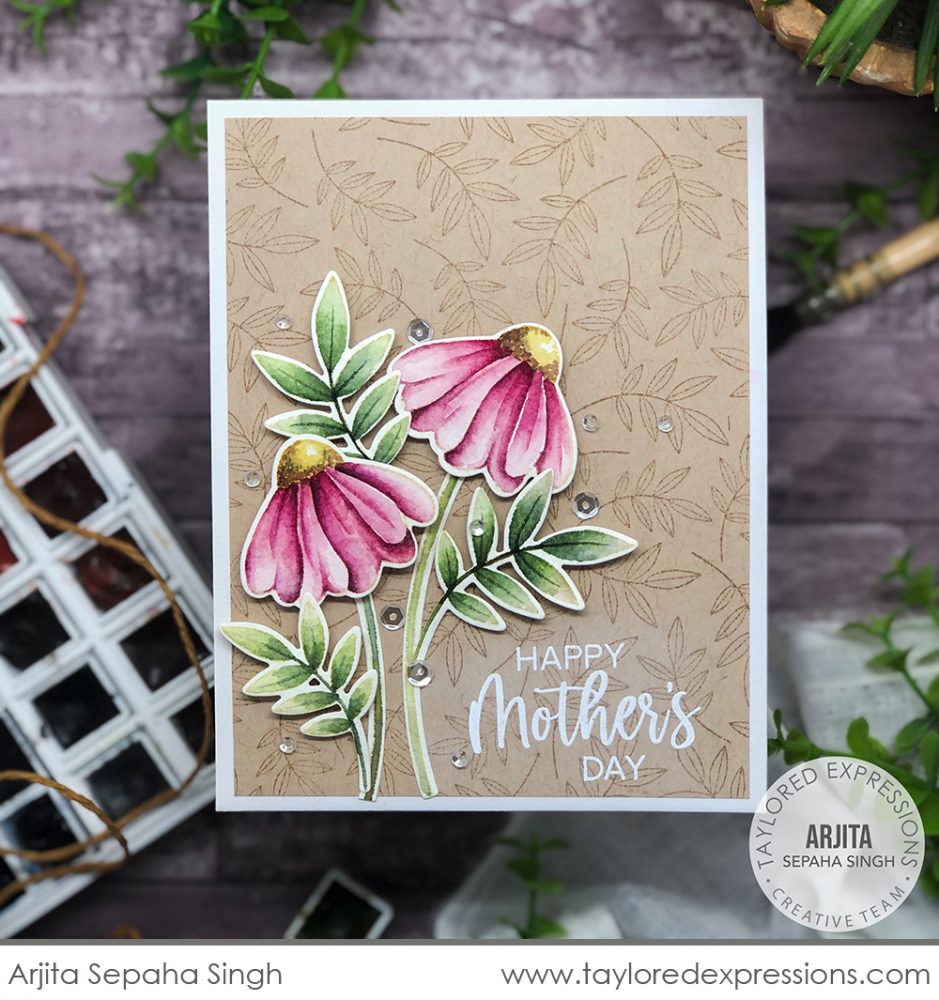
It’s probably not a surprise that Arjita Sepaha Singh colored the flowers from the Picked Posies stamp set using the no-line coloring technique! Arjita stamped the images in a light ink tone (Sea Salt ink works great for this) and then added color using watercolor paints. The flower that Arjita used works both as a coneflower style flower like she did on her card or flipped the other direction like a flower that’s partially open like Heather did on her cards in the video above. Arjita stamped the Gathered Greenery Background stamp on Toffee cardstock using Toffee ink for a great tone on tone look.
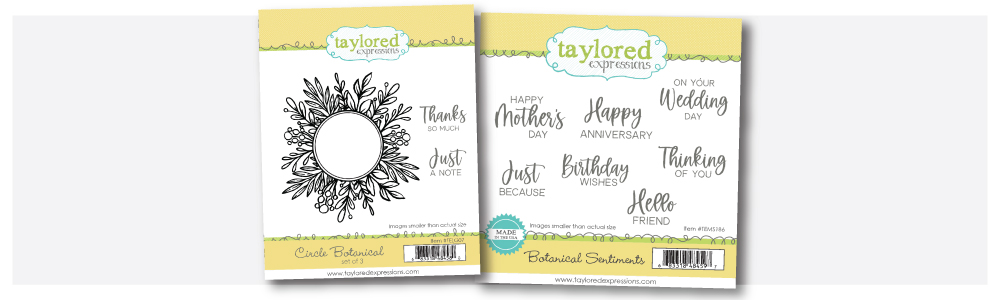
If you love our Diamond Botanical stamp set, I am pretty sure you’ll love the new Circle Botanical stamp set too! The Circle Botanical stamp set features a circle shaped frame that is adorned with botanical greenery. Pair the frame with one of the greetings in the set to create an elegant look. Expand your sentiment options with the Botanical Sentiments stamp set. The set includes seven sentiments that cover a wide range of occasions.
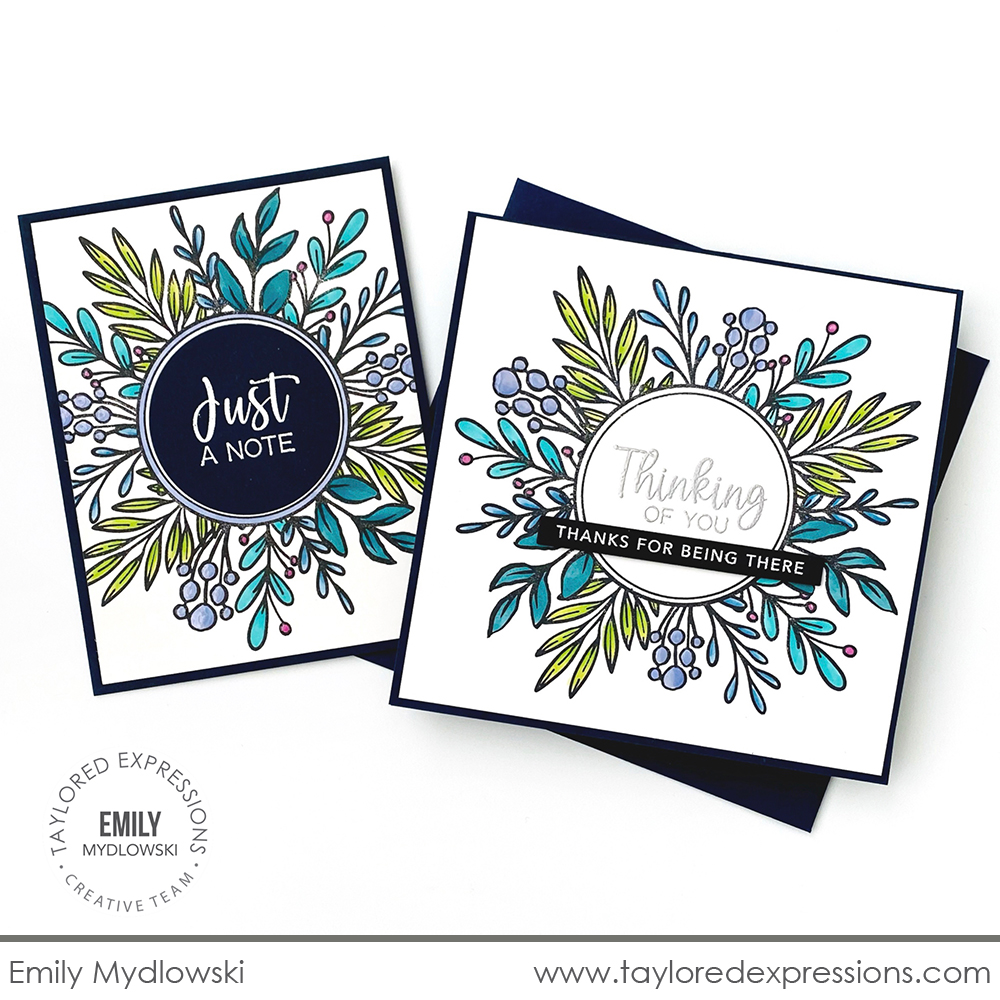
Emily Mydlowski created a pair of cards using the Circle Botanical stamp set. She stamped the frame and added color to the greenery around the frame using blue and green tones with her Copic markers – I love the tiny pop of pink that she added in there too! I love that she added the sentiments to each the cards in different ways. For the card on the left, Emily embossed the ‘just a note’ sentiment in white on Blue Corn cardstock to match the card base. For the card on the right, Emily embossed the ‘thinking of you’ sentiment into the frame opening using silver embossing powder and paired it with a sentiment strip from the new Mini Strips set debuting today (keep scrolling to learn more!)
Next up are three new options that work perfectly to fill your handmade cards with color and/or texture!
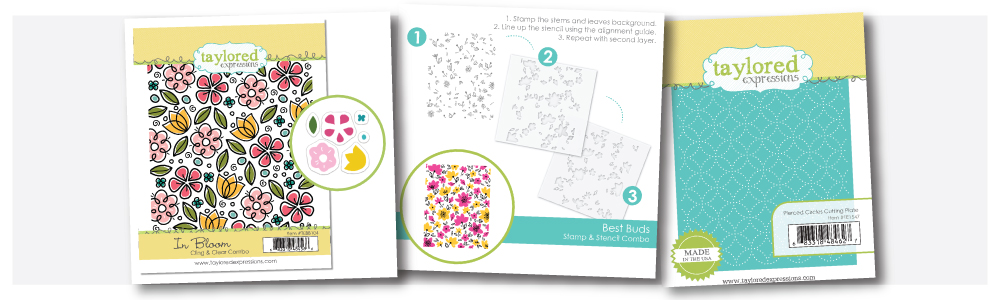
Make a whimsical background of stylized flowers with our In Bloom Cling & Clear Combo. In addition to a red rubber stamp featuring a fun pattern of whimsical flowers, leaves and dots, the set includes six clear, photopolymer stamps to fill the blossoms and leaves with color.
Get ready to blend your love of stamping and stenciling with our Best Buds Stamp & Stencil Combo! Simply stamp the background of flower centers, leaves, and stems. Then, use the etched guides on the first stencil to line things up perfectly, add a shower of flowers in one color, and then add a second layer of another color doing the same thing with the second stencil.
Add a pierced pattern detail to your A2 card background with the Pierced Circles Cutting Plate die. The cutting plate impresses a pierced layered circle design into your card that will coordinate with floral designs and more!
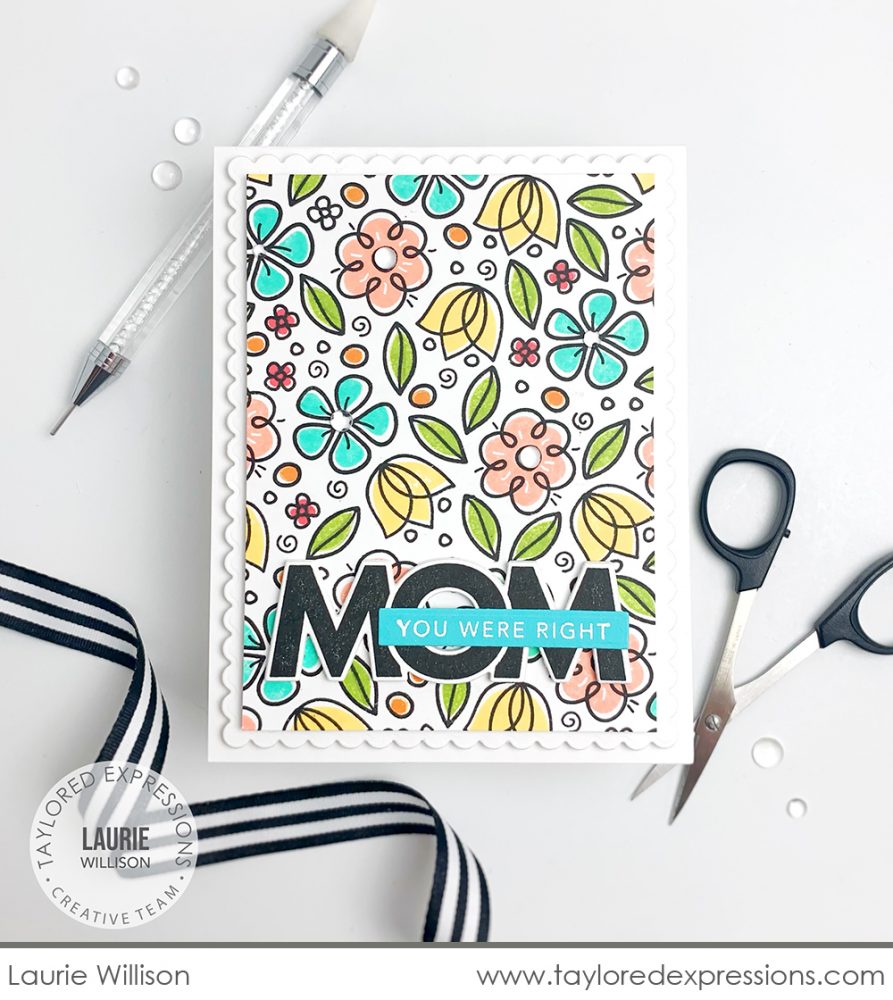
Laurie Willison used a fresh and fun springtime color combination on her card created with the In Bloom Cling & Clear Combo set: Pink Champagne, Guava, Candy Corn, Potato Chip, Confetti Cake, and Lime Zest. She stamped the background design in Oreo ink and then added the color fill images using the included clear stamp set. Pairing the background with a Petite Scallop Rectangle Stacklets die cut adds to the pretty spring floral look! That ‘Mom’ word and ‘you were right’ sentiment strip are created with new sentiment products from the this release that I’ll share about very soon!
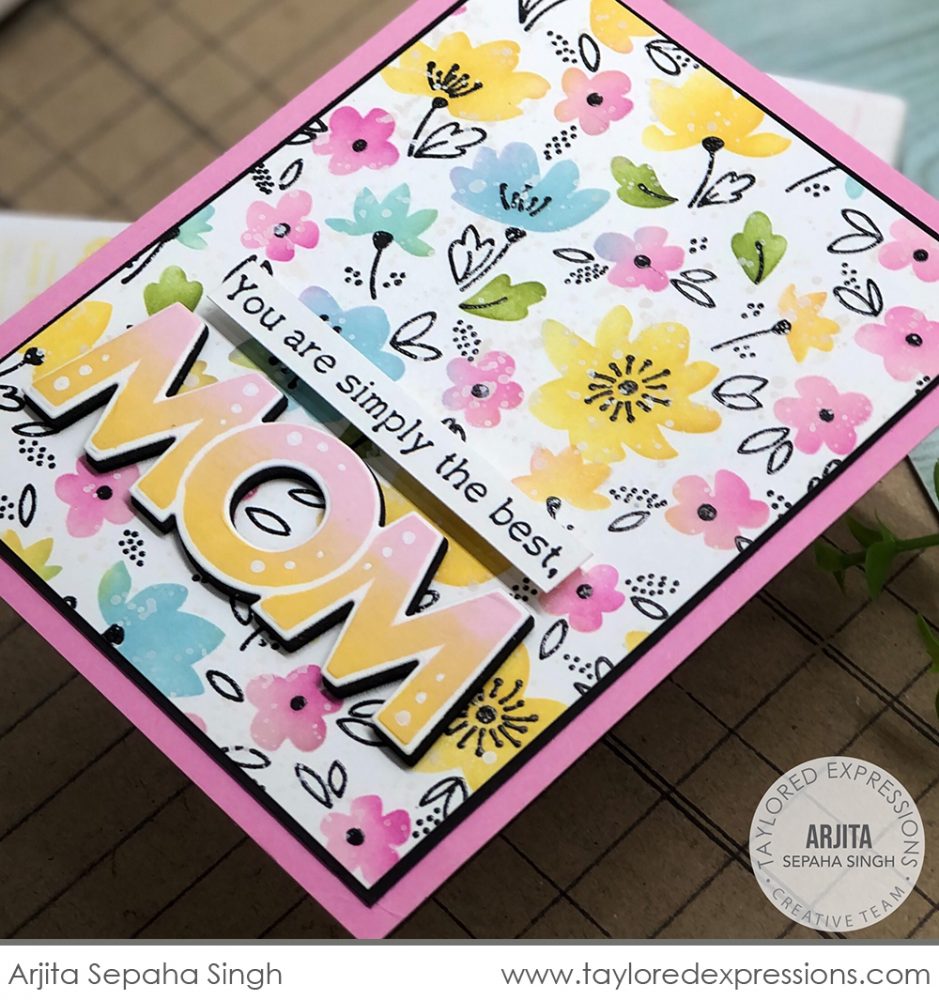
Arjita Sepaha Singh used the new Best Buds Stamp & Stencil Combo set to created a pastel rainbow floral background on this Mother’s Day card. She embossed the background stamp in back and then used the stencils with her Pastel Blender Brushes to add the flowers with several pastel tone ink colors – I love the color blend effects that happen on the flowers with the stencils! Arjita did an ombre effect on the ‘Mom’ word to coordinate with the background and added a few polka dots to the letters with a white gel pen. The sentiment on the strip above the ‘Mom’ is from another new sentiment set I’ll tell you about shortly!
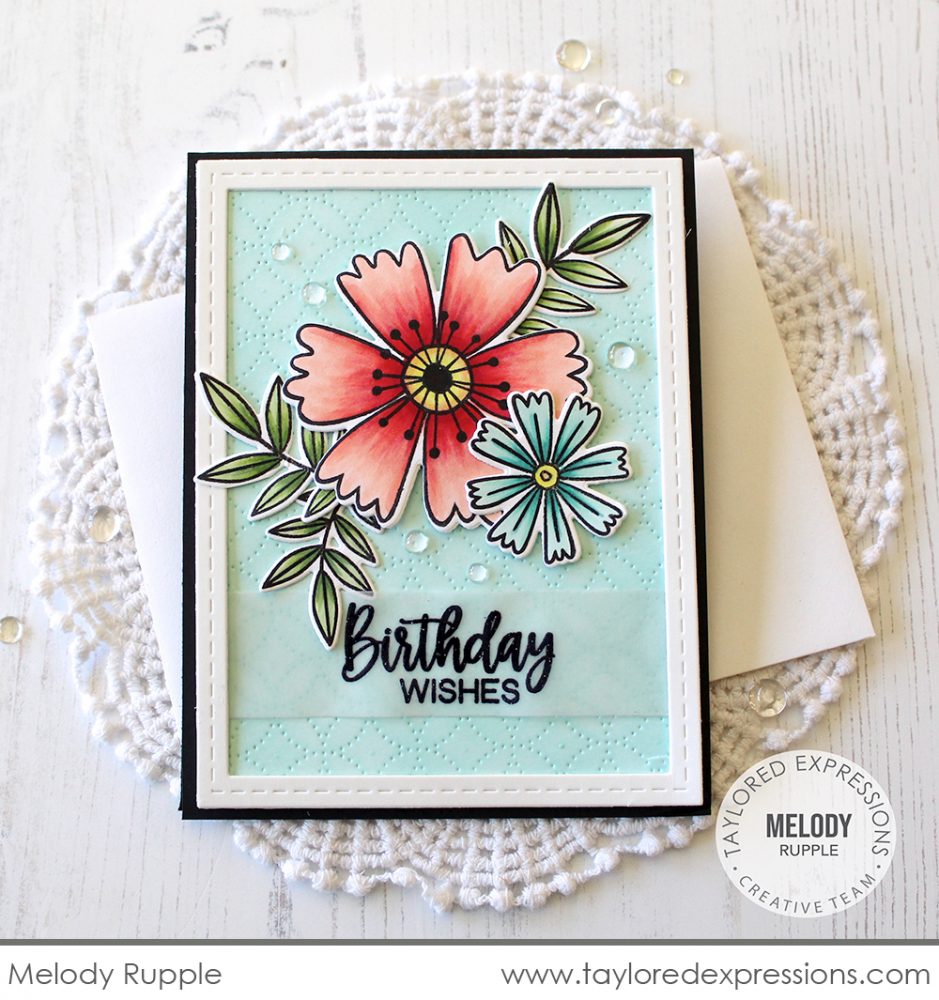
Melody Rupple used the Pierced Circle Cutting Plate as a backdrop for the flowers from the Picked Posies stamp set. She die cut the cutting plate from Confetti Cake cardstock and layered the flowers and greenery, that are colored with Copic markers, over the top. The ‘birthday wishes’ sentiment from the Botanical Sentiments stamp set is embossed on a vellum strip and Melody framed her card design with a Stitched Frame Stacklets 1 die cut.
We are excited to bring you several new options for adding sentiments to your projects – both for showcasing on the front of your projects and adding to the inside too!
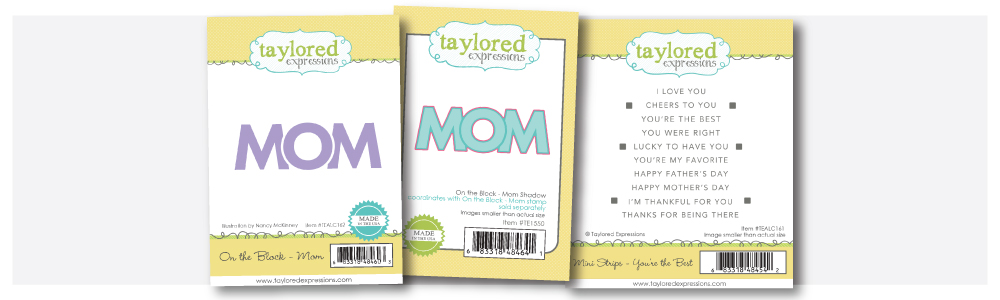
We’re adding to the On the Block collection with the new On the Block – Mom stamp and coordinating On the Block – Mom Shadow die. The sans-serif block letters slightly overlap and are not perfectly aligned, adding a whimsical charm to the word.
Stamp 10 sentiments that celebrate moms, dads, and gratitude to the people who support us with the new Mini Strips – You’re the Best stamp. Use the sayings individually or combine them together for more possibilities! Cut all of the sentiments with one pass through your die cut machine using our innovative alignment guides with the coordinating Mini Strips or Mini Strips – Asymmetrical dies.
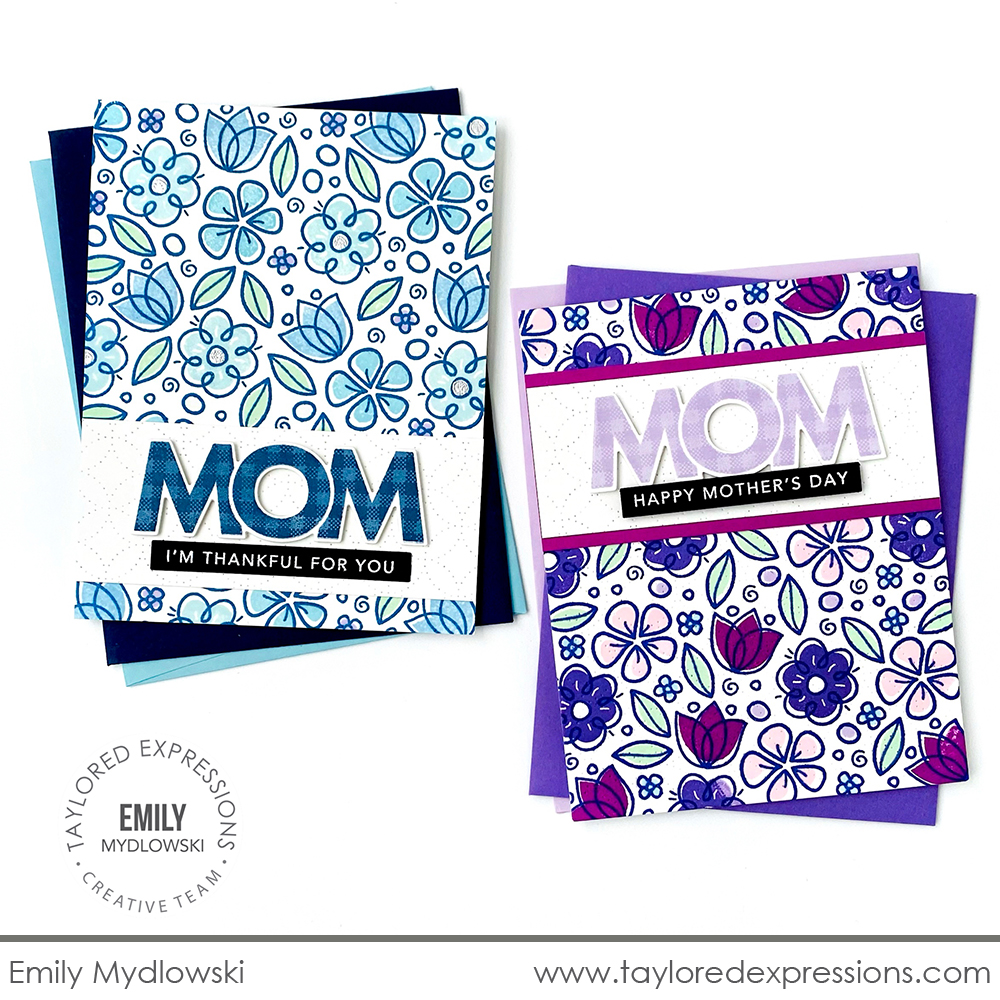
Emily Mydlowski created a pretty pair of cards that feature the On the Block – Mom stamp set (+ coordinating die), Mini Strips – You’re the Best stamp, and In Bloom Cling & Clear Combo set. I love how Emily used the kissing technique on the ‘Mom’ words. She pressed the Gingham Check Background stamp onto the inked ‘Mom’ stamps before she stamped them onto Sugar Cube cardstock to transfer the pattern onto the letters – so cool! Take a closer look and you’ll also notice that Emily added texture to the strips of cardstock behind the sentiments using the Pierced Circles Cutting Plate die. The sentiment strips are embossed in white on Oreo cardstock using the Mini Strips – You’re the Best stamp.
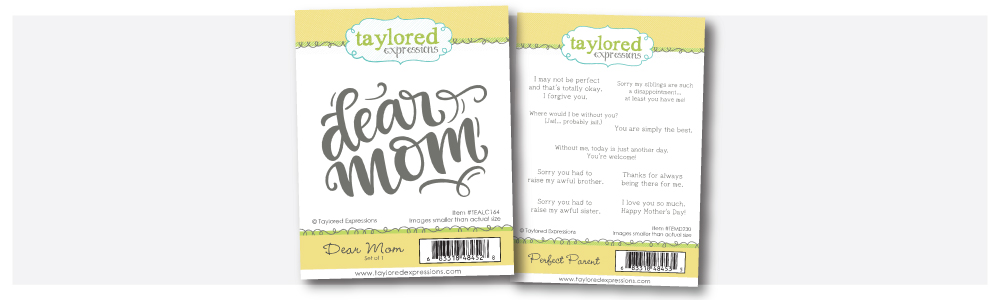
There’s a bit of sweet and snarky in the new Dear Mom stamp and Perfect Parent stamp set! The Dear Mom stamp is sized to take up the majority of the card front and then choose from the nine sentiments (both snarky & sweet) for the inside (or front!) of your card.
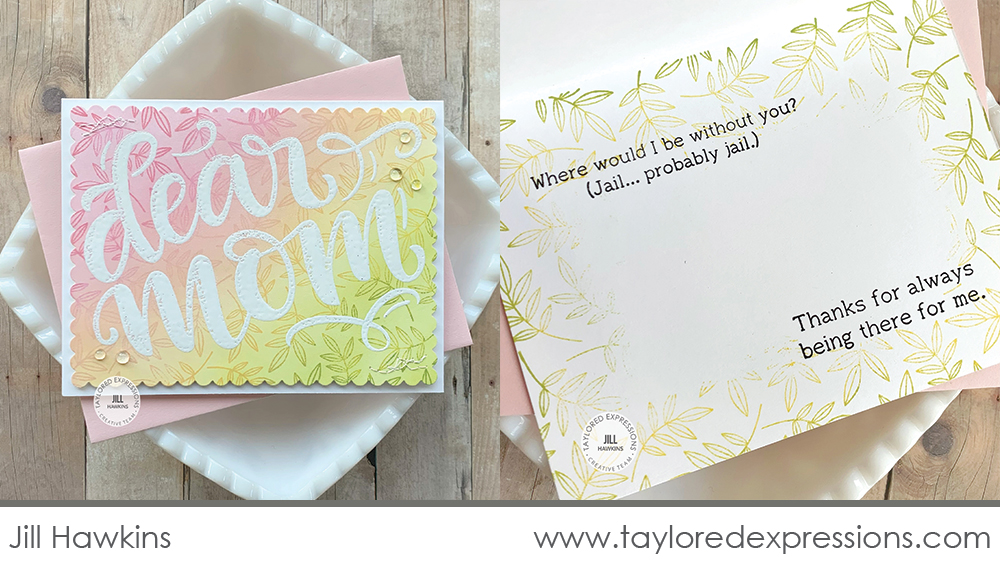
Jill Hawkins embossed the Dear Mom stamp in white over a pretty pastel blend background that she created with the Gathered Greenery Background stamp. The color blend was added to a piece of white cardstock with Pastel Blender Brushes, the background stamp was inked with mini ink cubes to match the blend, and then it was stamped over the top of the color blended cardstock. Inside the card, Jill stamped the Gathered Greenery Background stamp that was inked just around the edges to leave an area in the middle to write a message. She stamped a few of the sentiments from the Perfect Parent stamp set inside the card – one a bit snarky and the other sweet!
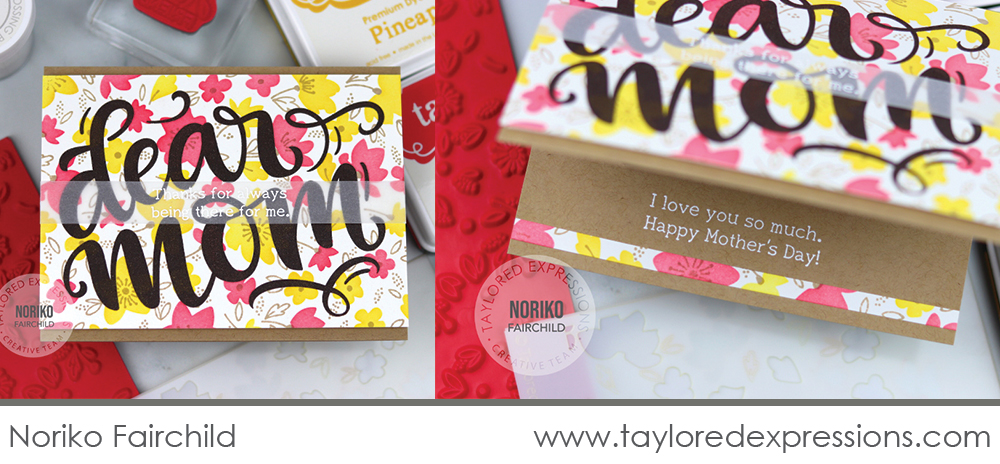
Noriko Fairchild stamped the Dear Mom stamp in Oreo ink over a background that she created with the Best Buds Stamp & Stencil Combo set. She layered a vellum strip over the top that is embossed with a sentiment from the Perfect Parent stamp set. Inside the card, Noriko embossed another sentiment from the Perfect Parent stamp set and added a tiny strip from the background design, created with the Best Buds Stamp & Stencil Combo set, to bring the design on the front of her card to the inside too!

Join me live for “T Time” at 1pm Central today on the Taylored Expressions Facebook Page. I’ll be sharing a closer look at the products from the new release that are now available to purchase individually. We hope to see you there – come join in the fun!
Thank you so much for stopping by today! Make sure you check out the rest of the Taylored Expressions Creative Team projects using the new Mother’s Day and botanical goodies from this release. Click on the faces below to visit their blogs. Stop back tomorrow for more inspiration and a closer look at a few more new products from this release.

