Apr 15, 2021
Ideas to Make Your Crafty Heart Aflutter Using the NEW Butterfly Wishes Kit!
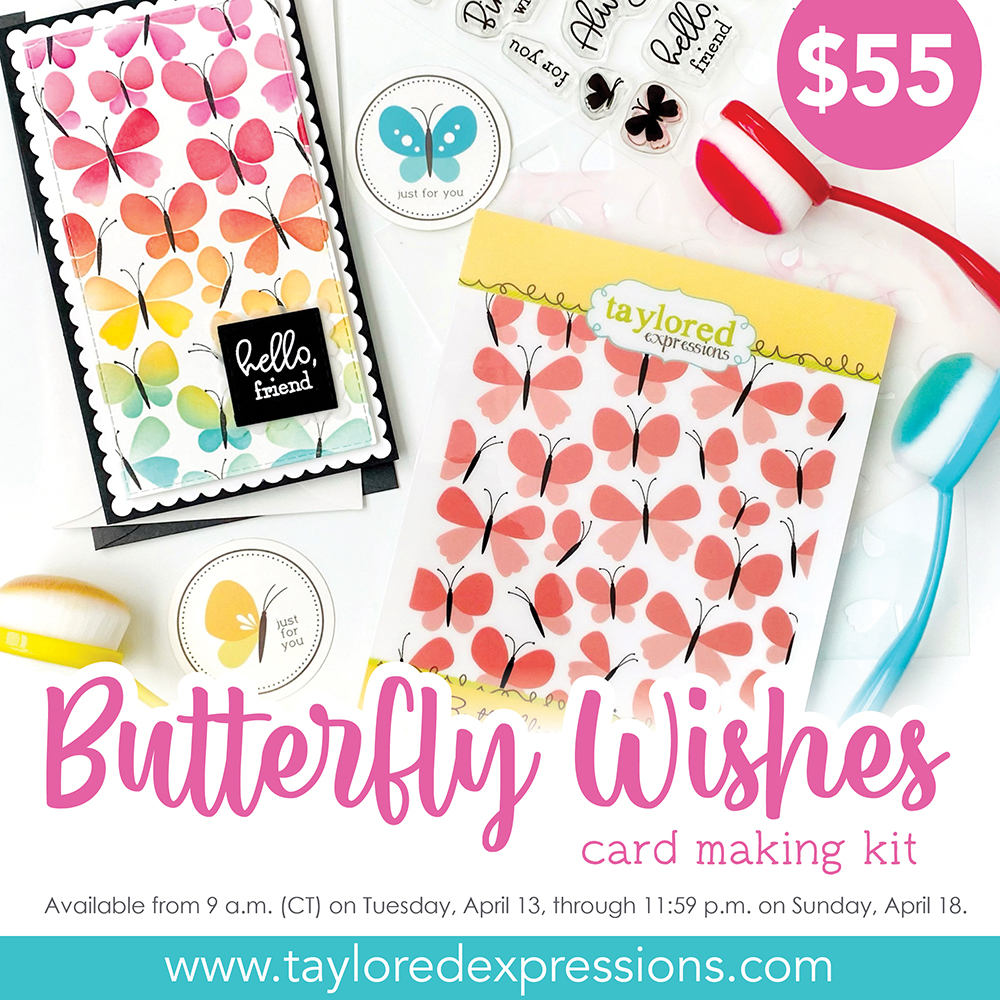
Hey, crafty friends! It’s Heather here today and I am so happy that you all seem to really like the new Butterfly Wishes Kit! This kit was really fun to design and I am looking forward to seeing all of the projects that you create. There’s nothing better than to see the different projects and ideas that everyone comes up with using products that I have designed! While I wait to see your projects, I have more projects to share with you that were created by the TE Creative Team using the kit and a video from Joy Baldwin. I hope that the projects with spark ideas for what you will create when your kit arrives!
If you haven’t checked out the new kit, click below to go to the TE webstore. Then keep scrolling for all of the butterflies!
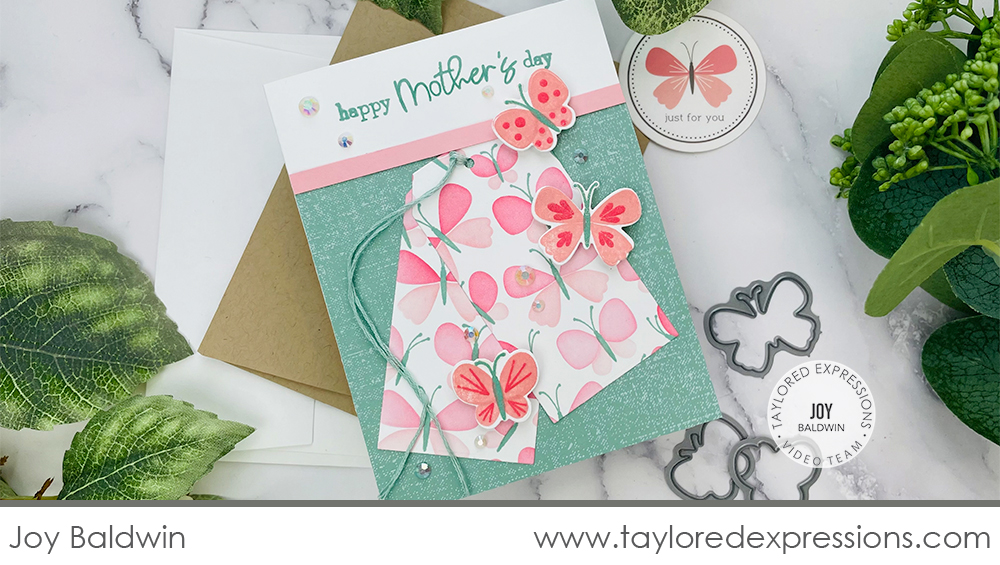
Joy Baldwin created this beautiful Mother’s Day card using the Butterfly Wishes Kit and she takes your through the steps of how to make it from start to finish in the video below:
In the video, Joy shares how she created the butterfly background design using the Butterflies Stamp & Stencil Combo set. She stamped the butterfly bodies with Spearmint ink and added the wings with the stencils from the set using Pink Champagne and Guava inks. She cut tags out from the butterfly design using the Tag Stacklets 2 die collection. She layered the tags onto a Spearmint cardstock background stamped with the Linen Background stamp, added the ‘Happy Mother’s Day’ sentiment at the top of her card, and popped up a few butterflies that she stamped using the Butterfly Wishes stamp set and cut out with the Butterflies dies. Her finishing touch is a few of the Diamond Jewels from the kit scattered around the card.
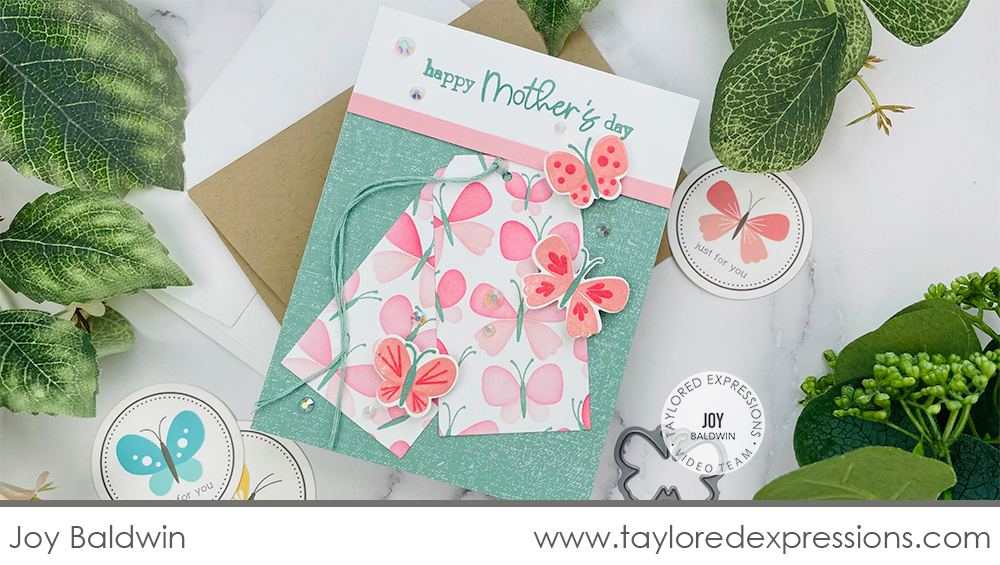
Cutting out the tags from the butterfly background design is such a great way to add pattern to your projects in a different way. The tags add whimsy and texture to Joy’s card and you could even make an extra tag for attaching to a gift to coordinate. While Joy made her card for Mother’s Day, you can easily swap out the sentiment to use this card design for many different occasions!
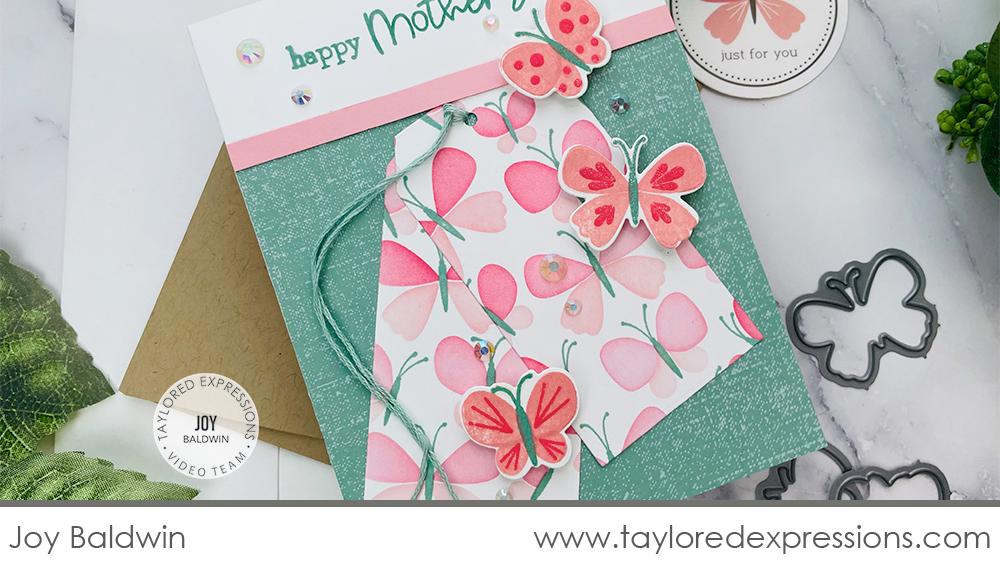
One of the details that I love about Joy’s card is the touches of shimmer she added to the stamped butterflies. She used a small brush with the Shimmer liquid watercolor to paint the butterfly bodies and wing patterns. It’s a subtle, but beautiful, shimmery effect that steps up the card design!
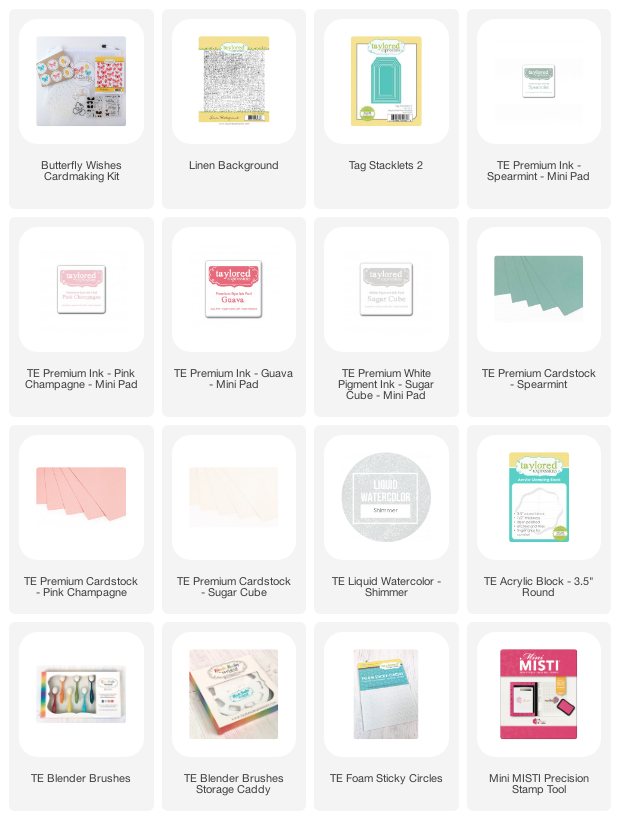
Check out the list below for the supplies that joy used on her card created with the Butterfly Wishes Kit:

Here’s more inspiration from the TE Creative Team using the new Butterfly Wishes Kit:
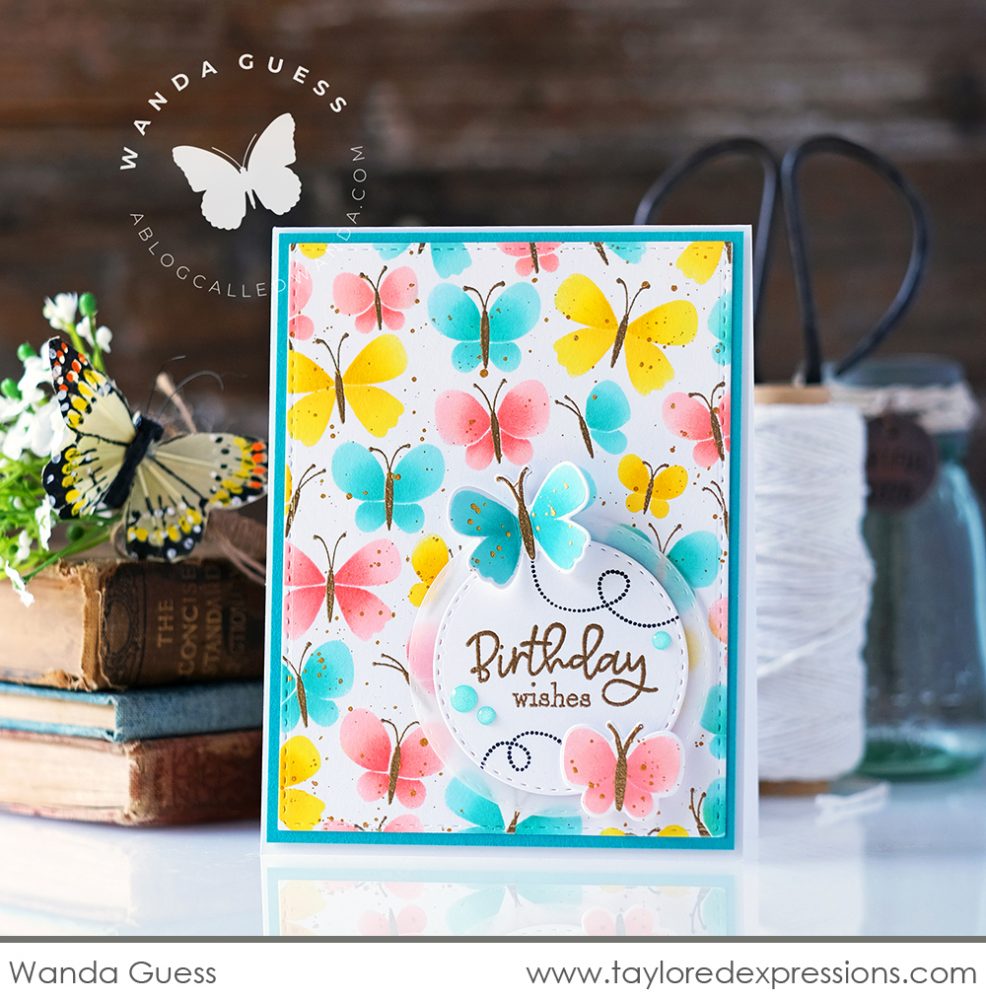
Who wouldn’t love a card full of butterflies like this one created by Wanda Guess for their birthday? Wanda embossed the butterfly bodies in gold and added the butterfly wings in multiple colors. She did a little masking to keep the colors from blending into each other on the wings. Wanda stamped a cut out a few extra butterflies to pop up around the ‘birthday wishes’ sentiment that is embossed in gold to coordinate with the embossing on the butterfly bodies. A few gold splatters and enamel dots are the perfect finishing touches!
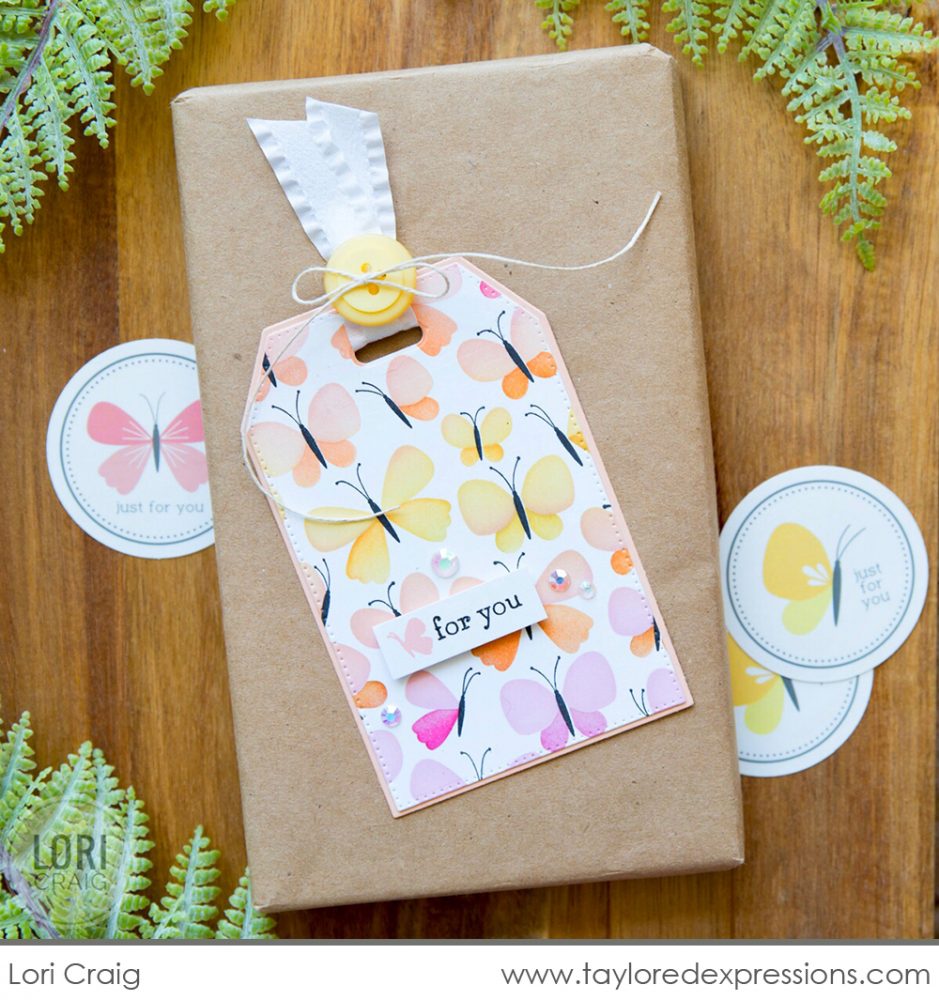
Lori Craig created an actual tag to add to a gift using the Butterfly Wishes Kit. I love the way she added color to the butterfly wings using her Blender Brushes with pastel colors on the top wings and brighter, coordinating colors on the bottom wings. The butterfly background is cut out using a Pierced Tag Stacklets 2 die, layered onto a Tag Stacklets 2 die cut, and Lori added the ‘for you’ sentiment on a strip of cardstock, accented with a tiny pink butterfly.
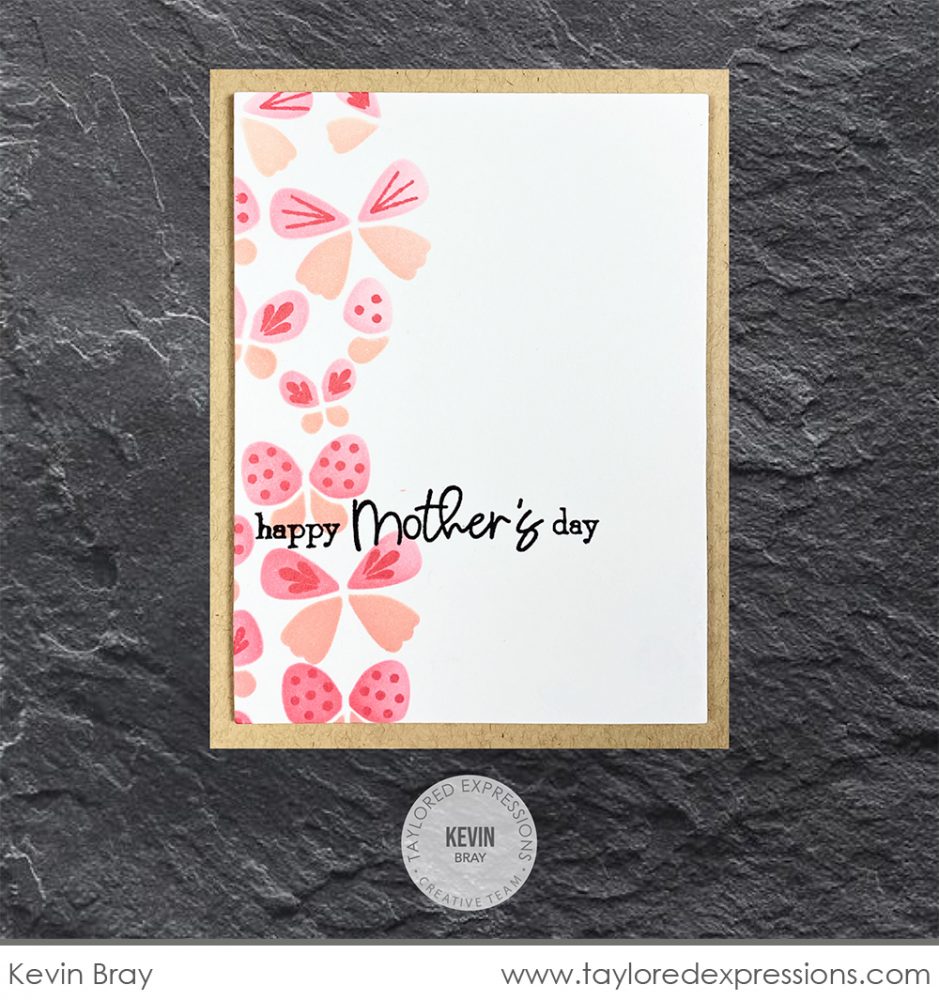
I thought this idea from Kevin Bray was clever! He used the stencils to add a border of butterfly wings in peach and coral ink colors with his Blender Brushes down the left side of a piece of Sugar Cube Cardstock, masking off the rest of the butterflies on the stencils. He added wing details using the Butterfly Wishes stamp set and added the ‘Happy Mother’s Day’ sentiment from the Sweet Sentiments stamp set in Oreo ink.
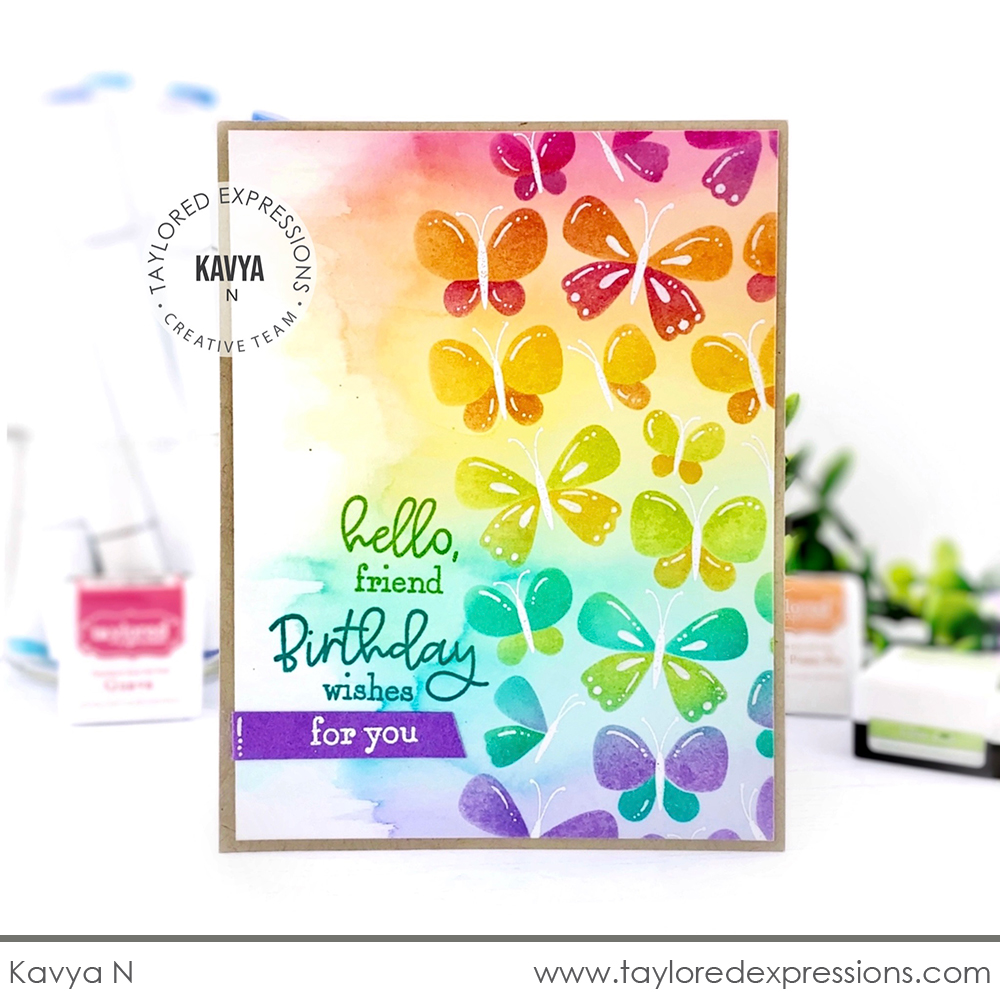
This pretty rainbow of butterflies was created by Kavya! To create the look, Kavya painted a watercolor rainbow background, embossed the butterfly bodies over the top in white just on the right side of the card, added the wings in coordinating colors with the stencils and her Blender Brushes, and then added details to the wings with a white gel pen. Kavya combined several of the sentiments from the Sweet Sentiments stamp set, stamping them in coordinating rainbow colors down the left side of the card.
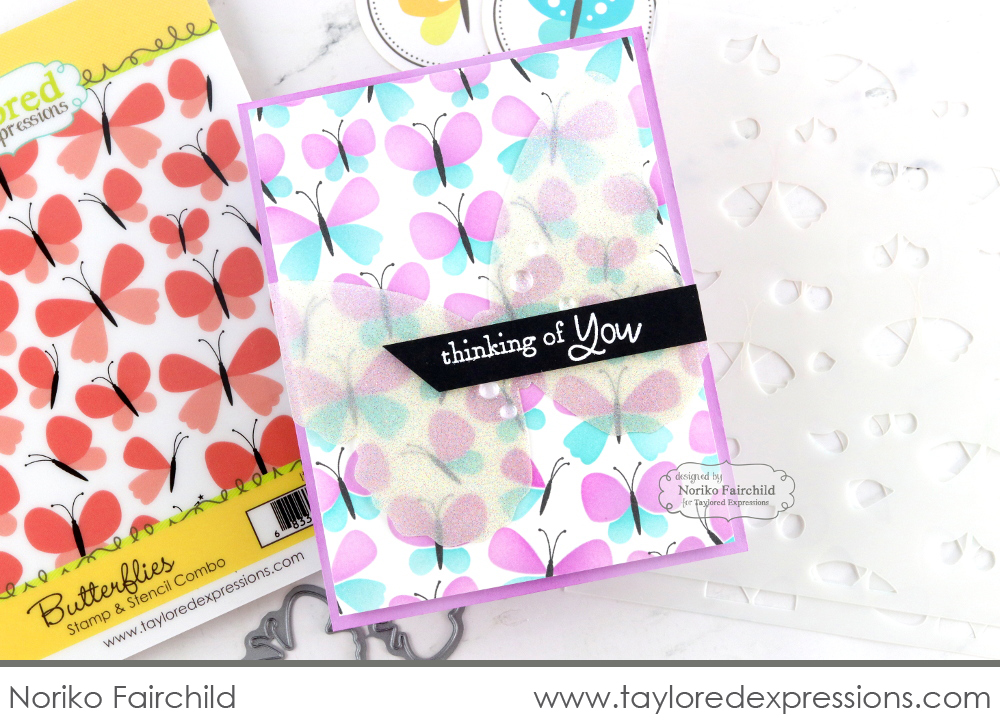
Noriko Fairchild layered a larger butterfly over the butterfly background created with the Butterfly Wishes Kit for a fun effect! First, Noriko created the background by stamping the butterfly bodies with Oreo ink and then adding the wings with Lavender Glaze, Plum Punch, and Cookie Monster inks. Then, she added a double sided adhesive to a piece of vellum, cut out the large butterfly with the Big Butterfly die, and glittered the die cut with our exclusive glitter: All That Glitters – Sugar Cube. The ‘thinking of you’ sentiment is embossed in white on an Oreo cardstock strip.
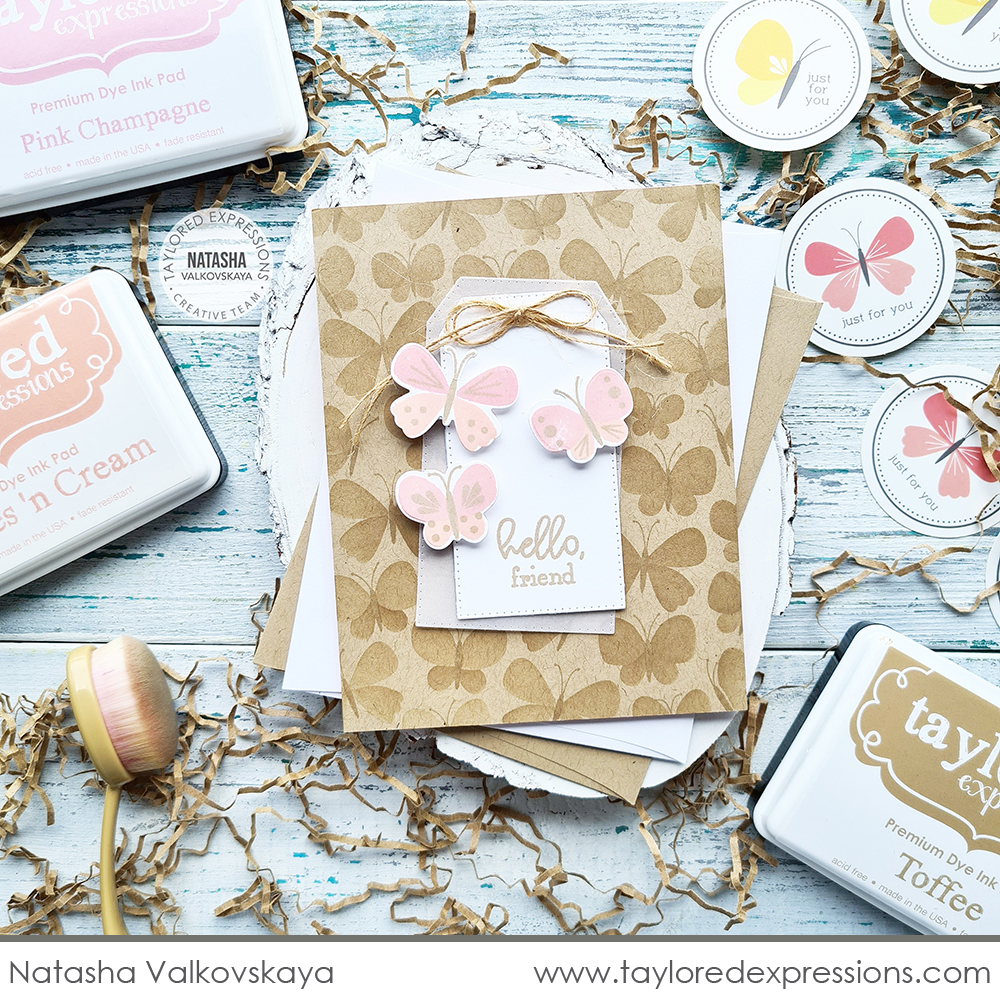
Tags are making yet another appearance today on this card created by Natasha Valkovskaya! Natasha layered a few tags cut out with the Pierced Tag Stacklets 2 die collection to highlight several butterflies that she stamped with the Butterfly Wishes stamp set using Pink Champagne and Peaches ‘n’ Cream inks. The background of the card is created using the Butterflies Stamp & Stencil Combo set with Toffee ink on Toffee cardstock and I really love the neutral tone on tone look.

Join Taylor today for “T Time” at 1pm Central on the Taylored Expressions Facebook Page. We would love to have you join us for some crafty chat! Hope to see you there!
I hope you have enjoyed all of the inspiration we have shared this week with the Butterfly Wishes Kit! I am looking forward to seeing all of the projects that you create over on the Fans of Taylored Expressions Facebook Page! Thank you so much for stopping by the TE blog and check back again soon for more crafty inspiration!
Did you know that you can subscribe to our blog and get our posts right in your inbox? Just sign up right HERE – that’s all there is to it to make sure you don’t miss any of our crafty inspiration!


