Apr 20, 2021
Introducing: NEW Bitty Blender Brushes and MORE!
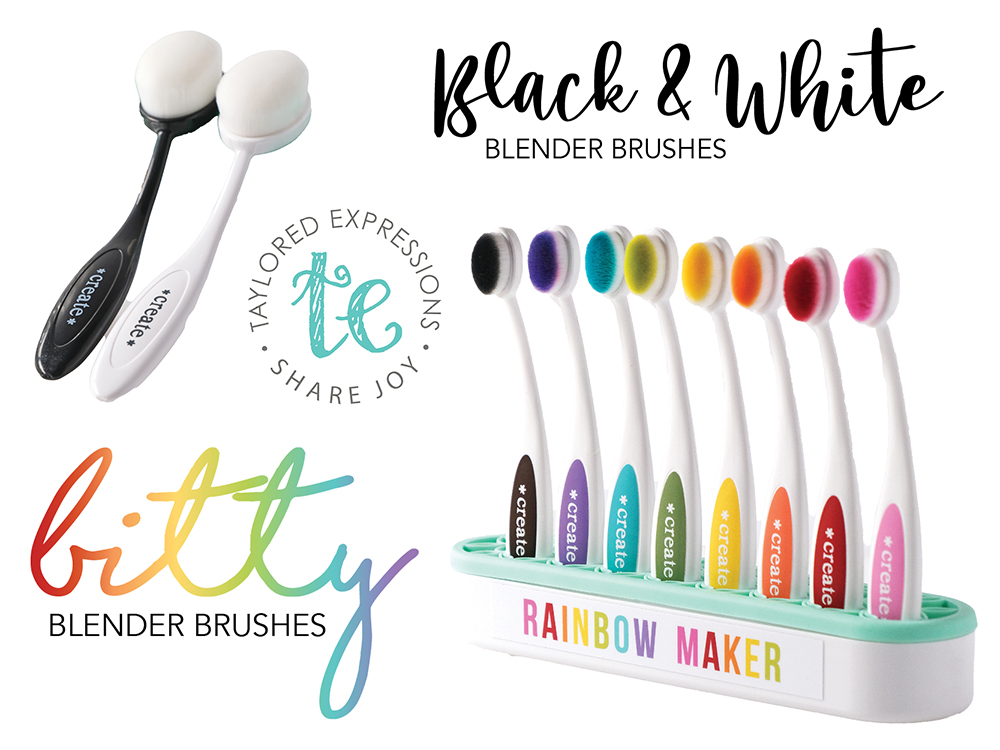
Hey, crafty friends! It’s Taylor here today! GUESS WHAT!? It’s a big day at Taylored Expressions as I get to unveil our latest blender brush project! You asked – we answered with our Black & White Blender Brushes to round out the rainbow collection. And then… are you ready!? BITTY BLENDER BRUSHES!!! Yep, I’m shouting! I’m so excited to share these bitty blenders! A set of the same blender brushes you know and love, but with a smaller brush head for more controlled blending in small spaces. Plus, you get the ability to decide exactly which colors you’ll designate for each brush using our new Create Color Labels!
In addition to new Blender Brushes, we’re introducing some fun new stencils that lend themselves to multiple color blends in small spaces AND in keeping with our ‘smaller’ theme, a new smaller grid paper pad! As always, the Creative Team has been busy creating with the new goodies and we have lots to show you! Plus, you don’t want to miss out on our “I Want It ALL” bundle offer!
Here’s what you’ll find on the blog this week:
- Our blog posts (Tuesday – Thursday) will feature a video showcasing the new release products.
- New products are available to purchase RIGHT NOW in the TE webstore!
- Receive FREE shipping on orders of $50 or more in the United States!
- Earn a free, exclusive stencil set with purchases of $100 or more. CLICK HERE for more information.
- Last, but certainly not least – take advantage of our “I Want It All” bundle offer (details below).
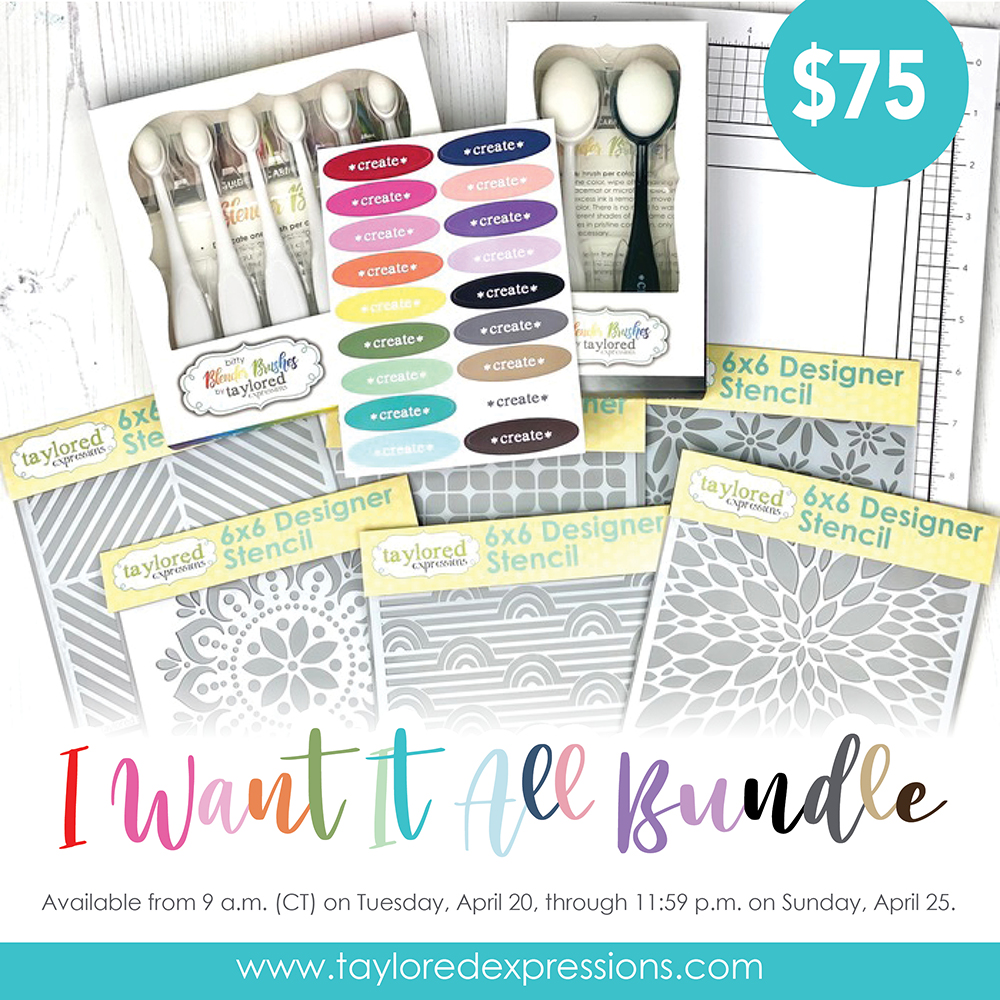
The I Want it ALL Bundle retails for $75 and includes the following:
- Bitty Blender Brushes (set of 6)
- Create Color Labels
- Black & White Blender Brushes (set of 2)
- All 6 new stencils
- 8.5″ x 11″ Grid Paper Placemat Pad
The special introductory price of $75 on the I Want it ALL Bundle is available now through Sunday, April 25th, or while supplies last!
Click below to shop all of the new products that are releasing today and then keep scrolling for inspiration and more!
Are you ready to see the new Bitty Blender Blender Brushes and stencils in action? Here we go!
Watch the video above to learn more about the new brush options that we are adding to our Blender Brush family and below we’ll take a closer look at all of the new products releasing today:
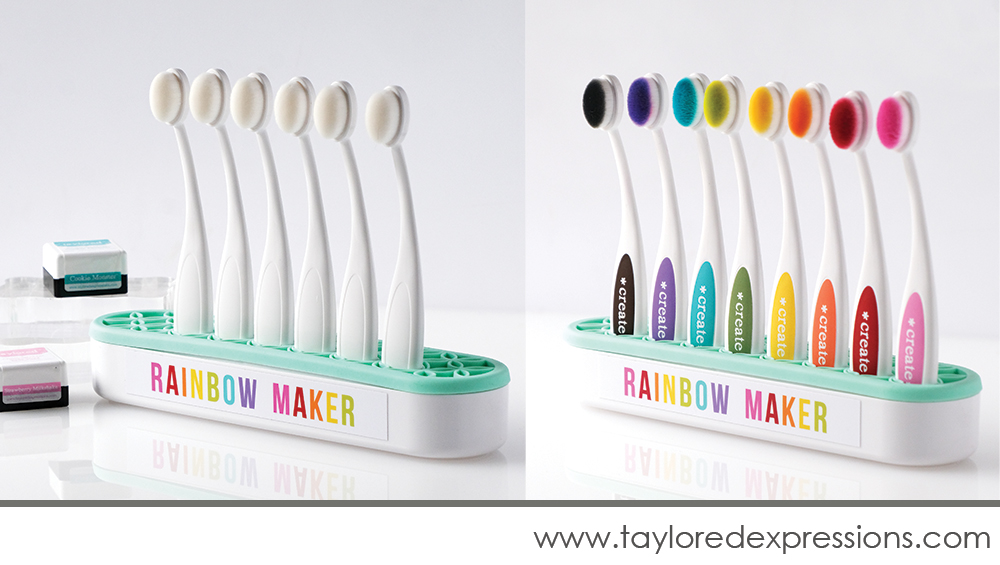
Introducing the new Bitty Blender Brushes! The bitty brush heads allow you to easily use multiple colors of ink on intricate stencil patterns. Bitty Blender Brushes are sold in a set of 6 with vinyl stickers for labeling the brush handles available separately. There are 18 different colored stickers so you get to decide what your most used colors are OR grab 3 sets of bitty brushes to have a brush for each sticker!
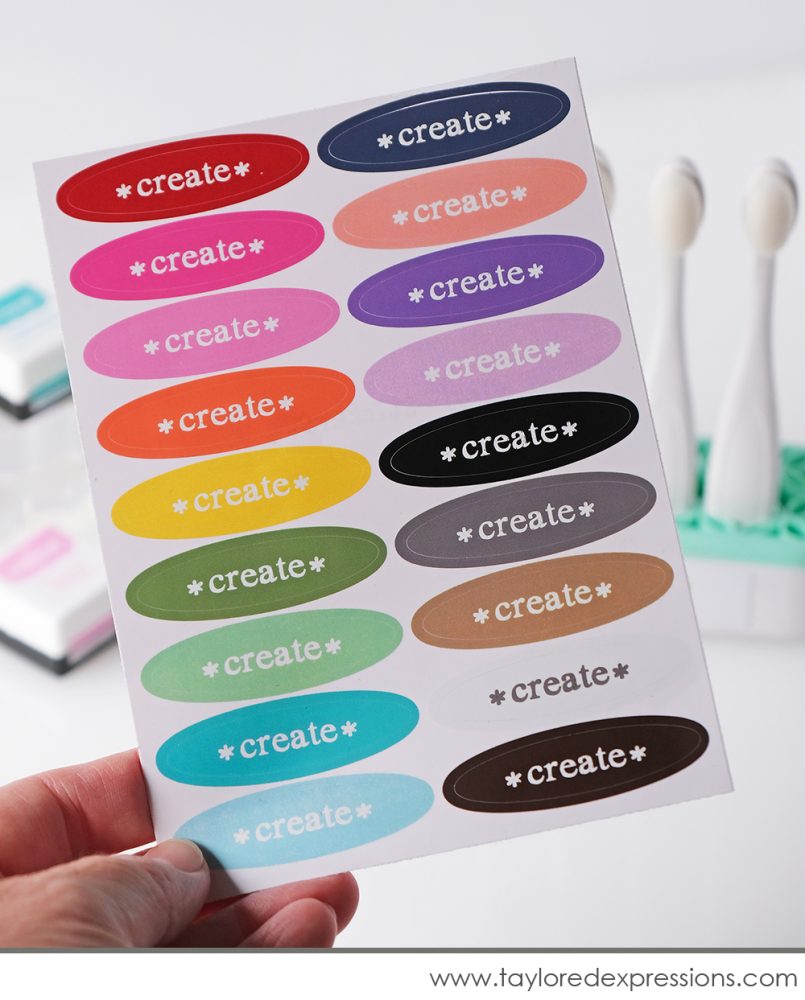
Use these stickers to label your Bitty Blender Brushes! The sticker sheet includes 18 stickers made of a sturdy, wipeable vinyl to customize your Bitty Blender Brushes with the color family. The Bitty Blender Brushes have an indented area on the front and back of the handle designed to fit the labels perfectly!
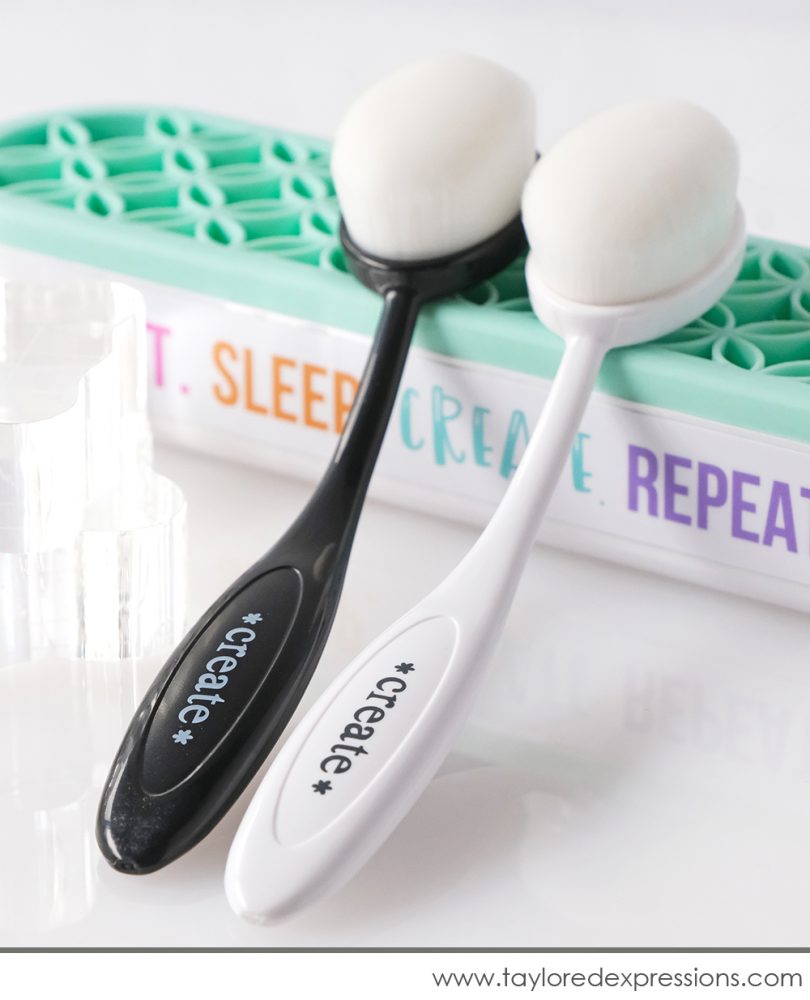
We’ve had so many requests for black and white blender brushes to complete our collection and they’re finally here! Now you can ink, blend, and create with blender brushes to match our Oreo & Sugar Cube inks! Note: when blending with pigment ink (Sugar Cube) you will want to wash the bristles of your blender brush more frequently.
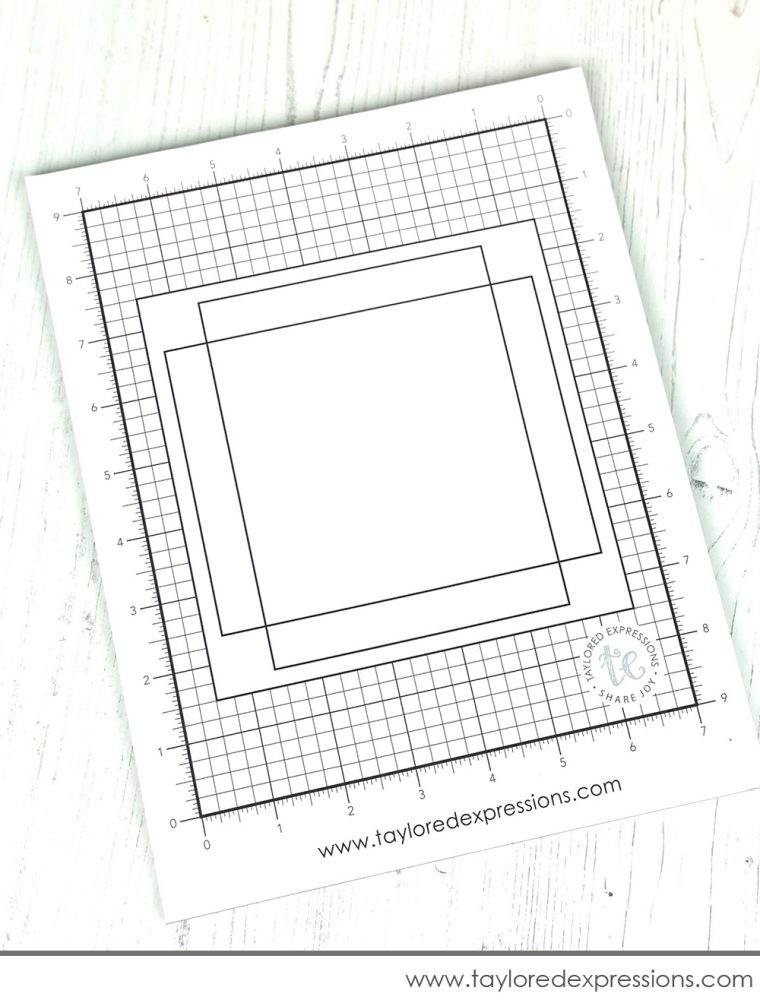
Our popular Grid Paper Placemats are designed just for paper crafters and include all sorts of special features! We thought you might love a new smaller size that is perfect for crafting on the go at events and crops! Each 8.5″ x 11″ placemat is printed on smooth 60 lb. paper that will absorb ink to prevent smearing (under typical crafting circumstances) and includes a 7″ x 9″ crafting area with grid lines every 1/4″, alignment guides to help you perfectly line up and center an A2 card (either horizontally or vertically), a 6×6 stencil, and ruled edges on all sides (in inches). Plus, note that this grid paper pad is gummed at the bottom to keep the bottom edges from curling while crafting on the pad.
Next is a look at the six new stencils we’re adding to our collection along with inspiration from the TE Creative Team. All of the new stencils are the standard 6″ x 6″ size:
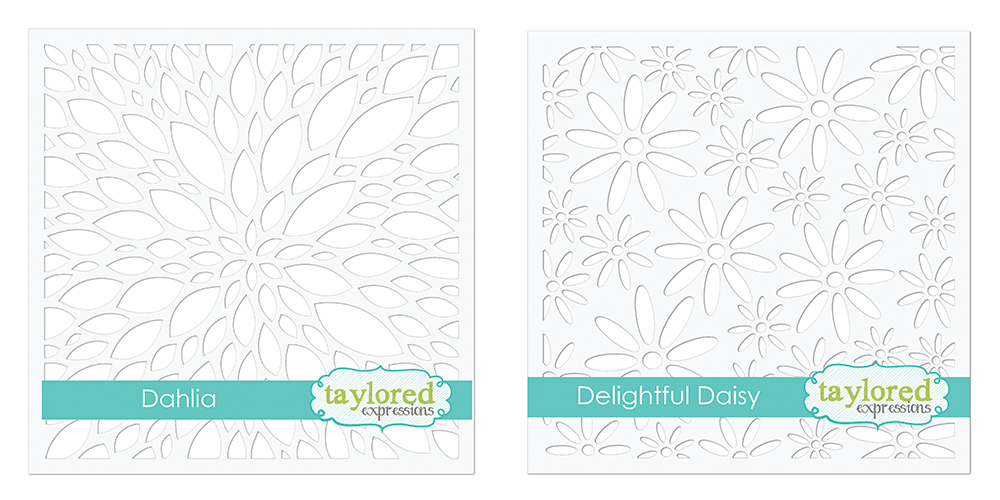
The Dahlia stencil features a pretty petal pattern that radiates out from the center of the stencil to look like a large dahlia flower bloom. The image works well as a focal image and also can be a background design.
The Delightful Daisy stencil has an all over pattern of different sized daisy style flowers. These sweet little blooms will add fun and whimsy to your projects!
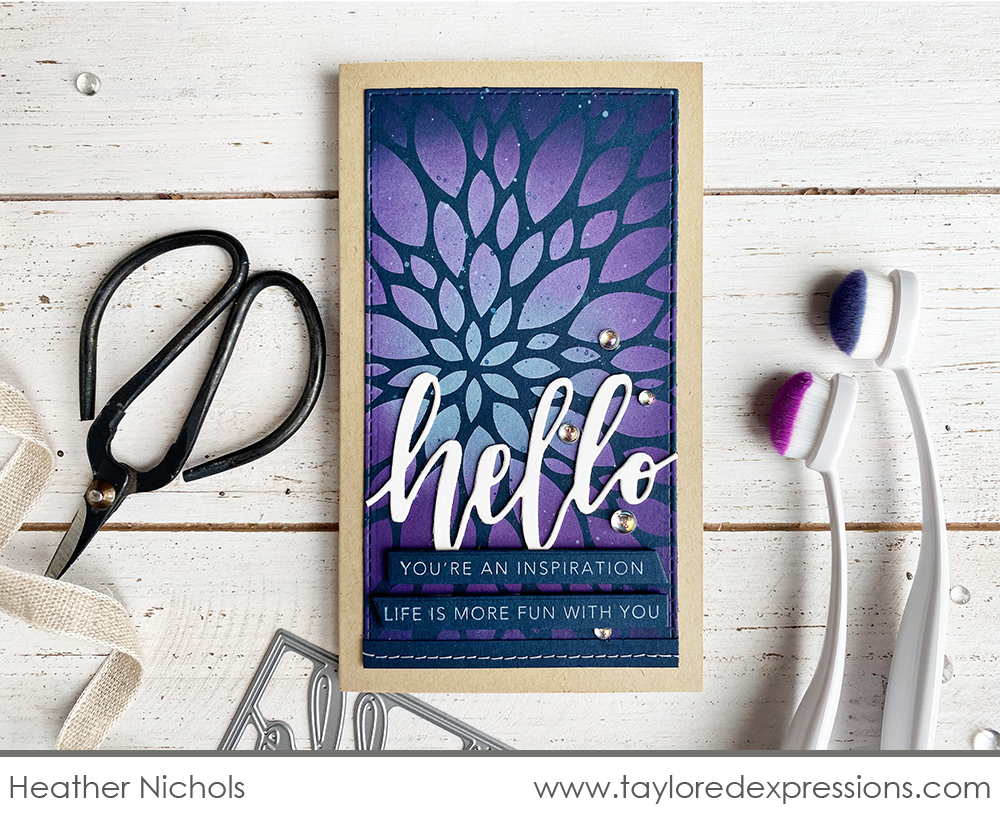
Heather Nichols used the Dahlia stencil on this Mini Slim ‘hello’ card. I love the unexpected effect that she got by stenciling the design on Blue Corn cardstock. Heather used Sugar Cube ink first with the new white Blender Brush and then layered Plum Punch ink over the top with a Bitty Blender Brush, leaving the center alone and darkening her color as she moved to the outside edges. The Sugar Cube ink allows the Plum Punch color to really pop on the darker color! This idea would be fun to try out with other ink and cardstock color combinations!
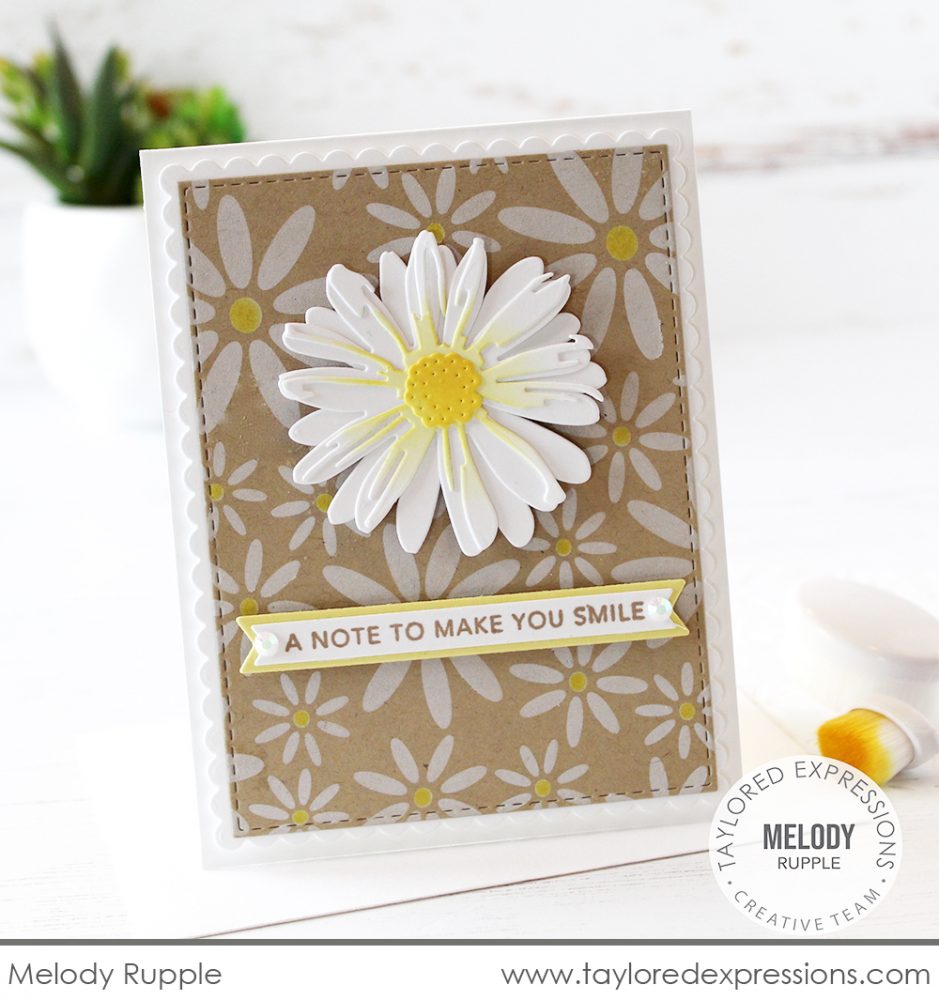
Everything is coming up daisies on this card by Melody Rupple! She stenciled the daisies onto Toffee cardstock using the Delightful Daisy stencil. Melody used Sugar Cube ink first over the whole design with the white Blender Brush and then added the Pineapple ink centers. This background is absolutely perfect for the large daisy focal image that Melody created with the Layer It – Daisy die collection! You’ll notice that the center of the flower is also colored with Pineapple ink and a Bitty Blender Brush!
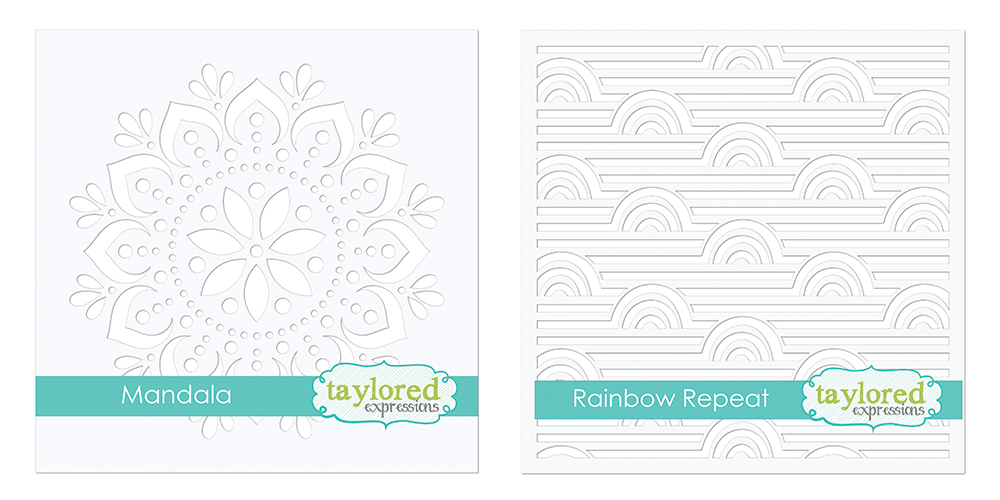
The Mandala stencil features an ornate mandala pattern that fills up the stencil. Showcase the whole design on your card or stencil just a portion coming in from the side of your project.
The Rainbow Repeat stencil features a striped design sprinkled with tiny rainbows throughout! You’ll love adding lots of color to this design and keeping things simple with large blocks of color or using your Bitty Blender Brushes to add all the fun color details!
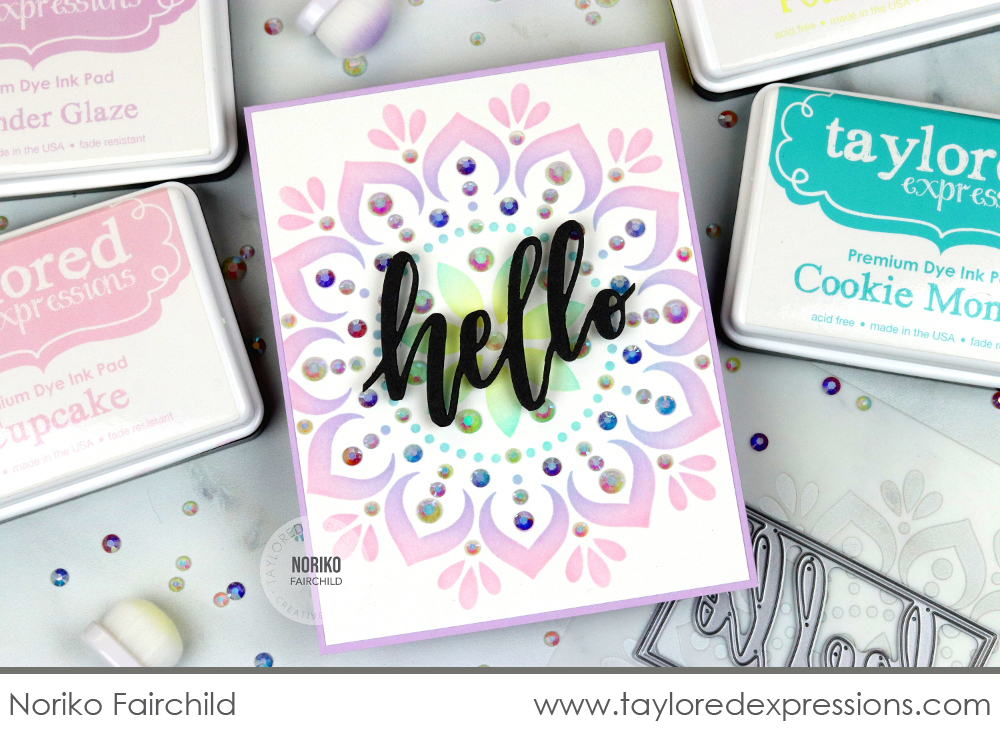
Noriko Fairchild didn’t hold back with the bling on her card created with the Mandala stencil. She filled her card front with the mandala design, doing an ombre effect with her ink colors radiating out from the center. She used: Potato Chip, Cookie Monster, Lavender Glaze, and Cupcake inks with her Bitty Blender Brushes – I love how the center of the design seems to glow! She added lots of rhinestones to the design and I can just imagine all of the lovely sparkle this card has in real life!
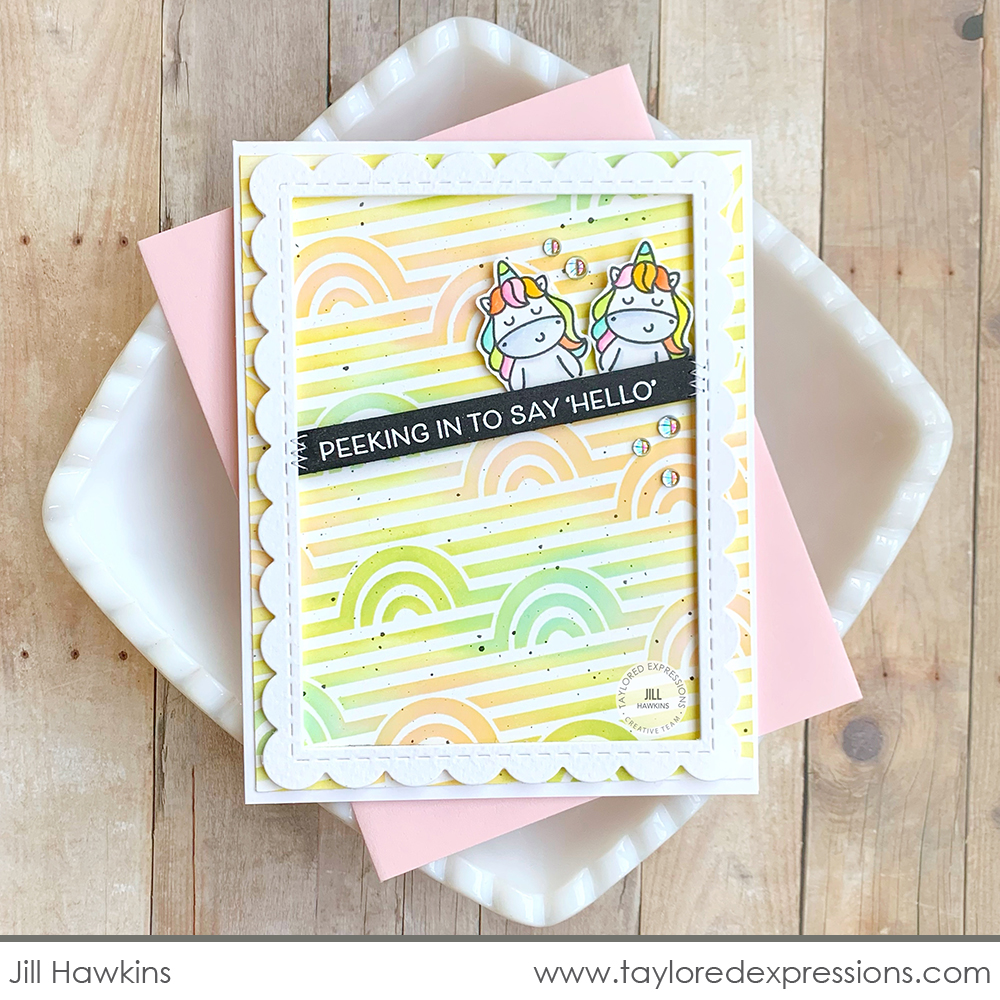
The Rainbow Repeat stencil is the perfect background on this card featuring unicorns by Jill Hawkins. She stenciled the rainbow design using pretty pastel ink tones with her Bitty Blender Brushes and colored the unicorns from the Little Critters stamp set to coordinate using her Copic markers. The ‘peeking in…’ sentiment is embossed on an Oreo cardstock strip in white and Jill added a few Bits & Pieces – Drip Drops for a finishing touch.
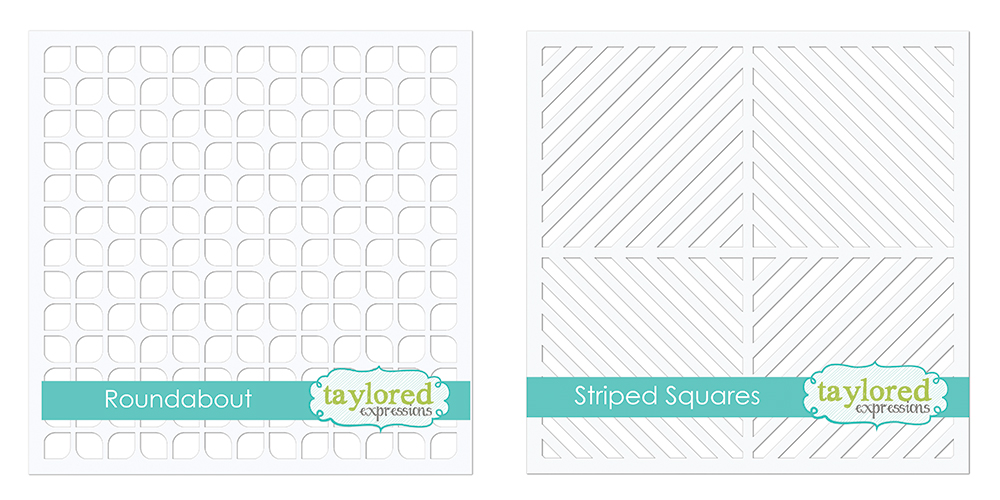
The Roundabout stencil features a grid like design with a petal shape that you can lean either towards a geometric or delicate effect depending on the colors and/or mediums used with it.
The Striped Squares stencil has four diagonal striped squares arranged to form a diamond design. You could use one color over the whole design, alternate colors radiating out from the center for an ombre effect, and more!
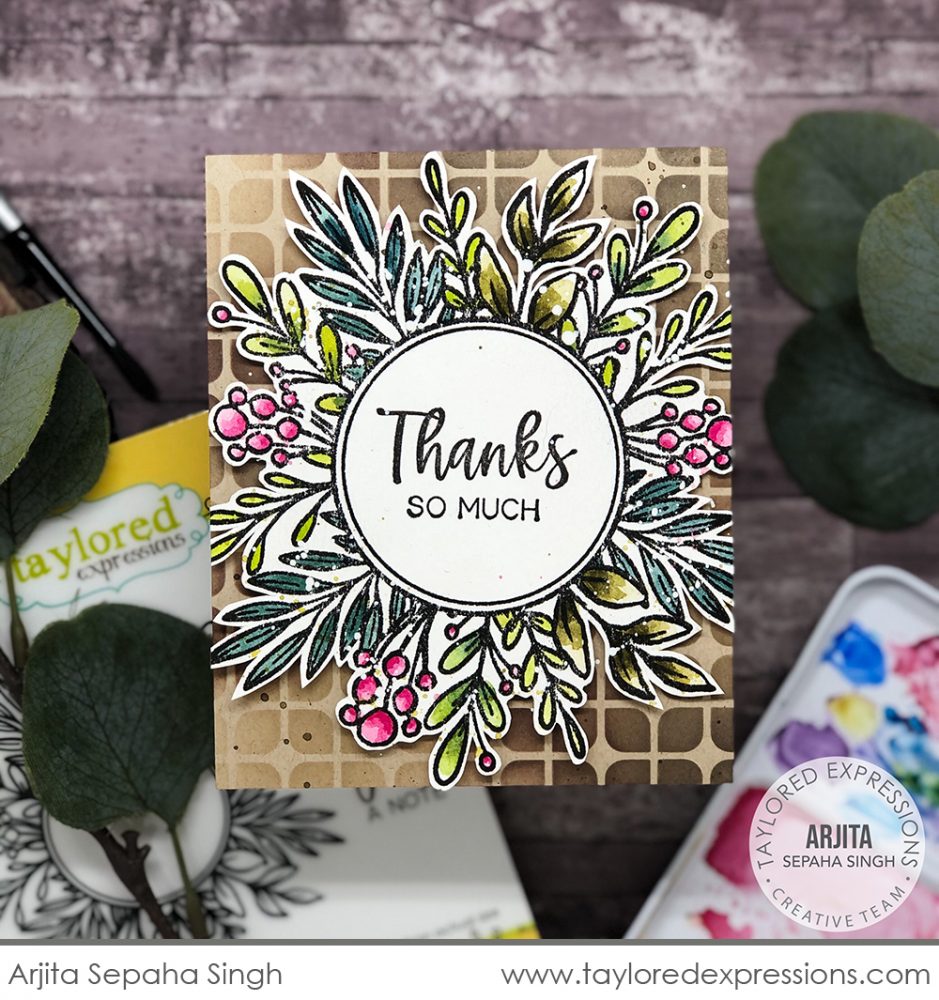
Arjita Sepaha Singh gave the Roundabout stencil an elegant look on this card featuring the Circle Botanical stamp set. She stenciled the background in neutral toned inks on Toffee cardstock using her Bitty Blender Brushes and then layered the frame image over the top. The foliage and berries on the frame are colored with watercolor paints and Arjita stamped the ‘thanks so much’ sentiment from the set into the frame opening.
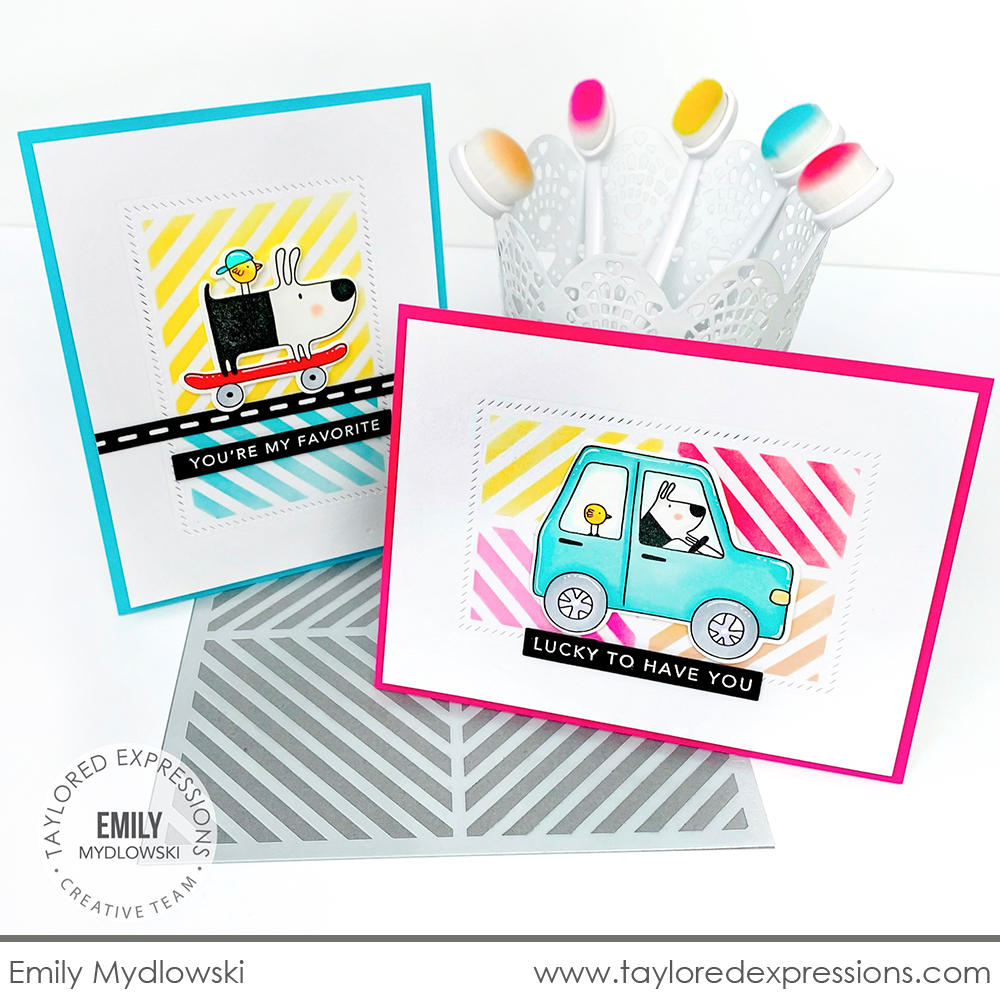
Emily Mydlowski used the Striped Squares stencil as backgrounds on both of these cards featuring the Gus & Gertie Ride On stamp set. Emily added color to the stencil design in a color block fashion, using one color for each square area on the stencil. She paired the stencil with the Masking Stencils – Rectangles set, adding the stenciled design through the rectangle opening with her Bitty Blender Brushes and then framed them with the Diagonal Stitch Rectangle Stacklets. I love how Emily used all four areas of the Striped Squares stencil on one card, but only used two areas on the other for another look!
Join me live for “T Time” at 1pm Central today on the Taylored Expressions Facebook Page. I’ll be sharing a closer look at the new Bitty Blender Brushes, stickers, Black & White Blender Brushes, stencils, and more making their debut today at TE. We hope to see you there – come join in on the fun!
Check out what the TE Creative Team came up with using the new Bitty Blender Brushes, Black & White Blender Brushes, and stencils. Click each of the faces below to visit their blogs. We have LOTS to share with you this week on the TE Blog, so make plans to stop back again tomorrow!


