Jan 18, 2022
Easy Strips + TE Exclusive Products Now Available to Purchase!
Hey, crafty friends! It’s Taylor here and it’s my favorite day of the week – Happy Tuesday! You may recognize some of the products available today if you were at our Stamp Joy event this fall! Our Easy Strips stole the show and I’m excited to share all the fun ideas! Easily use up your paper scraps by cutting them into strips and creating colorful backgrounds perfect for any occasion. The design team stepped up to the challenge by creating everything from clean and simple to fabulous woven designs. I can’t wait for you to check out the Easy Strips along with several of our $100+ order freebies from previous months!
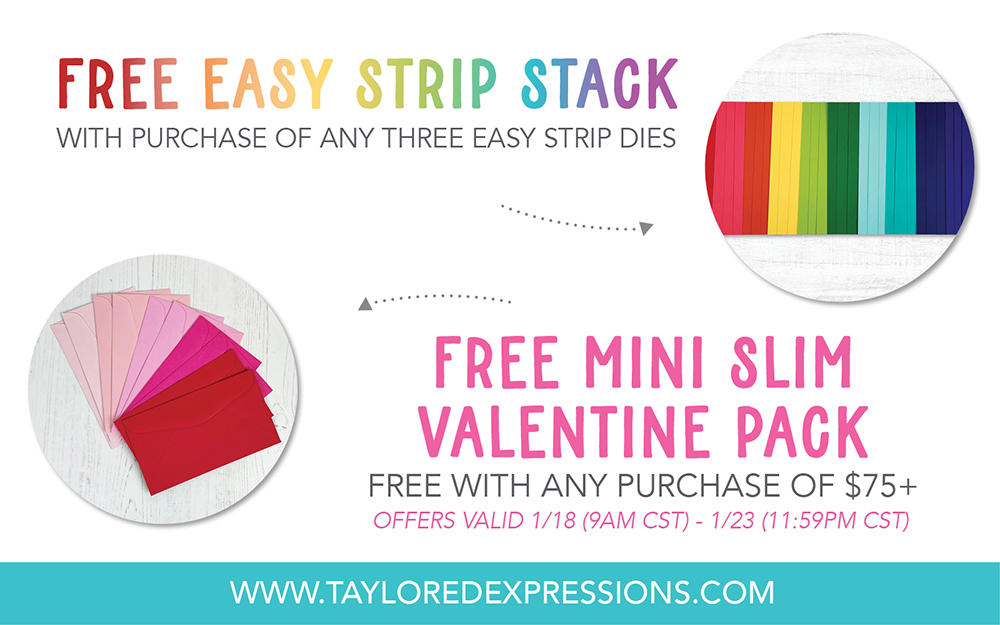
With the purchase of any 3 Easy Strips dies (any combination of the Easy Strips – 1/8″ die, Easy Strips – 1/4″ die, and Easy Strips – 1/2″ die), you will receive an Easy Strip Stack pack FREE. The Easy Strip Stack includes cardstock in multiple colors sized to match the Easy Strip dies. You get three sheets of each of the following colors: Fruit Punch, Guava, Sweet Potato Pie, Pineapple, Lime Zest, Cilantro, Confetti Cake, Blue Raspberry, Blueberry, and Eggplant.
Also, with any purchase of $75 or more (before tax & shipping), you will receive a FREE Mini Slim Envelope Valentine pack. The envelope pack includes 2 each of Cupcake, Pink Champagne, Strawberry Milkshake, Lollipop and Watermelon Mini Slim envelopes.
**Both promotions run now through Sunday, January 23rd or while supplies last.
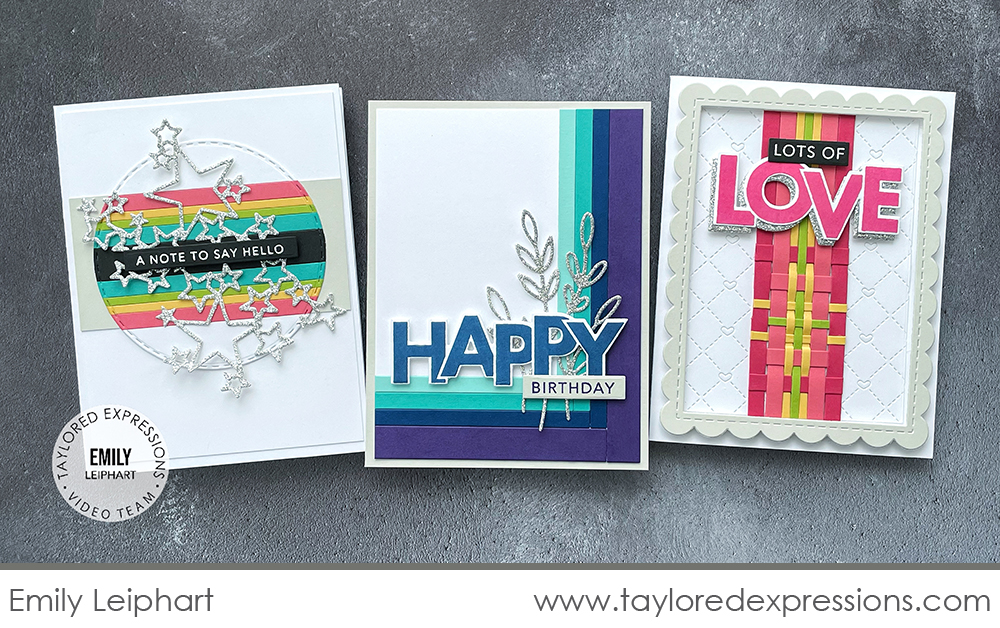
Today’s video is from Emily Leiphart and she is sharing three different card ideas that are created with the new Easy Strips dies. See how the cards come together in the video below:
In the video, Emily shares more about the three new Easy Strips dies that cut strips in three different sizes: 1/8″, 1/4″, and 1/2″. She also gives a closer look at the Easy Strips Stack pack that you can earn as a part of the promotion for this week’s release. Emily create three different cards and shows a different way to use the cardstock strips on each one. You can weave the strips together, arrange them in striped designs, and create other design arrangements with the strips.
Here’s a closer look at the cards that Emily created in the video:
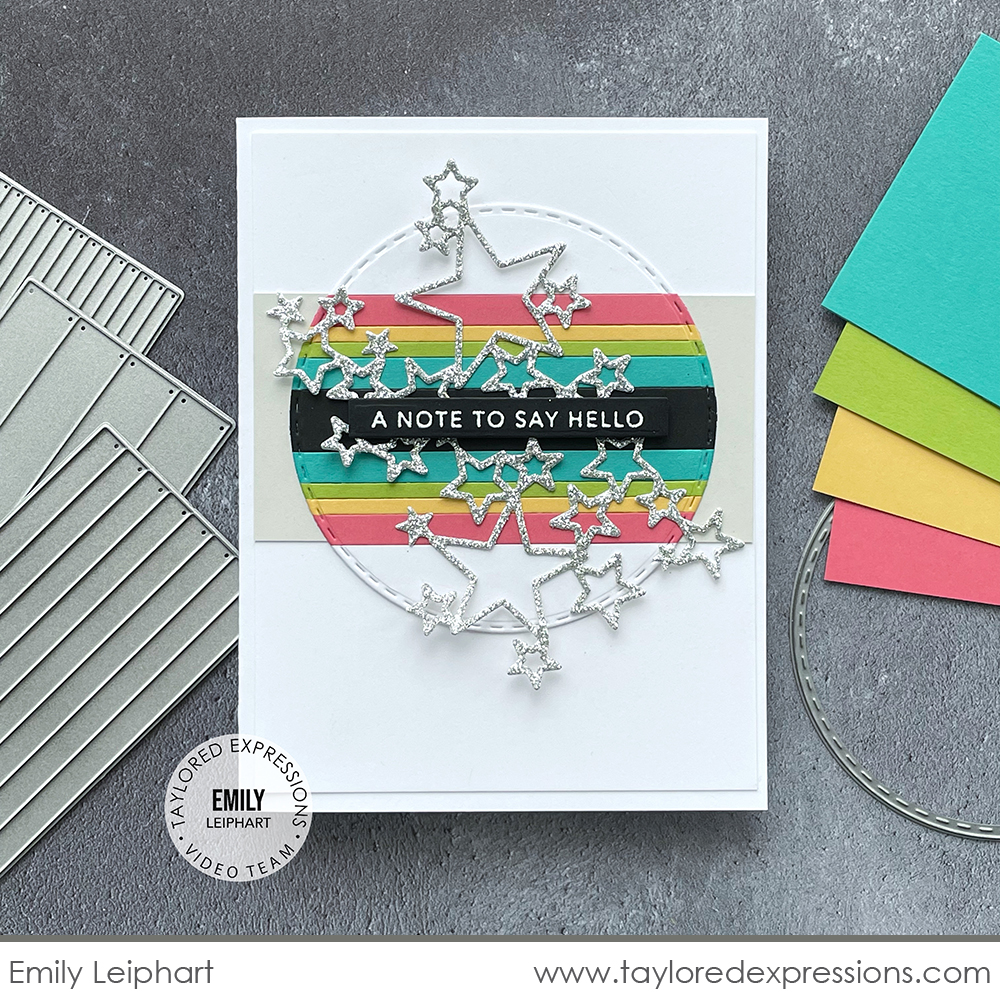
For this card, Emily created a striped design with all of the different Easy Strip die sizes. Emily adhered the strips to a copy paper base to give everything stability without it being too thick. She cut out the arranged strips with the Stitched Circle Stacklets dies to add to her card. To finish off the card, Emily added silver glitter cardstock stars cut out with the Gathered Stars die and a sentiment strip from the Mini Strips – Fun & Funny stamp.
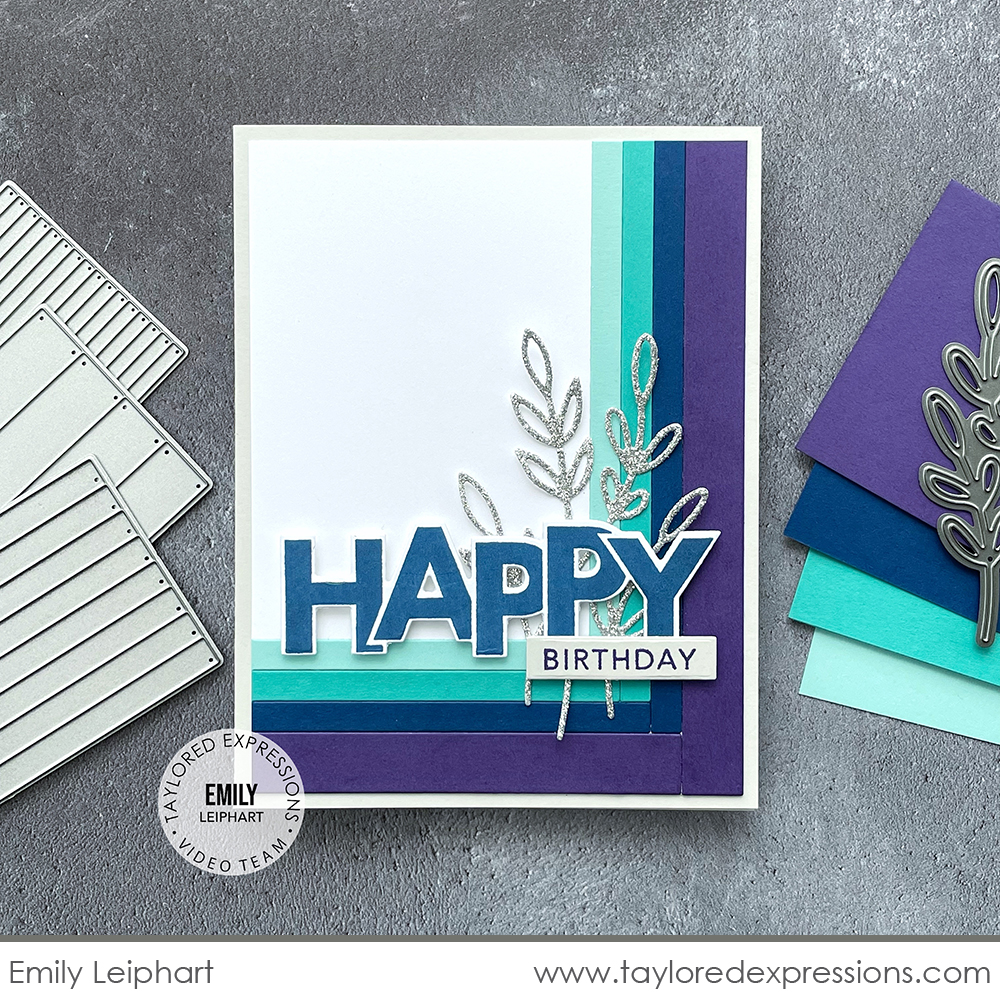
This card featured the 1/4″ and 1/2″ strips arranged in a pattern coming out from one corner and the look is similar to a log cabin quilt block design. She added a sentiment put together with the On the Block – Happy stamp (+ coordinating die) and Building Blocks – Happy Additions stamp (+ coordinating Building Blocks die) along with a few silver glitter cardstock sprigs cut out with the Subtle Sprigs die collection.
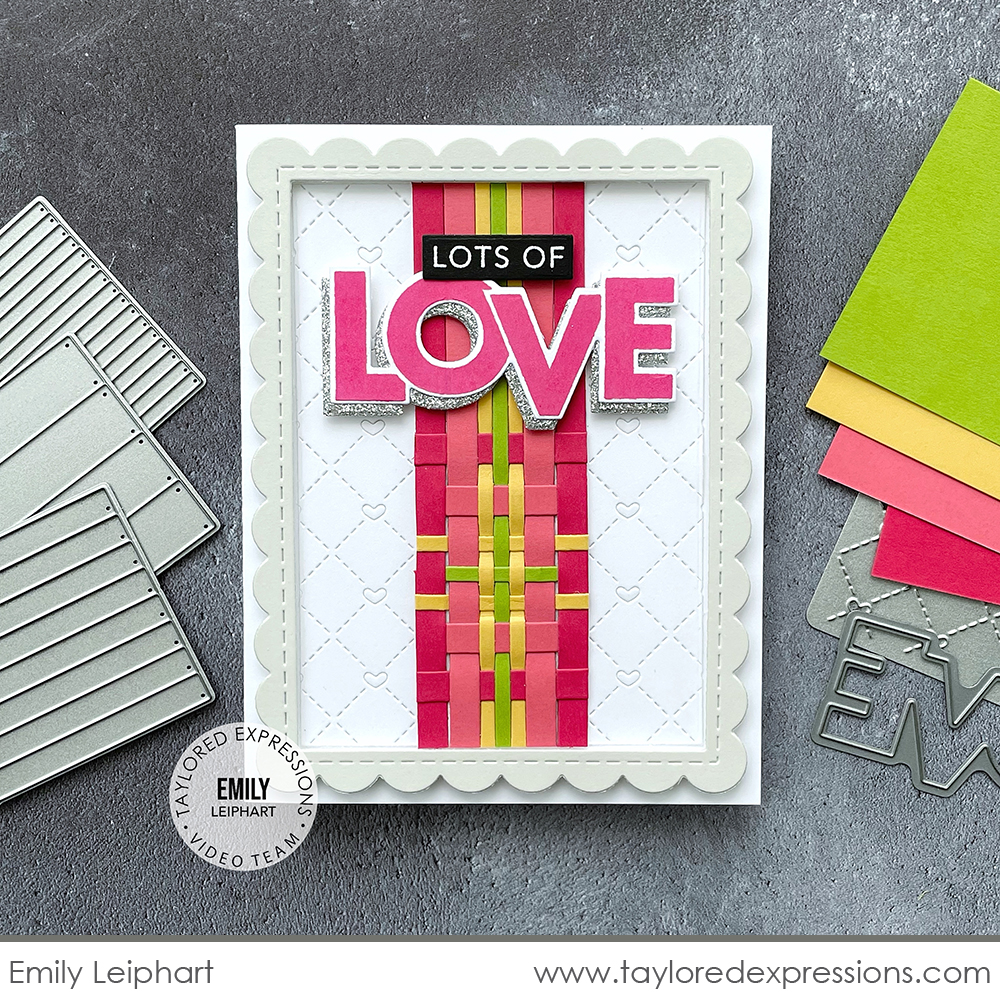
For this last card, Emily used the 1/8″ and 1/4″ strips to create a paper weaving design. Check out Emily’s video above to see the great tips and tricks that Emily shares for weaving and securing the finished design in place on your project! The woven design is layered onto a background cut with the Stitched with Love Cutting Plate and framed with a Frame in Frame 2 Cutting Plate die. The sentiment is created with the On the Block – Love stamp (+ coordinating die) and Building Blocks – Love Additions stamp (+ coordinating Building Blocks die).
Check of the list below for all of the supplies that Emily used on her cards:

Here’s a closer look at the new products debuting today along with inspiration from the TE Creative Team:
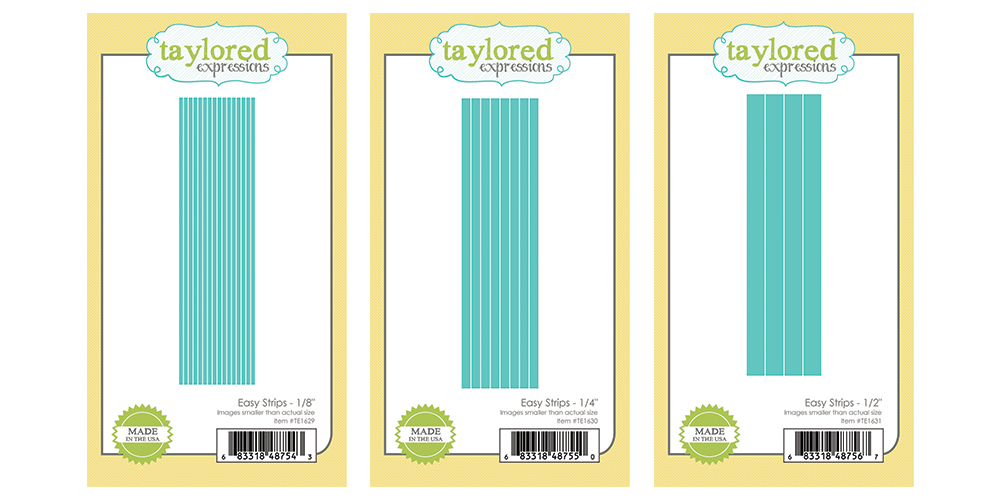
Let’s get stripping! Wait, what? Cutting cardstock strips for your paper crafting projects has never been easier using the new Easy Strips dies. The dies are available in three sizes: Easy Strips – 1/8″, Easy Strips 1/4″, and Easy Strips – 1/2″. Use strips to create striped backgrounds, borders, woven designs, and more! The dies were originally an exclusive product available to purchase at our fall Stamp Joy 2021 event, and now are a part of the collection in the TE webstore.
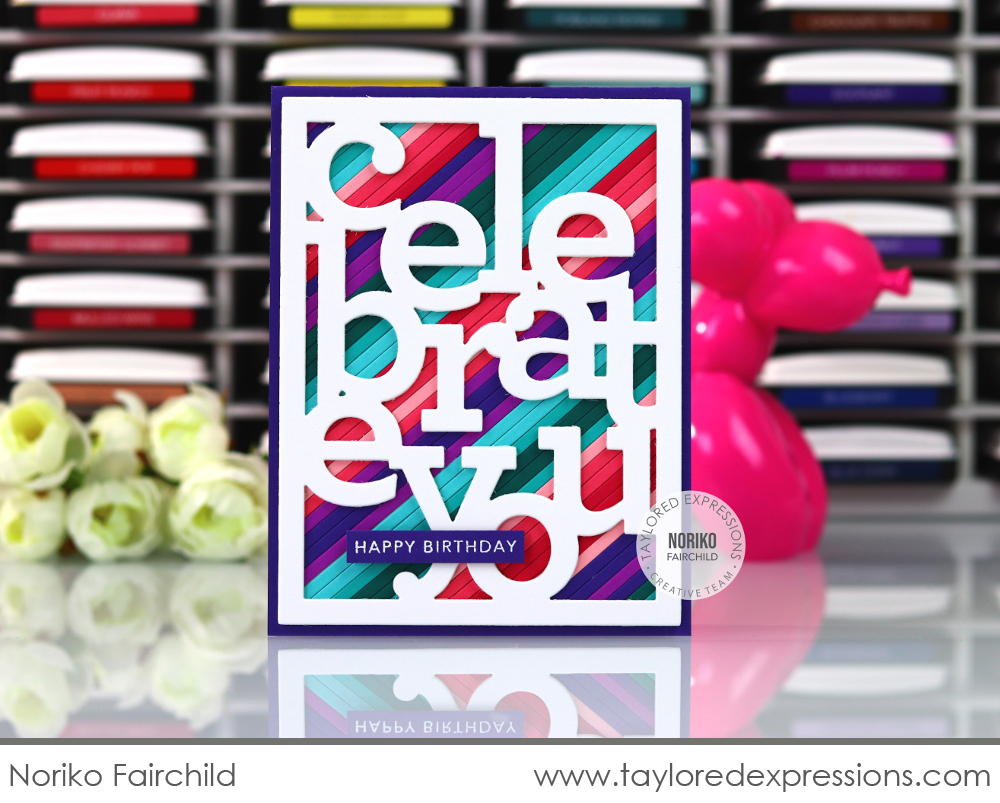
Noriko Farichild used the Easy Strips – 1/8″ die to create the striped background on this birthday card. The strips are cut from a number of jewel toned colors and pieced together at an angle. The Celebrate You Cutting Plate is cut out from Sugar Cube cardstock and layered over the striped background. Noriko added the ‘happy birthday’ sentiment from the Mini Strips – Birthday stamp embossed in white on Eggplant cardstock to finish off the card.
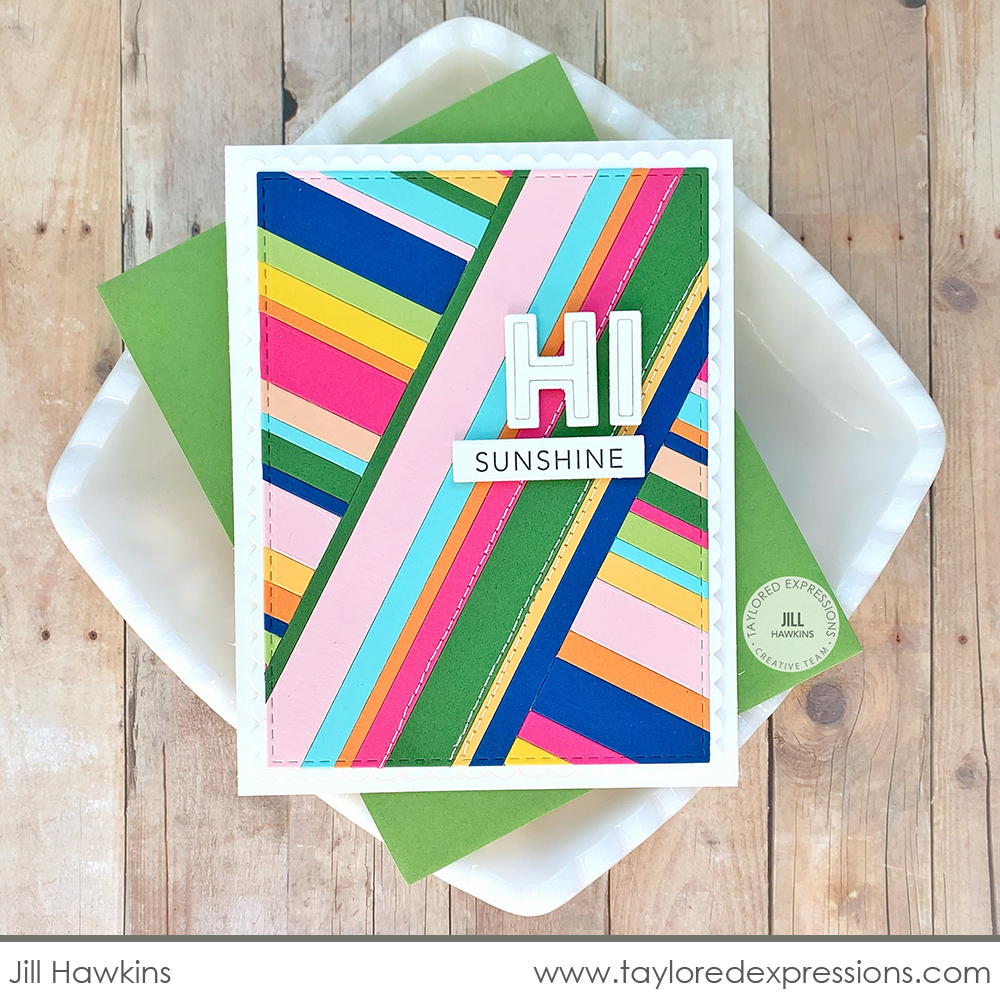
You can use just one strip size or all three like Jill Hawkins did on this card. Jill cut out strips from a number of colors from all three sizes of Easy Strips dies and created an awesome “stripped” background. She set some of the strips going at a diagonal across the card and then filled in the rest of the background with strips going in the opposite direction. The background is cut out with a Stitched Rectangle Stacklets die and Jill added a sentiment put together with the Cap it Off Alpha dies and the Building Blocks – Be Bright stamp.
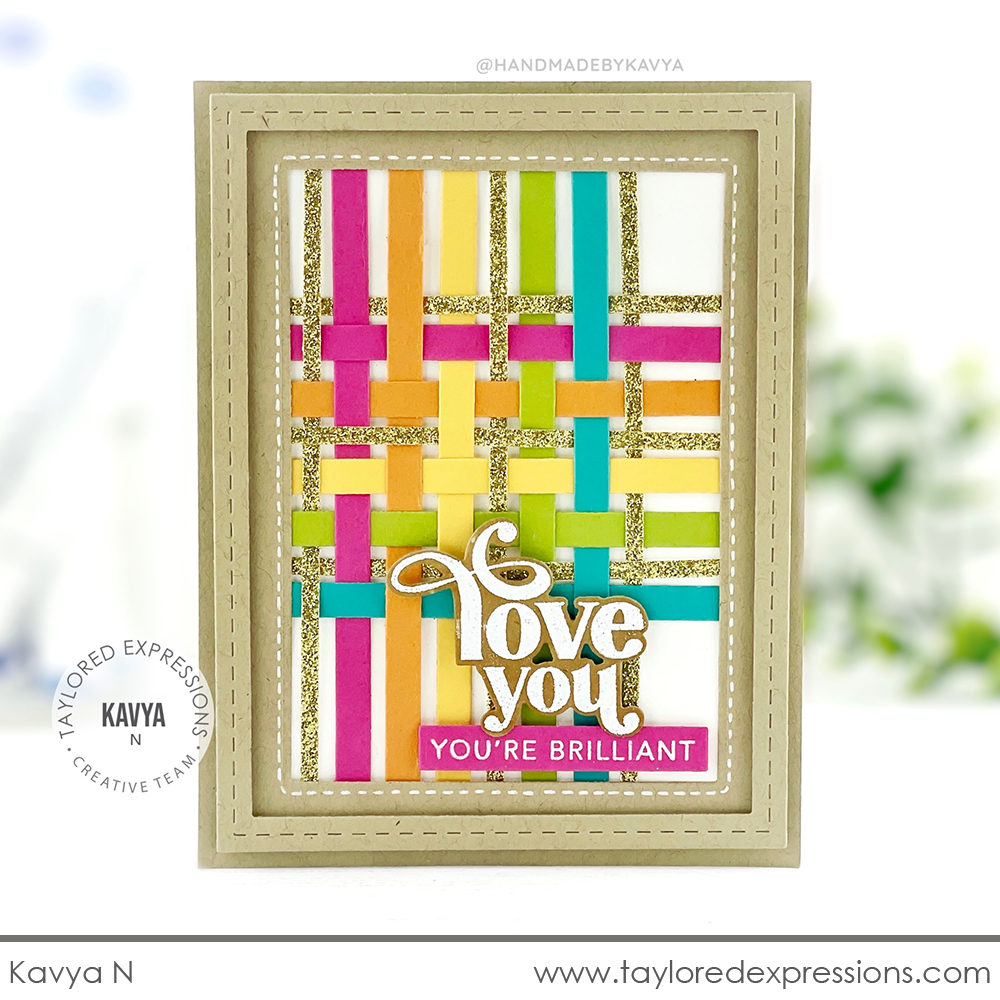
Kavya created a woven design for this card using the Easy Strips – 1/4″ and Easy Strips – 1/8″ dies. She cut the wider strips from several colors of cardstock and the narrow strips from gold glitter cardstock and wove them together for the background on her card. The design is framed with a piece of Toffee cardstock cut out with a Stitched Rectangle Stacklets die and also framed with a Stitched Frame Stacklets 1 die. The sentiment is stamped with the ‘love you’ stamp from the Love & Hugs stamp set and the ‘you’re brilliant’ sentiment from the Mini Strips – Watt’s Up stamp.
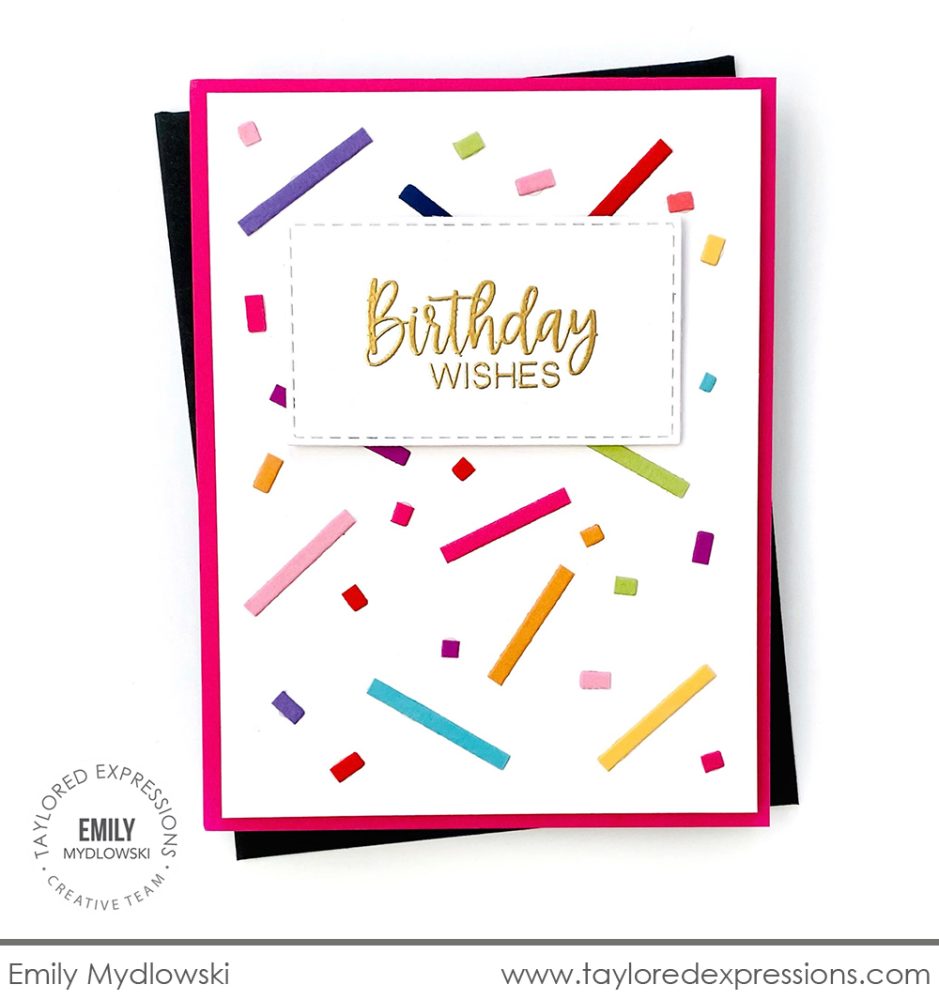
Instead of creating a striped look with the strips, Emily Mydlowski created festive confetti! Emily cut out several cardstock colors with the Easy Strips – 1/8″ die and then cut them into smaller pieces to make the confetti. The confetti is scattered across the background of the card and Emily added the ‘birthday wishes’ sentiment from the Botanical Sentiments stamp set embossed in gold on a Stitched Rectangle Stacklets die cut.
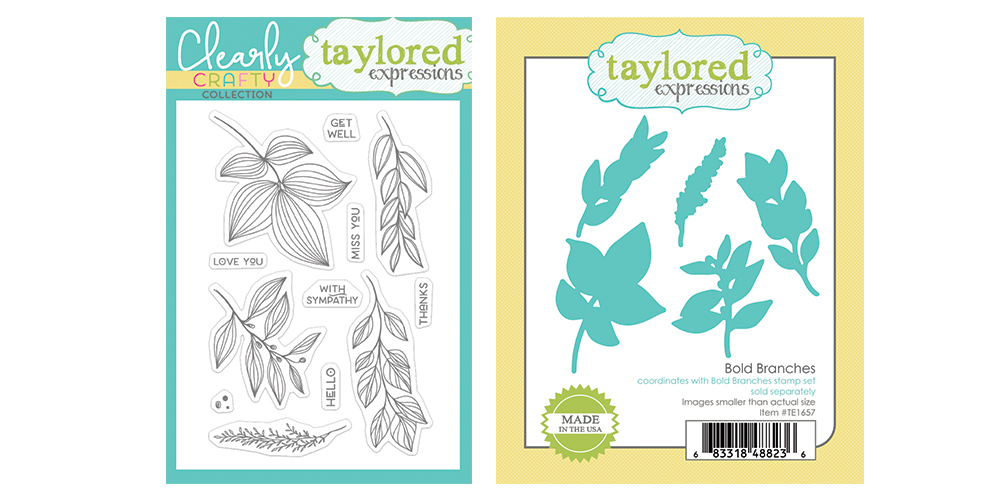
The Clearly Crafty Bold Branches stamp set was originally an exclusive set in July. The set includes 5 different botanical branches along with six sentiments that will work on cards for a number of occasions throughout the year. Color them with your favorite medium, emboss them for an elegant look, and more – the possibilities are endless! Now also available is the coordinating Bold Branches die collection (sold separately).
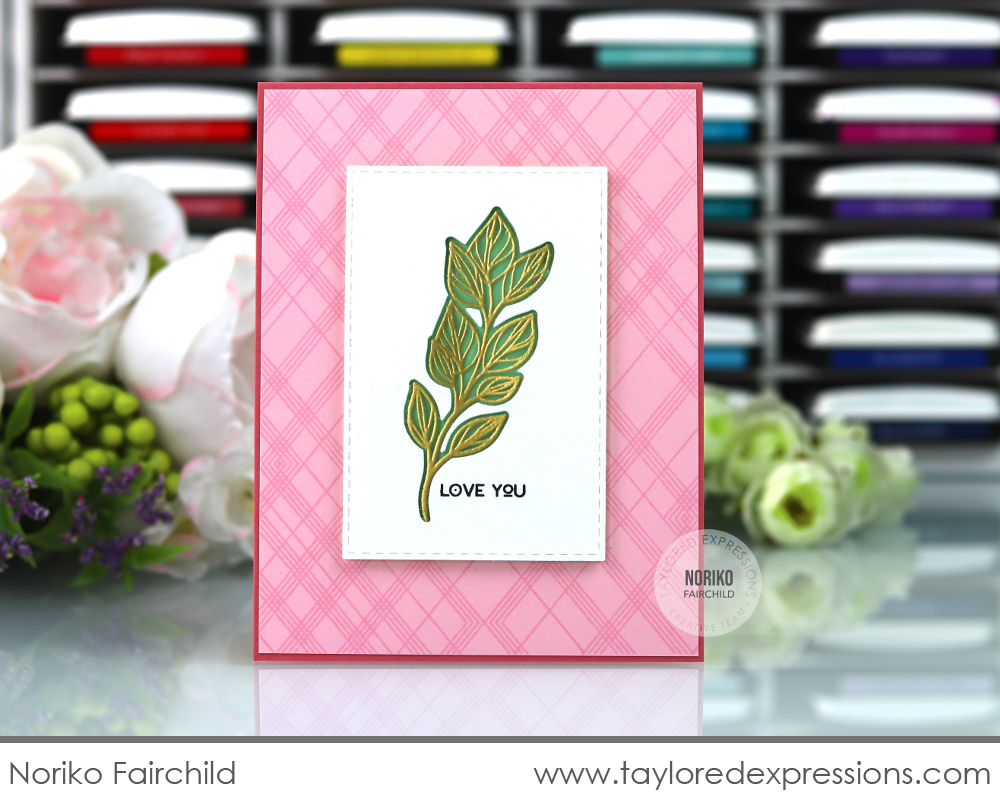
Noriko Fairchild embossed one of the branches from the Bold Branches stamp set into a piece of heat-resistant acetate and set it into an opening cut out with the coordinating Bold Branches die. I love how she layered the embossed branch over green cardstock to add color to the leaves! The ‘love you’ sentiment is stamped next to then branch with Oreo Ink and the background of the card is stamped with the Diagonal Diamonds Background stamp.
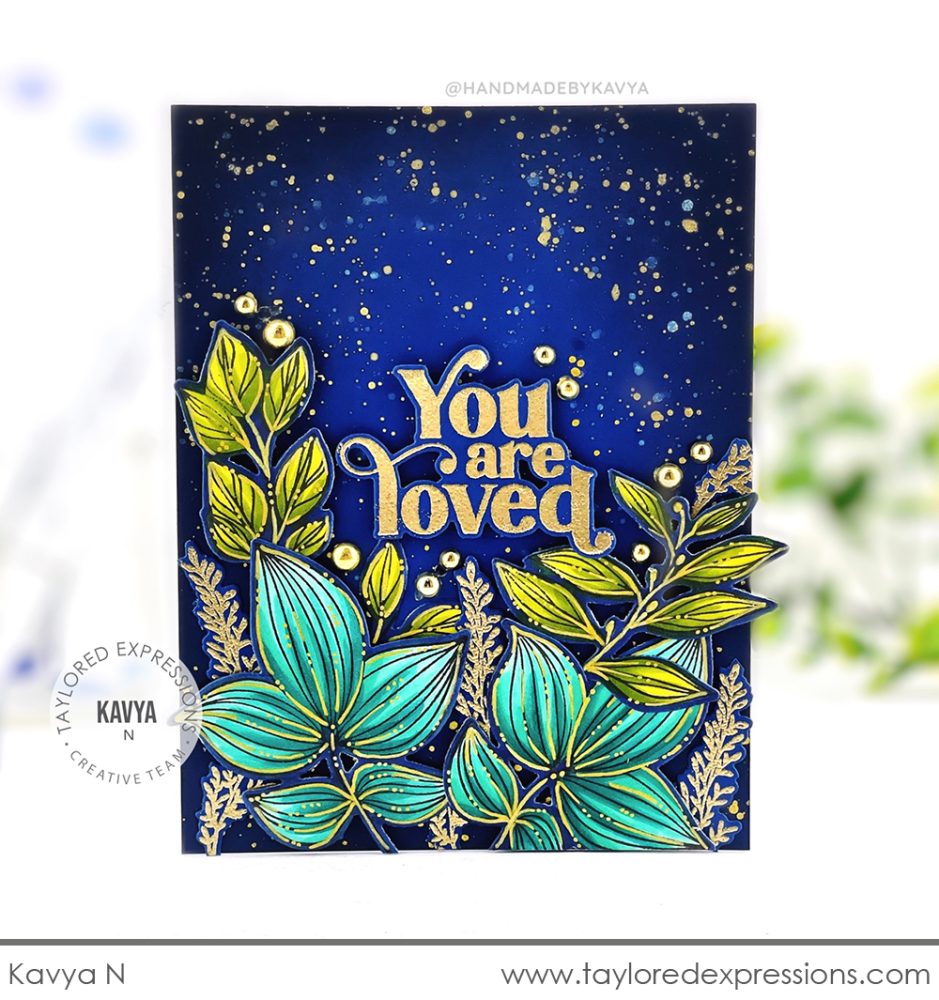
Kavya created a stunning card to send love to someone special with the Bold Branches stamp set. Several of the branches are colored with Copic markers and cut out with the coordinating dies. Kavya colored the edges of the die cut leaves with a blue color to match the background of the card. The background is Blueberry cardstock that Kavya blended around the edges with Blue Corn ink and then splattered with white and gold. There are additional branches and the ‘you are loved’ sentiment from the Love & Hugs stamp set embossed in gold on Blueberry cardstock and also Bits & Pieces – Gold Drip Drops scattered throughout the design.
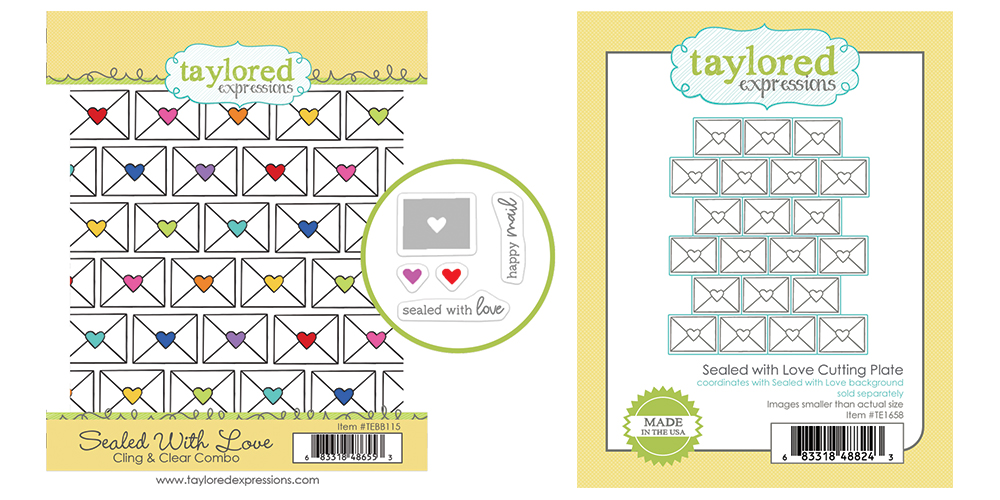
In August, we brought you the Sealed With Love Cling & Clear Combo set for the exclusive set you could earn. Stamp a whole background of envelopes sealed with a heart and then add color and sentiments with the clear stamps in the set. Now also available is the Sealed With Love Cutting Plate die (sold separately) that allows you to cut out all of the complete envelopes in the background design with one pass through your die cut machine.
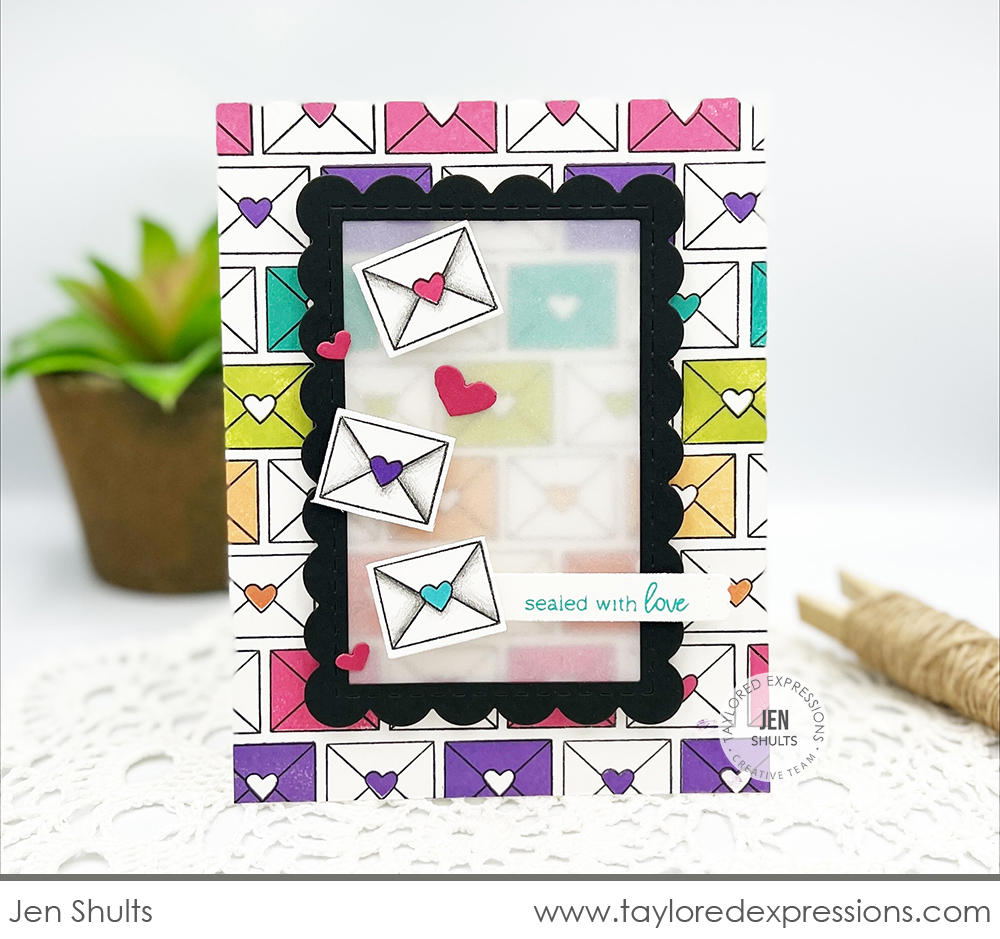
Jen Shults created this card to send happy mail with the Sealed With Love Cling & Clear Combo set. The background of the card is stamped with the background stamp and Jen added color in a rainbow pattern down the card using the included clear stamps. I love how she alternated coloring the envelope or just the heart seal across each row! Jen cut out additional envelopes with the Sealed With Love Cutting Plate die to add as a focal point on the card. She added them over a piece of vellum framed with a Frame in Frame 2 Cutting Plate die so they stand out over the background design.
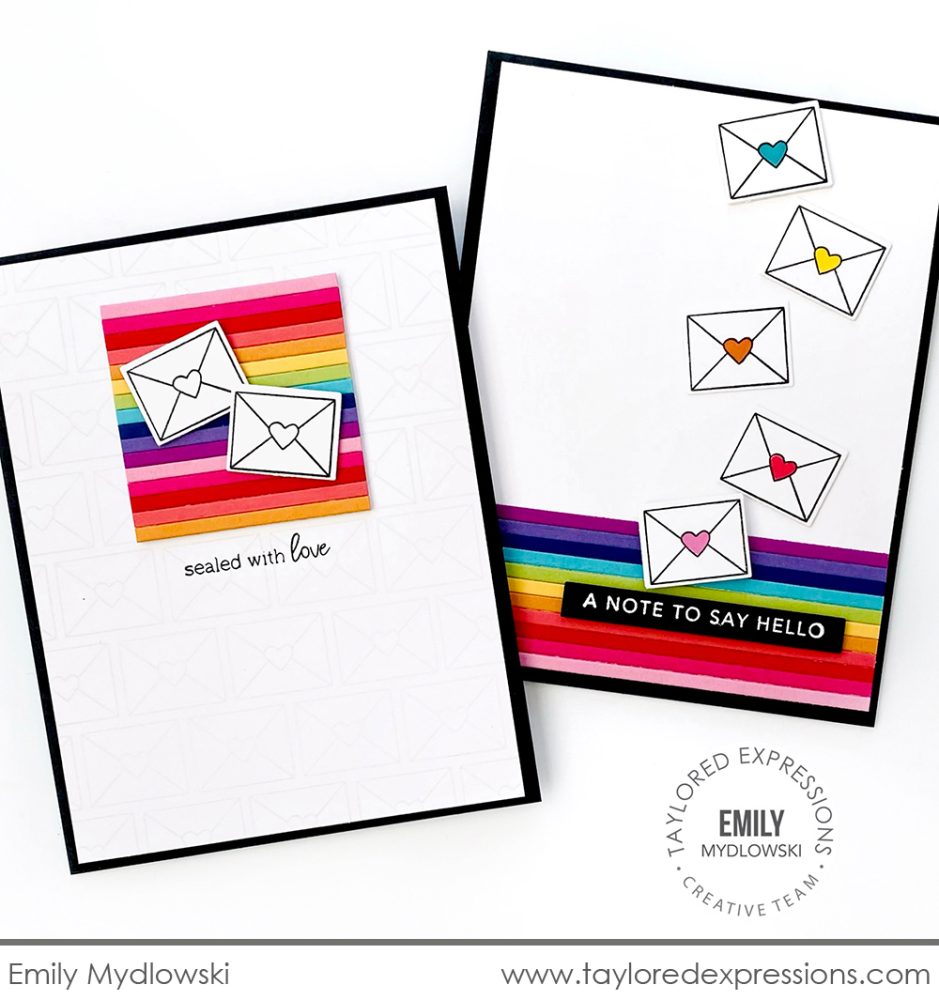
Emily Mydlowski created a set of cards with the Sealed With Love Cling & Clear Combo set and coordinating die. For the card on the left, the background image is stamped with Sea Salt ink to create a subtle effect and Emily added a few individual envelopes over a rainbow block featuring strips cut out with the Easy Strips – 1/8″ die. The card on the right has a stripped rainbow border at the bottom of the card, several envelopes scattered down the card with the heart seals stamped to match the rainbow colors in the border, and the ‘a note to say hello’ sentiment from the Mini Strips – Fun & Funny stamp.
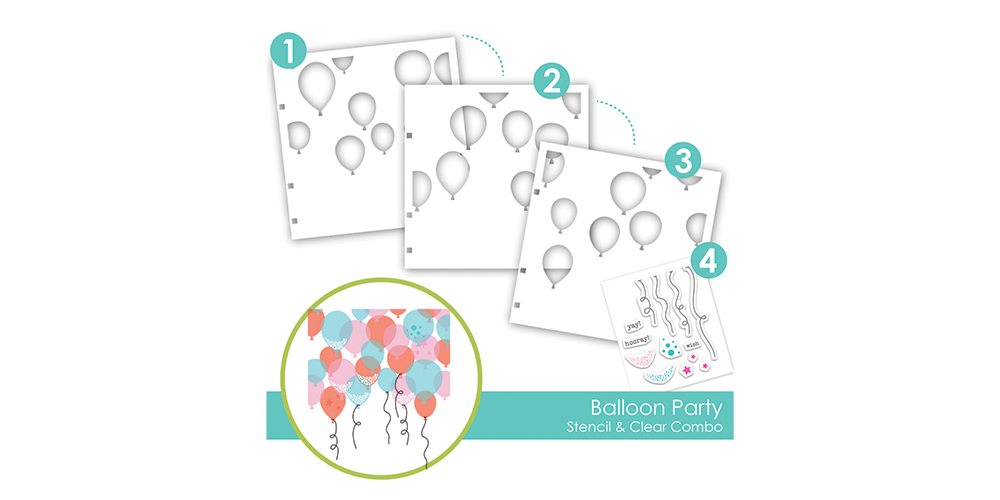
September is our birthday month and so it was only right that we had a birthday themed exclusive: the Balloon Party Stencil & Clear Combo set. The set includes three stencils to create a whole background of balloons and clear stamps to add strings, details to the balloons, and a few birthday themed words.

Jill Hawkins created a pair of cards from one background that she stenciled with the Balloon Party Stencil & Clear Combo set. The balloons are stenciled on an A2 panel in green, pink, yellow, and orange ink tones and then Jill added the polka dot details, balloon strings, and stars using the clear stamps. She cut the panel in half and used a piece on each card. The ‘happy’ word is stamped with the On the Block – Happy stamp and the sentiment strips are from the Simple Strips – Birthday stamp. A few Bits & Pieces – Drip Drops finish off the card.
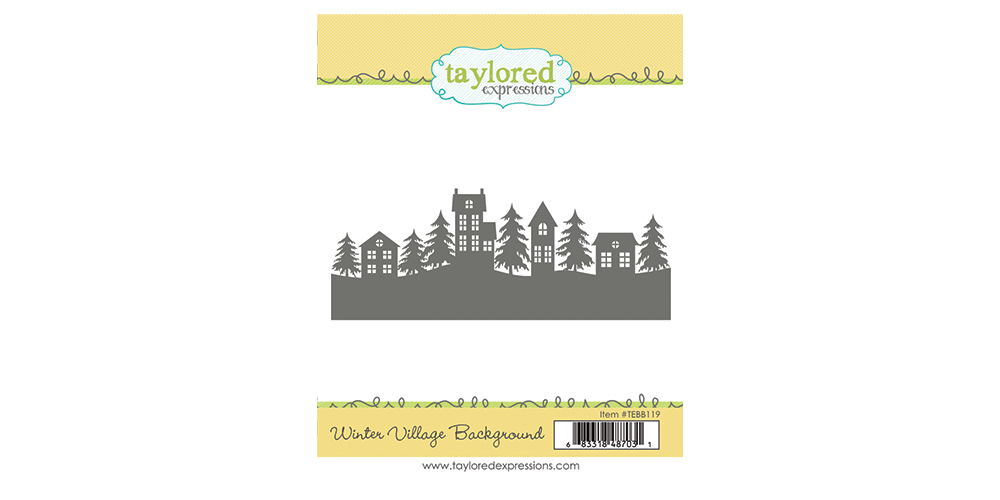
The Winter Village Background was the exclusive stamp that you could earn in October. The stamp features a silhouette image of rolling hills, quaint houses, and evergreen trees. Add a sky and snowflakes for the perfect winter look or use the whimsical village for other times of the year too with a change of color and details.

Melody Rupple created the prettiest winter scene with the Winter Village Background stamp. She blended a background on Sugar Cube cardstock using Blue Raspberry and Blue Corn inks and embossed the scene in white over the top. White glitter cardstock is perfect for extra snow drifts in front of the village and the sky is covered with white ink splatters and Bits & Pieces – White Rhinestones for a snowy night sky effect. The ‘winter blessings’ sentiment from the Winter Blessings stamp set is stamped with Blue Corn ink and cut out with the coordinating die.
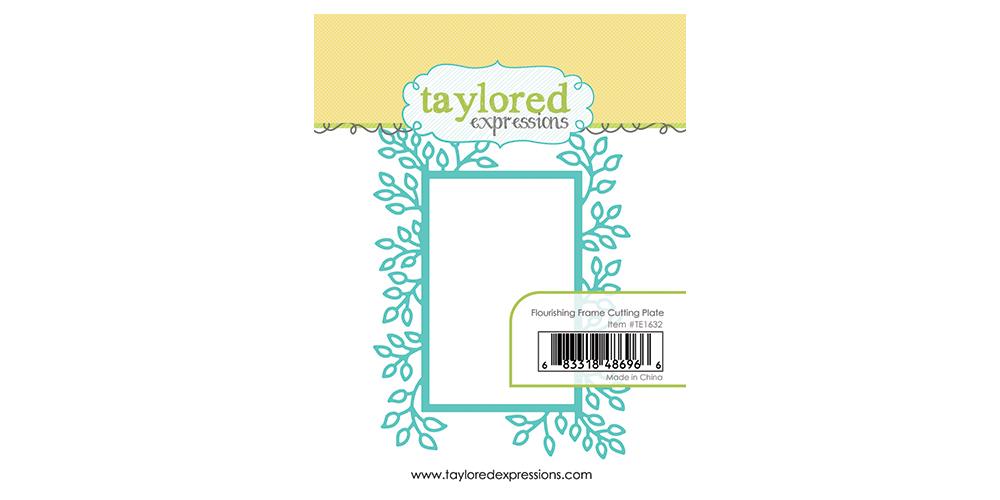
Create an elegant, botanical frame for your projects with the Flourishing Frame Cutting Plate die that was the exclusive that you could earn in November. The frame features delicate leaves surrounding a rectangular frame and is a beautiful addition to a card that needs that extra elegant touch. The frame would be beautiful for a wedding, anniversary, sympathy card, and more.

Heather Nichols shows off her rustic flair with this card created with the Flourishing Frame die. The background of the card is created with the Easy Strips – 1/2″ die cut from Toffee cardstock that is painted with white acrylic paint and stamped with the Wood Plank Background stamp. Heather pieced the strips onto the card front and added the Flourishing Frame over the top. Color was added to the leaves with Avocado ink using a blender brush and Heather used a frame cut with the A2 Thin Frame Cutting Plate die over the Flourishing Frame die cut so it would stand out. The ‘love always’ sentiment from the Sweet Sentiments stamp set is stamped into the frame opening and Bits & Pieces – Iridescent Rhinestones add a touch of sparkle.
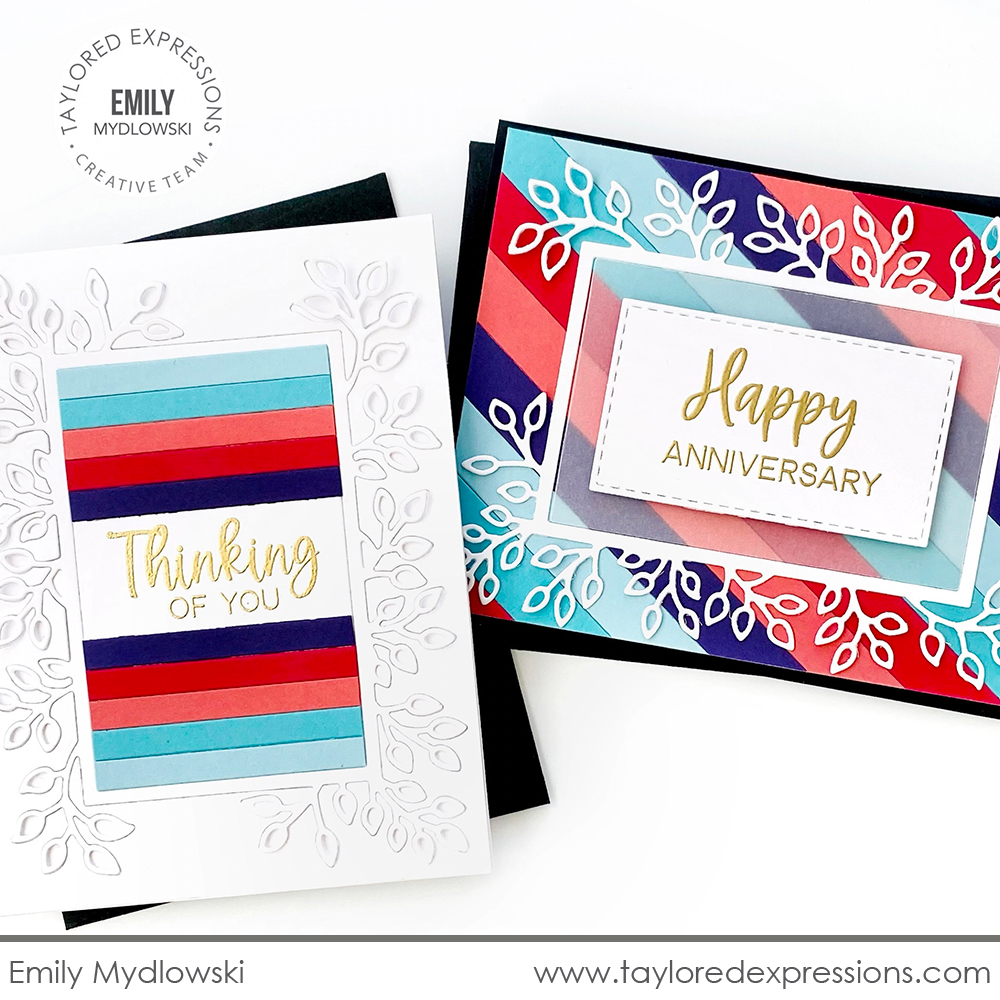
Emily Mydlowski used the Flourishing Frame die on this set of cards that have a bright and graphic look. For the card on the left, Emily cut the frame from Sugar Cube Cardstock and then inset strips cut out with the Easy Strips – 1/4″ die into the top and bottom of the frame opening. For the card on the left, Emily created a background with strips cut out with the Easy Strips – 1/2″ die in a diagonal design. She layered the layered the Flourishing Frame cut from Sugar Cube cardstock over the top and added sentiments to both cards from the Botanical Sentiments stamp set that are embossed in gold.

Join me live for “T Time” at 1pm Central today on the Taylored Expressions Facebook Page. I’ll be sharing a closer look at the Easy Strips dies and TE Exclusives that you can now purchase. We hope to see you there – come join in the fun! (Don’t worry, if you miss the live you can always watch the saved broadcast afterward!)
Thank you so much for stopping by today! Make sure you check out the rest of the TE Creative Team projects using the new release products – click their faces below to hop to their blogs! Stop back again here on the TE blog on Thursday for more inspiration, including a video from Heather Nichols. See you then!


