Jan 20, 2022
Extra Inspiration using the NEW Easy Strips Dies + TE Exclusives!
Hey, crafty friends! It’s Heather here today! Get ready for another round up of inspiration from the TE Creative Team using the new Easy Strips dies and TE Exclusive products that are now available to purchase in the TE webstore. The new Easy Strips dies are definitely something I will keep close at hand – there are so many ways that you can incorporate stripping into your projects…! For today’s video and project inspiration from the TE Creative Team, keep scrolling!
Don’t miss out on the promotions happening this week! Here are the details:
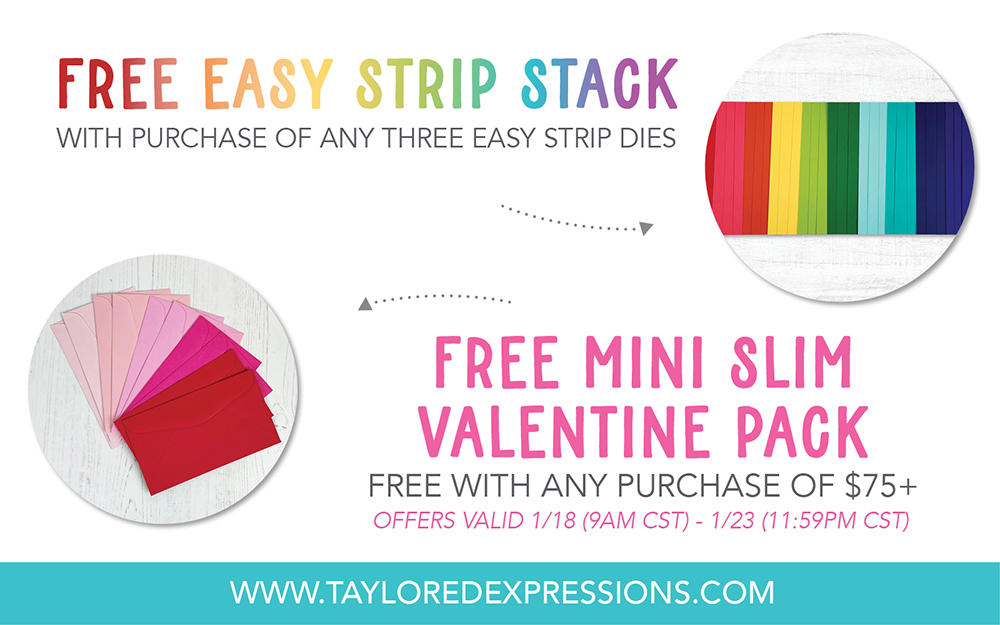
With the purchase of any 3 Easy Strips dies (any combination of the Easy Strips – 1/8″ die, Easy Strips – 1/4″ die, and Easy Strips – 1/2″ die), you will receive an Easy Strip Stack pack FREE. The Easy Strip Stack includes cardstock in multiple colors sized to match the Easy Strip dies. You get three sheets of each of the following colors: Fruit Punch, Guava, Sweet Potato Pie, Pineapple, Lime Zest, Cilantro, Confetti Cake, Blue Raspberry, Blueberry, and Eggplant.
Also, with any purchase of $75 or more (before tax & shipping), you will receive a FREE Mini Slim Envelope Valentine pack. The envelope pack includes 2 each of Cupcake, Pink Champagne, Strawberry Milkshake, Lollipop and Watermelon Mini Slim envelopes.
**Both promotions run now through Sunday, January 23rd or while supplies last.
Click below to shop the new products in the TE webstore and then keep scrolling to see today’s video and inspiration!

Today’s video is from me (Heather Nichols) and I am sharing how to create this botanical card to send someone special your love with the Bold Branches stamp set and coordinating dies. Watch the video below to see how I created the card from start to finish.
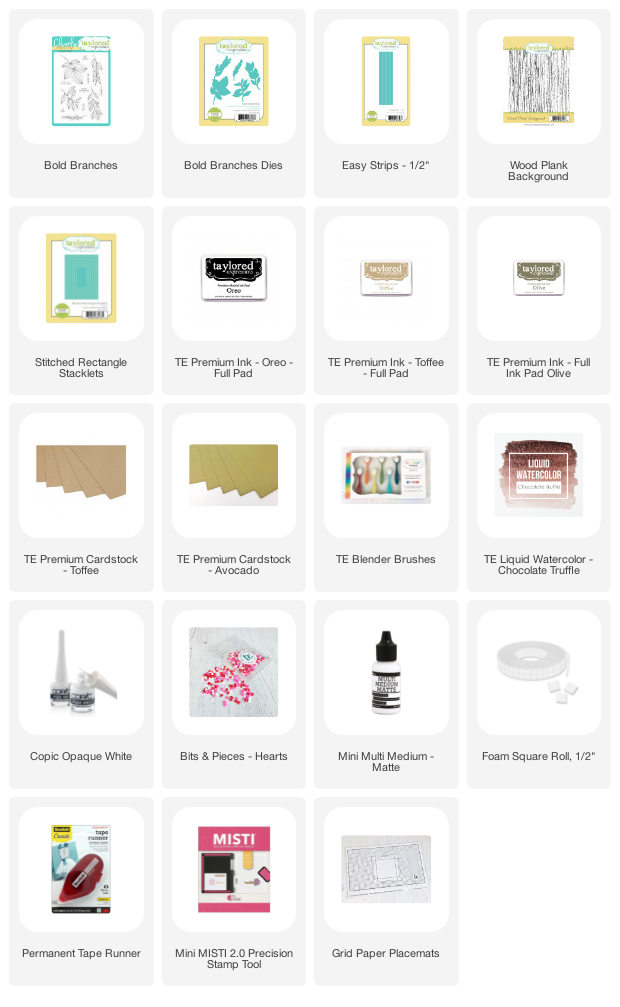
In the video, I show how I die cut, shaded, and stamped a number of the branches from the Bold Branches stamp set and coordinating dies. I arranged the branches into a frame on a piece of Toffee cardstock, leaving a space in the center of the panel. To create the wood plank look for the rectangle in the center of the card, I stamped the Wood Plank Background stamp onto Toffee cardstock that is painted with white acrylic paint and then cut it into strips with the Easy Strips – 1/2″ die. The rectangle is cut out with the Stitched Rectangle Stacklets die and stamped with the ‘love you’ sentiment from the Bold Branches stamp set. The finishing touch is a few Bits & Pieces – Hearts added next to the sentiment.
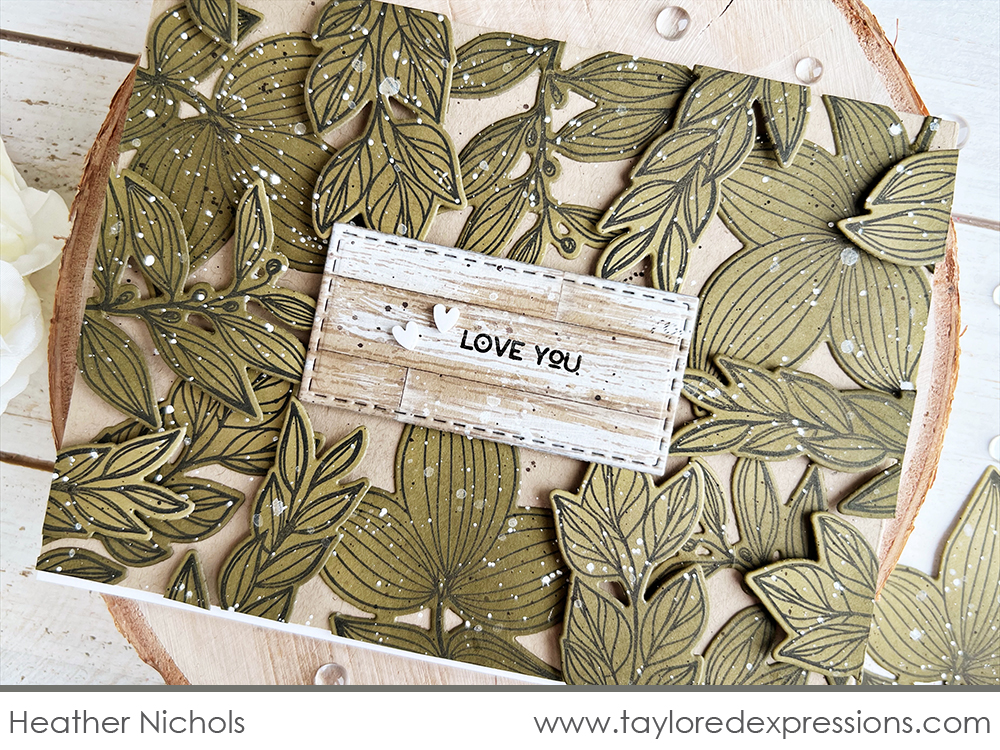
Stamping images on the cardstock of the color you want them to be is a quick and easy way to color them! I cut out the die cuts first from Avocado cardstock and then added shading with Olive ink using a blender brush. Once all of the die cut pieces were shaded, I stamped the branch images onto them with Oreo ink. See how I set up a template in my MISTI to stamp the images onto the die cuts in the video above!
When I arranged the branches onto the card to create the frame, I adhered some of them directly to the card and some using foam squares to pop them up a bit. This created wonderful dimension on the finished card.
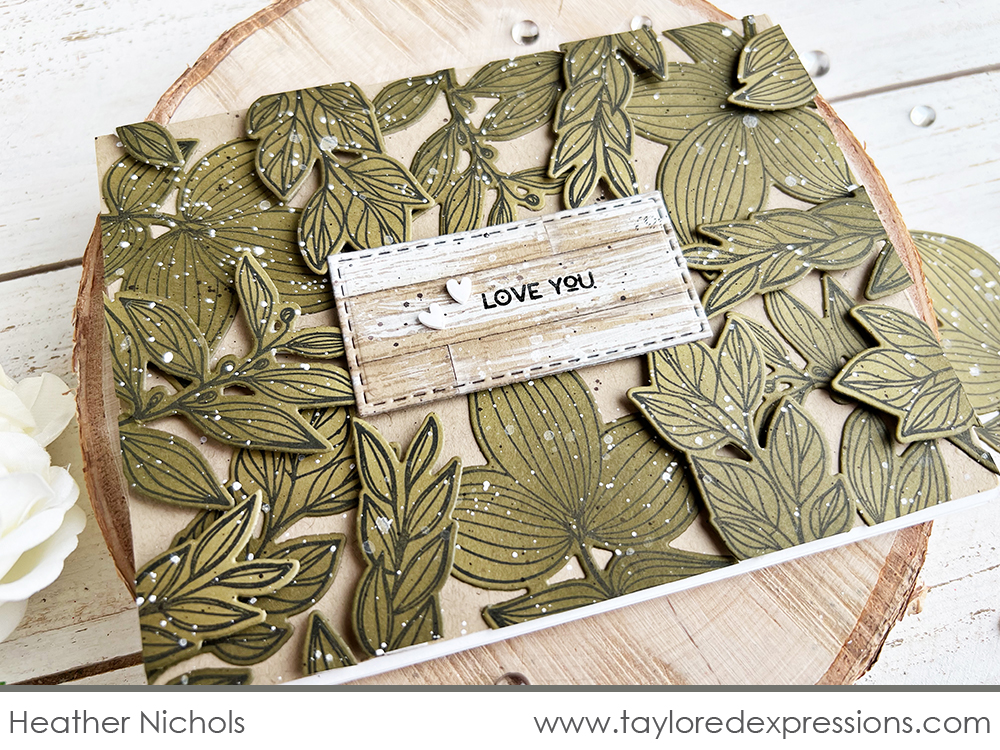
The wood plank effect in the middle of the card is something that I shared on a Facebook Live with Taylor several months ago. I share how to create the effect again in the video above by painting Toffee cardstock with white acrylic paint, stamping it with the Wood Plank Background stamp, and cutting out the “planks” with the Easy Strips – 1/2″ die. I had so much fun with how easy it was to create the wood planks with the new Easy Strips die that I used the effect on all of projects for this release! It was the perfect look for the center of the botanical frame and is stamped with the ‘love you’ sentiment.

Here are a few more projects from the TE Creative Team created with products from this week’s release. First up are a few projects created with the new Easy Strips dies:
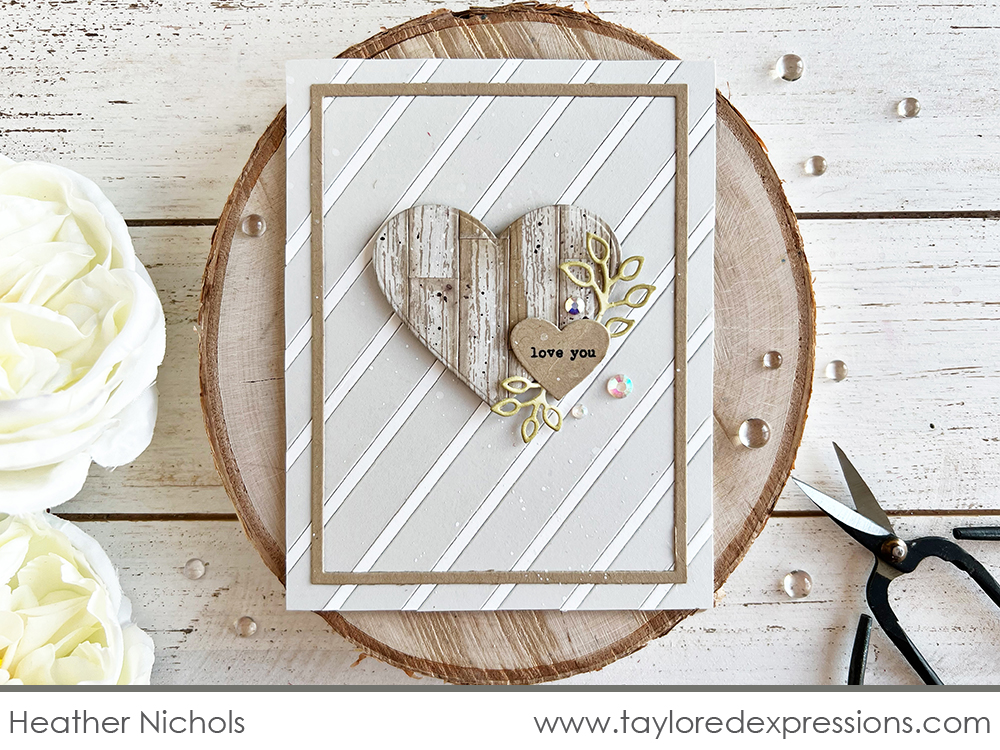
On this card, I used the Easy Strips – 1/2″ die in a few different ways (Heather Nichols). For the background, I created an alternating diagonal pattern with 1/2″ strips cut from Sea Salt cardstock and 1/8″ strips cut from Sugar Cube cardstock using the Easy Strips – 1/8″ die. For the heart, I pieced together strips cut out with the Easy Strips – 1/2″ die from Toffee cardstock that I had painted with white acrylic paint and stamped with the Wood Plank Background stamp. Both hearts on the card are cut out with Heart Stacklets dies and I stamped the ‘love you’ sentiment from the Tag Team – Valentine stamp set on the smaller heart.
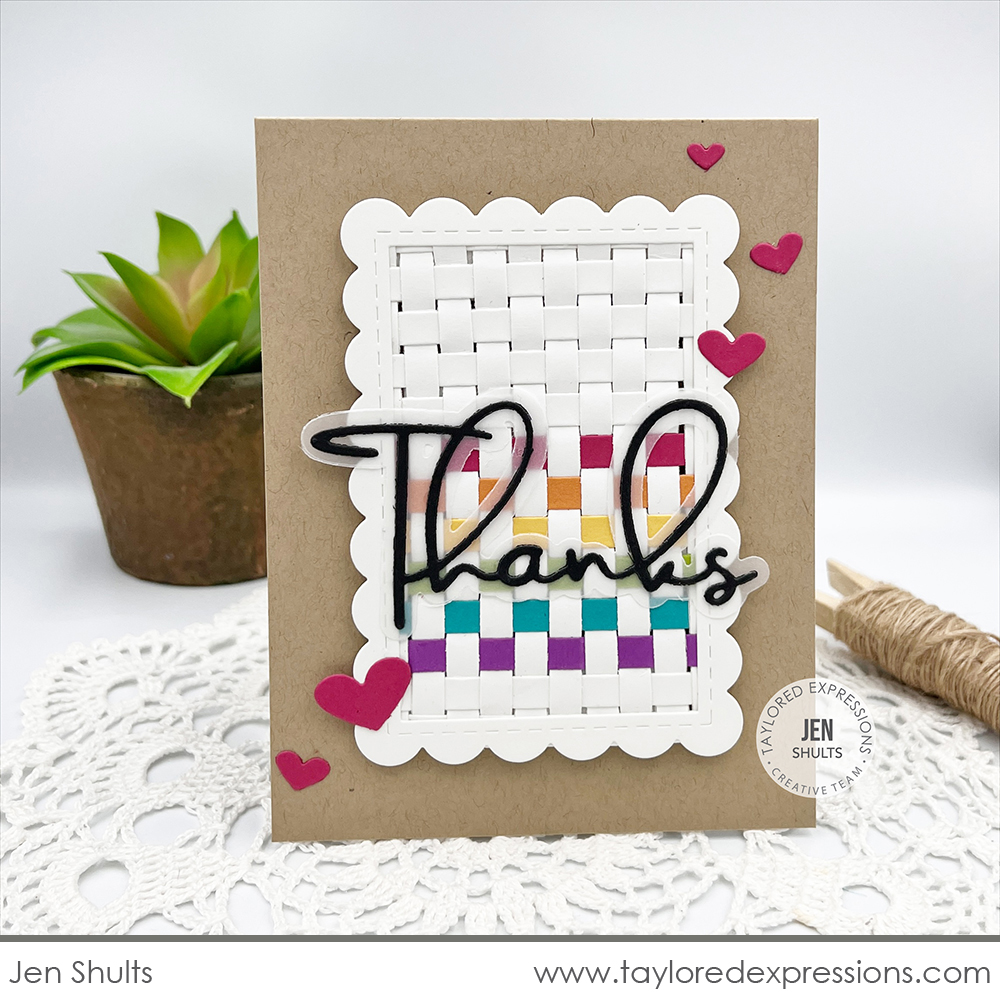
Jen Shults wove together a pretty rainbow design on this card with the Easy Strips – 1/4″ die. the design is woven from Sugar Cube, Fruit Punch, Candy Corn, Pineapple, Lime Zest, Blue Raspberry, and Jelly Donut cardstock and framed with a Frame in Frame 2 Cutting Plate die cut. The weaving is added to a Toffee card base alone with the ‘thanks’ sentiment cut out with the Signature Thanks and Signature Thanks Backer dies and a few Little Bits – Hearts cut out from Fruit Punch cardstock sprinkled across the card.
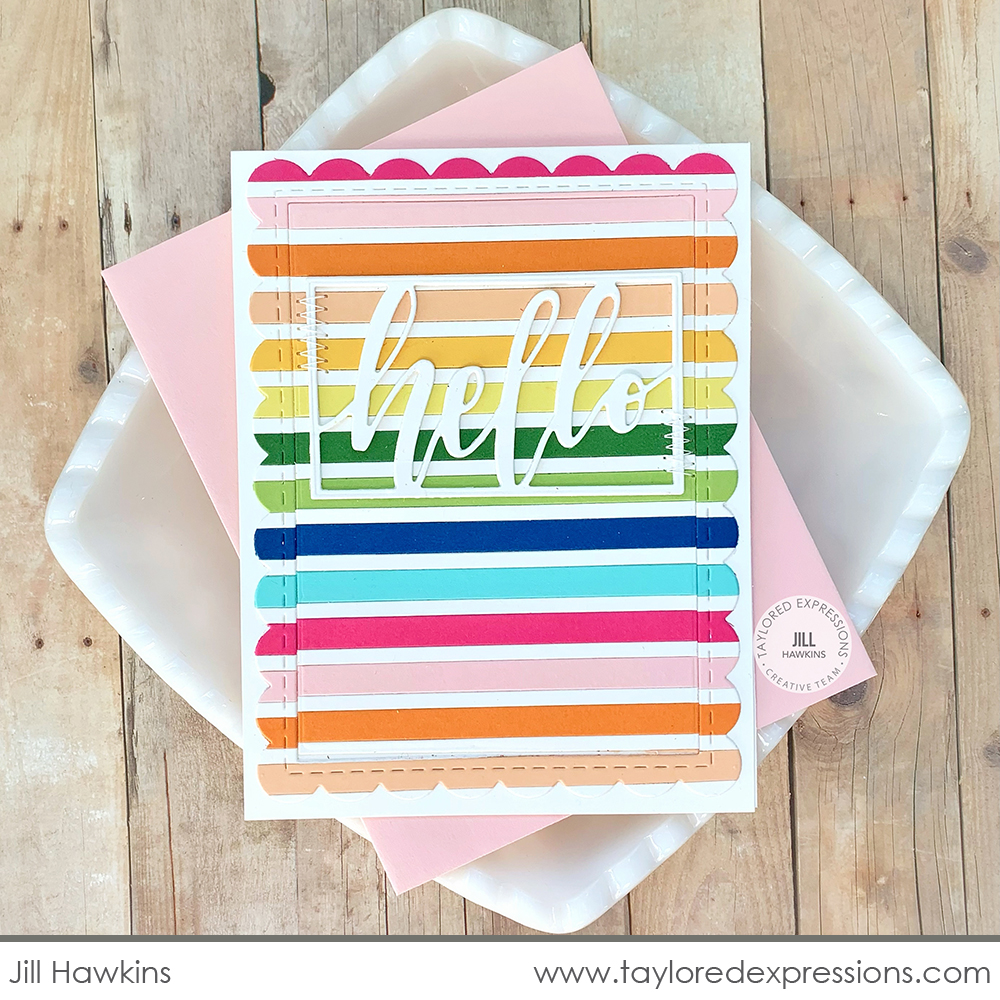
Jill Hawkins brought out all the rainbow colors on this card! She cut the colors out using the Easy Strips – 1/4″ die and created a horizontal striped design, alternating the colors with Sugar Cube strips cut out with the Easy Strips – 1/8″ die. Once the background was all put together, Jill cut it out using the largest frame from the Frame in Frame 2 Cutting Plate die and pieced the frame and inset piece together on the card. The sentiment is cut out using the Framed Script – Hello die from Sugar Cube cardstock.
…..
And now a few more projects created with the TE Exclusives that you can now purchase:
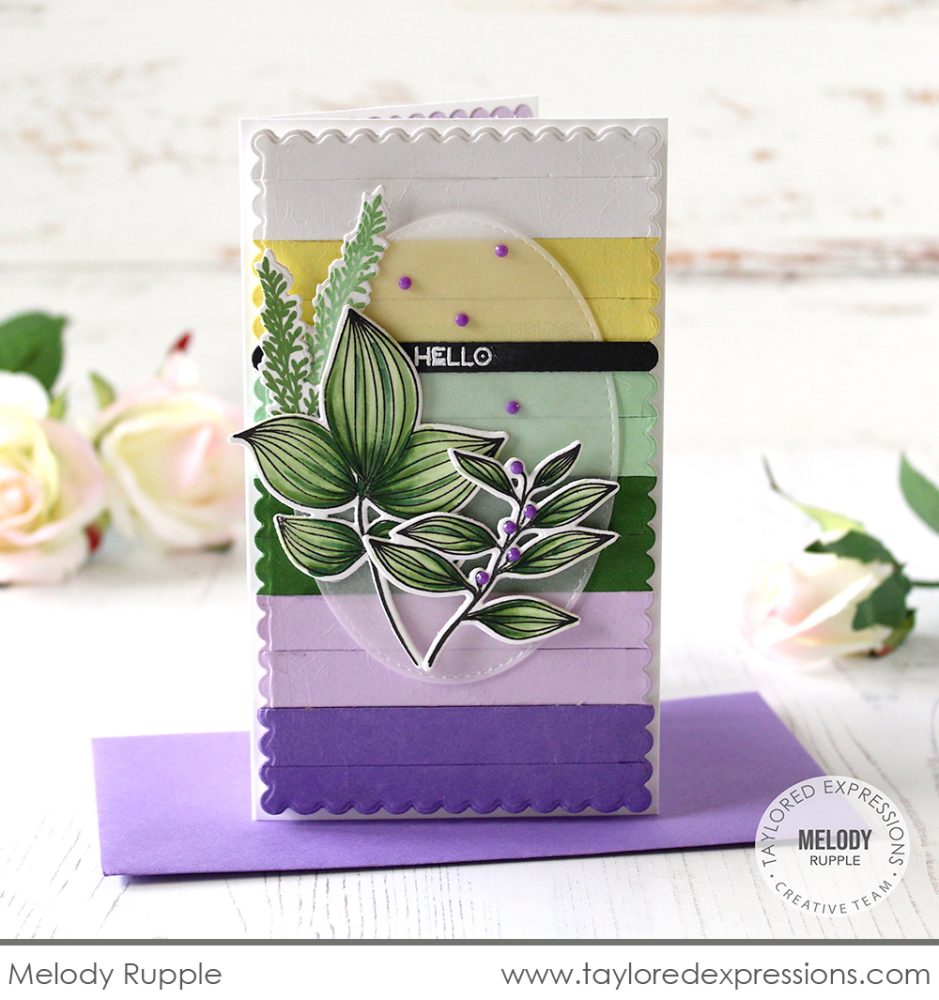
This Mini Slim card by Melody Rupple showcases the Bold Branches stamp set and coordinating dies. Melody stamped the larger branches with Oreo ink and colored them in with Copic markers. She stamped a few of the solid sprigs from the set in a few shades of green ink to coordinate and arranged the branches together on a piece of vellum cut out with a Stitched Oval Stacklets die. The background of the card is created with the Easy Strips – 1/2″ die and cut out with a Petite Scallop Mini Slim Stacklets die.
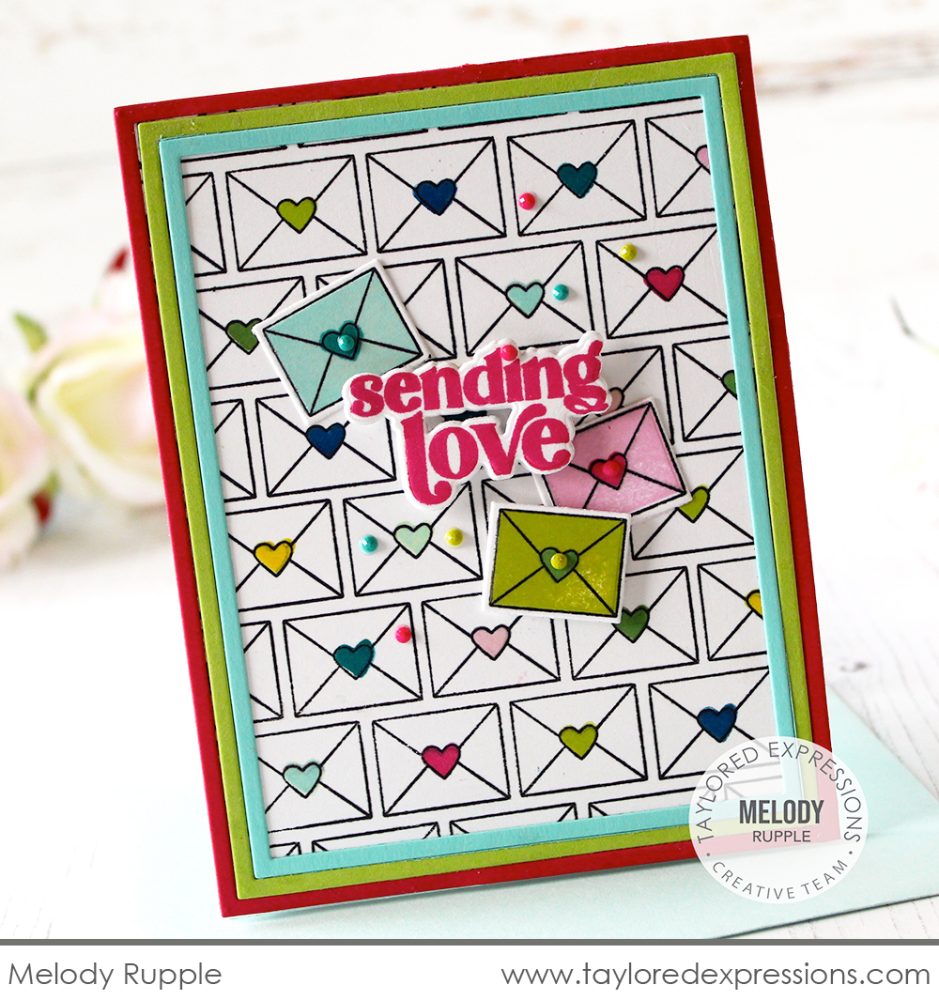
Melody Rupple also created this card that features the Sealed With Love Cling & Clear Combo set and new Sealed With Love Cutting Plate die. The background is stamped with the envelope background design and then Melody stamped the heart seals using the clear stamp with different ink colors. Melody stamped additional envelopes, added color to them with the clear stamps, and cut them out with the die to sprinkle around the ‘sending love’ sentiment stamped with the Love & Hugs stamp set. I love how the whole design is framed with frames cut out using the A2 Thin Frame Cutting Plate die.
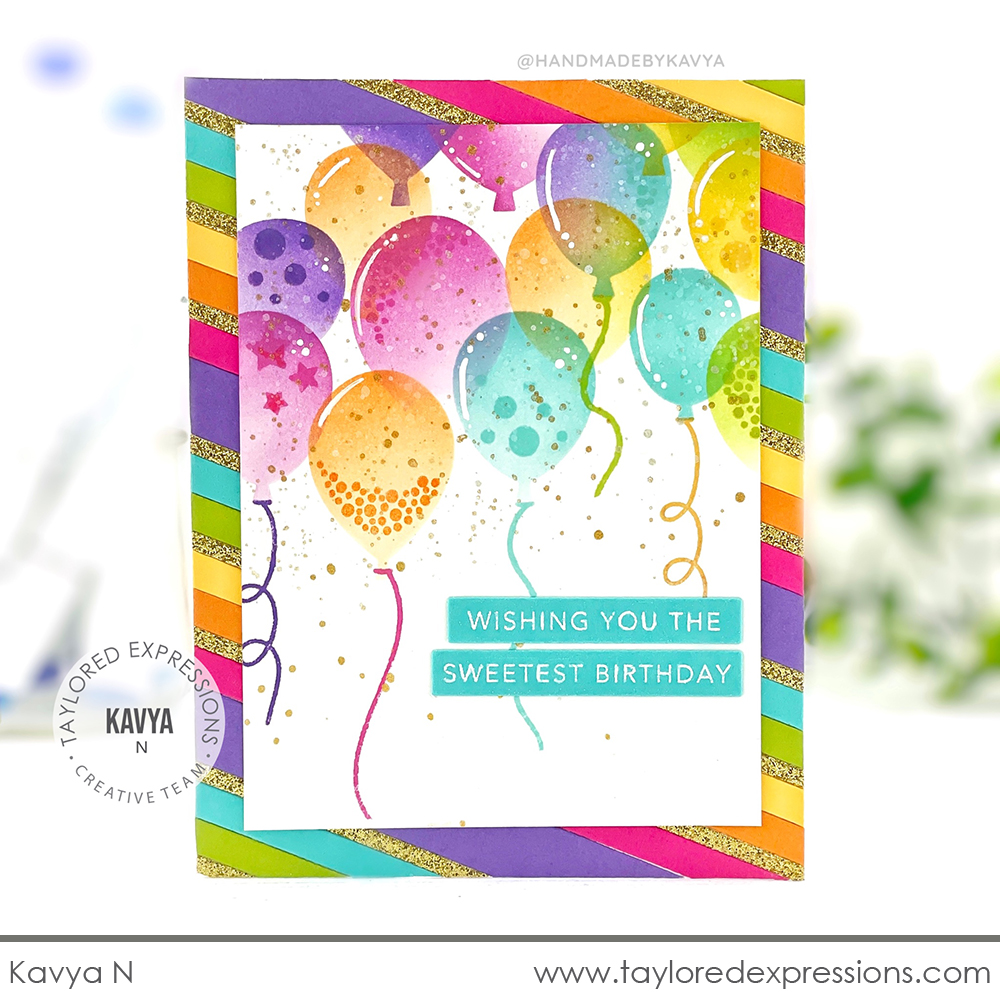
Kavya brought out all the colorful balloons on this card created with the Balloon Party Stencil & Clear Combo set. The balloons are blended with Lollipop, Jelly Donut, Candy Corn, Pineapple, Cookie Monster, and Granny Smith inks and Kavya added the details stamped in the same colors with the clear stamps in the set. I love the colorful striped background on the card that Kavya created with strips of cardstock colors to match the balloons cut using the Easy Strips – 1/4″ die and and gold glitter cardstock cut out with the Easy Strips – 1/8″ die. The sentiments are from the Mini Strips – Donut Worry stamp and are embossed in white on Cookie Monster cardstock.
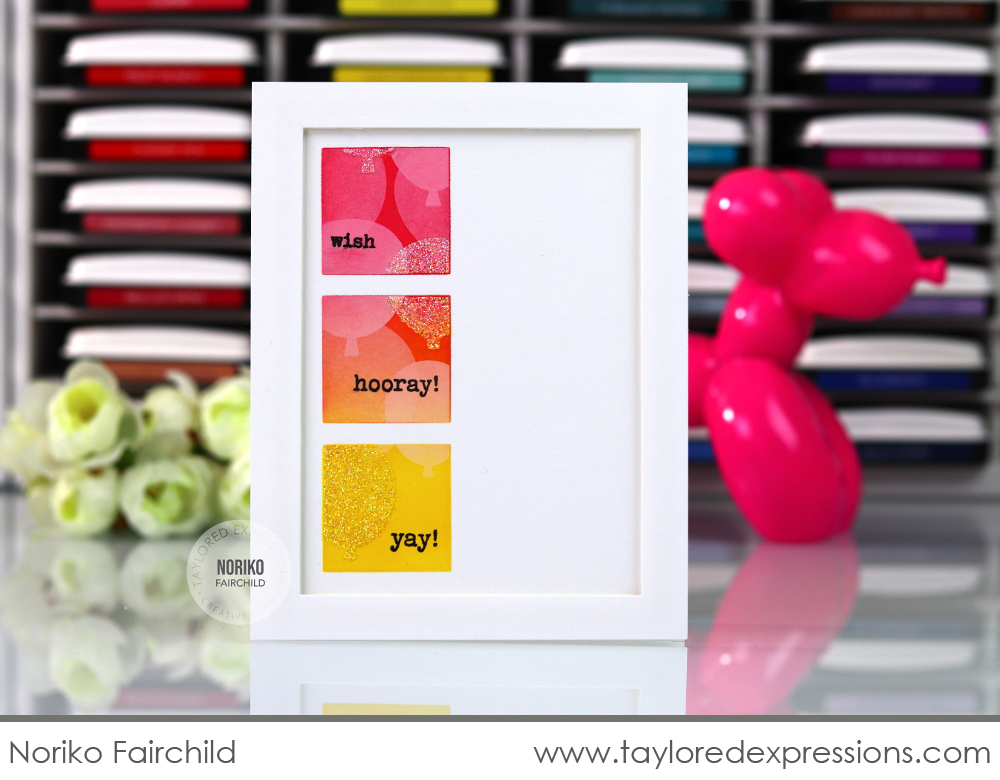
Noriko Fairchild paired the Masking Stencils – Square Windows set with the Balloon Party Stencil & Clear Combo set to create this birthday card. She stenciled the square shapes first doing a blend with Pineapple and Guava inks. While the stencil was still in place, Noriko stenciled the balloons into the square window openings using Sugar Cube ink and Happy Medium – Iridescent Glitter. The final touch was stamping a word into each square using the clear stamps in the Balloon Party Stencil & Clear Combo set.
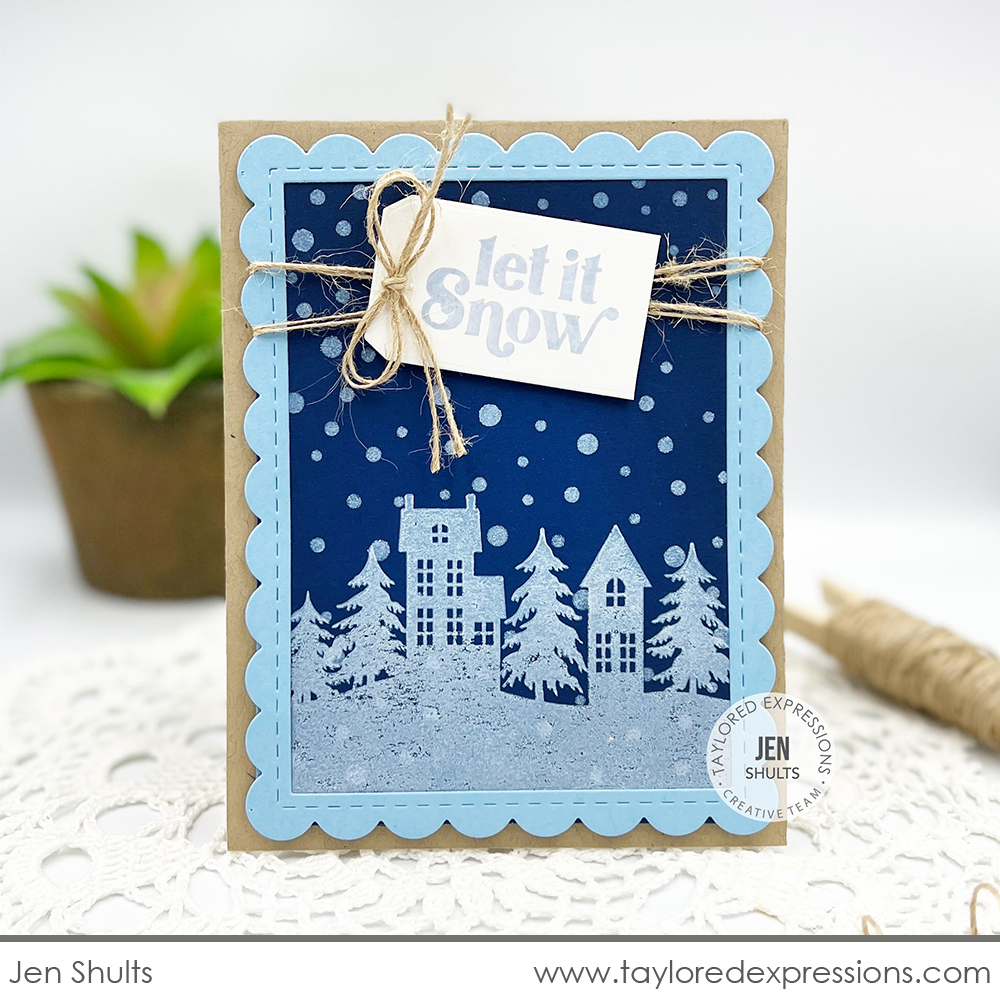
This wintery card was created by Jen Shults using the Winter Village Background stamp. She stamped the image with Sugar Cube ink onto Blueberry cardstock and used the Snow Flurry stencil to add the snowy effect. The image is framed with a Frame in Frame 2 Cutting Plate die cut from Gumball cardstock. Jen added the ‘let it snow’ sentiment from the Winter Blessings stamp set to a Tag Stacklets 2 die cut and tied it around the top of the winter scene using burlap twine.
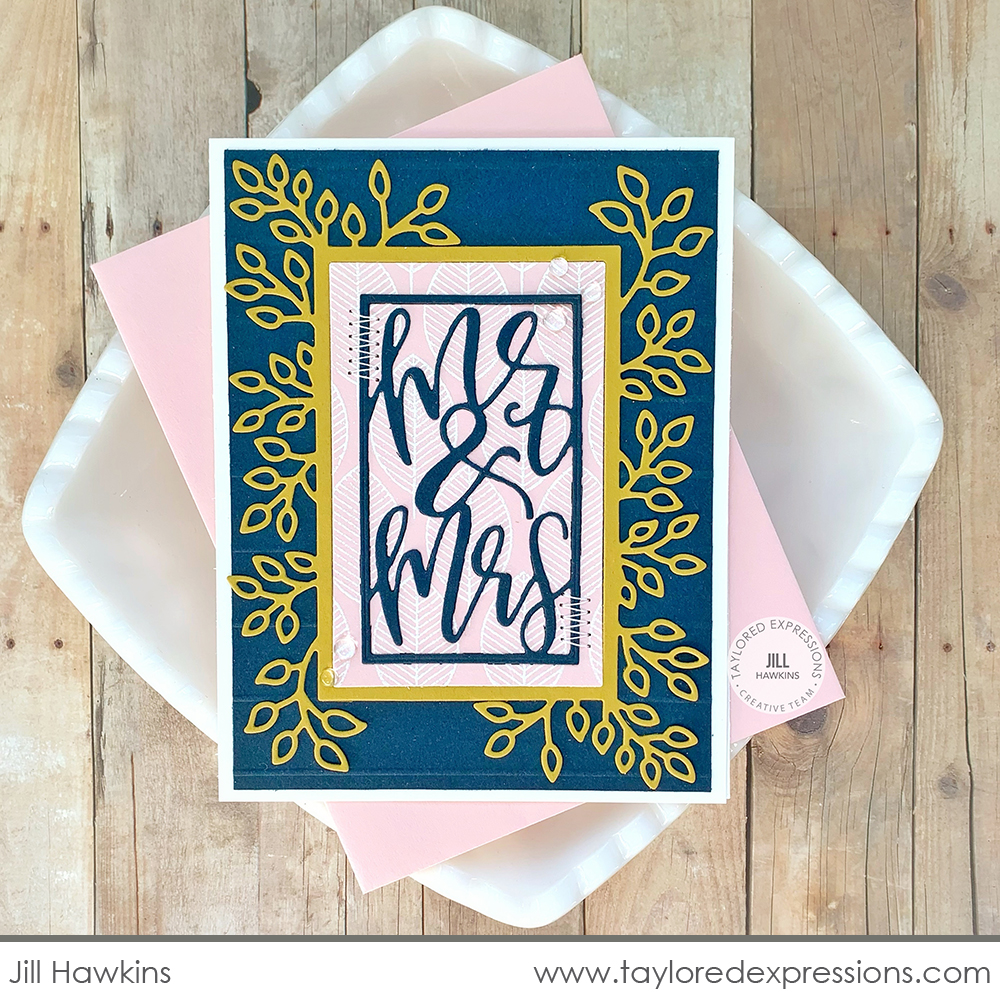
Jill Hawkins created a card that would work for either a wedding or anniversary card by pairing the Flourishing Frame Cutting Plate die with the Framed Script – Mr & Mrs die. The frames work perfectly together and I love the color combination that Jill used: Blue Corn, Djion, and Cupcake. The frame insert behind the sentiment is embossed in white with the Fineline Leaf Background stamp.

Today, join me (Heather Nichols) live for “T Time” at 10AM Central on the Taylored Expressions Facebook Page. I am creating cards with a recent Valentine release product, but not for Valentine’s Day! We hope to see you there – come join in the fun! (Don’t worry, if you miss the live you can always watch the saved broadcast afterward!)
That wraps up the inspiration for the Easy Strips + TE Exclusives release! We would love for you to share your crafty creations with the new products or any TE products on the Fans of Taylored Expressions Facebook Page – if you aren’t a member of the group, come join us to see all of the crafty TE inspiration that is shared. Next week, we have a new kit coming your way – the first kit of 2022! Stop by the blog this weekend for a sneak peek!
Did you know that you can subscribe to our blog and get our posts right in your inbox? Just sign up right HERE – that’s all there is to it to make sure you don’t miss any of our crafty inspiration!


