Mar 17, 2022
More to Celebrate With NEW Birthday Products!
Hey, crafty friends! It’s Heather here today! We have been having a great time celebrating with all of you this week for our Half Birthday release! I think birthday cards are the kind that I create the most of, hands down. I always love adding new birthday themed products to my collection and gathering all of the birthday card making ideas! The new Create-in-Quads Birthday Layering Stencil set is one that you can customize for just about every birthday with just a change of color, making it so versatile. Today on the blog we have more ideas to share for birthday card creating using the new products from this week’s release.
Before I get to today’s birthday inspiration, I want to remind you about the adorable incentive set that is available just through this weekend:
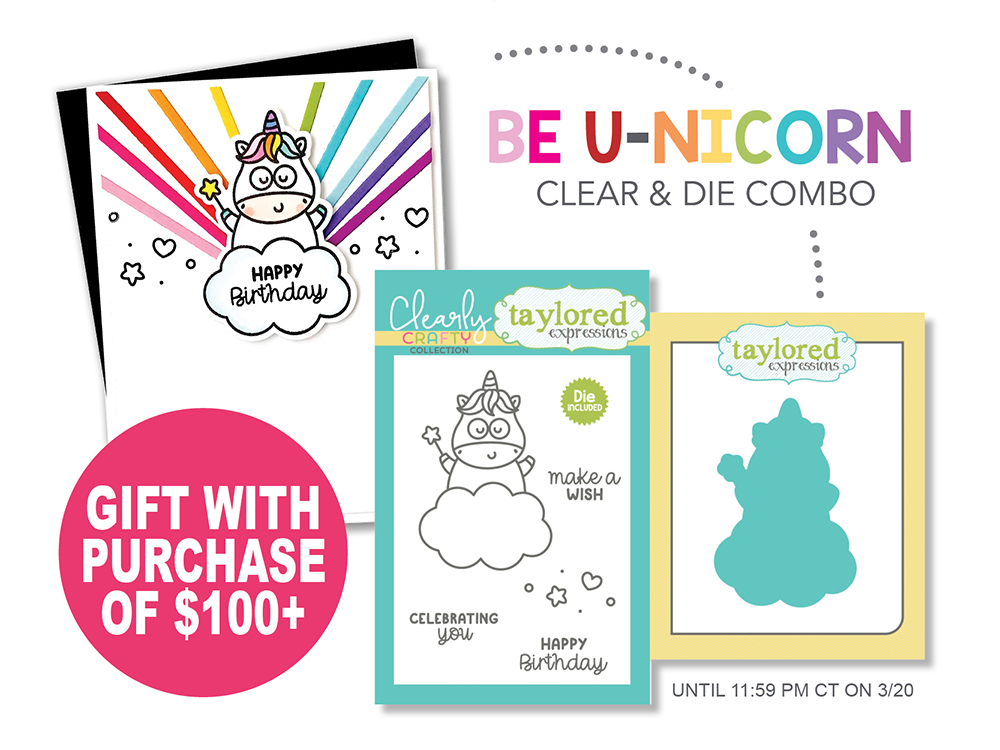
Right now through 11:59PM CT, Sunday, March 20th when you make a purchase of $100 or more in the TE webstore, you will receive the Be U-nicorn Clear & Die Combo set FREE! This adorable unicorn critter floating on a cloud is perfect for sending a little magic and good luck to the special people in your life! Please note that this promotional set replaces our March incentive set during this release week. Offer valid while supplies last.
Click below to shop the new release products and then keep scrolling for all of today’s birthday inspiration!
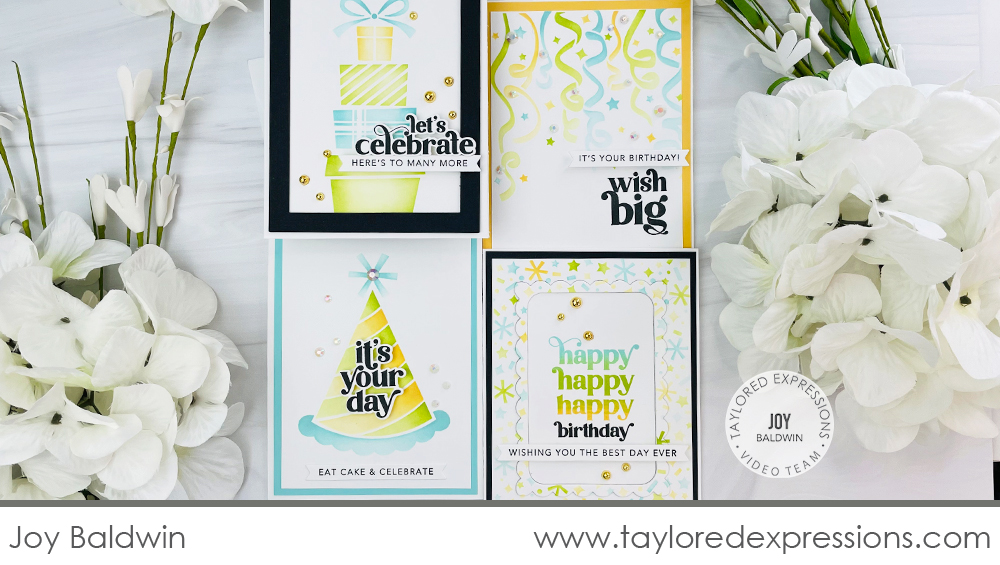
Today’s video from Joy Baldwin shares this set of birthday cards that she created with the Create-in-Quads Birthday Layering Stencil set. Watch the video below to see how her cards come together from start to finish:
In the video, Joy shares how she created cards using the Create-in-Quads Birthday Layering Stencil set with a full sheet of cardstock. She stencils the designs using Confetti Cake, Lime Zest, and Pineapple inks. Once the backgrounds are trimmed apart, Joy completes the cards with sentiments from the It’s Your Day stamp set (+ coordinating dies), the Simple Strips – Birthday stamp (+ coordinating Simple Strips die), frames on a few of the cards from the Frame in Frame Cutting Plate die, and embellishments to add a touch of sparkle and shine.
Here’s a closer look at the cards that Joy created in the video:

When blending the color through the stencils, Joy used a heavier hand and kept the ink darker on the edges of her stencil and pulled the ink colors into the openings using a lighter hand and less ink for a lighter tone. This simple shading technique adds lots of dimension and depth to the background designs!

The sentiments from the It’s Your Day stamp set are stamped with Oreo ink for several of the cards. Depending on where Joy wanted them to land on the cards, she either stamped them directly onto the backgrounds or cut them out with the coordinating dies.
The Simple Strips – Birthday stamp is also stamped with Oreo Ink on Sugar Cube cardstock, the sentiments strips are cut out with the Simple Strips die, and the strips are added to each of the cards.
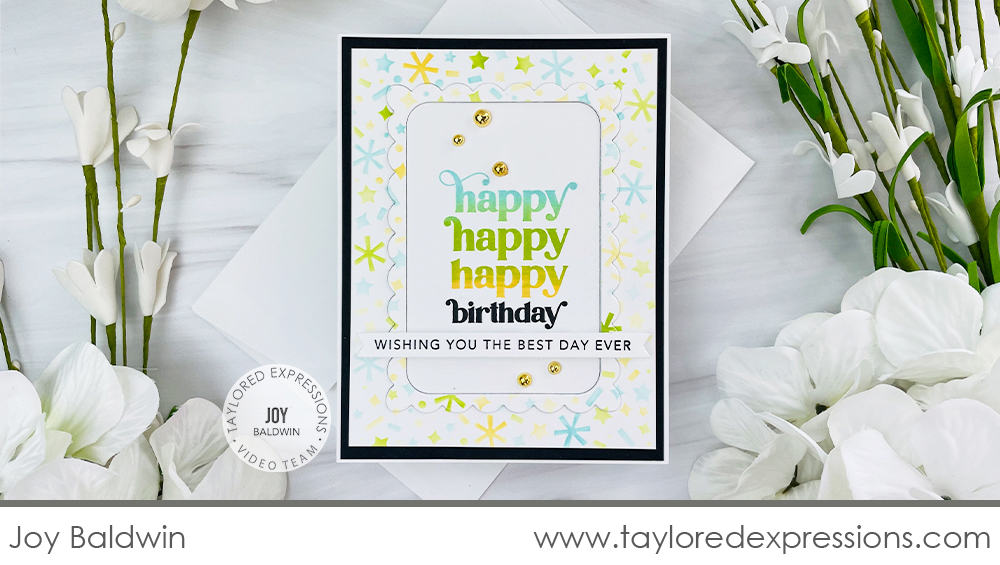
Joy stamped the sentiment on this card with multiple colors of ink, using mini ink cubes to create a gradient effect on the ‘happy happy happy’ words – check out the video to see how joy used tape to mask off areas of the stamp to achieve the look!
The background of this card is also cut out with the Frame in Frame Cutting Plate die to showcase the sentiment in the center. Joy popped up the frame by die cutting additional pieces and stacking them up on the card.
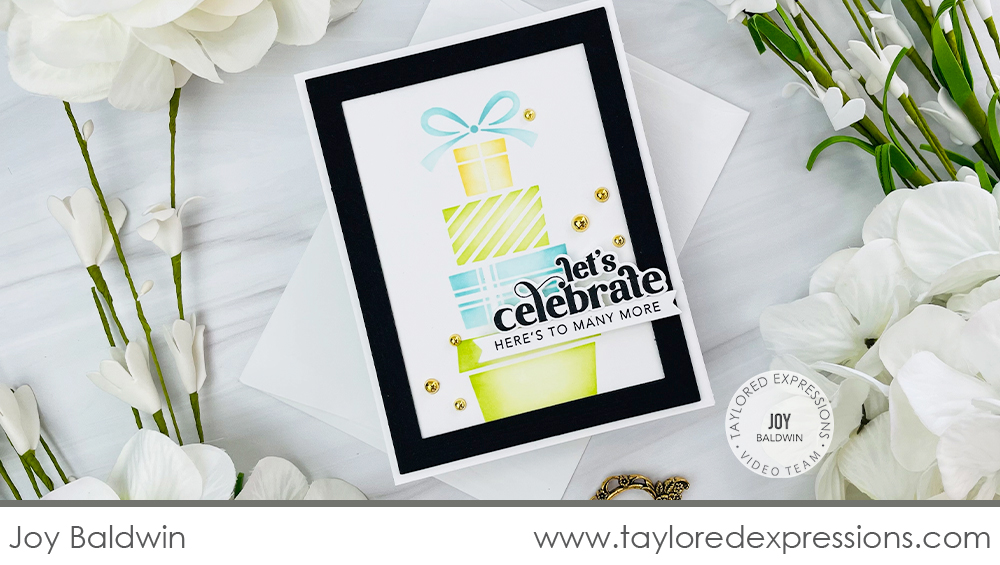
Sparkle and shine are the perfect finishing touches for cards to celebrate! Joy added Bits & Pieces – White Rhinestones and Bits & Pieces – Gold Drip Drops to her cards and the look couldn’t be more festive!
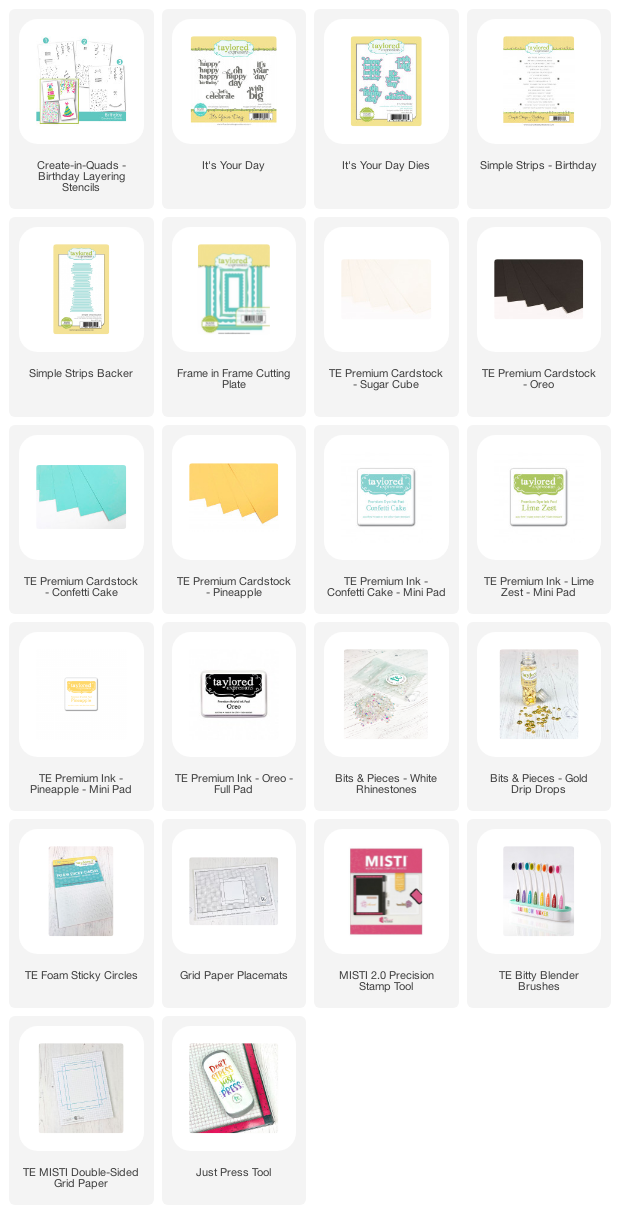
Check out the list below for all often supplies that Joy used on her set of birthday cards:

Here are a few more projects from the TE Creative Team (and a special guest!) featuring the new products we released earlier this week!
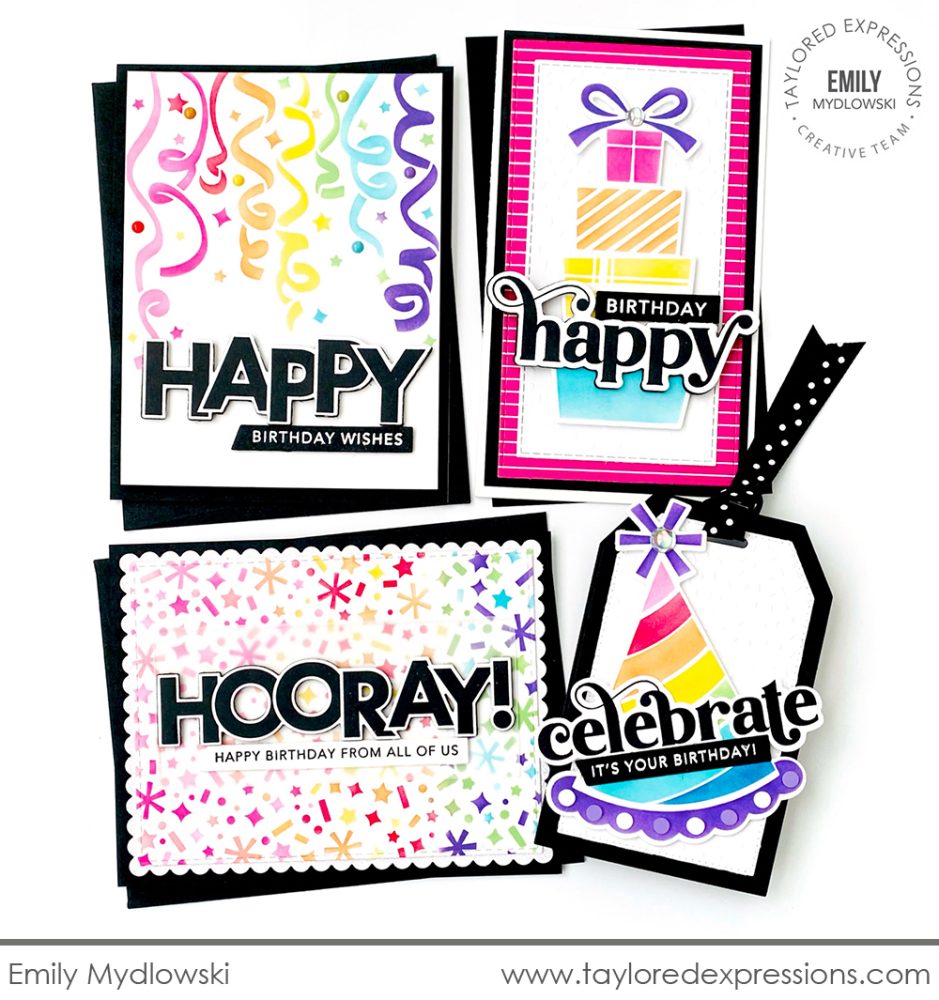
Emily Mydlowski brought all the rainbow colors to the projects that she created with the Create-in-Quads Birthday Layering Stencil set. Using Bitty Blender Brushes along with removable tapes for masking allows you to stencil with multiple colors so easily! For the sentiments, Emily used words from both the On the Block (Happy and Hooray) and Get the Word Out (Happy and Celebrate) collections and paired them with different birthday themed sentiments from the Simple Strips – Birthday stamp and Building Blocks – Happy Additions stamp. I really love how Emily created cards of varying sizes and orientations – and she created a birthday tag too!
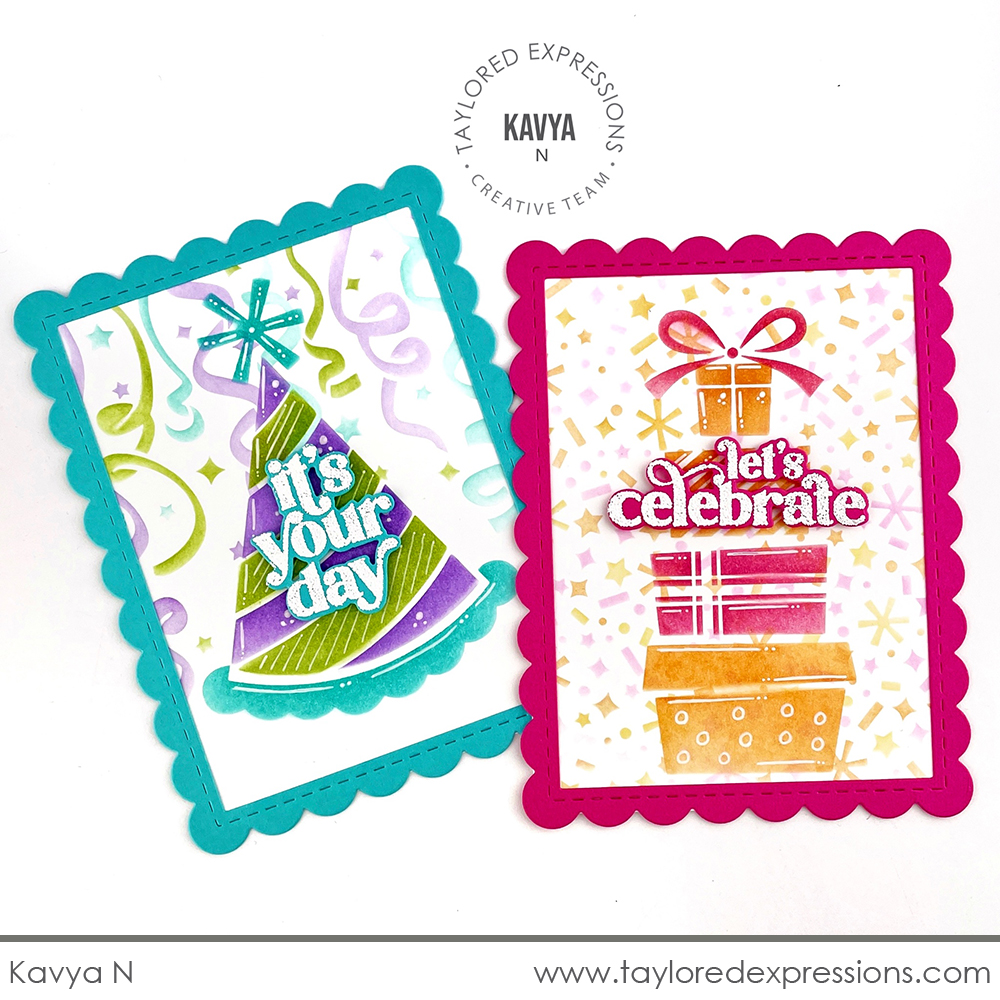
Kavya took the four designs from the Create-in-Quads Birthday Layering Stencil set and combined them together to create two fantastic birthday cards. The confetti and streamer backgrounds were stenciled first and then Kavya added the large images stenciled right over the top, with lots of white gel pen details of course! Both cards are framed with the largest frame from the Frame in Frame 2 Cutting Plate die and feature sentiments from the It’s your Day stamp set.
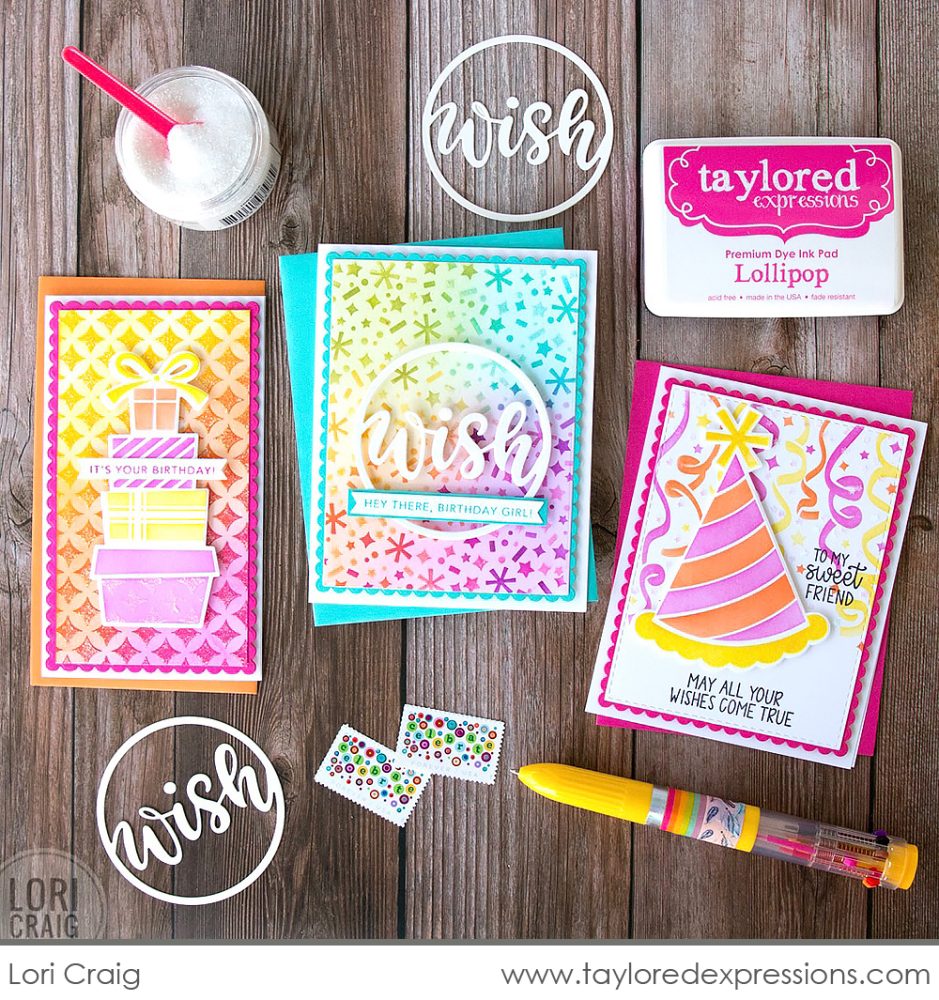
Lori Craig joined in the fun with the new Create-in-Quads Birthday Layering Stencil set and created this great trio of cards! For the card on the left, Lori added a stenciled design using the Mini Slim Trellis stencil to use as a background for the stack of presents – if you look close, you can see the stenciled design added to the large gift on the bottom of the pile with Happy Medium – Iridescent Glitter! The card in the center features a rainbow of confetti colors and the ‘wish’ sentiment from the Ring Around the Words die collection (this set will resume as the March incentive set next week.) The card on the right showcases the party hat image added over the stenciled streamers background and sentiments from the Oh My Word – Happy Birthday stamp set.
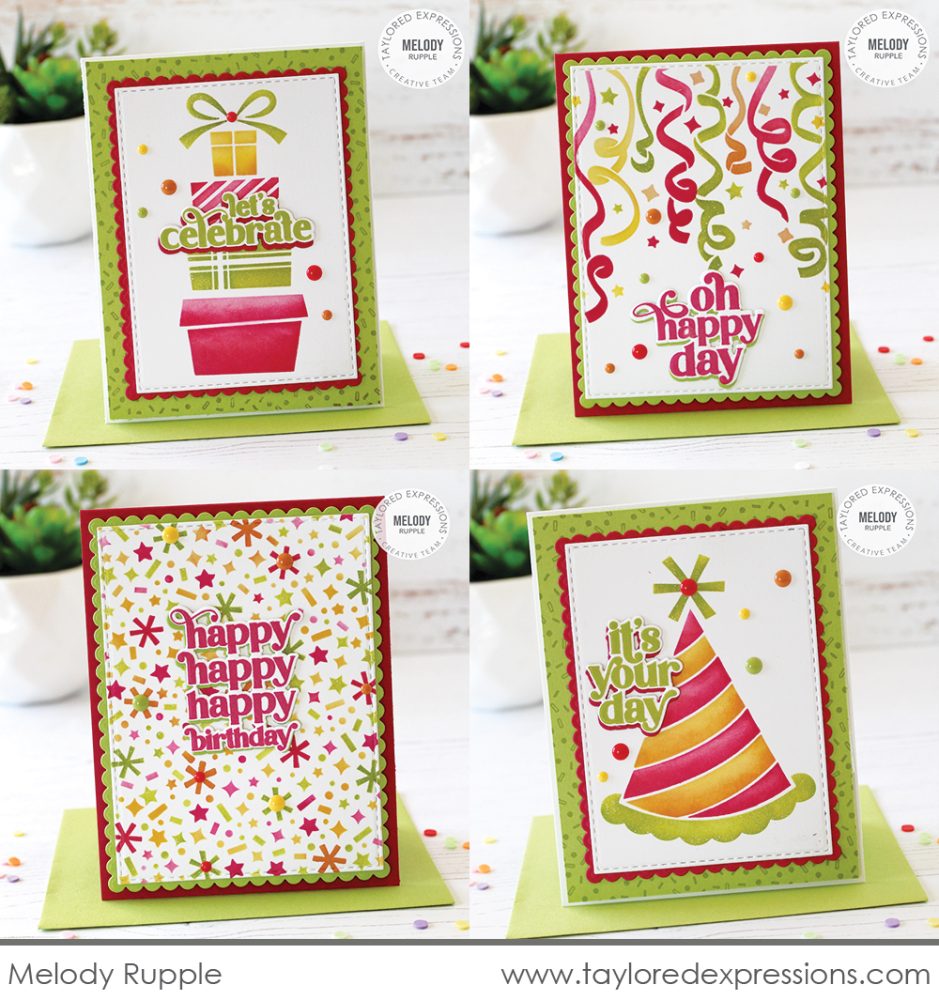
Melody Rupple stenciled up a bright and cheery set of birthday cards with the Create-in-Quads Birthday Layering Stencil set – I just love the color combination that she used! The backgrounds are stenciled with Guava shaded with Fruit Punch, Granny Smith shaded with Lime Zest, and Potato Chip shaded with Candy Corn inks. The sentiments are stamped with the It’s Your Day stamp set, cut out with the coordinating dies, and added to the card fronts. The finishing touch is Rainbow Enamel Dots in matching colors scattered throughout each card design.
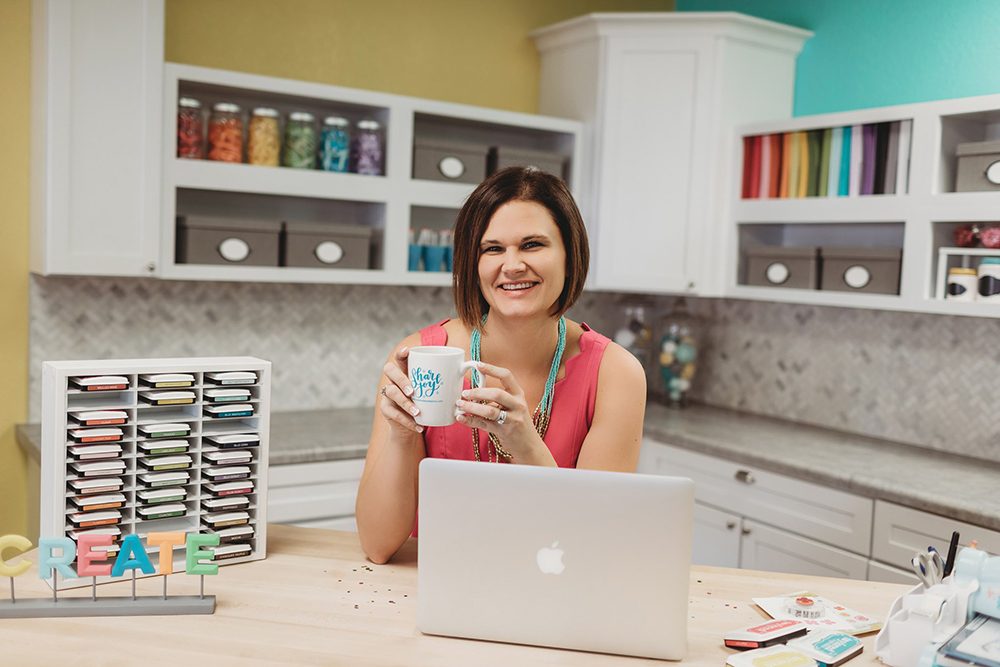
Today, join me (Heather Nichols) live for “T Time” at 10AM Central on the Taylored Expressions Facebook Page. I’ll be sharing a fun crafty project – come join in the fun! (Don’t worry, if you miss the live you can always watch the saved broadcast afterward!)
That wraps up the inspiration for our Half Birthday product release! Share your birthday card creations with us on the Fans of Taylored Expressions Facebook Page – if you aren’t a member of the group, come join us to see all of the crafty TE inspiration that is shared by your fellow TE fans. Next week on the blog brings a flurry of flowers just in time for Mother’s Day! Stop by the blog this weekend for a sneak peek!
Did you know that you can subscribe to our blog and get our posts right in your inbox? Just sign up right HERE – that’s all there is to it to make sure you don’t miss any of our crafty inspiration!


