
Sep 03, 2025
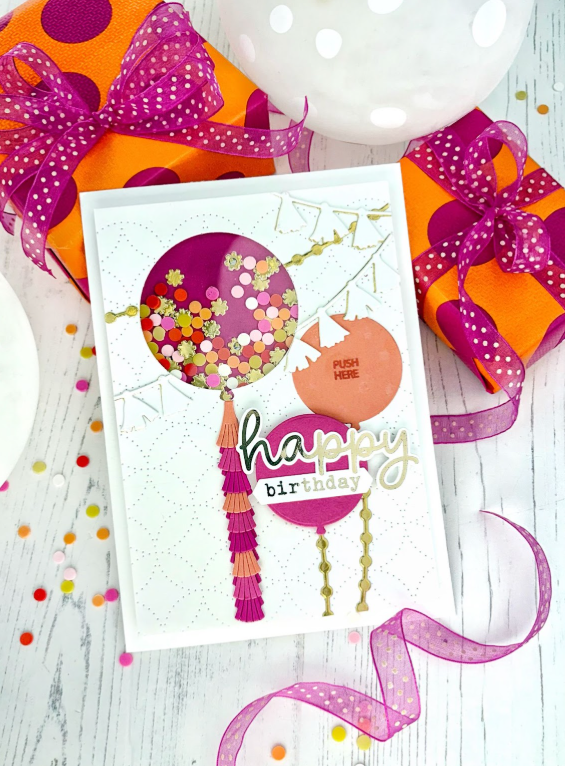
Shake & Shine: DIY Shaker Birthday Card Tutorial with Sue Banker!
Hi Crafty Friend, Rachel here! I have a tutorial from TE Designer Sue Banker that takes birthday cardmaking to a whole new level with shimmer, sparkle, and a little light-up magic. She’s sharing how she used one of our favorite Create-in-Quads sets to make a shaker card that shines—literally!
Hi Crafty Friends! Who says birthday cards can’t steal the show? Add a shaker element for instant fun—and when you light it up with Pear Blossom Press Twinkle Lights, the wow-factor doubles! Using the Create-in-Quads – Celebrate in Style Balloon Bash Dies, I built the shaker and playful tassels, then finished the look with shiny balloon strings and garlands from the Garland Party Die Set for a truly unforgettable celebration card.
Instructions
Texture the Background
- Place the Talking in Circles Piercing Plate Die about ¼ in. from the top of the 4 ½ x 6 ½ in. Sugar Cube card panel and run it through your die cut machine
- Shift the plate down the panel to align with the remaining unpierced area
- Run it through again to complete the background pattern
Tip: On the second pass, feed the unpierced end of the cardstock first and reverse the crank when you hit the pierced portion to avoid extra impressions
Die Cut & Assemble Balloons, Tassels, Garlands, and Confetti
- Use the smaller round balloon die from the Celebrate in Style Balloon Bash Die Set to cut
- 1 balloon from Papaya cardstock
- 1 balloon from Lollipop cardstock
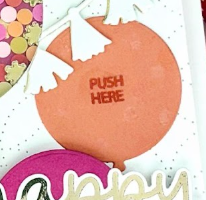
- Place the “PUSH HERE” clear stamp from the I’m Interactive Clear Stamp Set on an acrylic block
- Using Papaya ink, stamp the sentiment in the center of the Papaya balloon
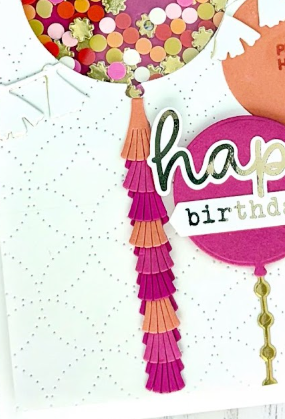
- Use the Balloon Bash tassel dies and scraps of Dragon Fruit, Lollipop, and Papaya cardstock to cut
- 1 row of attached tassels from Dragon Fruit
- 3 single tassels each from Dragon Fruit, Lollipop, and Papaya
- Starting at the bottom of the attached tassels, insert single tassels in the color pattern of your choice
Tip: Place a drop of glue on the small end of the single tassels after inserting through the slot in the full row to keep them secure
- Die cut a large balloon window from the pierced Sugar Cube panel ½ in. from top and ½ in. from left

- Using the Garland Party Die Set to cut
- 1 tassel garland from Sugar Cube cardstock
- 1 tassel garland from Gold Foil cardstock
- 2 ball garlands from Gold Foil cardstock
- 27 small confetti pieces from Gold Foil cardstock
- Use See the Light Die Set to punch a small hole in three of the Gold Foil Cardstock confetti pieces
Tip: Stick them on the back of a Post-It for easy handling.
Assemble Card Front
- Glue the layered tassels to the base of the large balloon cutout
- Glue the Papaya balloon to the right of the large balloon, then layer the Lollipop balloon below that, slightly overlapping it using foam circles to add dimension
- Layer Sugar Cube garland slightly askew on top of Gold Foil Cardstock garland for a shadowed edge illusion
- Add garlands and balloon strings where shown, trimming to fit
Build the Light-Up Shaker
- Position the 3 x 3 ¼ in. Dragon Fruit cardstock behind balloon cutout
- Mark 3 spots where you want the light to shine through
- Die cut holes over those 3 spots using the See the Light Die Set.
- Glue die-cut Gold Foil cardstock confetti over each hole
- Turn the card panel over to work on the back
- Glue or tape acetate to the back of the balloon window and let dry
- Add foam tape around the balloon opening with no gaps to keep shaker pieces inside
- Before removing the foam strip backing, fill the area inside foam tape with Bits & Pieces – Confetti Dots, and Gold Foil cardstock confetti
- Press Dragon Fruit cardstock panel over foam tape, to seal the shaker. Be sure the side with the die-cut Gold Foil cardstock confetti is facing the front of the card
- Following manufacturer’s instructions, insert battery into the Pear Blossom Press Twinkle Light unit.
- Tape or glue the LEDs behind each hole in the large balloon
- Tape the switch directly under “PUSH HERE.” sentiment on the Papaya balloon
- Place foam sticky strips around the remainder of the card securing wires as you go
Add the Sentiment
- Place Champagne Fun Foil, foil side up, over one panel from Foil It – All Together Happy Occasions.
- Place on top of a 6 x 6 in. Foil Magic Shim, then place inside a 6 x 6 in. Foil Transfer Carrier.
- Run this through your Minc (fold first)
- After it has run through, let it cool for a few seconds before peeling back the foil
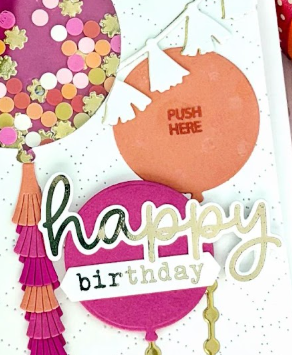
For more help foiling, check out our How To: Foil with a Mini Minc blog post. - Die cut “happy” (script) and “birthday” (small) sentiments
- Glue “birthday” to the Lollipop balloon where shown
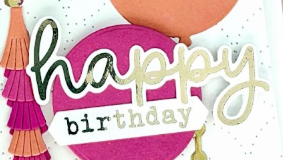
- Using TE Foam Sticky Circles, pop up “happy” to slightly overlap “birthday.”
It’s surprisingly easy to create light-up shaker cards that wow your friends and family and leave a lasting impression. By combining interactive cardmaking techniques with a little sparkle, you can turn a handmade birthday card into a keepsake that shines—literally! Whether you’re new to DIY shaker cards or looking for fresh birthday card ideas, this project is the perfect way to add dimension, movement, and light to your designs.
CUT LIST
- 10 x 7 in. Sugar Cube Cardstock for A7 Card Base, score and fold long edge at 5 in.
- 4 ½ x 6 ½ in. Sugar Cube Cardstock
- 2 x 2 ¼ in. Lollipop Cardstock
- 2 x 2 ¼ in. Papaya Cardstock
- 3 x 3 ¼ in. Dragon Fruit Cardstock
- 3 x 3 ¼ in. Acetate
- 6 x 2 in. Sugar Cube Cardstock
- 6 x 4 in. Foil Cardstock – Gold
- 5 ½ x 4 ¼ in. TE Fun Foil – Champagne
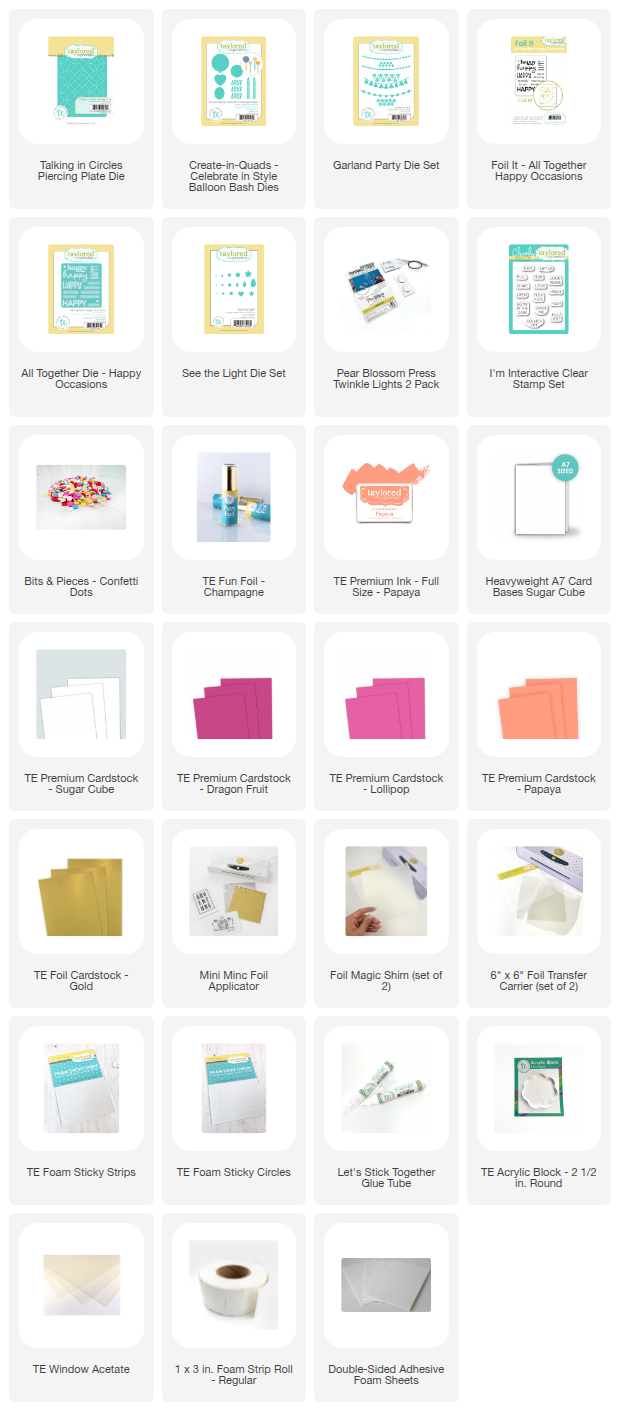
Supplies Used:
Thanks for stopping by! Subscribe to our newsletter to stay up-to-date on the latest releases and promotions.

