Oct 02, 2019
October Sneak Peeks Day 3 – Celebrate the Season
Hey, crafty friends! I’m back today for the last day of sneak peeks before all of our new products are available! So what’s been your favorite product that you’ve seen so far? As you know, the Creative Team and I have been busy little elves creating lots of inspiration! Today we’re sharing several projects that feature the reason for the season.
Before I get started with today’s projects, here’s an ‘at-a-glance’ look at the October Release and what you can expect from sneak peeks this week:
- This release includes over 30 new products including stamps, dies, stencils, and three brand new colors. Everything will be available at the TE webstore on Thursday, October 3rd at 9am CST.
- Each day will feature a new how-to tip, technique, or process video from me.
- Get a chance to win it before you can buy it by commenting with your answer to my Question of the Day (located at the bottom of each sneak peek blog post)
- Last, but certainly not least – don’t miss this month’s special offer (details below).
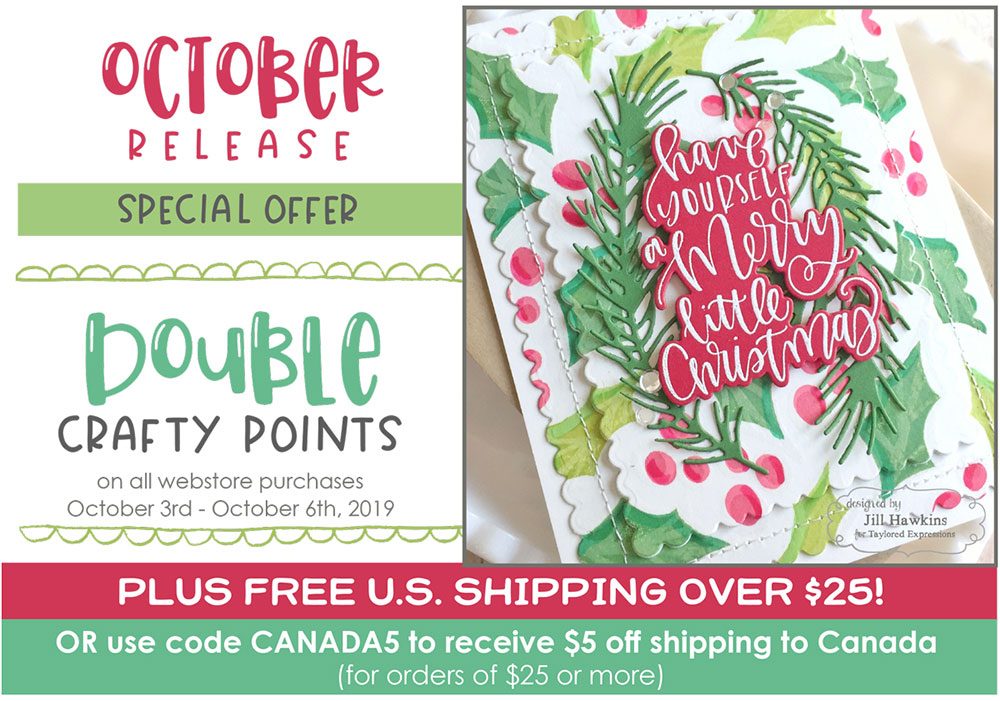
Have yourself a merry little Christmas! Every order placed between October 3rd – October 6th will earn DOUBLE crafty points to apply to a future purchase! Plus, receive FREE U.S. shipping on orders over $25 OR $5 off shipping for residents of Canada with the code CANADA5.
Celebrating the reason for the season is an important part of Christmas for our family and each year I love using new products that depict the gift of Christ in the manger. Our past nativity products have been among our most popular, and I can’t wait to share what we’ve come up with this year!
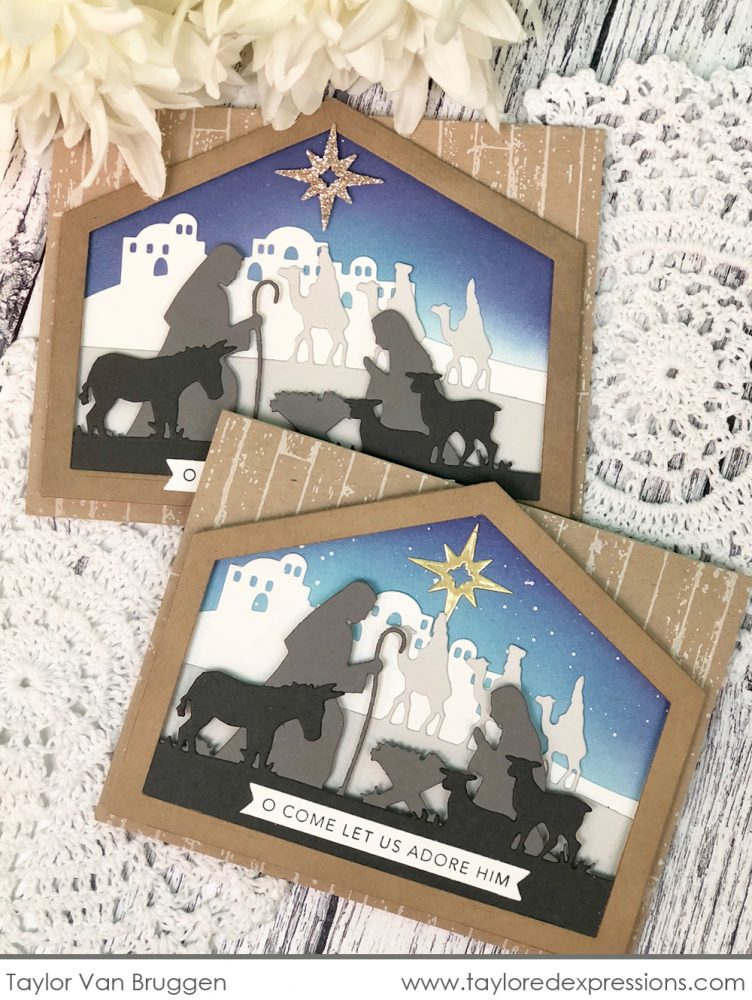
I started the project by blending the night sky with blender brushes and three colors of ink: Sprinkles, Blueberry, and Eggplant. And guess what else I did? I splattered! I’ve watched from the sidelines as others splattered flawlessly, but I found myself too nervous to try it, worried I would wreck a scene that’s already coming together. But I’m here to tell you – you too can splatter like a pro! You just have to be willing to try!
You can watch the whole card come together in the video below with several tips and tricks for quick assembly:
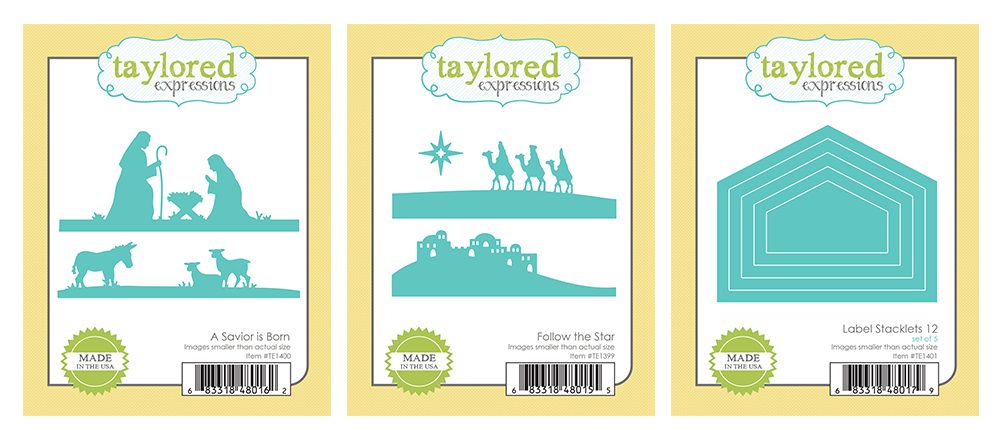
Here’s a closer look at the products that I shared in the video. Both of these die collections feature border style designs that you can layer together or use individually. There is no cut line along the bottom edge of the die, giving you control over how tall or short you want your border. The Label Stacklets 12 features the perfect shape for building the nativity scene. Simply nesting two sizes together will provide a creche-shaped frame for your scene!
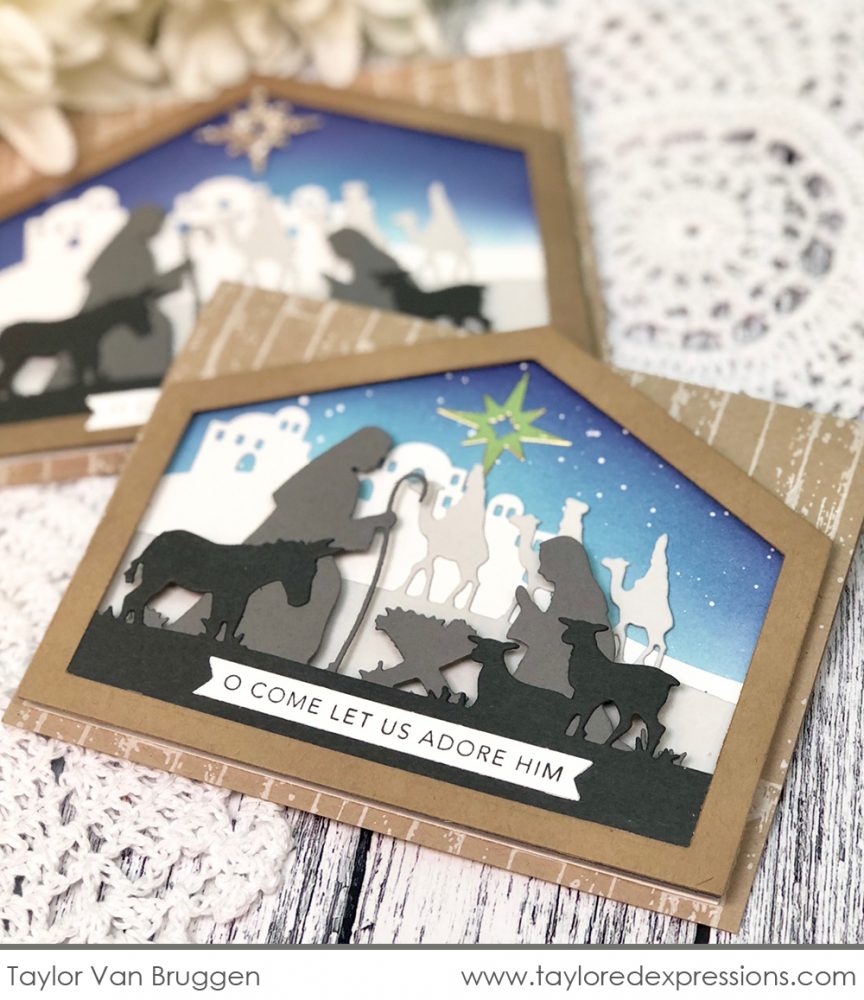
Finish the card with one of the four religious Simple Strips sentiments in the new Simple Strips – Christmas stamp set and the Shiplap background stamped in Sugar Cube over Toffee cardstock.
The best tip I can give is to pre-cut your cardstock at 5.25″ long before cutting the borders. This will allow you to arrange your cut borders behind the creche opening and reduce the amount of trimming you’ll need to do in order to fit each border within the open frame.
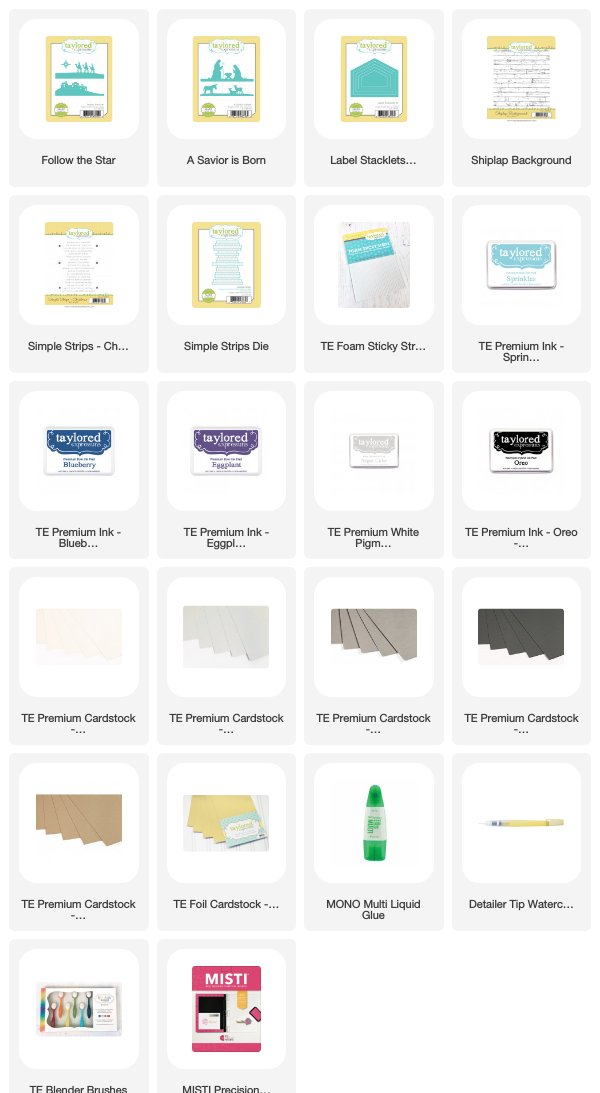
You can find the supplies to recreate this project in the supply list below:

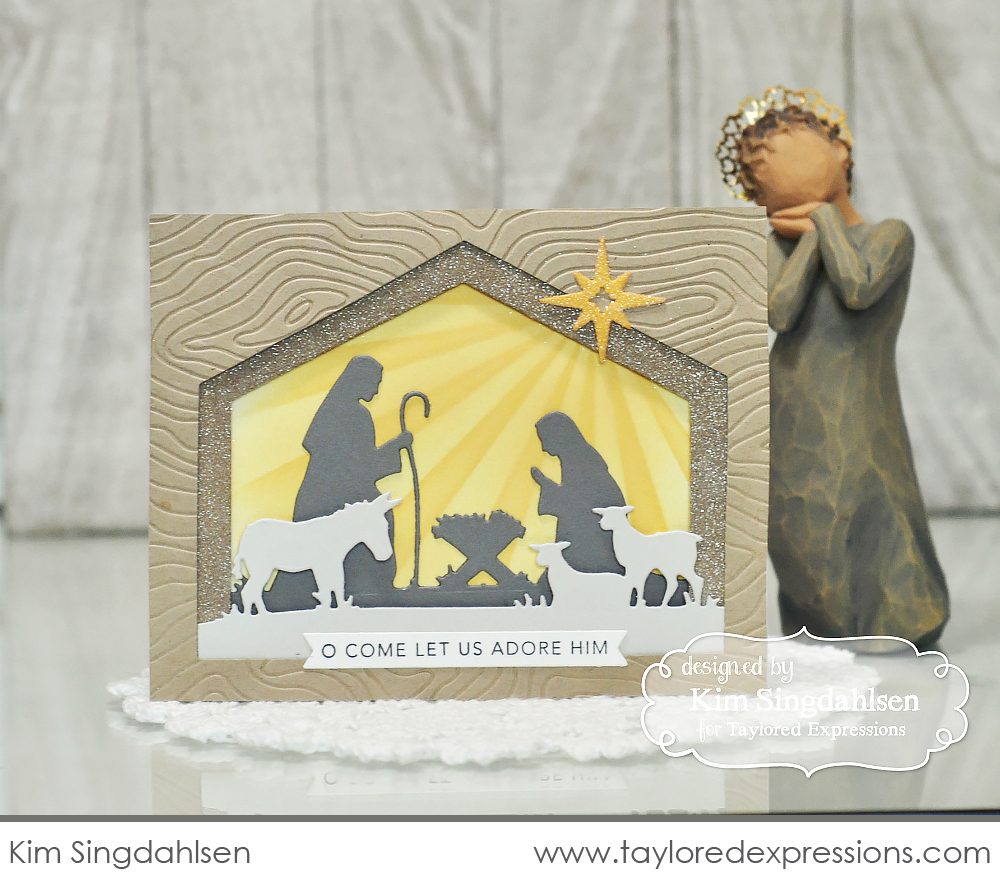
Kim Singdahlsen layered the new A Savior is Born die cuts together behind a frame opening that she die cut with two sizes of the Label Stacklets 12 dies. I love the texture she added using the Woodgrain embossing folder and the sparkle on the frame inset. Kim used the Here Comes the Sun stencil to add beams of light shining in from the glittery star and a sentiment from the Simple Strips – Christmas stamp.
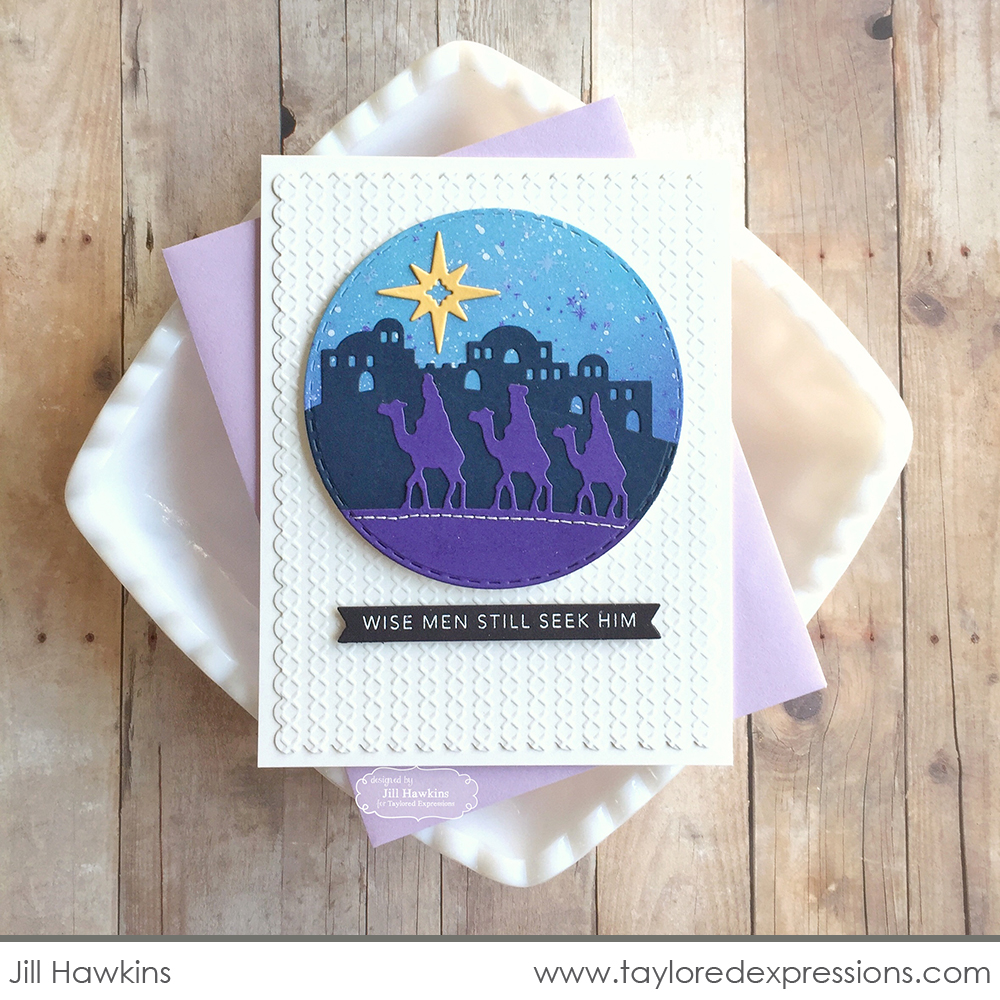
You can also add the border designs to other shapes on your project like Jill Hawkins did here. Jill layered the Follow the Star border designs with darker cardstock colors onto a beautifully blended sky – such a striking combo! And yep, there’s another sentiment from the Simple Strips – Christmas set!
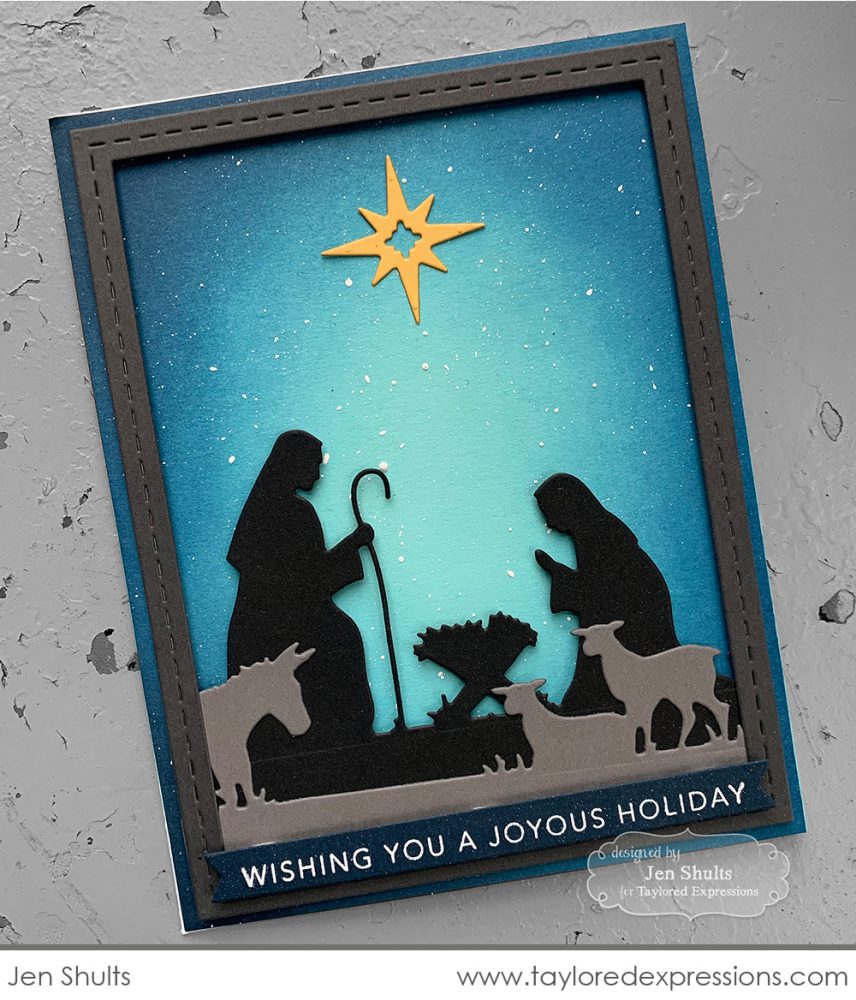
The blending that Jen Shults did on the background of her card created with the A Savior is Born die collection just takes my breath away! Her clean and simple design is the perfect peaceful scene for the Christmas season. Tip: Try blending on colored cardstock too! Jen started her blend on Sprinkles cardstock instead of the traditional Sugar Cube, but you’d never know it!
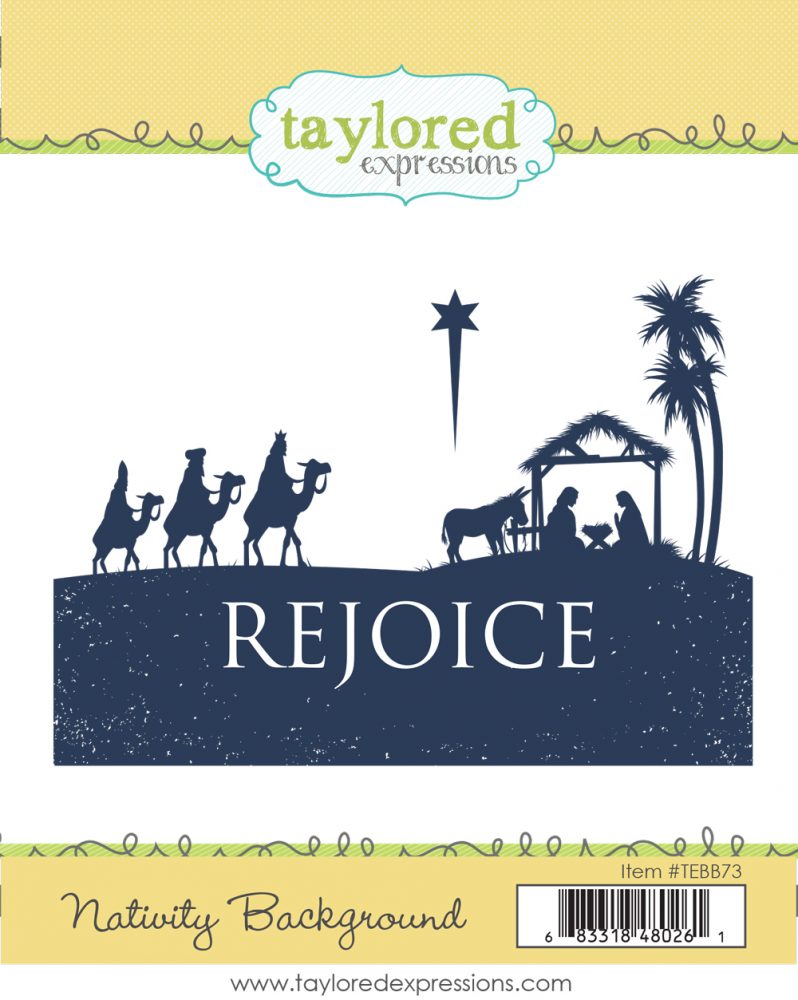
The new Nativity Background stamp depicts the Christmas story featuring the manger scene, donkey, three wise men, and the star. The word “rejoice” is reversed out of the foreground and you can leave it on its own for your projects or pair it with sentiments from the new Simple Strips – Christmas or Mini Strips – Holiday stamp sets.
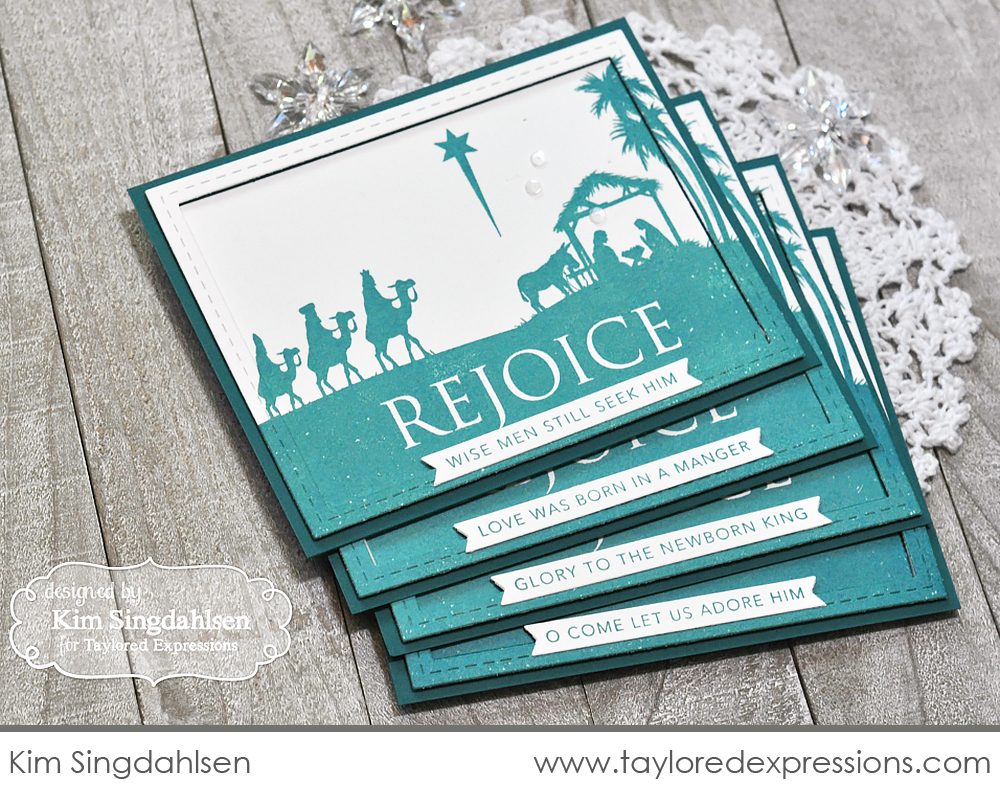
Kim Singdahlsen created a quick set of cards featuring our new Poblano Pepper ink and paired the stamped with design with several different sentiments from the new Simple Strips – Christmas stamp. I love the option of mass-producing with this background!
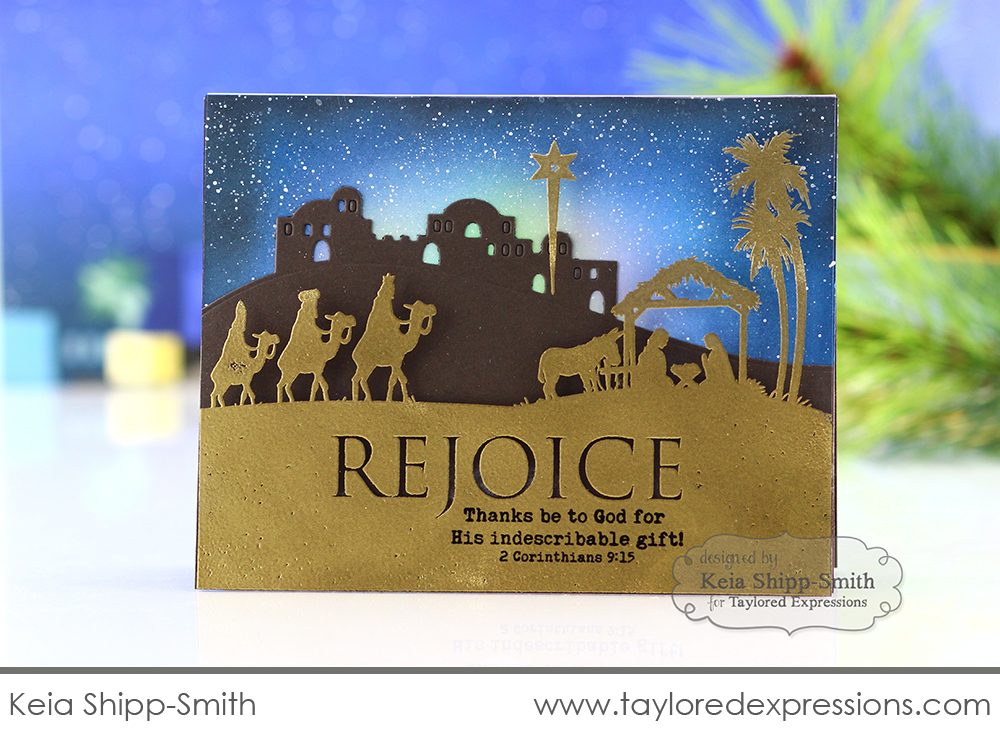
Keia Shipp-Smith stepped things up a bit on her card featuring the Nativity Background stamp. The design is embossed in gold on heat resistant acetate and layered over a gorgeous background created with a Follow the Star border design and some beautiful blending!
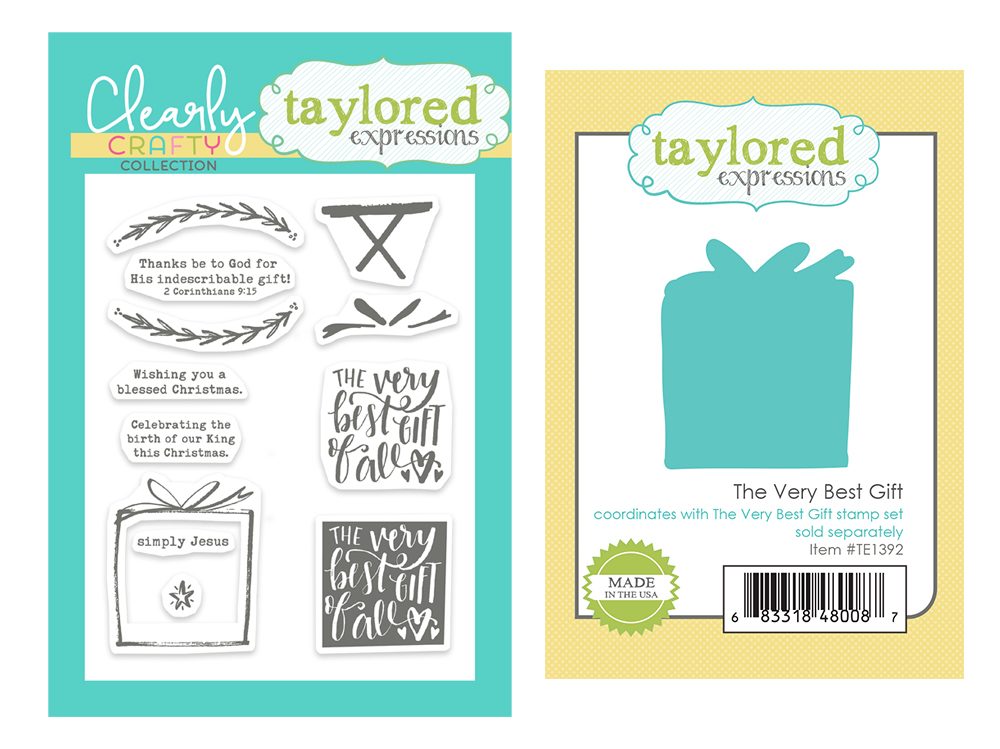
We also have a new addition to the Clearly Crafty series with the The Very Best Gift stamp set. You can stamp the gift, fill it in with the reversed sentiment square, and add details like color for the bow. The gift was designed to set on the manger, as a depiction of Jesus as the very best gift of all. A coordinating die for the gift image is also available.
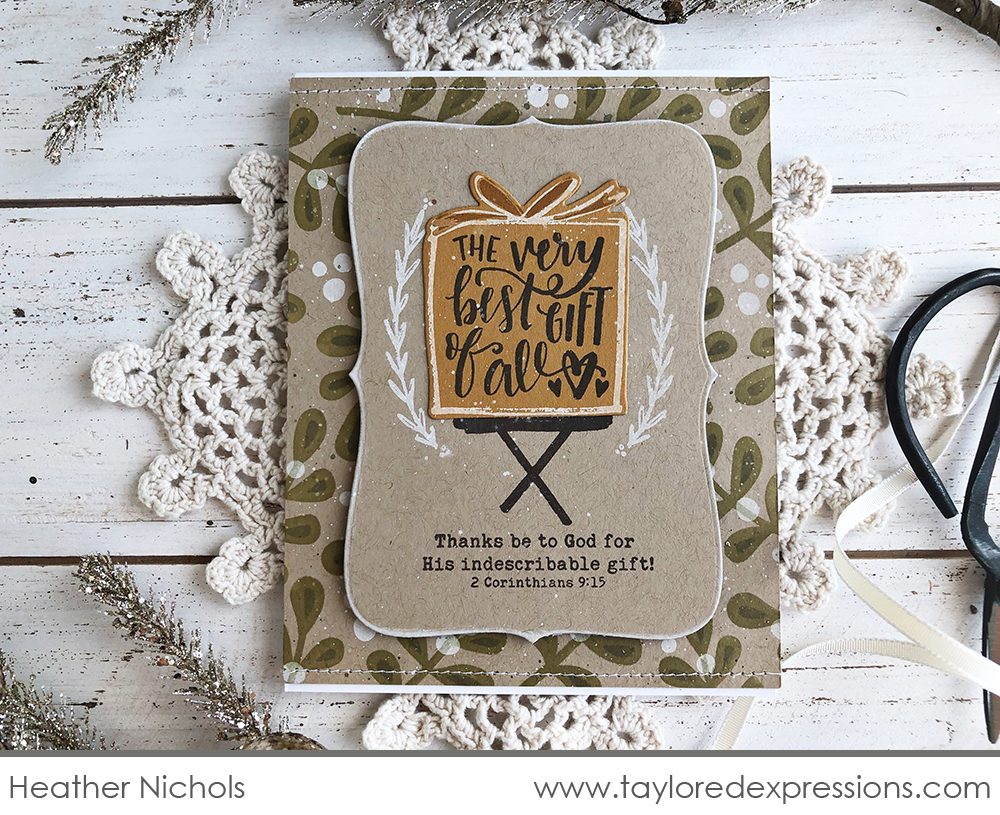
Heather Nichols layered her focal image over a background created with the Modern Holly Layering stencil. She used a unique color combination for the perfect rustic look.
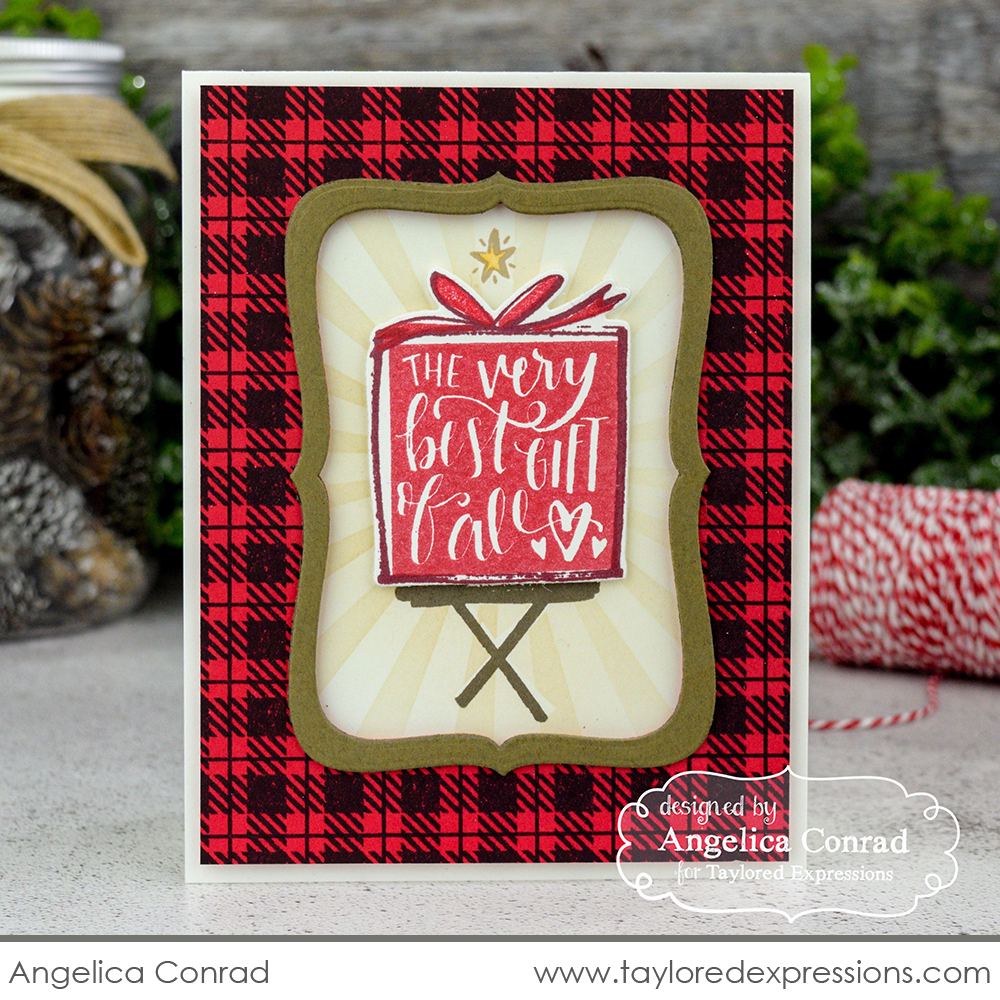
Angelica Conrad took a more traditional, but equally striking approach on her card created with the same stamp set. She paired the set with the Buffalo Plaid Background stamp and I love how she used the Here Comes the Sun stencil behind the gift!
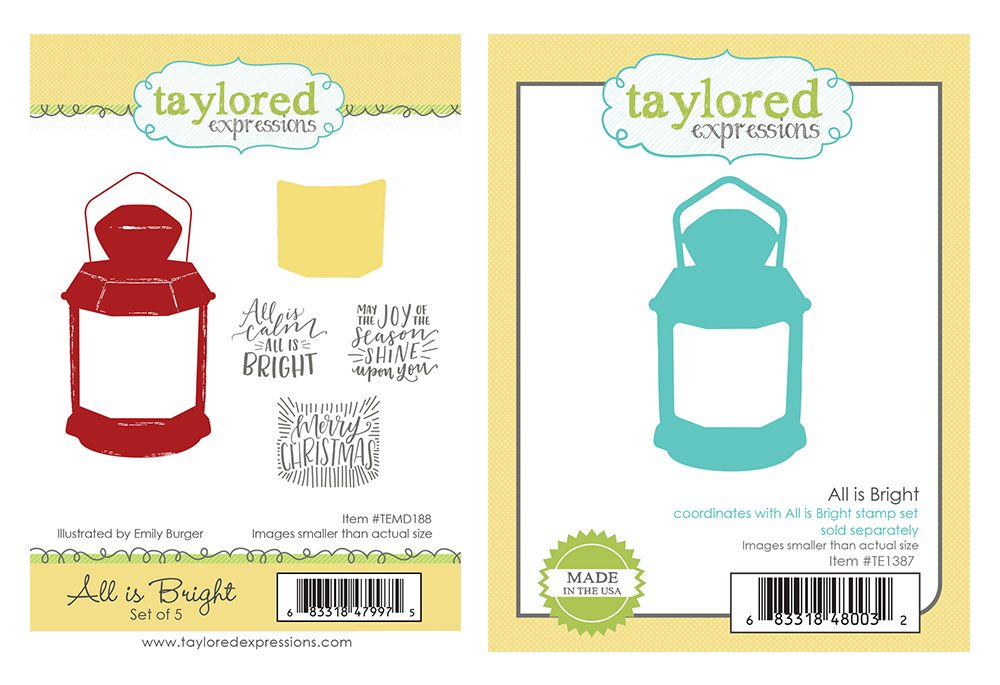
Finally for today, this is the new All is Bright stamp set and coordinating die! I don’t know about you, but I just love an old-fashioned lantern like this one for the holidays. There’s such a rustic, warm, and cozy feel to the image! The main lantern can be filled with light using the solid stamp and several sentiments are also sized perfectly to fit into the opening of the lantern.
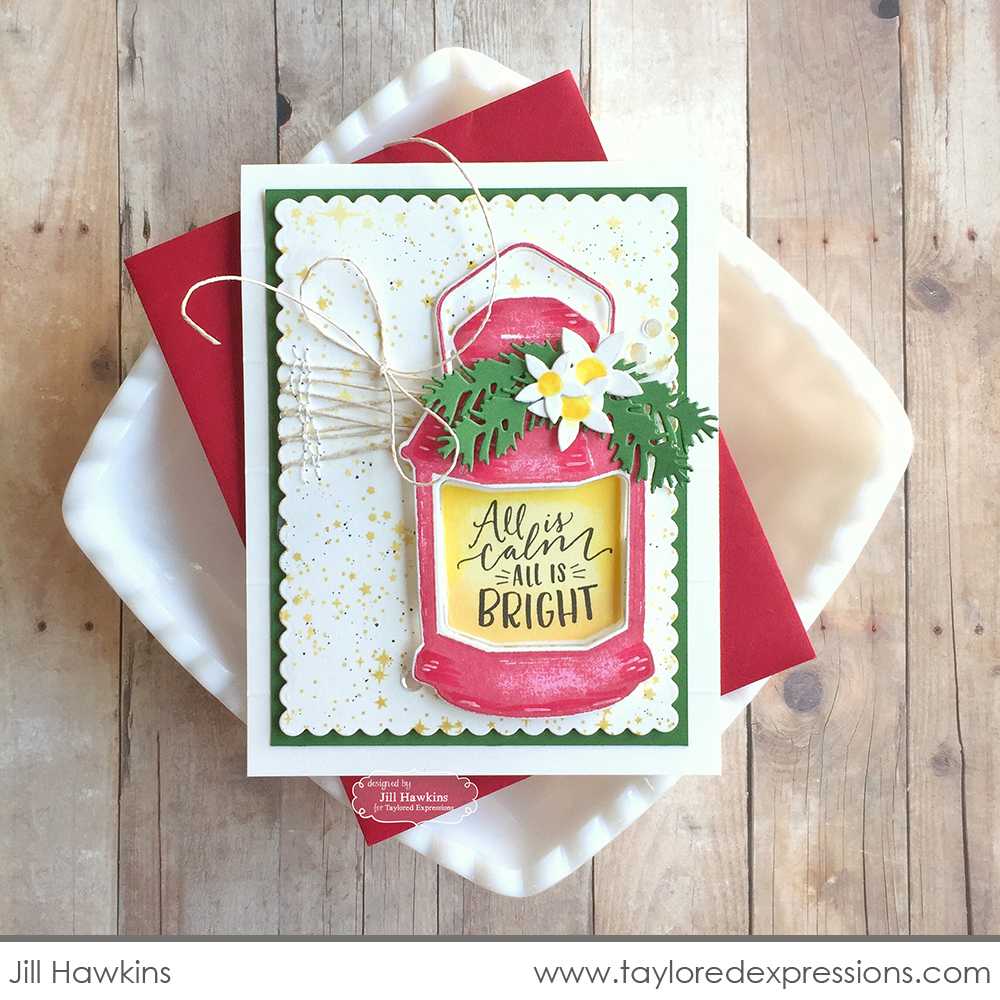
Jill Hawkins dressed up her lantern for the holidays using the Winter Greens die collection that we introduced yesterday with the Vintage Sled dies. The elements from the Winter Greens die set are sized to pair wonderfully with the lantern. And the Twinkle Twinkle Background Jill used behind her lantern is the perfect sparkly touch!
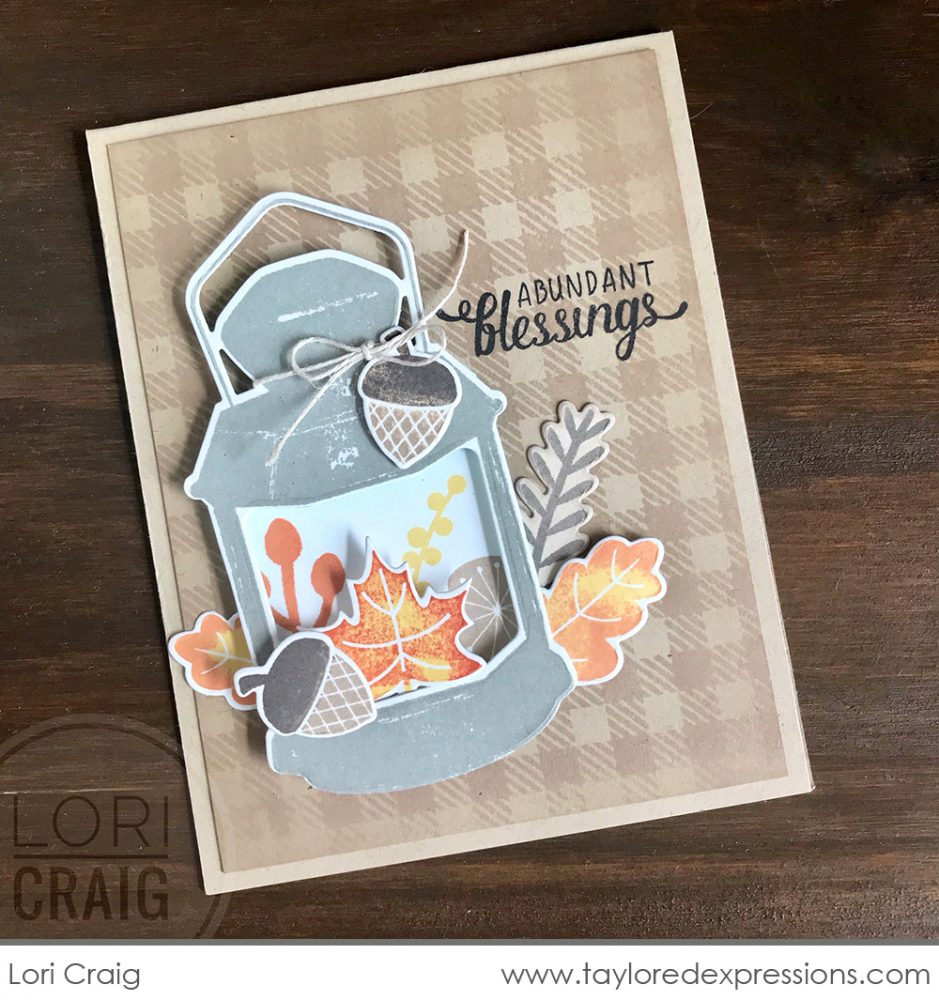
Our special guest Lori Craig is joining us today to show how she dressed the lantern for fall using our Fall Florals stamp set and a tone on tone Buffalo Plaid in the background. You’ll also want to stop over at Lori’s blog to see her holiday version of the lantern!

And there you have it! You’ve now officially seen all of the goodies for our October Release! I have one more question of the day for your chance to win it before you can buy it. Tell me about your Christmas Eve traditions – past or present. Do you go to church, light candles, make a big meal, open gifts? As a child, I vividly remember my mom making chicken dumpling soup every Christmas Eve. We’d come home from our church service, she’d put the dumplings in the boiling soup, we’d eat a late dinner, and then we were allowed to open one gift (which sometimes we were able to beg for two!).
Today I’m giving away the Nativity Background stamp!
Leave your comment before Wednesday, October 2nd at 8PM CST. One comment per person. Each comment will also be entered into our Grand Prize drawing for a $50 gift certificate! Winners are chosen at random and announced on the TE blog on Thursday, October 3rd.
Make sure you check out the rest of the Taylored Expressions Creative Team projects using today’s featured products! And then I’ll see you back here tomorrow with more new products and inspiration!


