Oct 01, 2019
October Sneak Peeks Day 2
Hey, crafty friends! It’s Taylor here for Day 2 of sneak peeks for our October Release! If you’ve been hanging around TE for long then you probably know by now that our October Release brings all things Christmas to your craft room! Yesterday we shared Fluffy Friends, twinkling lights, giant holly, and even a holiday-themed sloth!
The Creative Team and I have been super busy and that’s not all we have to share! Today we’re going down a more elegant path with our projects, but before I get into the new products being featured today, here’s an ‘at-a-glance’ look at the October Release and what you can expect from sneak peeks this week:
- This release includes over 30 new products including stamps, dies, stencils, and three brand new colors. Everything will be available at the TE webstore on Thursday, October 3rd at 9am CST.
- Each day will feature a new how-to tip, technique, or process video from me.
- Get a chance to win it before you can buy it by commenting with your answer to my Question of the Day (located at the bottom of each sneak peek blog post)
- Last, but certainly not least – don’t miss this month’s special offer (details below).
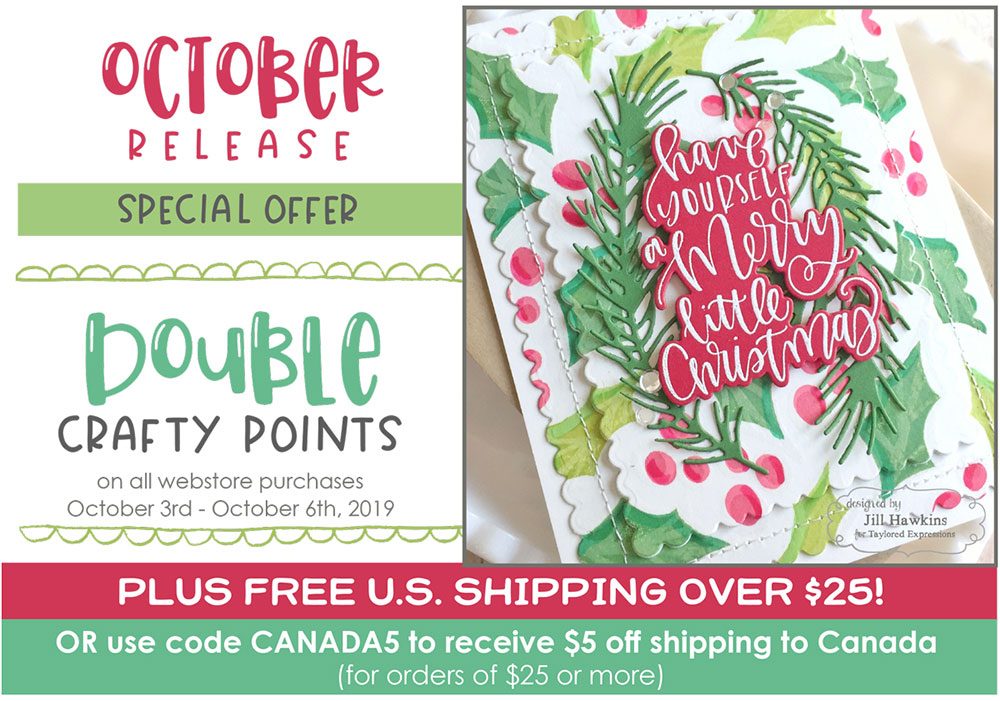
Have yourself a merry little Christmas! Every order placed between October 3rd – October 6th will earn DOUBLE crafty points to apply to a future purchase! Plus, receive FREE U.S. shipping on orders over $25 OR $5 off shipping for residents of Canada with the code CANADA5.
Now let’s kick off the day with the beautiful bird of winter, the cardinal. I wanted to try something a little different so I used the Layer It – Cardinal die set to create a cardstock stencil template and blender brush this one-layer cardinal.
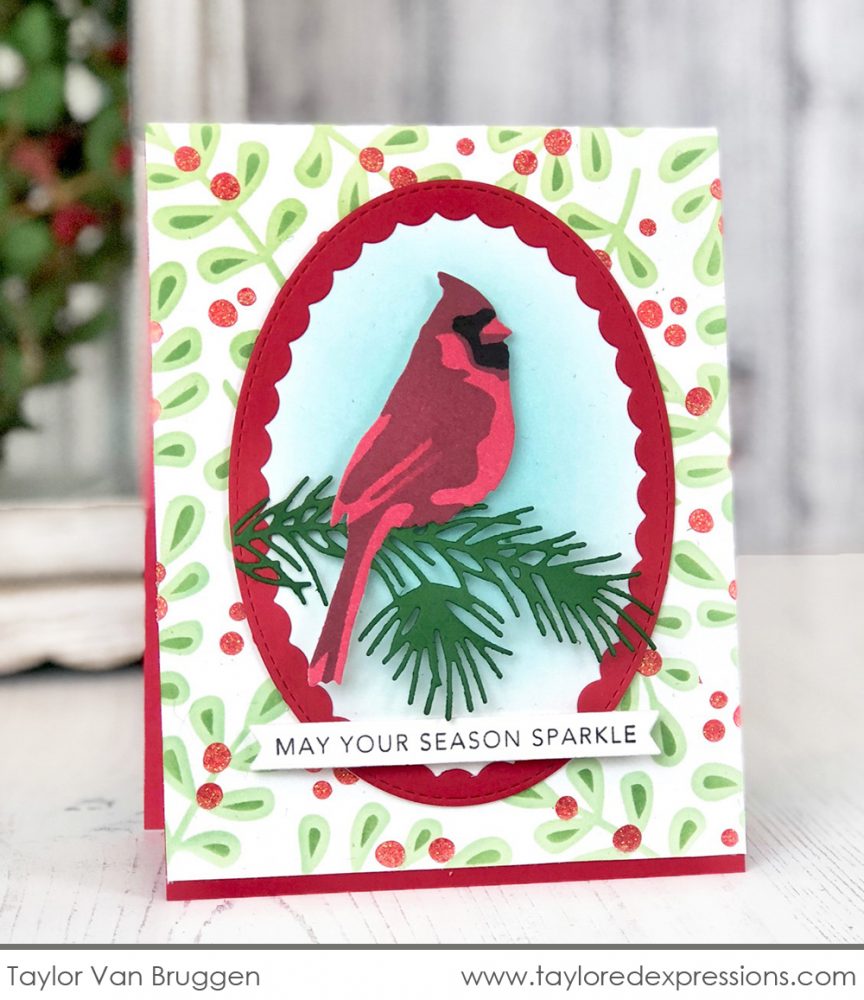
I also used the new Modern Holly Layering Stencil that uses a similar alignment system as our Simple Strips to help get each layer of the design perfectly aligned! Take a look at the full process in today’s video below:
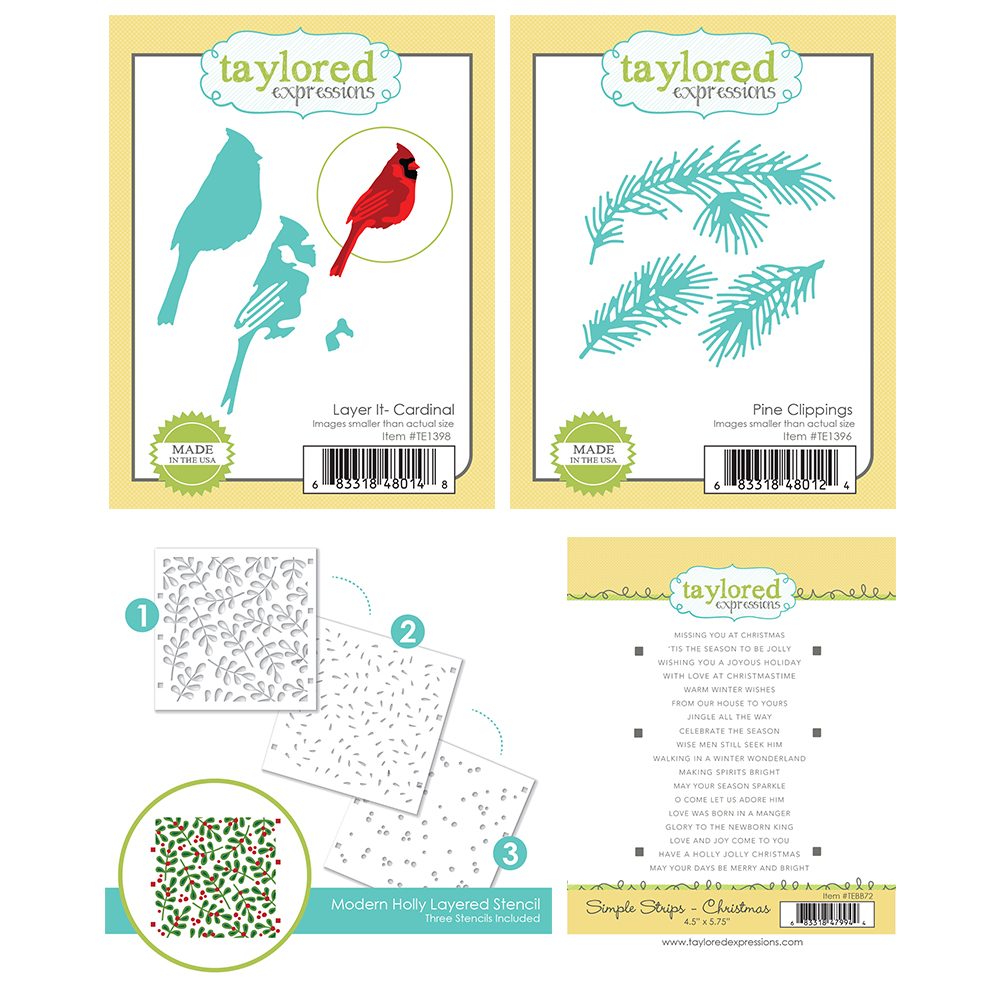
Here’s a closer look at the products I shared in the video: The New Layer It – Cardinal die set includes three layers that can be combined to create a beautiful cardinal. I know you are going to find so many great uses for the new Pine Clippings die collection! Not only does it make the perfect perch for the cardinal, but several designers have shown it in other unique ways throughout the release.
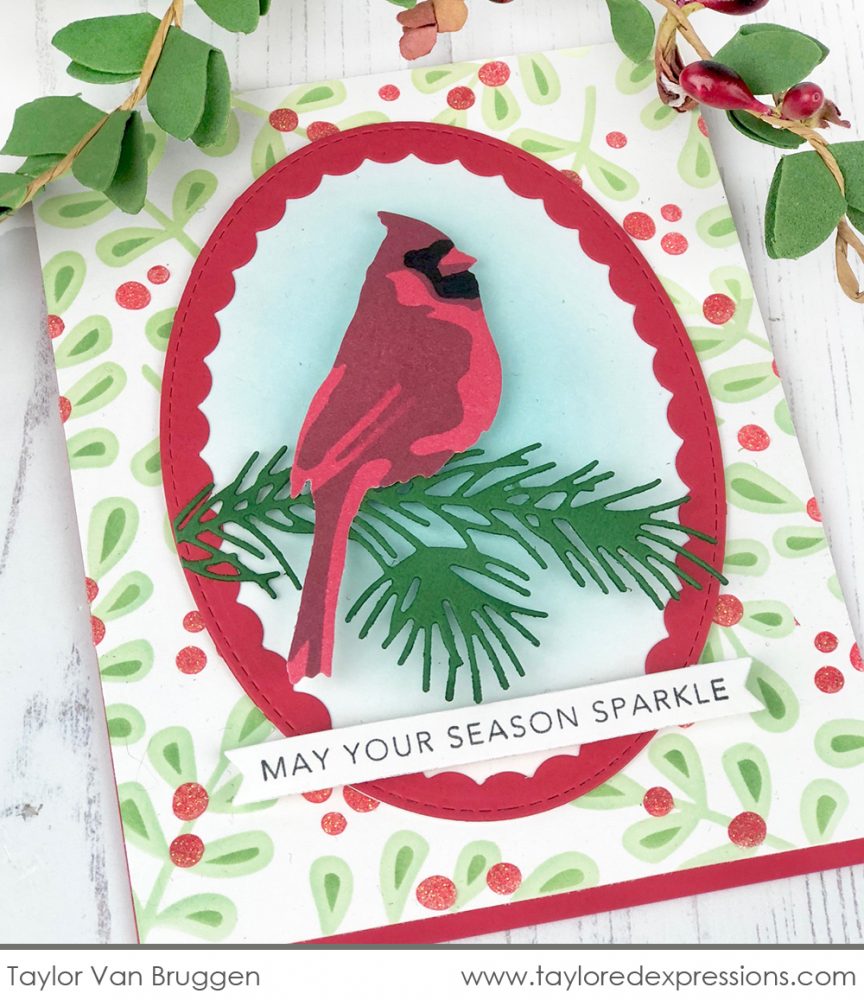
I mentioned the Modern Holly Layering Stencil above which I’m super excited about! I can envision leaving the berries off for a beautiful leafy background come springtime! And last, but not least, you saw it yesterday and I have a feeing you’re going to being seeing a lot more of the sentiments in the Simple Strips – Christmas stamp set! 18 stamped sentiments – one trip through the die cut machine – it just doesn’t get much easier than that!
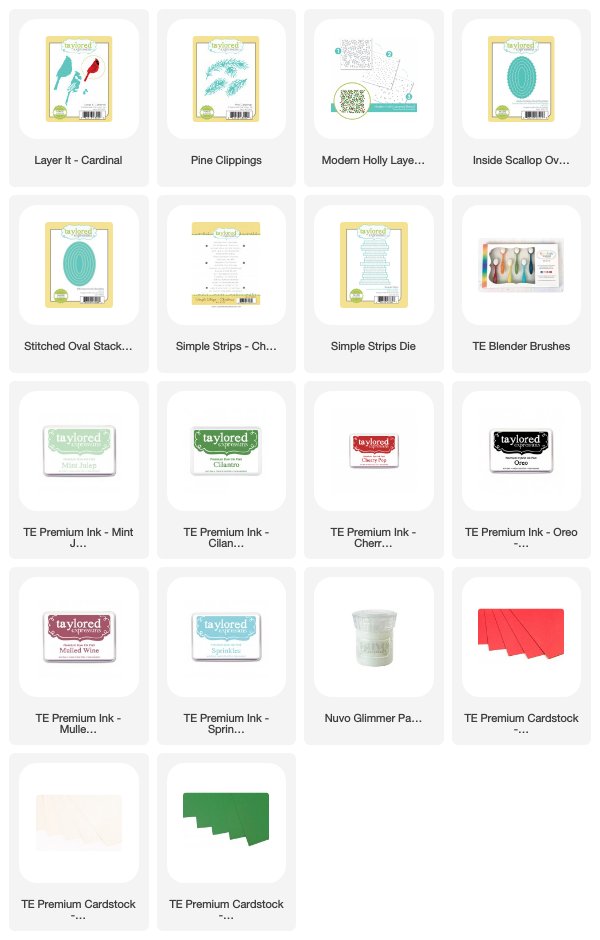
Check out the list below for the supplies that you need to create this project:

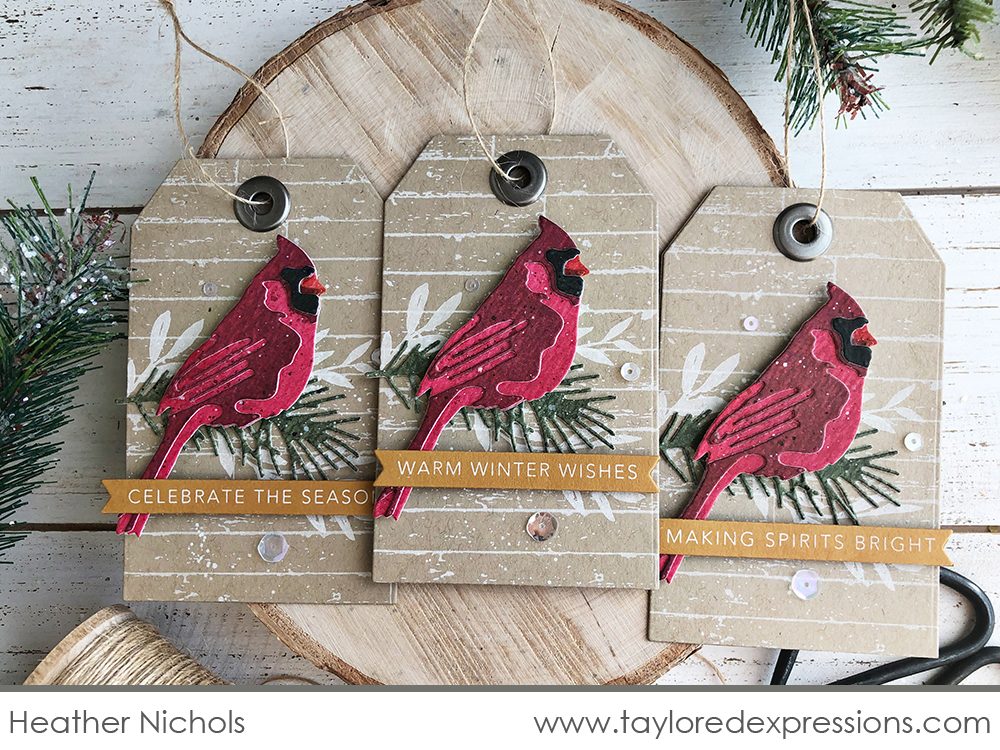
One thing I love about the Layer It – Cardinal is how you can use it in different ways depending on the look you are going for. Heather Nichols was true to her rustic style with these beautiful tags using the Layer It – Cardinal. She made her own custom-colored cardstock using liquid watercolors over watercolor cardstock. And there are those Simple Strips again – a beautiful addition stamped in Sugar Cube over Honey cardstock!
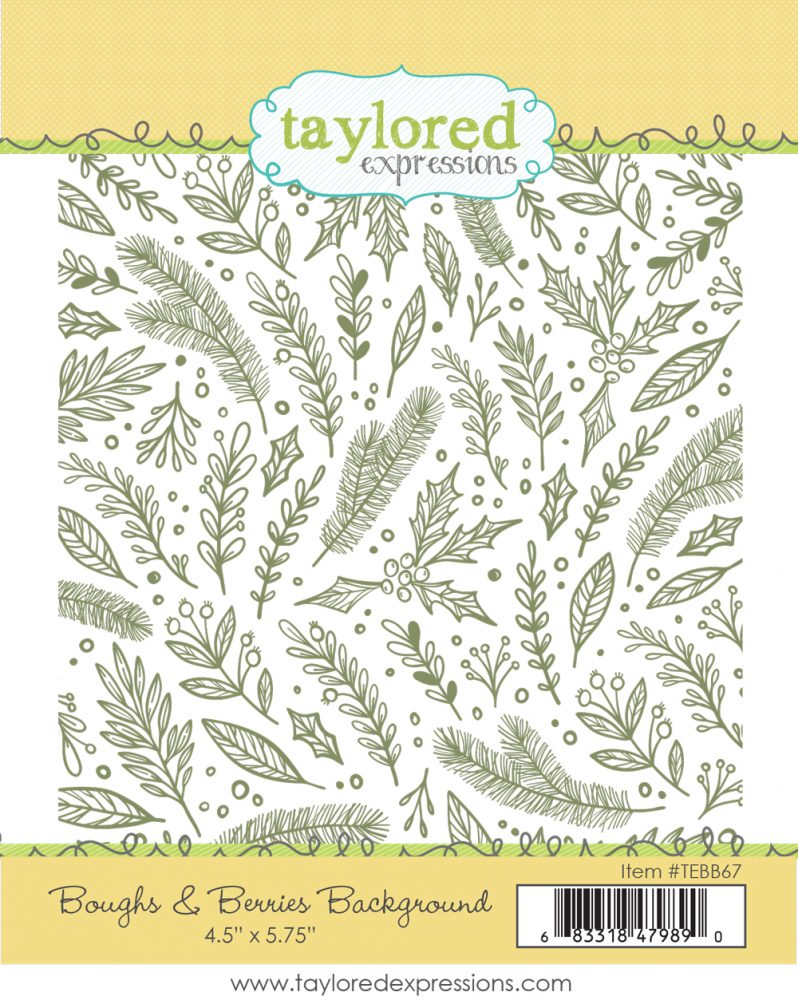
Here’s a look at another versatile background making its debut for the October release! The new Boughs & Berries Background features pine sprigs, branches, berries, holly, and more in a hand-drawn, whimsical style. It’s the perfect backdrop for holiday and woodland themed projects!
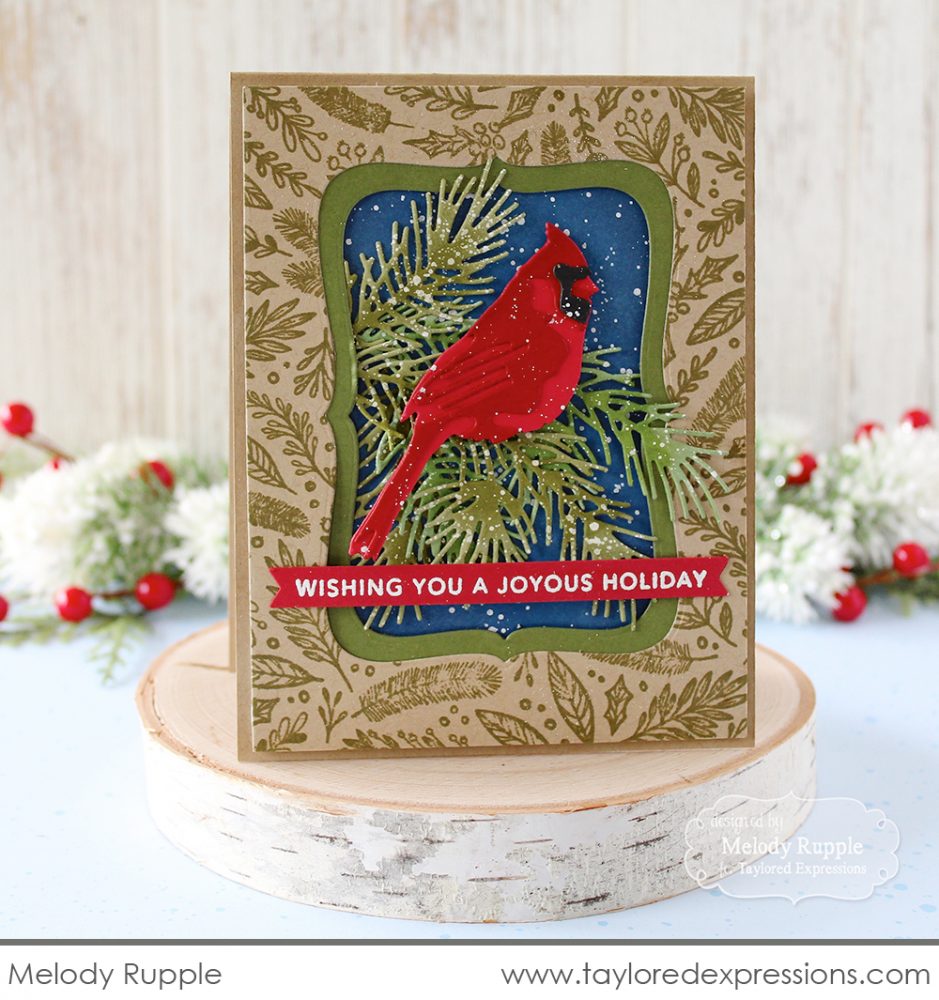
Melody Rupple paired the Boughs & Berries Background with the Layer It – Cardinal dies to create this elegant Christmas card. I love how she used the Boughs & Berries with the center cut out to frame her elegant and snowy cardinal. Melody’s spray of pine branches coordinates perfectly with the Boughs & Berries Background!
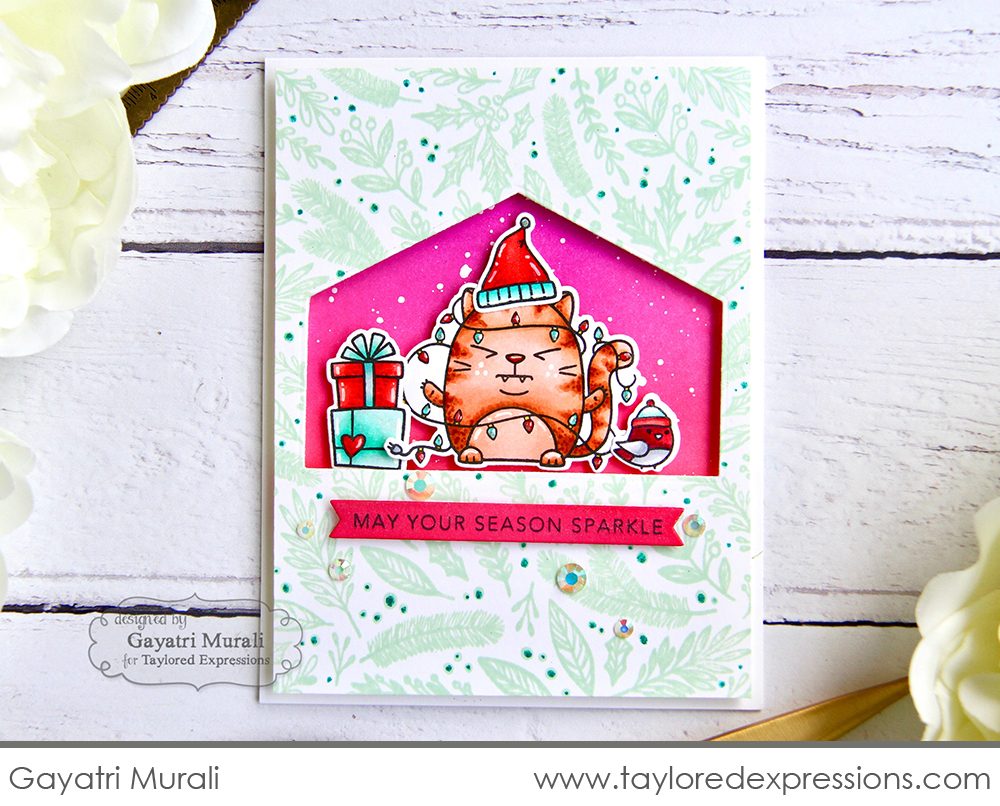
Gayatri Murali shows us a more cutesy look using the Boughs & Berries Background on this bright, cheerful card featuring the Fluffy Friends – Christmas set that was showcased yesterday. Gayatri stamped the background in a light green color and highlighted the berries with a shimmery blue paint.
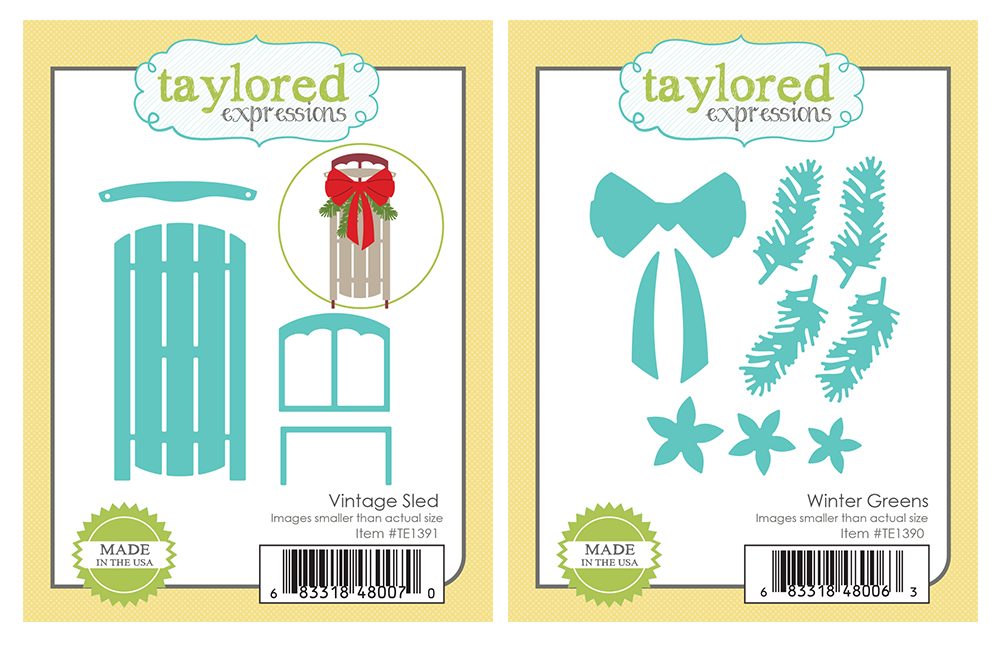
Next up is another grouping of die collections that will produce a beautifully classic Christmas look! I’ve been inspired by vintage sleds recently, picking one up at an antique store over the summer. It’s waiting in the garage for me to decorate it for our porch decor, but this Vintage Sled die set will give me an opportunity to practice my sled decorating skills on a smaller scale first! Designed and sized to coordinate perfectly, the Winter Greens die collection will dress the sled up in no time!
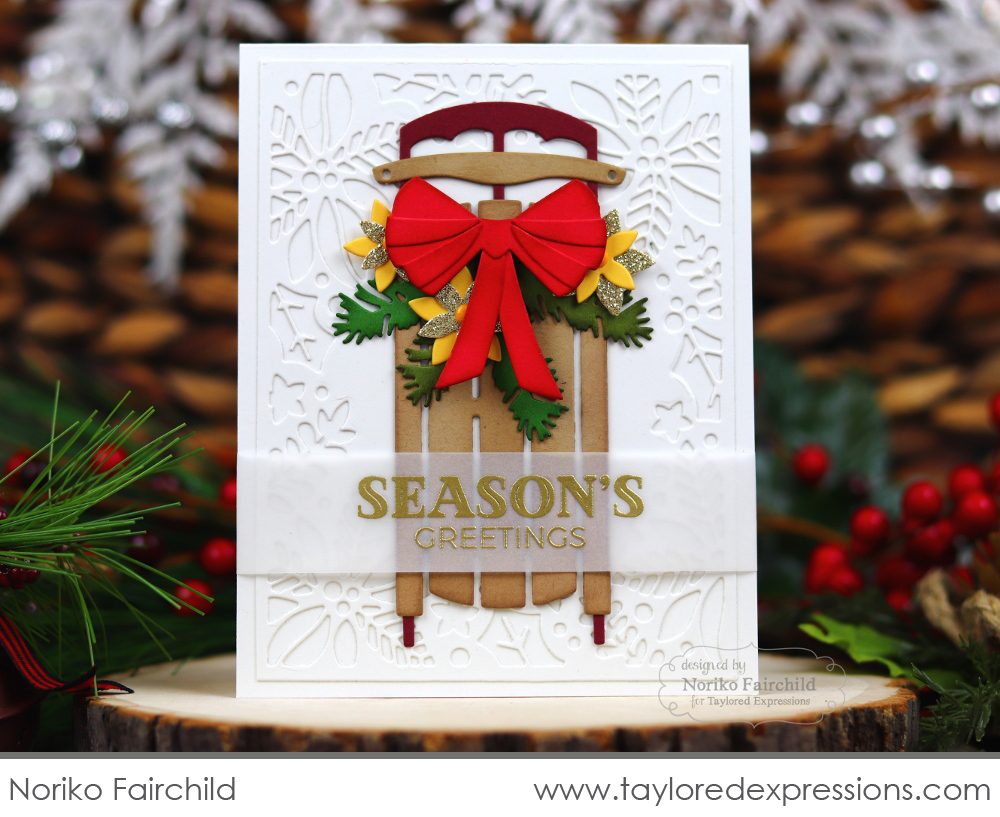
Noriko Fairchild created a wonderfully classic Christmas card using the Vintage Sled and Winter Greens die collections. I am in love with the white on white layered background that Noriko created using the Blooming Holiday Cutting Plate die. It’s perfectly understated and allows the sled to shine!
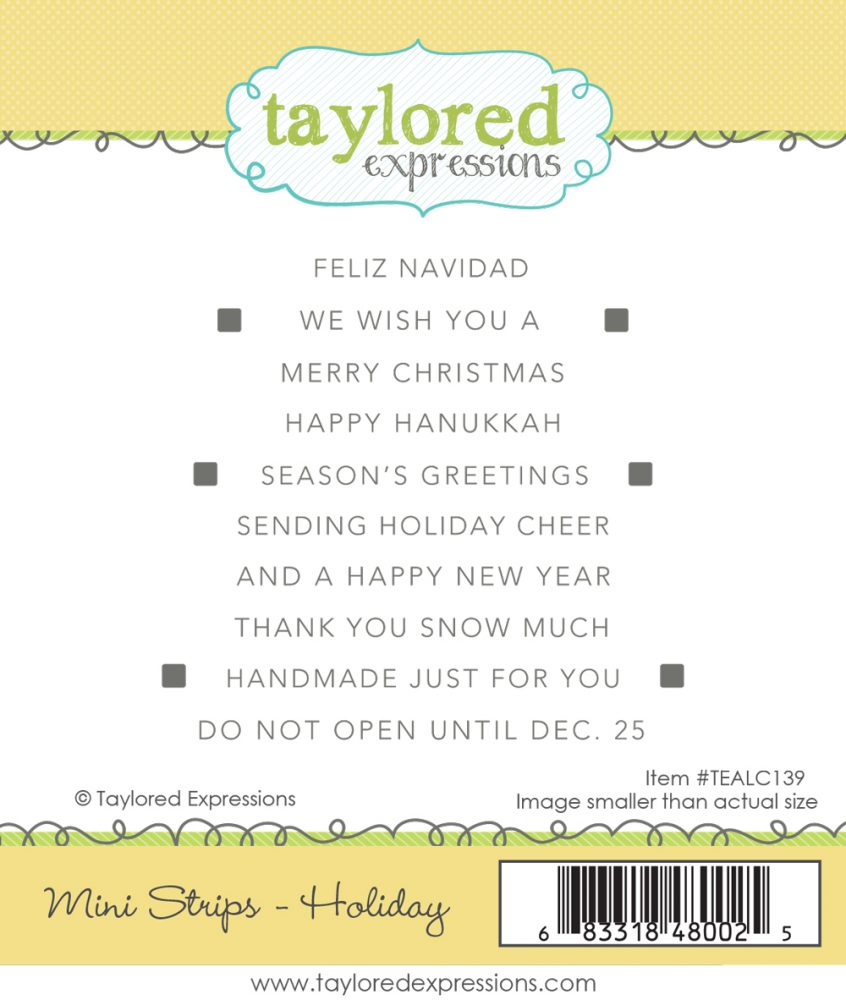
In addition to the Simple Strips – Christmas, we’re also adding to the Mini Strips lineup with the Mini Strips – Holiday stamp set! This stamp set allows you to stamp 10 different sentiments at one time and then die cut them all at once with the Mini Strips die. Mix and match the different sentiments strips to create your own custom sentiments for your projects!
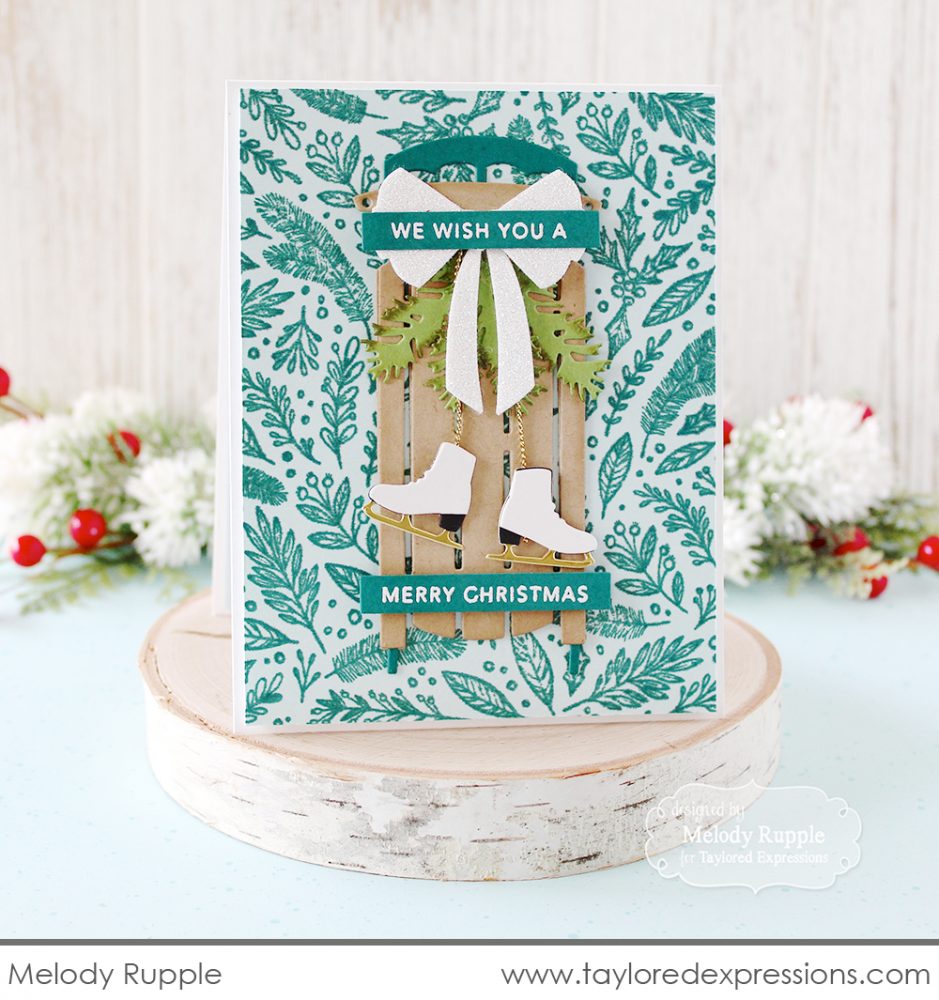
Melody Rupple added sentiments from the Mini Strips – Holiday stamp set to her card that also features the Vintage Sled. I love how the Mini Strips tuck perfectly wherever you need to add a sentiment!
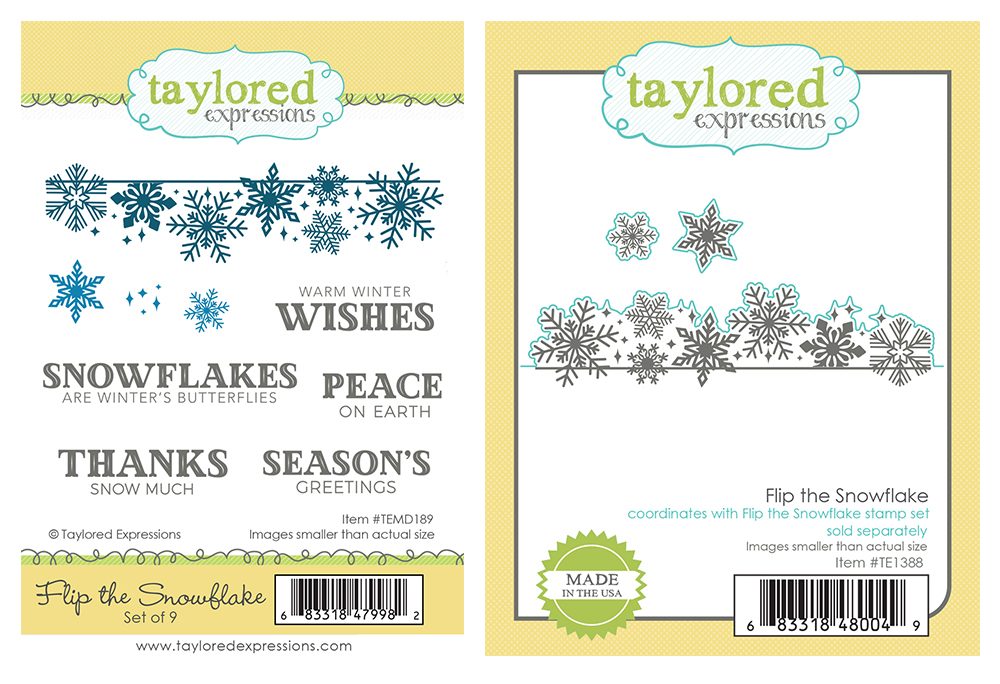
Next up is the Flip the Snowflake stamp set and coordinating dies. Simply set up the snowflake in your MISTI, stamp once, flip the paper 180 degrees and stamp again to create a boxed in border of snowflakes. Or use the coordinating die as Jill did below to cut along the edge of the snowflakes, nestling the sentiment in the middle.
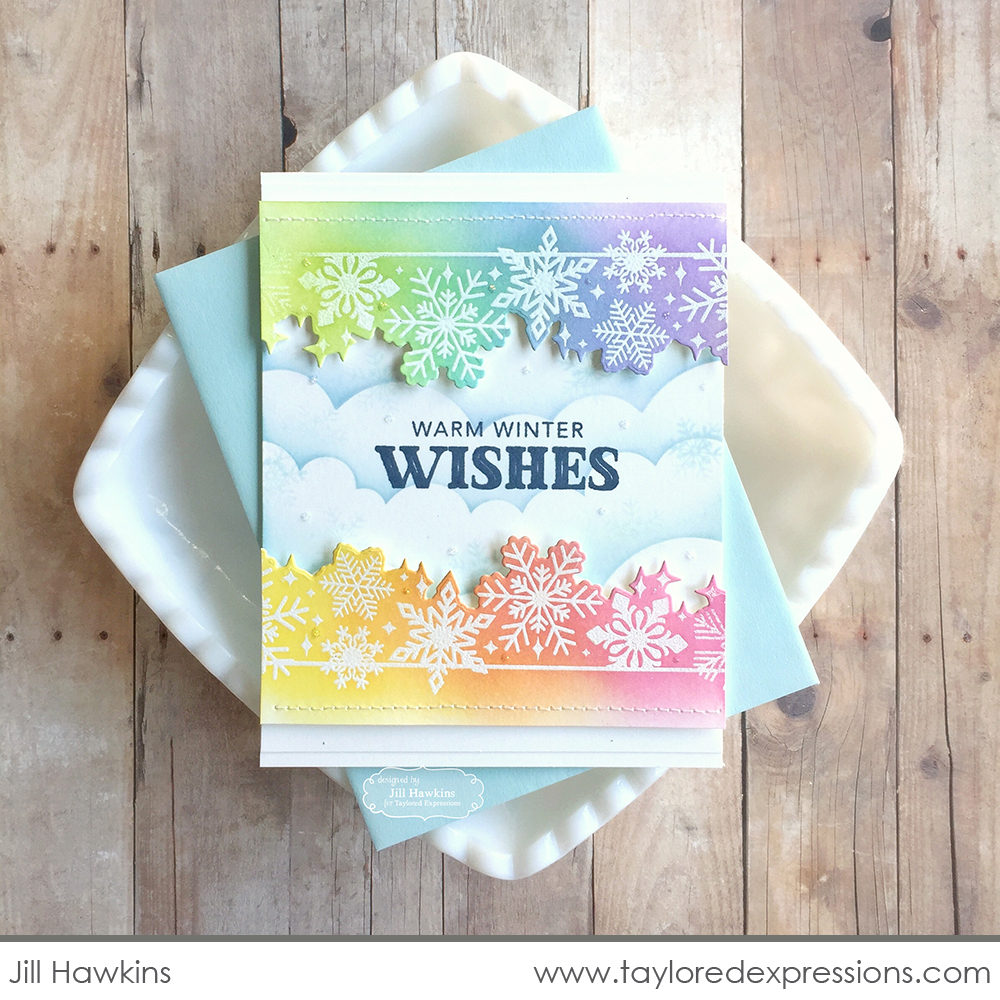
Jill Hawkins created this rainbow version using Blender Brushes to add color and clouds. I love Jill’s idea to #rainbowallthethings!
Speaking of blender brushes, everyone loves stencils with their blender brushes and we have more stencil options to share with this release!
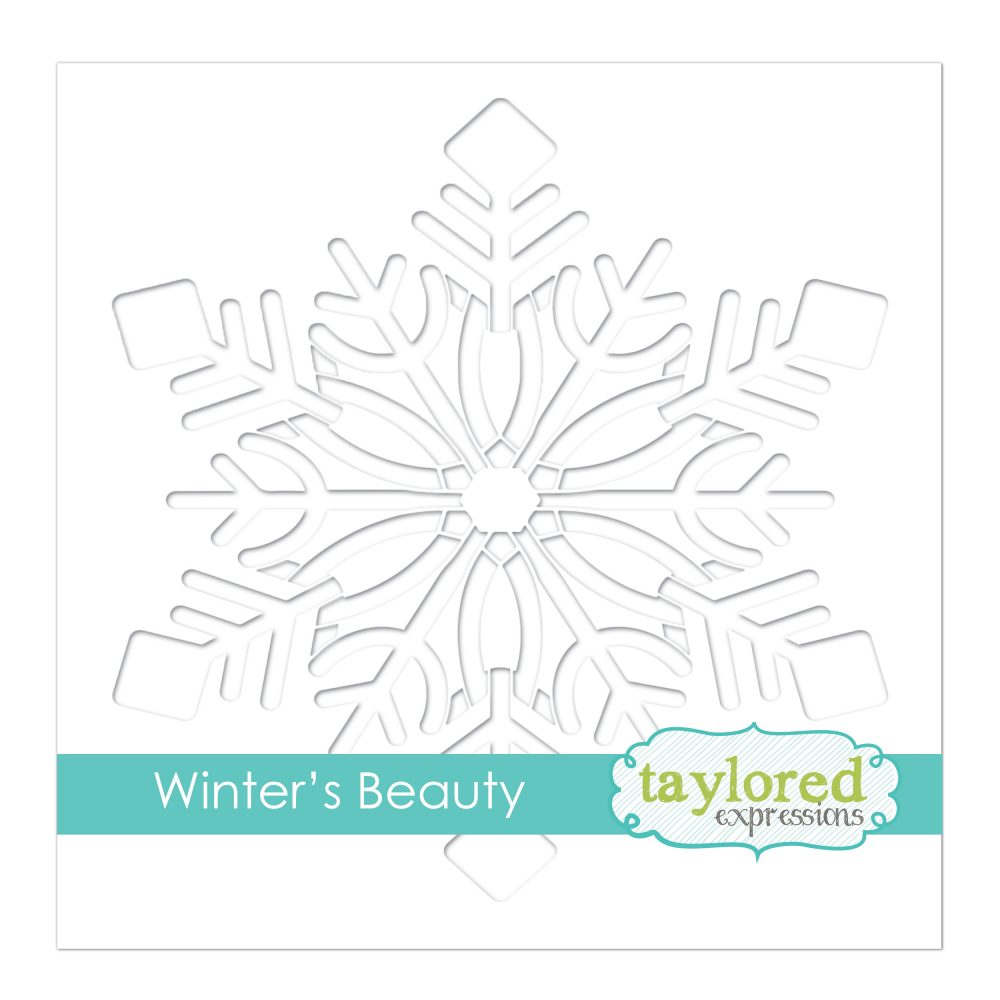
This jumbo-sized snowflake is a great way to make a statement on your winter and holiday projects! As you can see in the projects below, you can take the look from elegant to whimsical very easily!
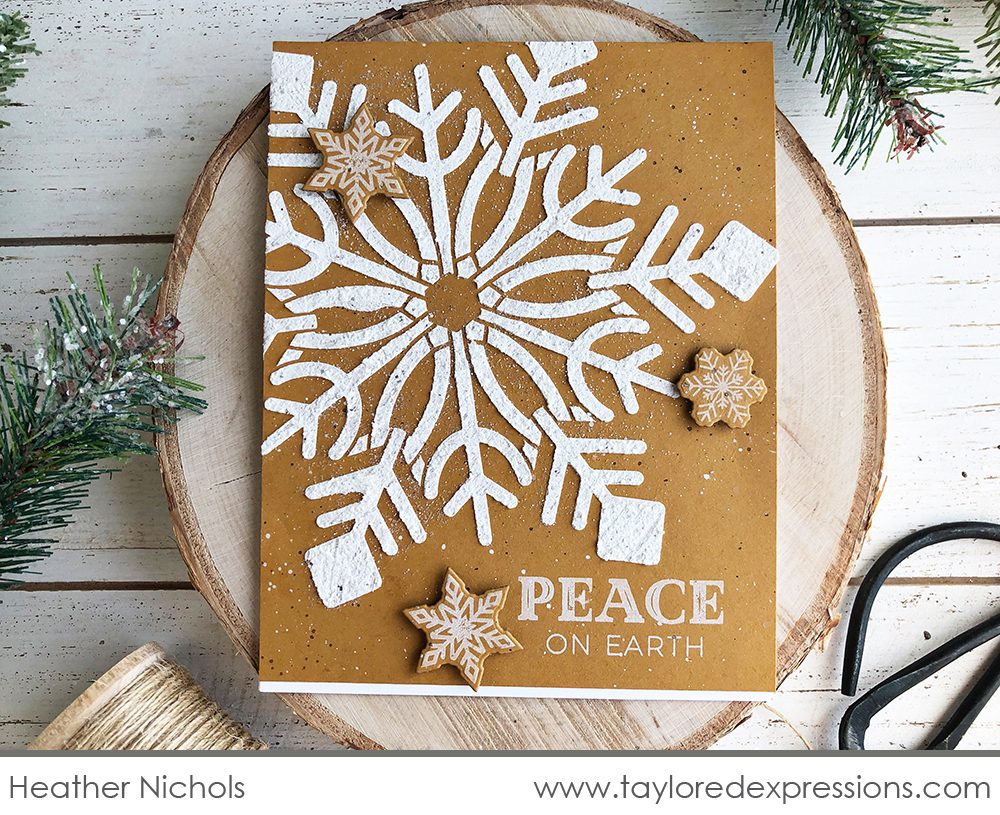
Heather Nichols used white embossing paste mixed with glitter for her elegant card using the Winter’s Beauty stencil. With just a few swipes through the stencil, she filled up her card front, added a few single snowflakes, and stamped the “peace on earth” sentiment from the Flip the Snowflake set. Her perfectly placed splatters finish off the design beautifully!
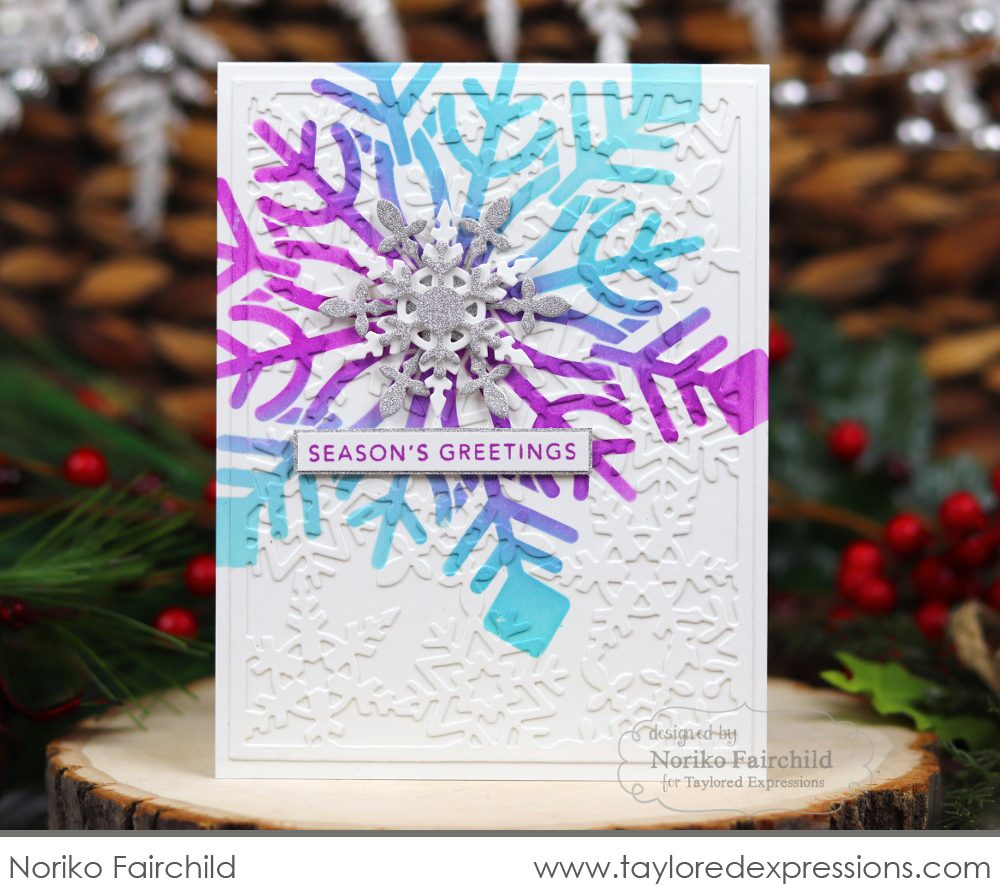
Just a change in color is all it took to change this snowflake from elegant to cutesy! Noriko Fairchild die cut a background from the Snowflake Cutting Plate and used the stencil to blend color over the top using the Winter’s Beauty Stencil. Noriko’s card is finished off with a few more snowflakes and a sentiment from the Mini Strips – Holiday stamp set.
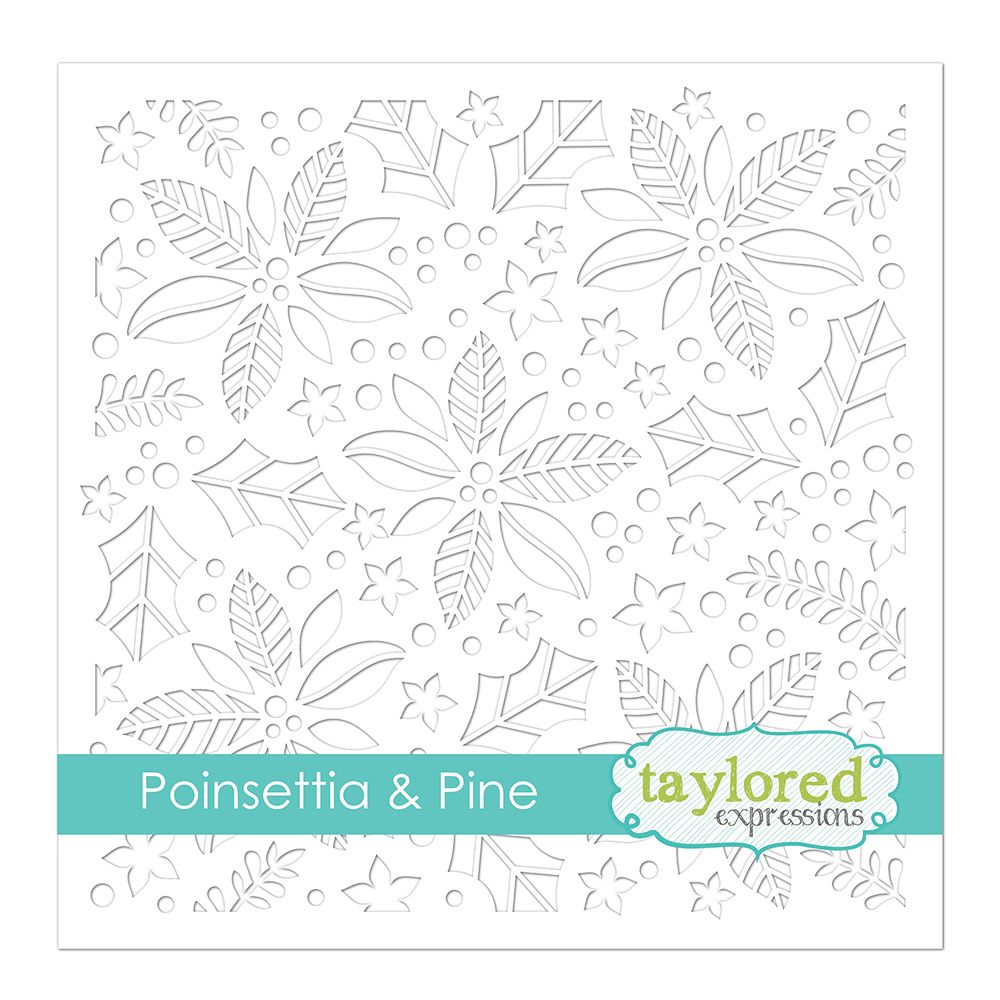
This beauty is the new Poinsettia & Pine stencil that features poinsettia flowers, holly, and more that all come together into a beautiful background design. You can create subdued backgrounds with a tone on tone look or make the design pop using bright or metallic colors!
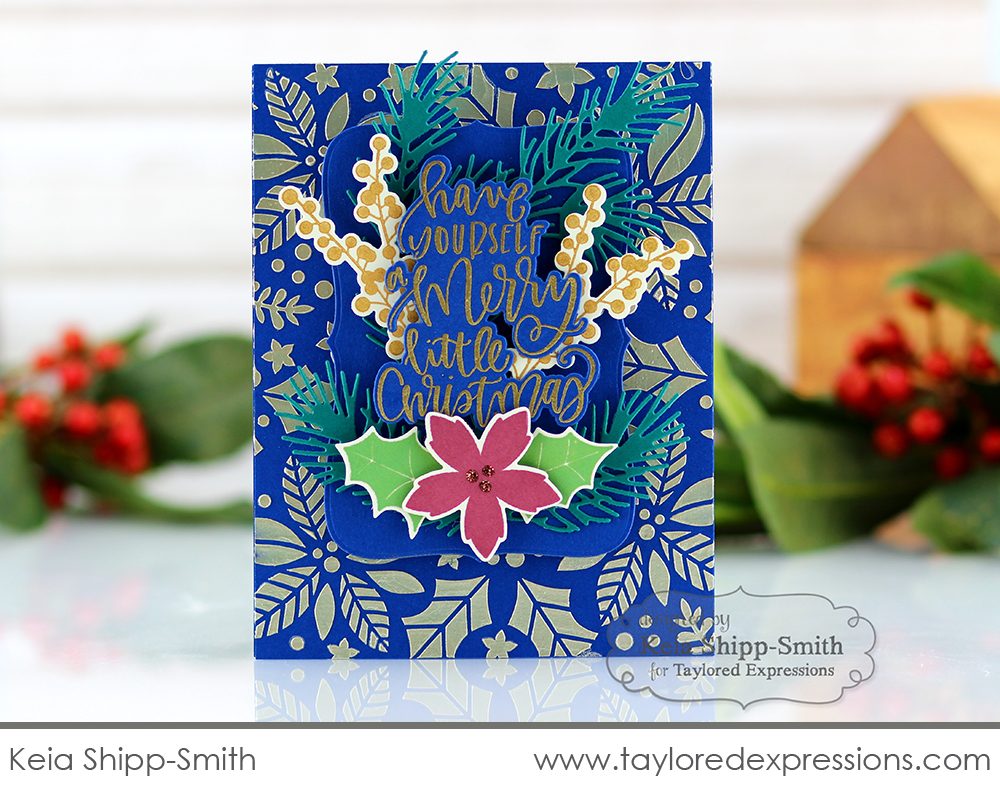
Keia Shipp-Smith used the Poinsettia & Pine stencil to create a stunning background with a metallic embossing paste over Blueberry cardstock. It complements the focal piece of the card featuring a sentiment from the new Handlettered Holiday 2 set and an elegant botanical arrangement.
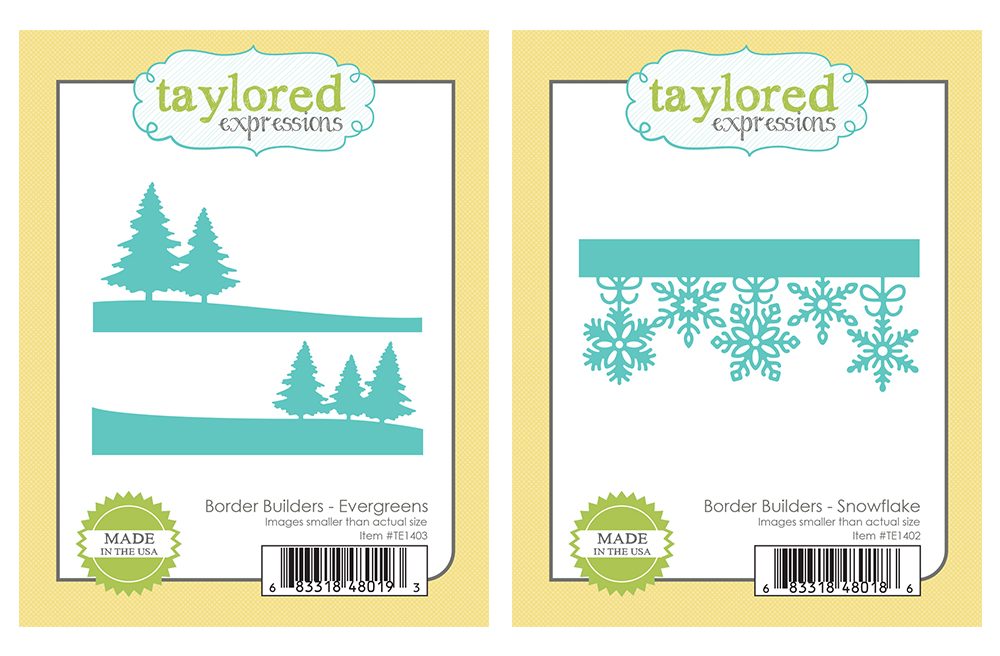
Last, but not least, we’re introducing the ultimate in mix and match designs with the new Border Builders collection! These borders can be used individually or combined together to create beautiful holiday scenes and shadowbox elements for a card front.
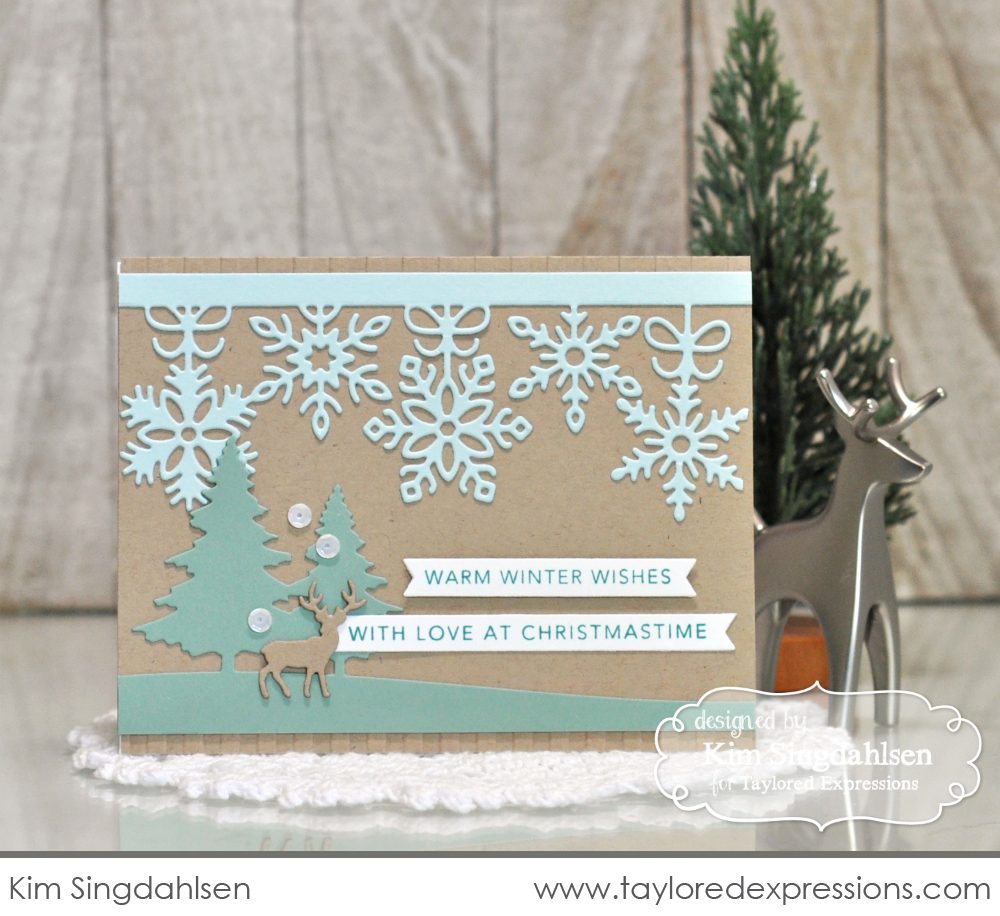
Kim Singdahlsen combined the Border Builders – Evergreens and Border Builders – Snowflakes to complete the pretty winter scene on her card. This design is definitely one to add to the idea list for cards that would be easy to mass-produce. Using the new Simple Strips – Christmas sentiments also checks the list for mass-production!
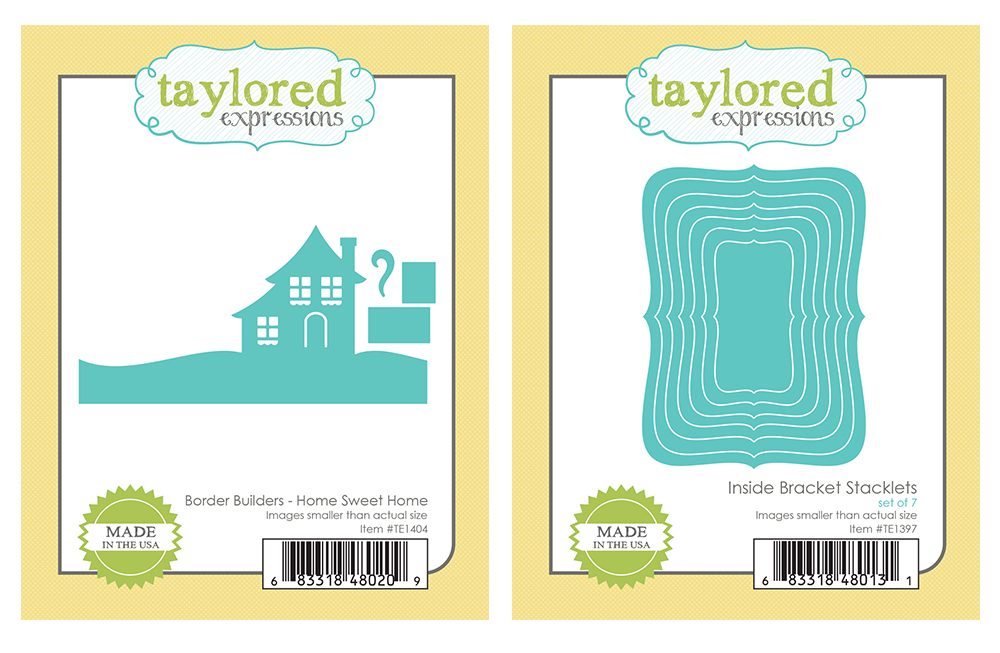
Border Builders – Home Sweet Home can be used in combination with both the Evergreens and Snowflakes dies that I shared above. The Inside Brackets Stacklets dies are designed to be used in combination with the Stiched Rectangle Stacklets to create a shadowbox frame in a variety of sizes.
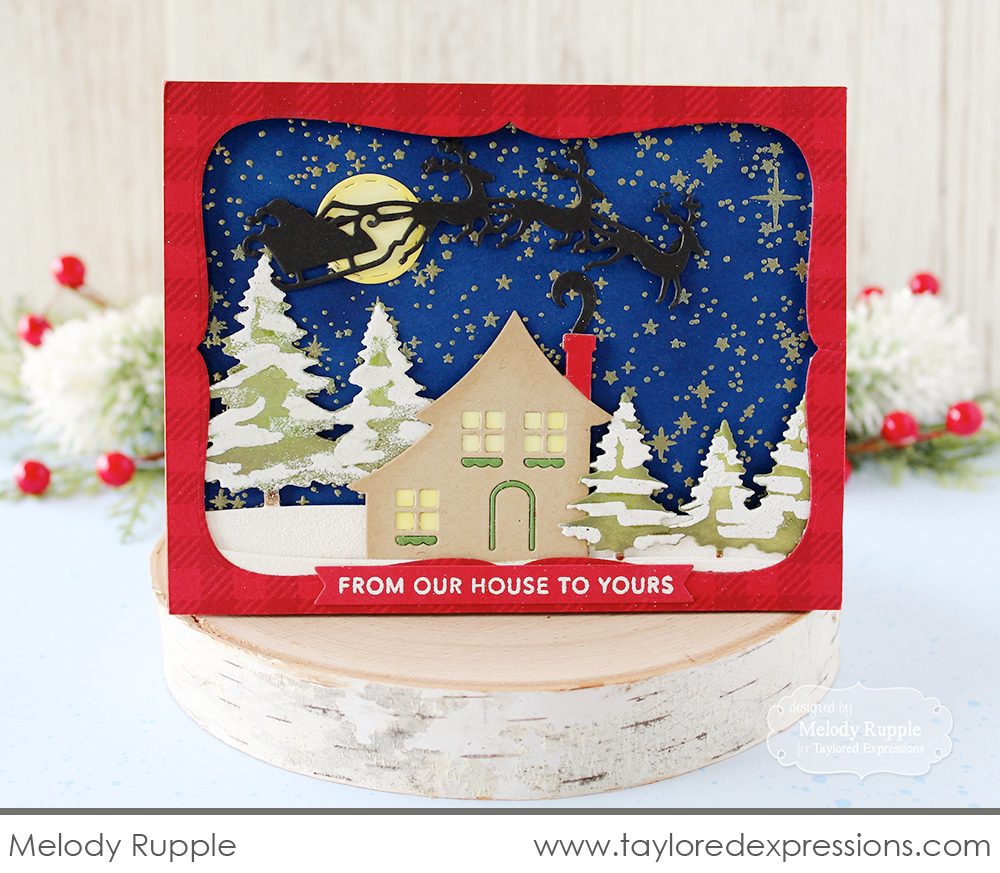
Melody Rupple created the perfect Christmas Eve scene using the Border Builders – Home Sweet Home and Border Builders – Evergreens. She enclosed her scene with a frame she created with the new Inside Bracket Stacklets dies using red cardstock that she stamped with the Buffalo Plaid Background stamp.

So that’s it for today! Before you head out, I have an opportunity for you to win it before you can buy it by answering my Question of the Day. Yesterday, I asked you to share your crafty holiday traditions, and today I want to hear about your foodie holiday traditions! What do you cook or bake every year? Recipes are welcome… *hint hint*!
Today I’m giving away the Modern Holly Layering stencil!
Leave your comment before Wednesday, October 2nd at 8PM CST. One comment per person. Each comment will also be entered into our Grand Prize drawing for a $50 gift certificate! Winners are chosen at random and announced on the TE blog on Thursday, October 3rd.
Make sure you check out the rest of the Taylored Expressions Creative Team projects using today’s featured products! And then I’ll see you back here tomorrow with more new products and inspiration!


