Apr 22, 2015
Blog Design Team: Hey, There, Foxy!
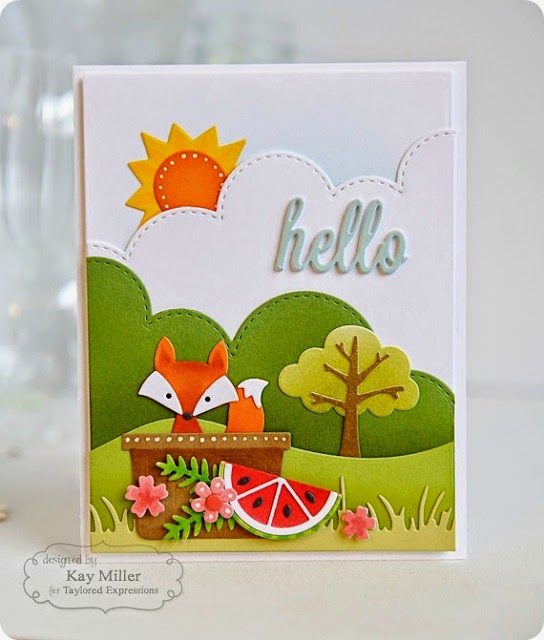
Happy Hump Day! We hope your week is full of creative mojo. If you’re looking for a little spark, Blog Team designer Kay Miller, has created an absolutely darling scene using our Little Bits and Build a Scene dies and we can’t wait to share it with you!

And now, let’s hear from Kay about her project…
Hi there! If you haven’t noticed before, I love to make little scenes
for my cards, and Taylored Expressions dies are so very perfect for
this! I love to start out with the Build a Scene dies and then add
little details from there.

For this card, I started
with a white panel cut 4 x 5-1/4″, and sponged some blue ink in the
center toward the top for my sky. Next I cut a panel the exact same
size and cut the top of it with the Build a Scene Rolling Clouds die,
and glued that down to my base leaving the top open so I could add my
sun. I cut another panel the same size out of the Peapod green card
stock and used the same Rolling Clouds die to cut my green tree border,
and glued that down over the clouds. Next I cut out yet another panel
the same size, and used the Rolling Hills die to cut the bottom hill out
of the Granny Smith lighter green card stock, and glued that to the
lower portion of the card. I then cut a border with the Wispy Grass Border die and glued that to the very bottom.
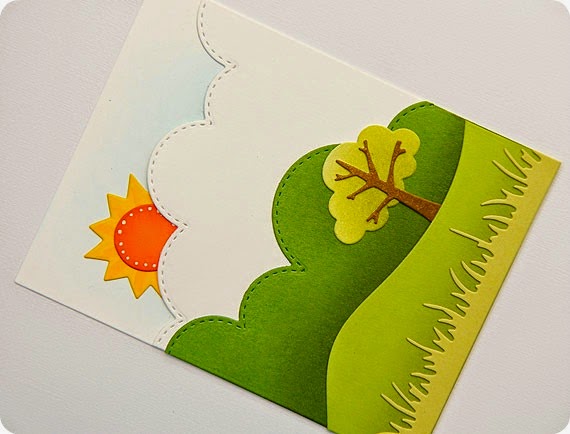
I cut the
sunshine from the Sunny Days dies and added a little detail with my
Copic markers and a white gel pen. I added a little glue to the back and
slipped it under the white cloud layer that I had left open at the
top.Next, I created a tree with the tree die from the
Build a House dies. I sponged some green ink on the top portion to give
it a little shading, added a little glue and slipped it behind the
lighter green hill layer.
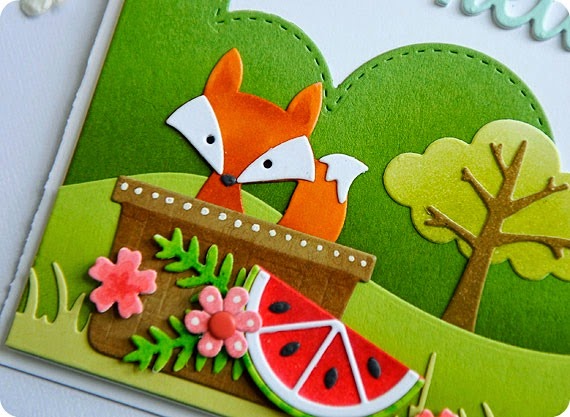
I then cut out the little
fox, added a bit of shading with my Copic markers and glued him
together. I did the same with the basket and then glued the fox behind
the basket, so he looked like he was sitting in it peeking out. I then cut out
the watermelon, flowers, and greenery and added a bit of detail with
Copic markers and a white gel pen. I glued the fox and basket down flat,
added the watermelon and flowers with foam tape and stuck the greenery
in behind the watermelon with a few drops of glue.
Lastly, I cut out three layers of the ‘hello’ die, layered them together and glued them down to the white cloud layer.
There you go! Such a sweet little scene! I adore that little fox!

Thank you so much, Kay, for sharing your delightful scene with us today! Be sure to visit Kay on her blog, My Joyful Moments, for more of her fabulous work. Have a wonderful rest of your week, crafty friends!