Aug 19, 2015
Blog Design Team: Thank You Fairy Much!
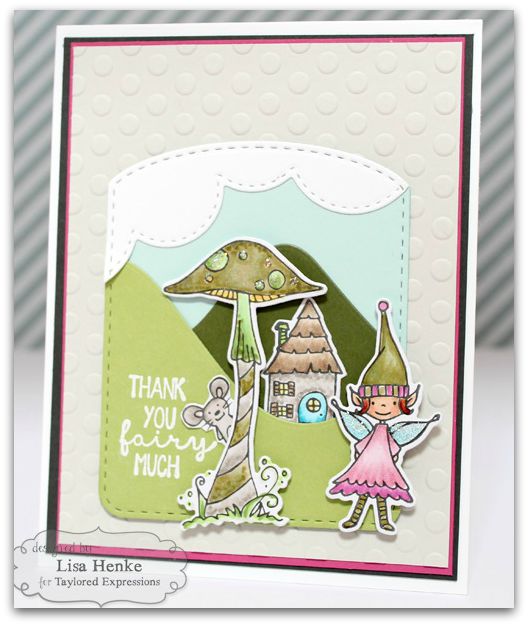
Hey there, crafty friends! Today, Blog Team Designer Lisa Henke has created a whimsical card full of sweetness and fun. Check it out…

And now, here’s Lisa to tell us all about her project…
I knew as soon as I saw the whimsical and
cute Under the Toadstool stamp set, I had to have it. I was
itching to create a playful scene with lots of dies. I probably should
let you know: I have a love affair with dies. I honestly don’t know
how I ever made a card before they existed!
I started with the Build a Tag 4 die set and cut a Salt Water Taffy layer.
The large stitched tag die from this set isn’t just for tags. It makes a
great card layer! I kept that die close by
knowing I was going to need it again, three more times, to finish off
my layers. Granny Smith and Sweet Basil were perfect colors of card stock for my Build a Scene-Mountain Top dies. I then created some clouds with Sugar Cube cardstock and Build a Scene-Rolling Clouds.
Once I had those pieces cut, I grabbed the large stitched tag piece
again and lined up the mountain and cloud pieces to make a completed
tag piece.

Next I got busy with my Copic markers and colored up all the stamps I wanted to use. I used the matching Under the Toadstool dies to
cut them out. It’s like magic when those pieces come out perfect every
time. No more fussy cutting!
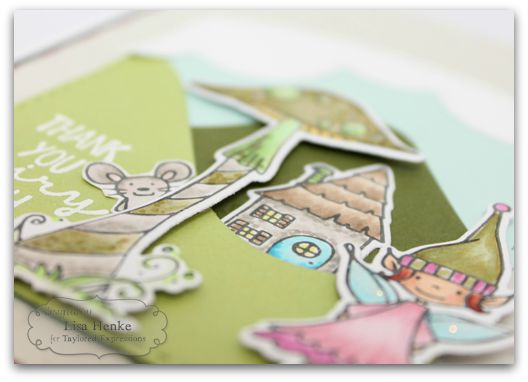
I added some Stickles glitter to the toad stool and the fairy wings. What’s a fairy without a little sparkle?

I
also adore texture on my card. I embossed the sentiment with white
embossing powder to make it pop off the green hillside and the
background was dry embossed with the Lots of Dots Embossing Folder. It’s always great to have thank-you notes on hand. This one will surely put a smile on someone’s face.

Thank you for sharing this fairy tale card with us today, Lisa! You can find more of Lisa’s beautiful work on her blog, My Little Creative Escape. Have a joyful day!