Mar 01, 2016
Sneak Peeks! Eat cake… I mean, cookies!
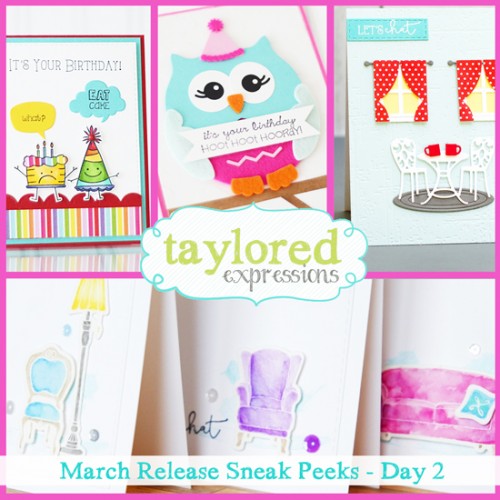
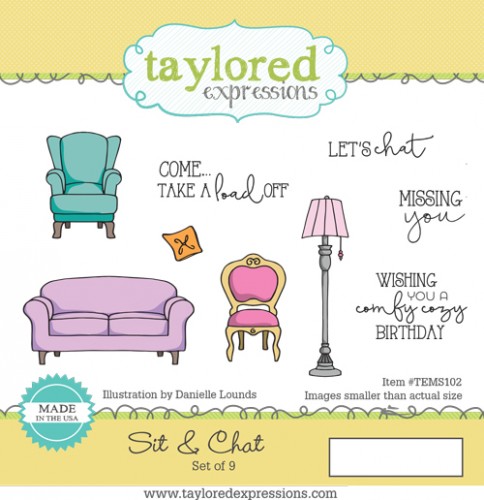
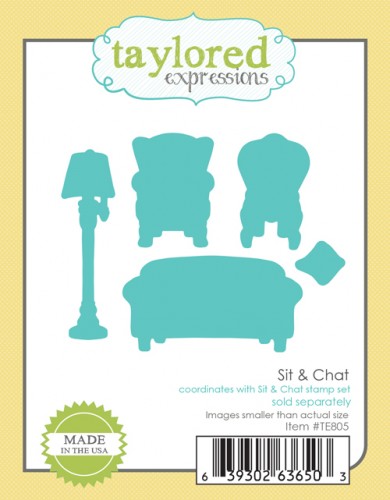
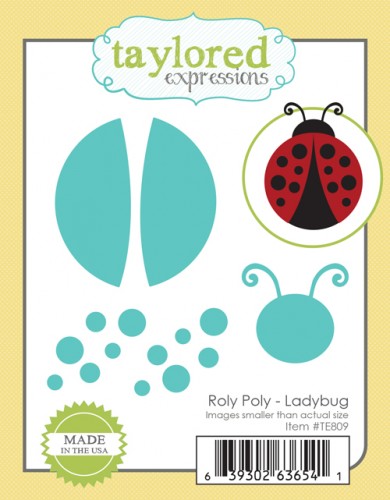
Good morning, crafty friends! It’s time for Day 2 of sneak peeks for our March Release! Today we’re getting creating comfy with our new couch and chairs! We’re also pulling out some of our favorite oldies to showcase a new set of sentiments and talk bubbles dies. And last, but certainly not least, I can’t wait to show you the newest additions to the Roly Poly family!
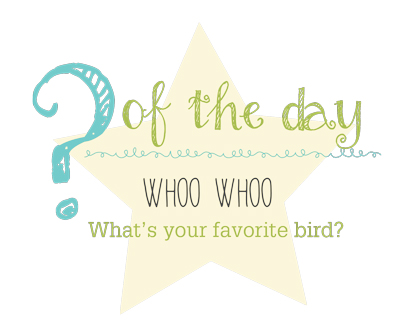
But first, I have another prize up for grabs! You’ll be entered to win today’s giveaway just by answering my question of the day. With the release of our new Roly Poly – Owl and spring just around the corner, I’m curious about your favorite bird!
Today I’m giving away the Roly Poly – Owl dies to one lucky winner!
The fine print: Leave your comment before Wednesday, March 2nd at 11:59pm PST. One entry per person. Each comment will also be entered into our Grand Prize drawing for a $50 Gift Certificate to the TE Store! Winners will be chosen at random and announced on Thursday, March 3rd, 2016.
And now for today’s projects! As I mentioned above, this month we’re introducing two new Roly Poly’s to the family; owl & ladybug. I love the Roly Poly collection because they can be used for so many things like cards, tags, gift sacks, and more. In fact, this month we also have a new set of tags designed to hold your favorite Roly on a round tag! Check out these cuties that Jen Shults designed:
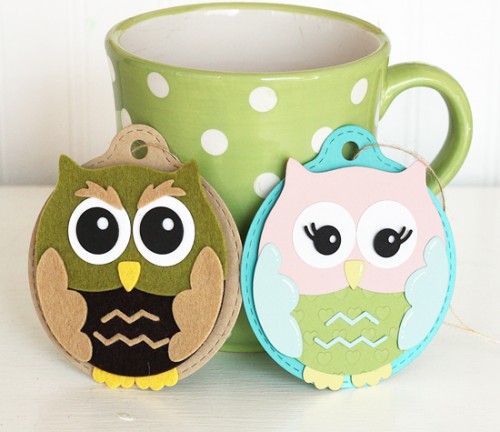
After assembling the owls, she adhered them to the largest of the tags in the Tag Stacklets 3 set. Did you catch the stitching around the outside of the tags!? Can’t live without stitching these days! And Jen did a brilliant job of showing off how you can make a more girly tag (with the eyelashes) or a boyish tag (with the eyebrows) using dies from the same set.
I wanted to make a card with the owl using accents die cut with our 100% wool felt and one of my favorite sentiments from the previously released Hoot Hoot Hooray Stamp & Die Combo:
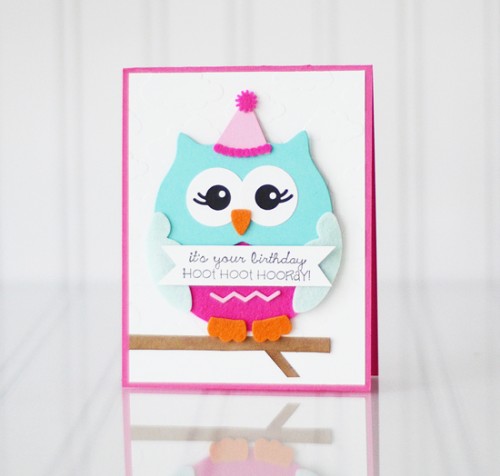
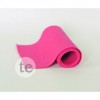
All of our Roly Poly dies were designed to layer onto a 3″ circle (there’s one in our Stitched Circle Stacklets set) so I started by die cutting the 3″ circle from Lip Gloss Felt so she would have a fuzzy belly. After die cutting the rest of the pieces, I assembled the owl using glue dots, or small drops of liquid glue, to adhere the felt.
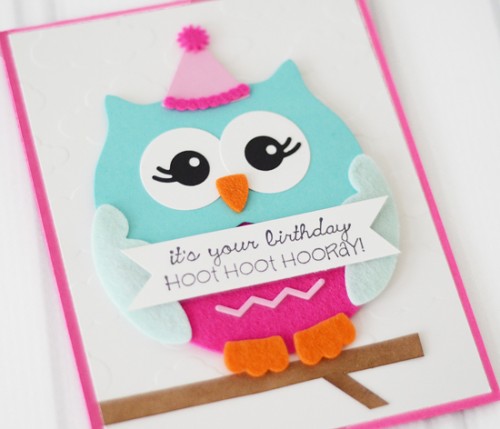
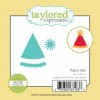
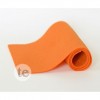
I hand cut the branch from Toffee cardstock and sponged it with Gathered Twigs ink. I wanted her to be a birthday owl so I added the Little Bits – Party Hat with hot pink pieces die cut from Lip Gloss felt.
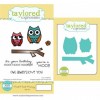
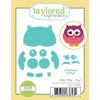
Here’s a look at the new Roly Poly – Owl die set that I used on this card along with the new Tag Stacklets 3 that Jen used to make her Roly Poly tags:


And here’s the complete supply list for this project:


Since I’ve told you about the new Tag Stacklets I thought it might be helpful to talk a little more about the sizing of these tags. I know I often see products online and wonder about the sizing or what I already have in my collection that could be sized appropriately to work together. So I thought I’d start by cutting each of the tags out from a different color and for size reference I’ve put them on an A2 card base on the left side.
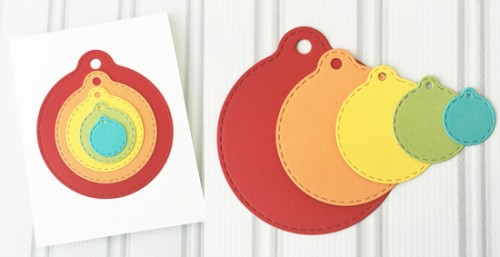
These sizes of the tags in Tag Stacklets 3 were specifically designed to work with several previously released TE products as you can see below:
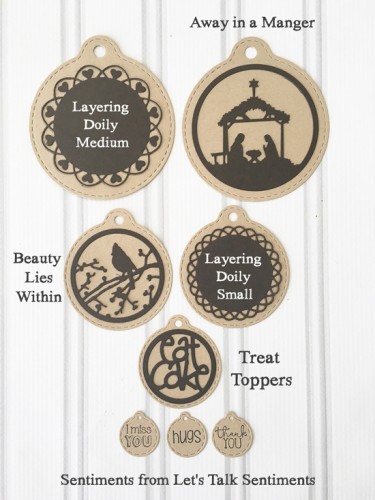
Largest Tag: Layering Doily Medium & Away in a Manger
2nd Largest Tag: Beauty Lies Within collection, Layering Doily Small
Medium Tag: Treat Toppers collection
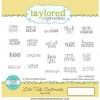
Small Tag: Sentiments from Let’s Talk Sentiments OR Many Minis
With all of these coordinating products, I know this set of tag dies will be getting lots of use in my stamp room!
Apparently I’ve been in a funny mood lately as this card was the first thing that came to mind when I got the Eat Cake sentiment in the Let’s Talk Sentiments set:
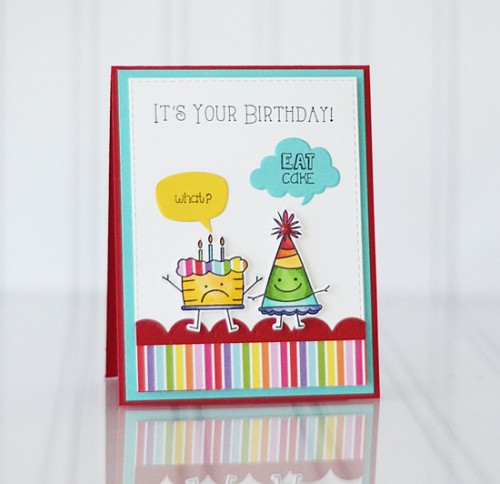
I envisioned the cow’s from Chic-fil-A with their “Eat More Chicken” signs and thought this would give any birthday guy or gal a good chuckle. I started by inking the cake (except for the smile) and stamping it onto Sugar Cube cardstock. Then I used my Stamp-a-ma-jig to turn the smile into a frown.
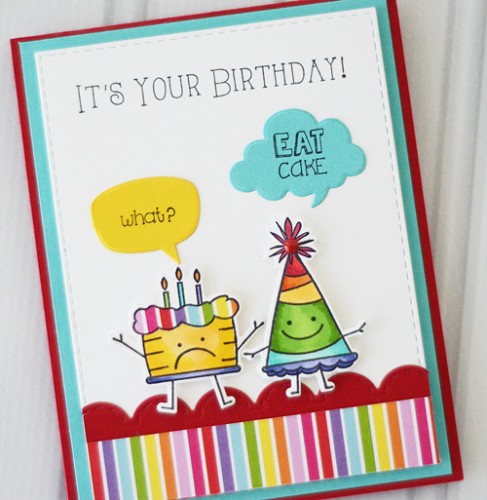
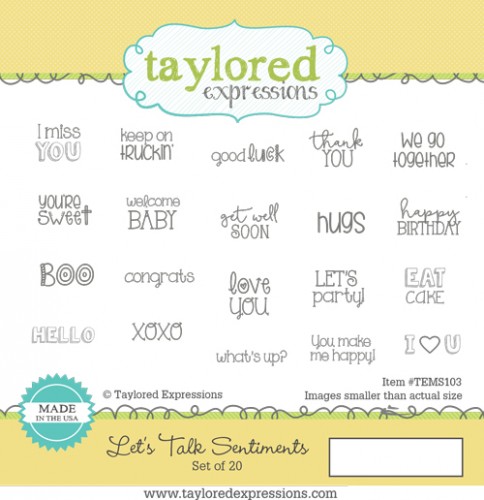
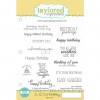
After stamping the images, I colored them with Copic markers, paper pieced the frosting, cut them out with the coordinating dies, and popped them up with foam tape. The ‘it’s your birthday’ sentiment is from In & Out Birthday and the other words are from Let’s Talk Sentiments which were designed to fit in our new Little Bits – Talk Bubbles.
Here’s a look at the new products I used on this project:

And here’s a look at all of the supplies used on this card:


The Creative Team gals are putting these new products to good use so you’ll want to make sure you check out their projects too! In addition to the products I used above, below are the new goodies they’re also showcasing in their projects: