Apr 28, 2016
Blog Design Team: A Simple Word of Thanks
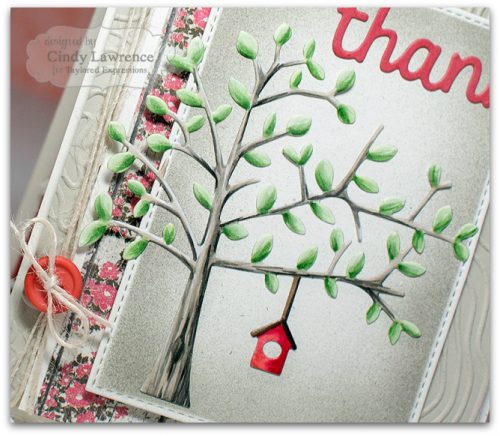
Happy Thursday, crafty friends! One of our favorite types of cards to create around here are ‘thank you’ cards and we were so delighted with the lovely thank you card Blog Design Team member and coloring queen Cindy Lawrence created for us today. Check it out…
And now, here’s Cindy to tell us all about her project…
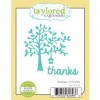
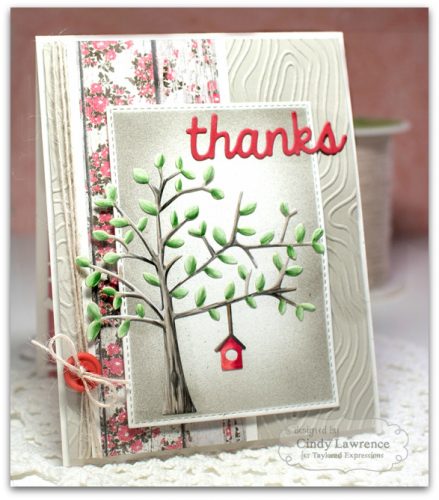
After creating last month’s tutorial on coloring up your dies, I just had to play around with another one. This time I colored up the tree from the beautiful Shades of Thanks die set.
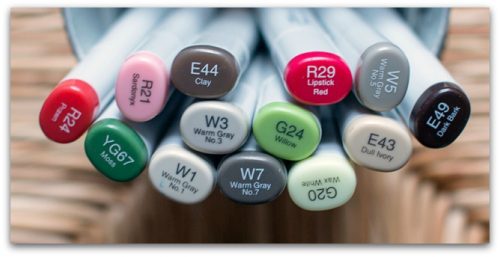
The tree was colored using a nice selection of warm grays, browns, and pretty greens from my Copic Marker collection.
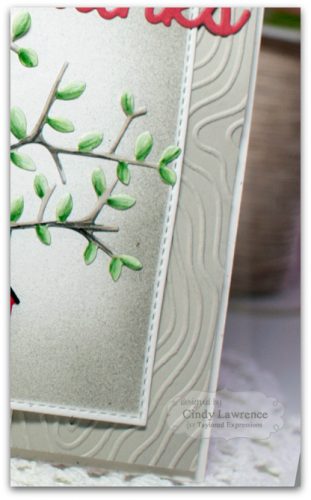
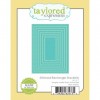
I carefully added bark texture to the tree by swiping my markers upwards, and even created a knot in the tree for a bit of added visual interest. I airbrushed the background of the Stitched Rectangle Die with a W5 Copic Marker & Copic Airbrush System. Remember, when you airbrush with your Copics, the color comes out lighter than when you color with them. So, you’ll want to choose a slightly darker shade.
I die-cut the “thanks” onto a bit of Cherry Pop cardstock, and attached it a bit off to the right side of the Stitched Rectangle layer to give the card balance.
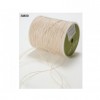
The Woodgrain Embossing Folder just might be my very favorite. I love the depth and incredible detail you can achieve with this folder. It is a must have, in my opinion! It adds just the right amount of texture to this card. A bit of Ivory Twine and a red button finish off the details.
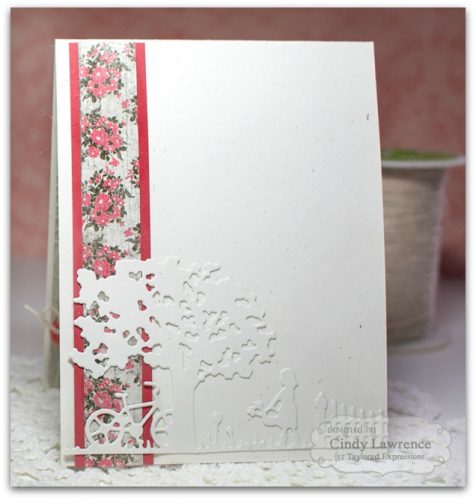
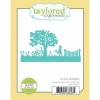
I dressed up the inside of the card very simply, with a couple of strips of extra papers and a subtle scene created with the In the Garden Die and neutral cardstock.
Thank you for sharing this super cute card with us today, Cindy! You can find more of Cindy’s fabulous work on her blog, The Creative Closet. Have a joyful day (filled with cute boots!)


