May 04, 2016
Sneak Peeks! Brushing up with Bold Brushstrokes!
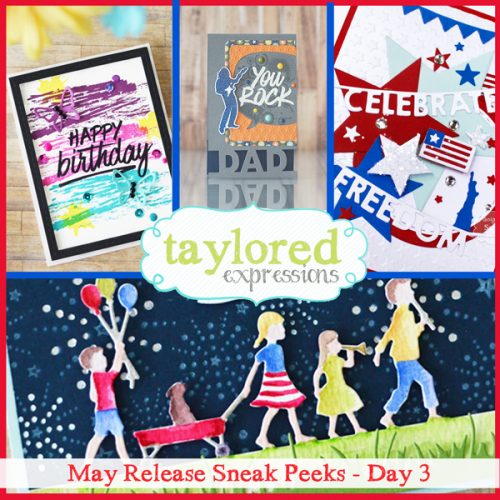
Hello there, crafty friends! We’re almost there! It’s the last day of sneak peeks before all of our new products are available for purchase at the TE webstore! Set your alarm for 7am PST, but check in here first to see if you’re one of our lucky winners! So far we’ve been On the Road sharing ideas for Father’s Day, teacher appreciation, and more! And today the Creative Team and I can’t wait to share our patriotic projects and urban art (think spray paint!). And I have a very special FREE download that you won’t want to miss so make sure you keep reading!
But first, I need you to tackle one more question of the day! By leaving a comment with your answer you’ll be entered to win one of our new release products or a Grand Prize gift certificate to the TE Store! Our new Marching On die inspired my question for today (and my own daughter constantly asking me when we get to go to another parade; they both love parades!).
For answering today’s question, you’ll be entered to win the Marching On die!
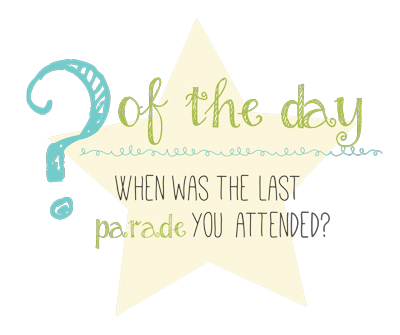
The fine print: Leave your comment before Wednesday, May 4th at 11:59pm PST. One entry per person. Each comment will also be entered into our Grand Prize drawing for a $50 Gift Certificate to the TE Store! Winners will be chosen at random and announced on Thursday, May 5th, 2016.
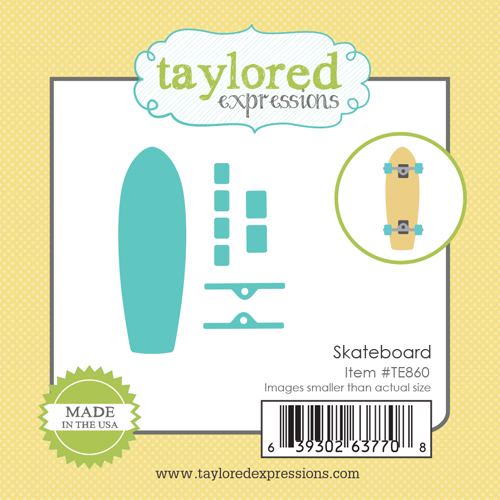
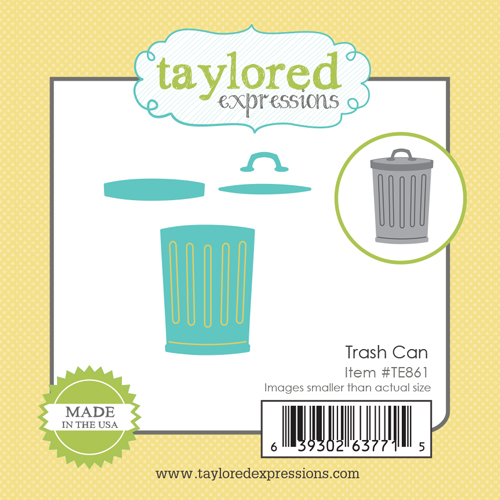
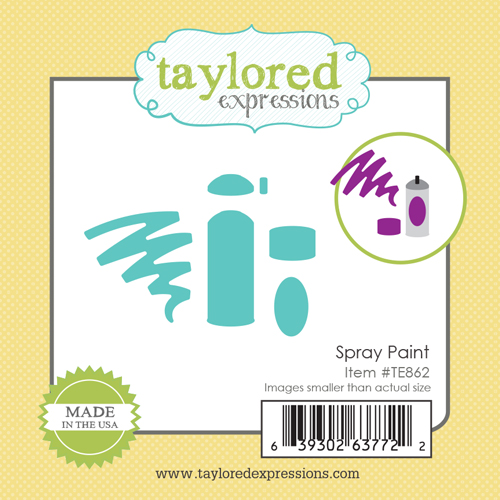
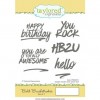
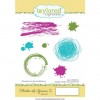
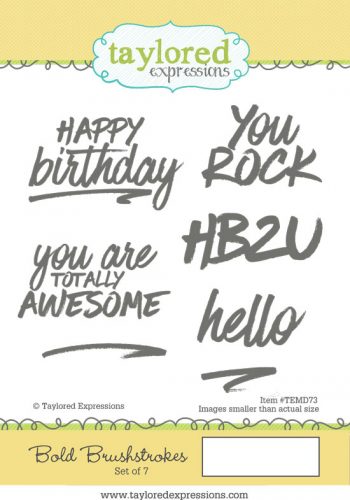
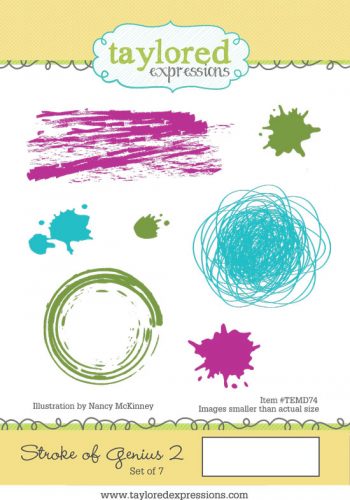
And now for my projects! I have 4 of them to share with you today so I better get started! First, we have a look at the Bold Brushstrokes stamp set paired with the new Stroke of Genius 2 set. These sets were designed to be paired with the new Little Bits – Skateboard, Trash Can, & Spray Paint for an “urban art” inspired card like the one Creative Team member, Kim Singdahlsen created here:
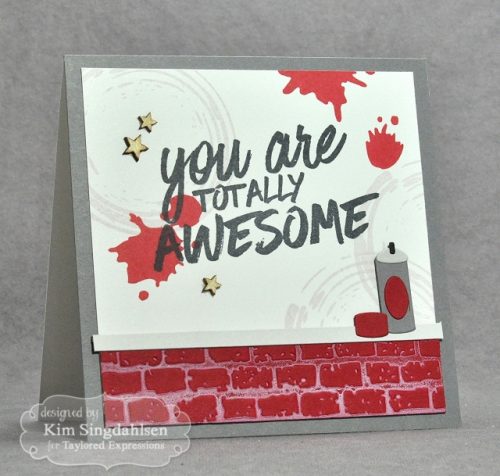
I absolutely love her project! I decided to do a more feminine take using the same two stamp sets to create this project:
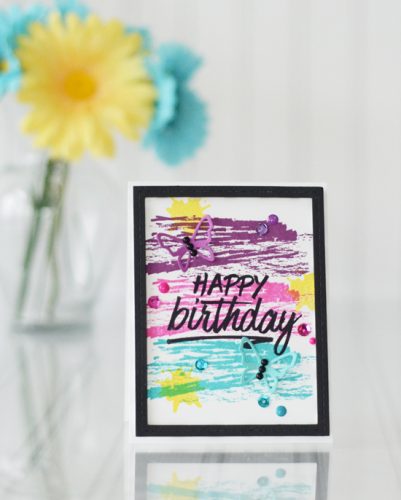
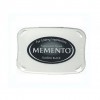
I started by stamping the brushstroke three times in the background with Tim Holtz Distress ink (Seedless Preserves, Picked Raspberry, and Peacock Feathers). And then I added a few splatters in Mustard Seed. I stamped the sentiment over the top with a juicy Memento Tuxedo Black ink pad.
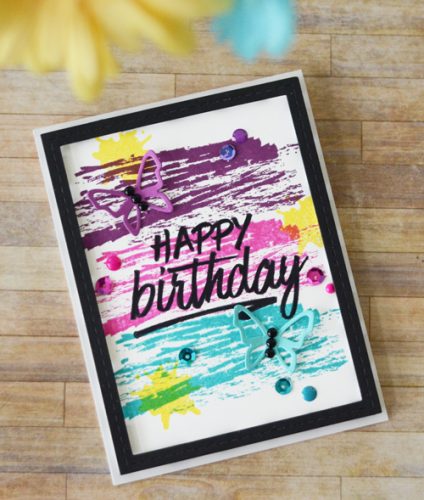
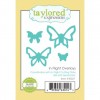
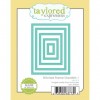
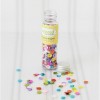
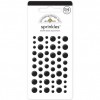
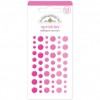
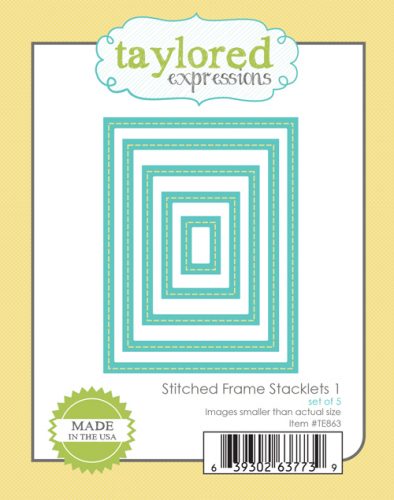
Then I used Rainbow Brights Sequins and Doodlebug Sprinkles, coordinating the colors within their respective background brushstrokes. To finish it off I added a few butterflies and framed the entire card with the Stitched Frame Stacklets 1 popped up on foam tape.
Here’s a look at the new supplies that I used on this project:

There are so many different possibilities with these sentiments so I decided to keep going down this trail and here’s where it took me:
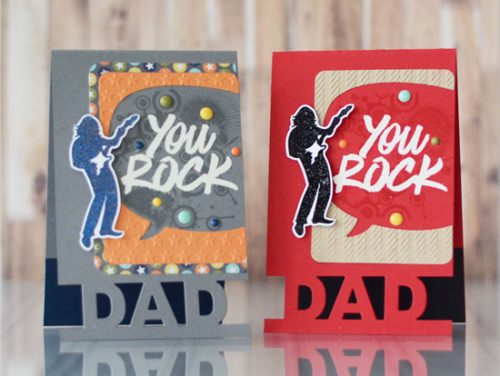
These two cards didn’t come together quickly or easily, but I love how they turned out! I started with an idea of what I’d like to use, but had no idea how it was all going to come together. So I just began cutting and arranging and embossing and die cutting until I was happy with everything! How’s that for a scientific process? *wink*
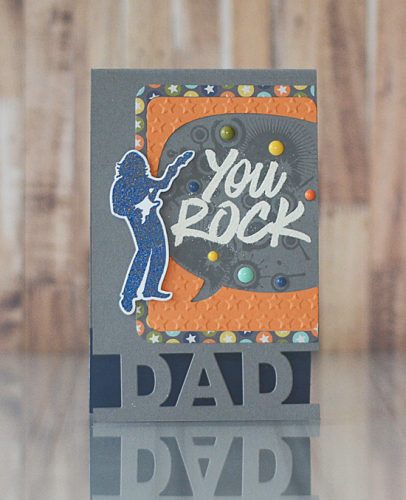
The outer bubble was masked while I stamped the grunge splatter on the inside of the talk bubble. I embossed each talk bubble with one of our new embossing folders (left with Lots of Stars and right with Know the Ropes). The two rockstars are embossed with navy and black embossing powders and popped up on foam tape. The ‘You Rock’ sentiment is also embossed with white embossing powder.
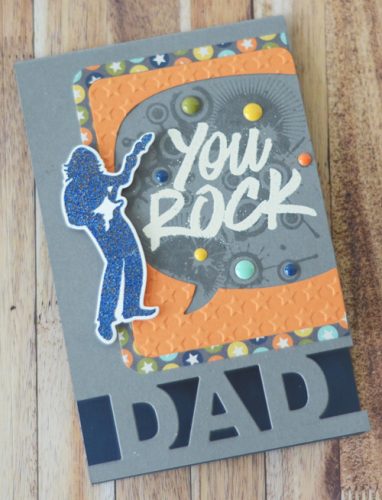
I finished off the card by die cutting the Block Party – Dad directly into the front of the card base and adding a strip of contrasting cardstock to the inside of the card to make the ‘dad’ pop. Then I embellished with various enamel dots and called it done!
Here’s a closer look at the new supplies I used on these cards:
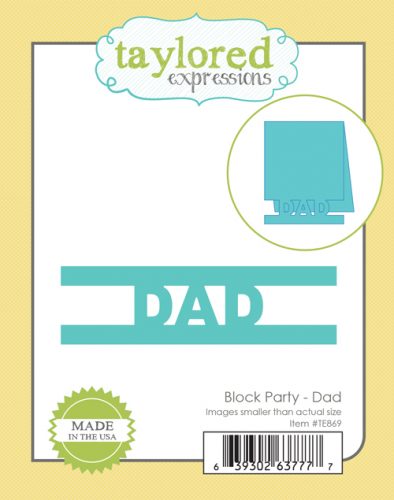

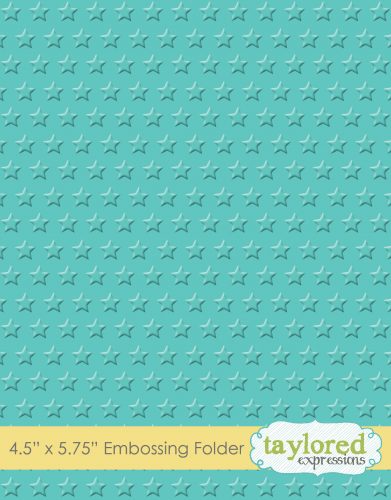
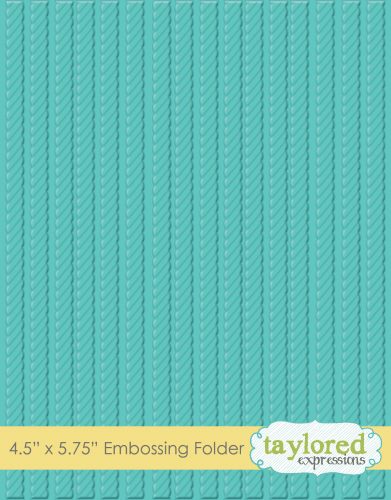

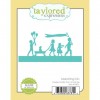
Today the Creative Team and I are also sharing patriotic projects to inspire your Memorial Day, Veteran’s Day, and 4th of July projects! My first card features the Marching On die which is the one we’re giving away today. I love this little parade of kiddos and I think it’d be great for a birthday card too! I can picture it now… “just marching by to say Happy Birthday”!
Here’s my patriotic themed parade:
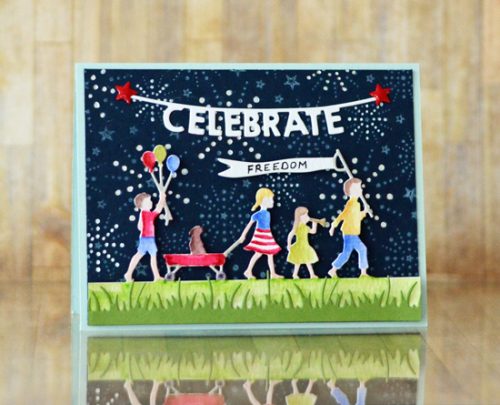
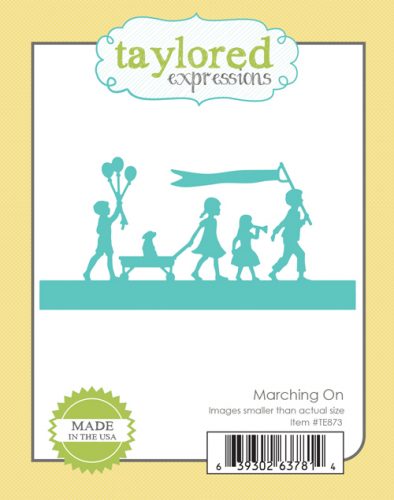
I started by die cutting the Marching On die from Taylored Expressions premium watercolor cardstock. Then I used my Zig Clean Color Real Brush Markers to add color to the silhouette die cut. I set aside the colored image and began creating the backdrop with the new Fireworks embossing folder.
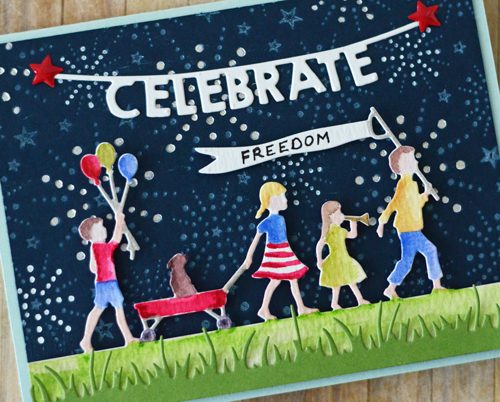
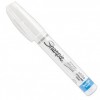
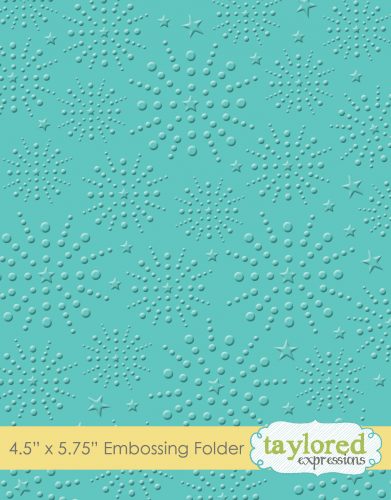
I added white pigment ink to the inside of the embossing folder and ran it through my machine to emboss the design. Then I used my fine point white sharpie pen to accent some of the circles and make them pop a little bit more than with just the pigment ink.
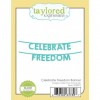
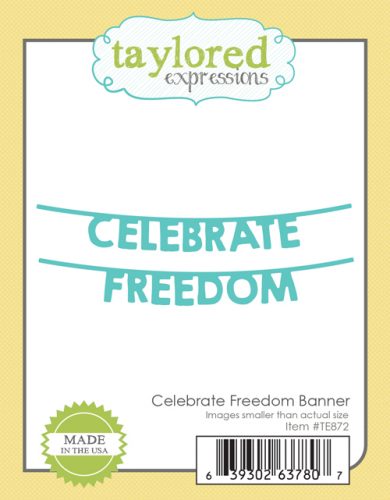
I finished it off with a bit of Wispy Grass along the bottom and the ‘celebrate’ portion from our new Celebrate Freedom banner set. Note: the Marching On die does not cut along the bottom so you get to design how tall or short you want it to be.
Here’s a closer look at the new products I used on this card:

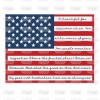
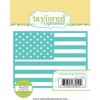
As I mentioned above, I have something free to offer you today! I came up with this idea to have the words of a well-known patriotic song shown within the white lines of our American Flag Cutting Plate. I chose America the Beautiful and laid it all out, but in the end, it just wasn’t meant to be a stamp so instead we’re offering it as a free download!
Check out the card I made simply by printing off the wording and overlaying the American Flag Cutting Plate:
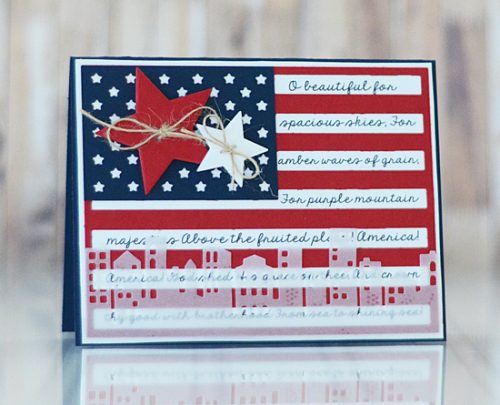
I printed onto white cardstock, die cut the American Flag Cutting Plate from Cherry Pop cardstock and arranged it over the song lyrics. Then I trimmed around the outside of the flag leaving a slight white border. You’ll also need to trim again from Blue Corn cardstock and piece the blue rectangle star portion over the top of the red.
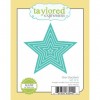
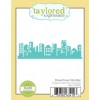
To add a little bit more pizzazz I included two stars from our Star Stacklets set tied with natural burlap twine, and the Downtown Border cut from vellum along the bottom. I love how the end of the song says “from sea to shining sea” and the city border reflects that!
Stamp the inside with our ‘thank you for your service’ sentiment and you have a simple and stunning card of appreciation. Or make this your 4th of July BBQ invitation with details stamped with our Eventful and RSVP stamp sets on the inside.
You can find the free download HERE.

The design team is back at it again today so make sure you click on the beautiful faces below to check out their amazing projects! They’ll be showing the new products I used above as well as those shown below that I didn’t get a chance to use in my projects:
