May 24, 2016
Sharing Joy with Therm O Web: Day 2!
Hey there, crafty friends! Today is Day 2 of our super fun week with Deco Foil from our friends at Therm O Web and we’ve got wonderful projects from our Creative Team members, Charmaine Ikach and Jean Manis! For over 40 years, Therm O Web has been bringing high-quality adhesives and interfacings to the crafting world and, like us, they are a family-owned company dedicated to expanding your creativity. Our friends at Therm O Web are creating with TE products on their blog, so be sure to check them out! PLUS — we’ve got two amazing prizes up for grabs…read on for all the details!
First up, let’s hear from Charmaine how she created her projects…

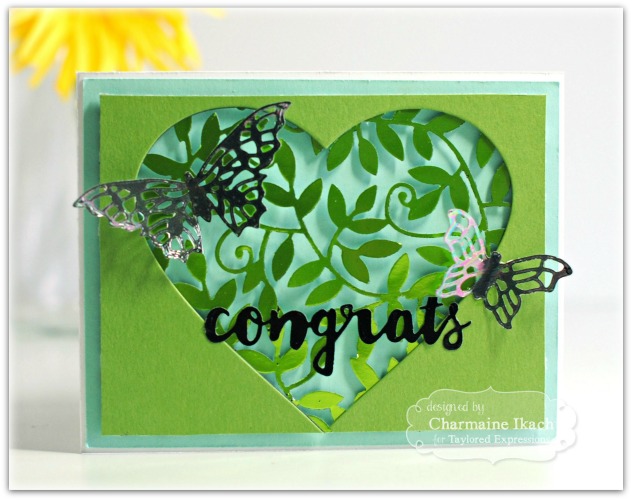
Charmaine’s projects show off just how much detail can be achieved with Deco Foil by pairing with some of our intricate Cutting Plates! She’s been cool enough to give us some step-by-step instructions, too!
- Create card base using Sugar Cube cardstock.
- Cut a piece of Salt Water Taffy cardstock to 4″ x 5.25″ and attach to card base.
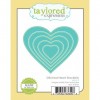
- Cut a piece of Peapod cardstock to 3.75″ x 5″ and die cut a heart from the center using the Stitched Heart Stacklets.
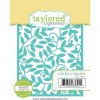
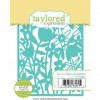
- Die cut a piece of Therm O Web Toner Sheet using the Leafy Vine Cutting Plate.
- Cut a piece of Therm O Web Lime Transfer Sheet to fit the Leafy Vine die cut, place it over and run through laminating machine.
- Apply adhesive to the back of Peapod cardstock and place over foiled leaf image so that the leaves show through the heart window.
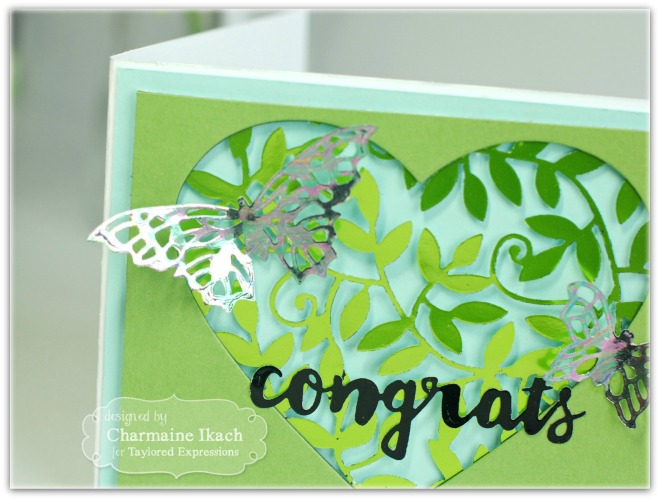
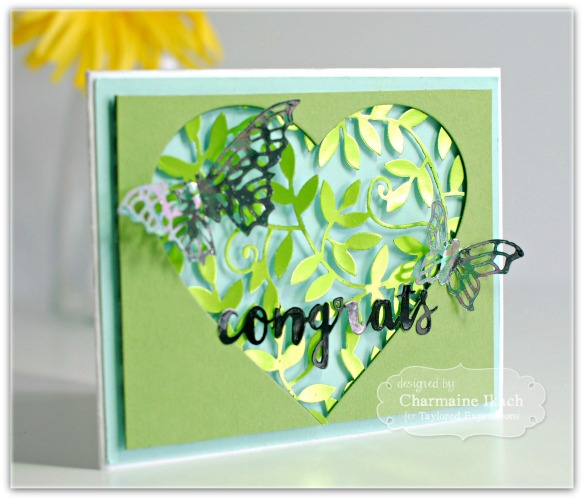
- Apply foam tape to the back and mount onto card.
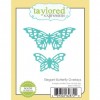
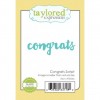
- Use toner sheets to die cut Congrats Script and the Elegant Butterfly Overlays.
- Cut piece of Black Transfer Sheet to place over “congrats” and Opal Transfer Sheet to place over butterflies and run through laminating machine.
- Adhere butterflies and sentiment to card.
Charmaine created two more cards using our Gathered Blooms Cutting Plate…plus, she shows off what gorgeous results can be had by using the negative space “leftover” pieces of foil!
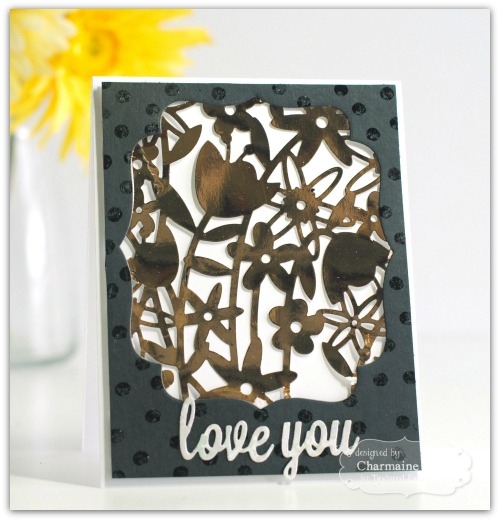
- Create card base using Sugar Cube cardstock.
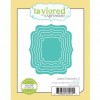
- Cut a piece of Oreo cardstock to 4″ x 5.25″ and die cut a window using the Label Stacklets 2.
- Take Deco Foil Adhesive Pen and dot it all over the Oreo cardstock to create polka dots and let dry.
- Foil black piece using Deco Foil Black Transfer Sheet by running it through die cut machine.
- Die Deco Foil Toner Sheet using the Gathered Blooms Cutting Plate and foil using Deco Foil Rose Gold Transfer Sheet and a laminating machine.
- Adhere foiled piece to Oreo frame and adhere to card base with foam tape.
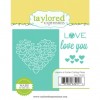
- Die cut “Love You” from Sugar Cube cardstock using Hearts Aflutter Cutting Plate and cover with Deco Foil Adhesive Pen.
- Once dry, foil with Deco Foil Opal Transfer Sheet and run through die cut machine.
- Adhere to card front.
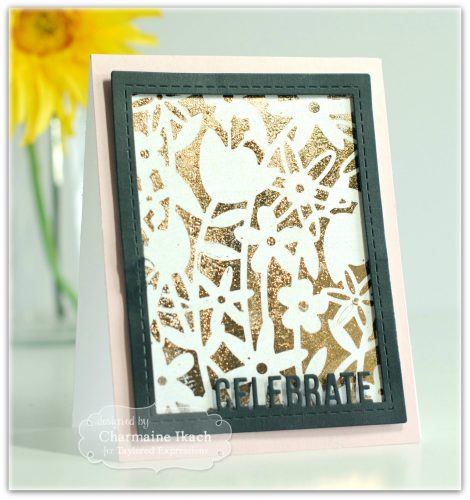
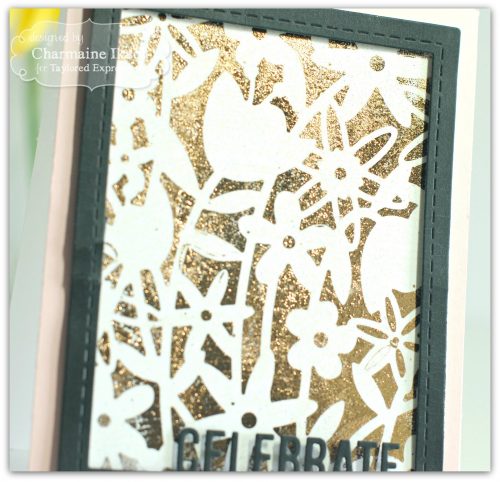
- Create card base using Sugar Cube cardstock.
- Cut a piece of Cupcake cardstock to 4.25″ x 5.5″ and attach to card base.
- Die cut Picture Perfect Celebrate out of Oreo cardstock.
- Cut a piece of Sugar Cube cardstock and apply glue to the whole piece using the Deco Foil Adhesive Pen and let dry.
- Once dry, take the used piece of Rose Gold Transfer Sheet (from previous project) and place over cardstock and rub firmly so that the “negative foil from previous project adheres to adhesive. Run through die cut machine.
- Apply foam tape to the back of the celebrate frame and attach to foiled piece of cardstock and adhere the whole piece to the card.
Absolutely gorgeous, Charmaine! LOVE how you use the negative space! Next up is designer Jean Manis!

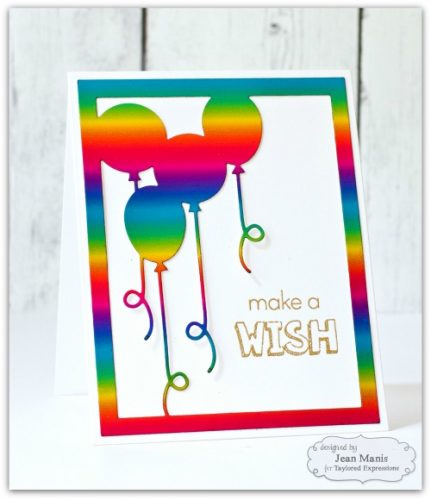
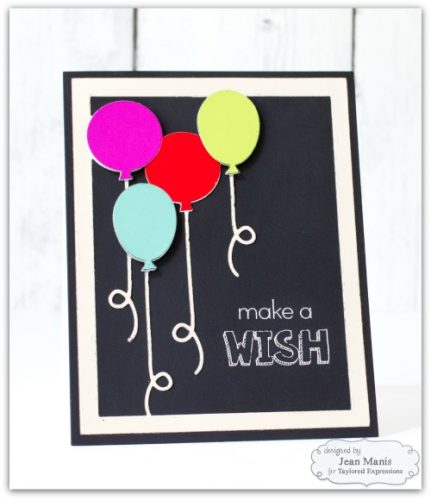
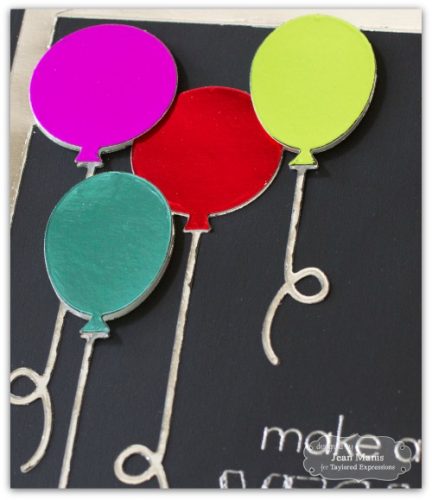
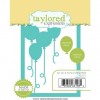
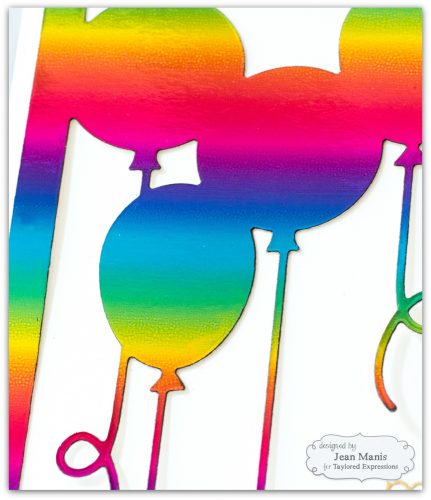
Jean created a matched pair of cards using our Up, Up & Away Cutting Plate. She shows off how easy it is to create two different looks with the same die by adding Deco Foil. Here are some step-by-step instructions for how she created her wonderful cards:
- Die cut Deco Foil Toner Sheet with the Up, Up, & Away Cutting Plate set.
- Cut Deco Foil in desired colors to size slightly larger than toner sheet die-cut pieces.
- Run pieces through foil laminator following manufacturer’s instructions.
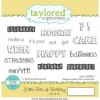
- Stamp and heat-emboss card front with sentiments from Little Bits of Birthday stamp set.
- Adhere Balloon frame to card front. If desired, attach balloon pieces to frame with double-sided tape and/or foam adhesive.
Thanks so much, Jean, for sharing such a pretty and easy-to-make card with us today! You can find more of Jean’s gorgeous work on her blog, Right As Rain. For more of Charmaine’s incredible work, visit her blog, Oodabug Alley.
We hope you enjoyed our Taylored Expressions – Therm O Web projects today! Please do go and visit them on the Therm O Web Blog and check out the projects created by their awesome designers! Also, we encourage you to continue to follow them on Therm O Web’s Facebook page, through Twitter, on Pinterest, and on Instagram!
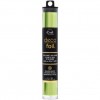
Be sure to come back every day this week for more inspiration and more chances to be entered into our prize drawing! We’ve got TWO prizes up for grabs this week. Our buddies at Therm O Web have got a $50 Gift Certificate to the TE Store to give away, so be sure to visit the Therm O Web Blog each day this week. Our generous friends have given us an amazing Deco Foil Prize Pack: 7 New Deco Foil Transfer Sheet Colors in: Lilac, Spring Green, Aqua, Champagne, Copper, Pewter and Deep Blue along with our Deco Foil Hello Designer Stencil and one pack of Deco Foil Foam Sheets

How to Enter: Leave a comment below telling us about the latest technique you have tried on your projects by Sunday, May 29, 2016 at 11:59 pm PST. We’ll choose one lucky winner at random to win a Deco Foil Prize Pack valued at $50 from all the comments left on the TE Blog between Monday, May 23 to May 29, so the more you visit us, the more chances you have to win! We’ll announce the winner next week here on the TE Blog.

Charmaine’s Leafy Vine Card:
Charmaine’s Positive Blooms Card:
Charmaine’s Negative Blooms Card:
Jean’s Balloon Birthday Cards:


