May 25, 2016
Sharing Joy with Therm O Web: Day 3!
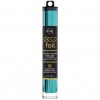
Today is Day 3 of our special week with Deco Foil from our friends at Therm O Web and we’ve got wonderful projects from our Creative Team members, Kim Singdahlsen and Kendra Wietstock! For over 40 years, Therm O Web has been bringing high-quality adhesives and interfacings to the crafting world and, like us, they are a family-owned company dedicated to expanding your creativity. Our friends at Therm O Web are creating with TE products on their blog, so be sure to check them out! PLUS — we’ve got two amazing prizes up for grabs…read on for all the details!
First up, let’s hear from Kim on how she created her projects…

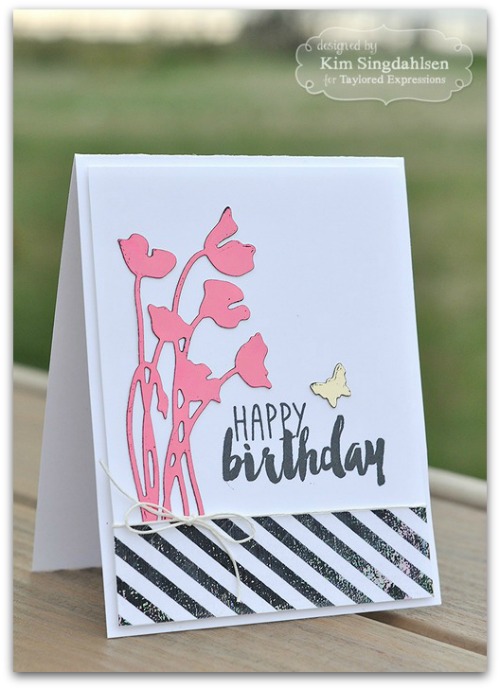
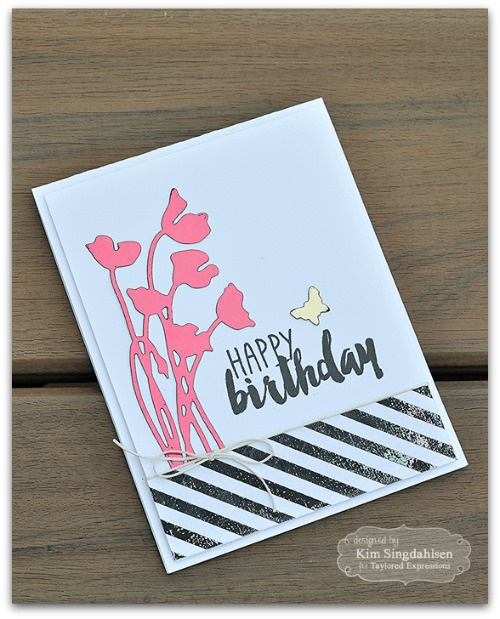
Kim created a gorgeous foiled card for us today using our Silhouette Stems 1 and it is so elegant! (She also braved some chilly weather to take her lovely photos for us — thanks, Kim, for always being a trooper!) Here are some step-by-step instructions on how she made her card:
- Cut base pieces as follows:
–An A2 card base from Sugar Cube cardstock; fold in half.
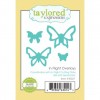
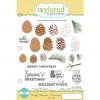
—Sugar Cube panel cut to 5 ¼” by 4”- Die-cut Silhouette Stems 1 and the small butterfly from In Flight Overlays from the PeelnStick Toner Sheets.
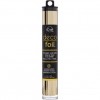
- Cut a piece of Melon Deco Foil slightly bigger than the silhouette die-cut. Run through your laminator using the settings described in the package of Toner Sheets or whatever setting work best with your laminator. Laminators do vary. On this project, my laminator was set at 5 mil, a scrap of cardstock was placed under the die-cut in the parchment folder and the folder was run through twice. The foiled piece was also burnished with a bone folder to adhere all of the little pieces before the excess foil was removed.
- Follow the same steps with the small butterfly and the Champagne Deco Foil.
- Using a scrap of Sugar Cube, print a diagonally-striped pattern using a Laser Printer. (Deco Foil does adhere to the toner used by a laser printer!) Cut this piece to 4” by 1 1/8”.
- Cut a piece of Opal Deco Foil slightly bigger and run through the laminator.
- Adhere all pieces as shown. Add the twine and the bow, then using dimensional adhesive, adhere the large panel to the card base.
- Stamp the sentiment.
Kim recognized just how wonderful Deco Foil is for creating holiday cards and she’s making it snow in May with her next project!
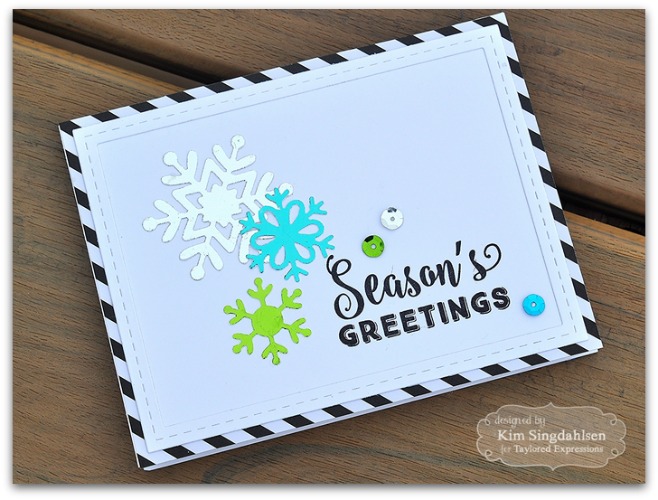
- Cut base pieces as follows:
–An A2 card base from Sugar Cube cardstock; fold in half.
–Patterned Paper panel cut to 5 ½” by 4 ¼” - Sugar Cube cut slightly smaller than 5 ¼” by 4” so that it fits behind the frame. NOTE: You could just use the center panel when you cut the frame in the next step. This card uses a separate piece so the frame sits on top of it and adds some dimension.
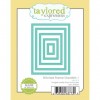
- Die-cut largest frame from Stitched Frame Stacklets 1 using an extra piece of Sugar Cube.
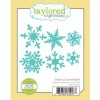
- Die cut three snowflakes from Make a Snowflake.
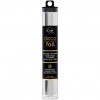
- Cut pieces of the three colors of Deco Foil slightly bigger than each snowflake. Run through your laminator.
- Adhere all pieces as shown.
- Stamp the sentiment.
We love, love, love your projects, Kim! Next up is Kendra with a gorgeous wedding card you will want to re-create!

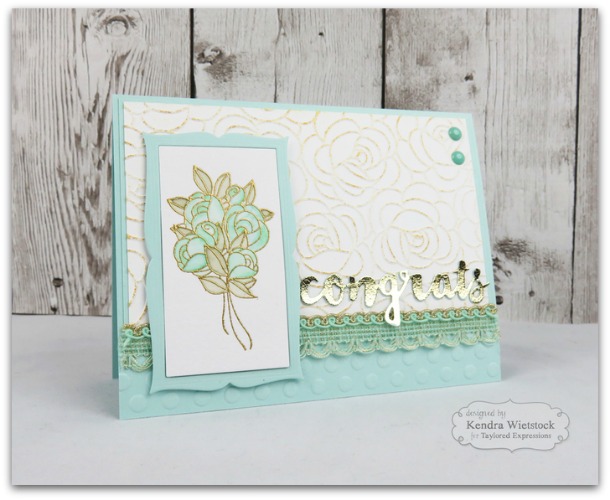
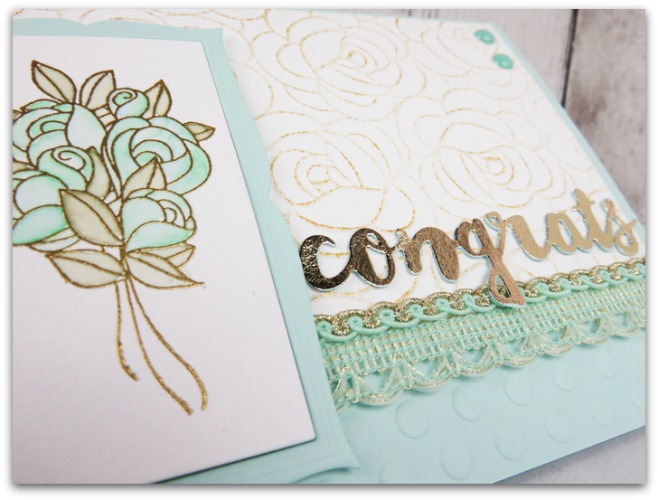
Kendra created a study in loveliness with Deco Foil. Here are some step-by-step instructions for how she created her wonderful cards:
- Cut Salt Water Taffy cardstock for the cardbase 5 ½” x 8 ½ ” & score at 4 ¼”.
- Emboss the bottom edge of the card with the Lots of Dots Embossing Folder.
- Trim a piece of Sugar Cube cardstock mat 3 ¼” x 5 ¼” and emboss with Rosy Posey Embossing Folder and apply gold ink to the raised image. Attach to the card base.
- Attach coordinating trim where the Sugar Cube cardstock meets the Salt Water Taffy edge.
- Trim a frame from Salt Water Taffy cardstock and attach to card base.
- Stamp the rose bouquet in gold pigment ink and heat emboss with gold embossing powder on watercolor cardstock. Color image with watercolor markers and a water brush.
- Attach image inside the frame with foam dots.
- Die-cut Salt Water Taffy cardstock using the Congrats Script die.
- Using the Therm O Web Adhesive pen, cover the die-cut image with adhesive.
- Trim a piece of Champagne Deco Foil Transfer Sheet at least as big as the sentiment and place over the top of the die cut (shiny side up).
- Place the die-cut inside a spare card base and run it through your die-cutting machine using the sandwich for wafer thin dies.
- Peel off the Deco Foil Transfer Sheet and attach the sentiment to the card front.
- Attach epoxy dots to the top right corner of the card.

Thanks so much, Kendra, for sharing such wonderfully decadent and textured card with us today! For more of Kendra’s incredible work, visit her blog, Kendra’s Card Company. You can find more of Kim’s gorgeous work on her blog, Joyful Creations with Kim.
We hope you enjoyed our Taylored Expressions – Therm O Web projects today! Please do go and visit them on the Therm O Web Blog and check out the projects created by their awesome designers! Also, we encourage you to continue to follow them on Therm O Web’s Facebook page, through Twitter, on Pinterest, and on Instagram!
Be sure to come back every day this week for more inspiration and more chances to be entered into our prize drawing! We’ve got TWO prizes up for grabs this week. Our buddies at Therm O Web have got a $50 Gift Certificate to the TE Store to give away, so be sure to visit the Therm O Web Blog each day this week. Our generous friends have given us an amazing Deco Foil Prize Pack: 7 New Deco Foil Transfer Sheet Colors in: Lilac, Spring Green, Aqua, Champagne, Copper, Pewter and Deep Blue along with our Deco Foil Hello Designer Stencil and one pack of Deco Foil Foam Sheets

How to Enter: Leave a comment below telling us what is your absolutely must-have crafting tool (own it or want it!) by Sunday, May 29, 2016 at 11:59 pm PST. We’ll choose one lucky winner at random to win a Deco Foil Prize Pack valued at $50 from all the comments left on the TE Blog between Monday, May 23 to May 29, so the more you visit us, the more chances you have to win! We’ll announce the winner next week here on the TE Blog.
 Kim’s Silhouette Stems Card:
Kim’s Snowflake Card:
Kendra’s Congrats Card:


