May 27, 2016
Sharing Joy with Therm O Web: Day 5!

It’s Friday, crafty friends! What that means is TGIF, but it also means it is our last day with Deco Foil from our friends at Therm O Web! For over 40 years, Therm O Web has been bringing high-quality adhesives and interfacings to the crafting world and, like us, they are a family-owned company dedicated to expanding your creativity. Our friends at Therm O Web are creating with TE products on their blog, so be sure to check them out! Today, we’ve got some fab foil projects from Creative Team Member Jen Shults and Creative Team alum, Regina Mangum! We want to thank Therm O Web for all the fun we’ve had all week. Their designers are amazing and if you haven’t checked out their projects, you really MUST! PLUS — we’ve got two amazing prizes up for grabs…read on for all the details!
First up, let’s hear from Jen on how she created her fun foil project…

Jen created two darling projects for us today using Deco Foil products. Lucky for us, she’s got some step-by-step instructions on how she created them!
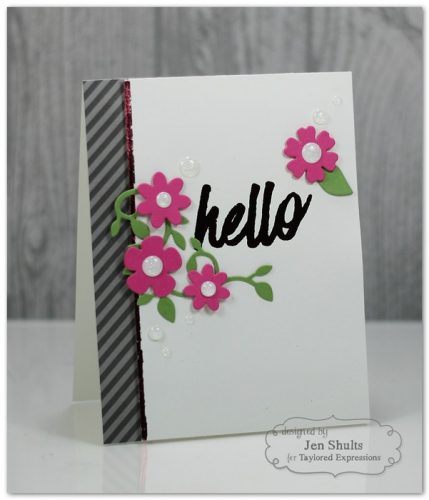
- Create a vertical A2 cardbase out of Sugar Cube Cardstock.
- Cut a .75” x 5.5” piece of black diagonal striped patterned paper. Adhere to left side of cardbase.
- Cut a 3.75” x 5.5 piece of Sugar Cube cardstock. Draw a thin line of glue down the left edge with Deco Foil Adhesive Pen. Let dry. Cut a thin piece of Magenta Transfer Foil, apply over adhesive and run through laminator.
- Stamp hello from Bold Brushstrokes in the top half of the Sugar Cube cardstock piece using Versamark. Heat emboss with white detail embossing powder. Cut a piece of Magenta Transfer Sheet to fit over sentiment. Run through laminator. Adhere to cardbase with foam tape.
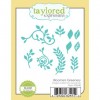
- Die-cut Bloomers Greenery from Granny Smith cardstock. Die-cut Mini Bloomers from Lollipop cardstock. Arrange flowers around sentiment and adhere with liquid adhesive and foam tape.
- Add Glitter Sprinkles to center of flowers and around the background.
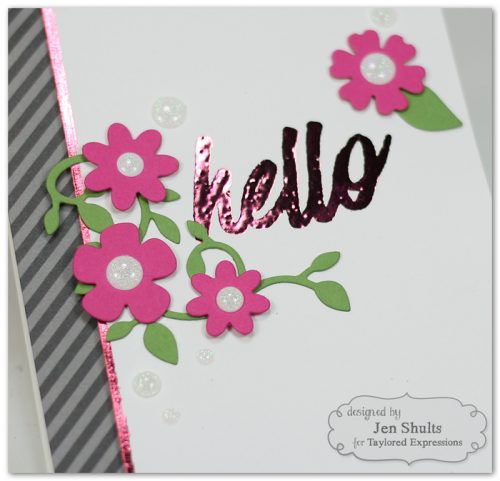
How cool is that? Love Jen’s ideas on how to apply the Deco Foil in different way! Here is her second project…
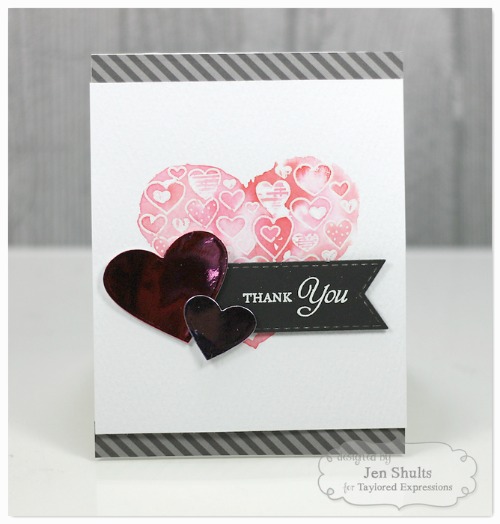
- Cut a 4.25” x 11” piece of Sugar Cube cardstock. Fold in half to make cardbase.
- Cut 2 (.5” x 4.25”) pieces of black diagonal striped patterned paper. Adhere to top and bottom of cardbase.
- Cut a 4.25” x 4.75” piece of Watercolor cardstock. Stamp large Heart of Hearts heart stamp in center with paper vertical using Versamark. Heat emboss with clear embossing powder.
- Watercolor over heart using wet-on-wet technique with Barn Door and Worn Lipstick Distress Ink. When dry, attach to cardbase with foam tape.
- Cut a square of Deco Foil Toner Sheet to fit medium and small Heart Stacklets. Cut a piece of Magenta and Lilac foil to fit the squares. Run through laminating machine. Remove clear sheet from foiled paper and die-cut with hearts.
- Stamp sentiment on Oreo cardstock using Versamark. Heat emboss with white embossing powder. Die-cut with Stitched Banner Stacklets die.
- Attach hearts and sentiment to card with foam tape.
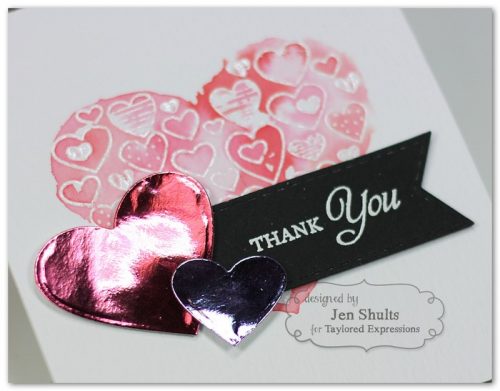
We love both of Jen’s cards! Next up is Regina with a clean-lined design…

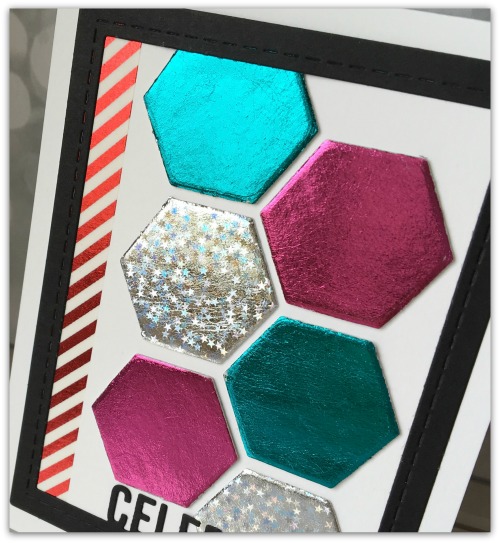
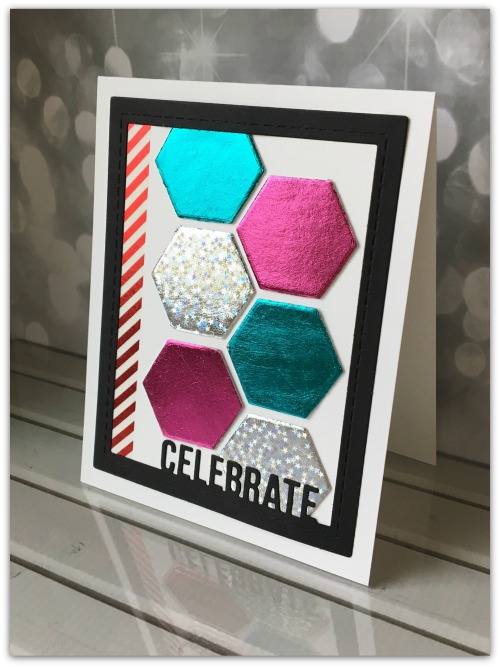
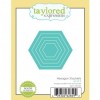
Regina used our Hexagon Stacklets to create a chic, modern card that’s just perfect for any kind of celebration! Here’s how she created it:
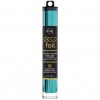
I love foiling — it’s such a quick way to add a lot of ‘wow’ to a card! To create my celebration card, I used three different colors of fabulous Deco Foil Transfer Sheets: Magenta, Aqua, and Stars. I began by cutting them from Deco Foil Foam Adhesive. This gave me a very subtle bit of dimension (great for mailing) and I didn’t need a laminator.
Once I die-cut the hexagons from Hexagon Stacklets, all I had to do was peel off the backing on one side and adhere it to the back (non-shiny) side of the foil transfer sheet. Then I simply lifted and there it was! I laid down the hexagons on a trimmed panel (which I had prepped with some pre-foiled washi tape for a bit of added visual interest.)
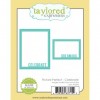
I die-cut from Oreo cardstock the Picture Perfect – Celebrate frame and adhered it over the panel and added to my cardbase. I just love how shiny and cool the foil looks!
Thanks so much, Regina, for sharing such a pretty card with us today! For more of Regina’s work, visit her blog, The Stampin’ Bean. You can find more of Jen’s wonderful work on her blog, Deconstructing Jen.
We hope you enjoyed our Taylored Expressions – Therm O Web projects all week! Please do go and visit them on the Therm O Web Blog and check out the projects created by their awesome designers! Also, we encourage you to continue to follow them on Therm O Web’s Facebook page, through Twitter, on Pinterest, and on Instagram!
Be sure to come back every day this week for more inspiration and more chances to be entered into our prize drawing! We’ve got TWO prizes up for grabs this week. Our buddies at Therm O Web have got a $50 Gift Certificate to the TE Store to give away, so be sure to visit the Therm O Web Blog each day this week. Our generous friends have given us an amazing Deco Foil Prize Pack: 7 New Deco Foil Transfer Sheet Colors in: Lilac, Spring Green, Aqua, Champagne, Copper, Pewter and Deep Blue along with our Deco Foil Hello Designer Stencil and one pack of Deco Foil Foam Sheets

How to Enter: Leave a comment below telling us about any crafty plans you have for this weekend by Sunday, May 29, 2016 at 11:59 pm PST. We’ll choose one lucky winner at random to win a Deco Foil Prize Pack valued at $50 from all the comments left on the TE Blog between Monday, May 23 to May 29, so the more you visit us, the more chances you have to win! We’ll announce the winner next week here on the TE Blog.

Jen’s Hello Card:
Jen’s Thank You Card:
Regina’s Celebrate Card:


