Oct 03, 2016
It’s Beginning To Look A Lot Like Christmas! Sneak Peeks TODAY!
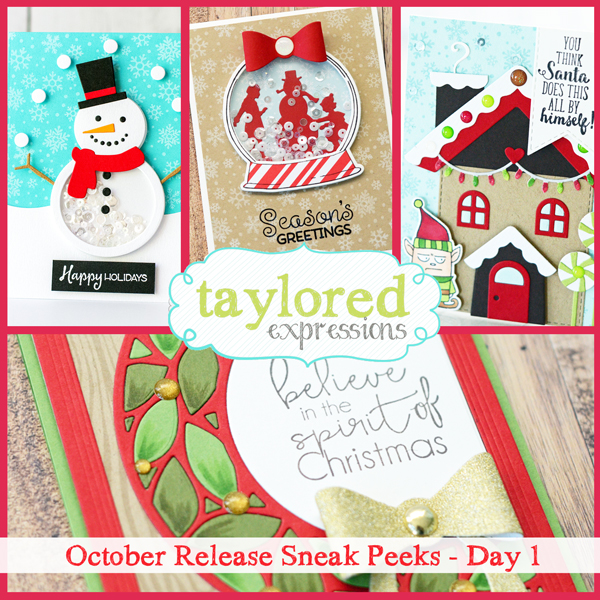
“It’s beginning to look a lot like Christmas! Everywhere you go; take a look in the five-and-ten, glistening once again with candy canes and silver lanes aglow!”
Hello there, crafty friends! Thanks to that little ditty above, you’ll be caroling all day long! I just couldn’t help myself as it really is beginning to look a lot like Christmas here at Taylored Expressions. This is my favorite time of year; the time when I get to create fabulous holiday goodies while still enjoying the crisp temperatures of fall before that dreaded white stuff hits the ground. I know… we should just move back to California, right!?
Today I have lots of new projects and products to share with you, but first I want to make sure you’re in the know about a special loyalty program we launched a few weeks ago. Have you heard about our Crafty Points Loyalty Program? You can check out all the details HERE and if you were an existing customer with an account in our webstore we started you off with 20 crafty points! Today I want to start off by telling you how you can earn double points when you purchase one of our new products releasing this month.
Meet our TE Webstore Exclusive – the Wreath Cutting Plate!
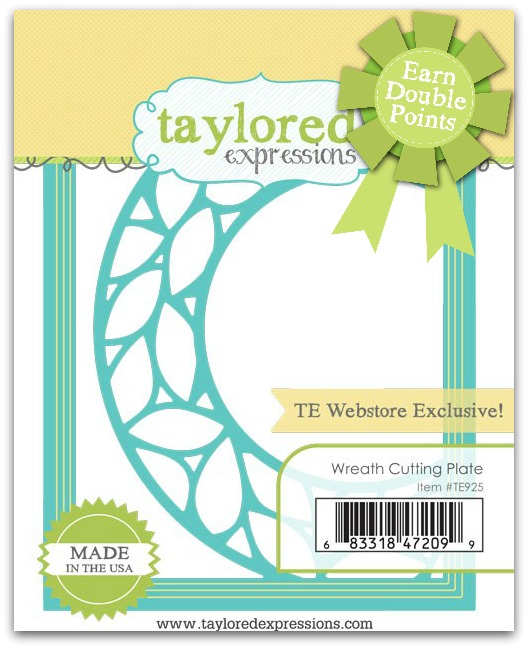
For a limited time, earn DOUBLE CRAFTY POINTS on our Wreath Cutting Plate! If you’re not a Crafty Points member, it’s free and easy to join. Just create an account at the TE webstore and you’re automatically enrolled to begin earning crafty points with every purchase. You’ll earn 48 Crafty Points on the purchase of the TE Web Store exclusive Wreath Cutting Plate! Mark your calendar for Thursday, October 6 at 7am PST when all of our new products will be available!
Offer valid on qualifying purchases made between 7am PST on Thursday, October 6 and 11:59 pm CST on Sunday, October 9, 2016 only while supplies last. Crafty Points are only available to purchases made via our retail site, www.tayloredexpressions.com.
And now I want to show you what I made with the Wreath Cutting Plate:
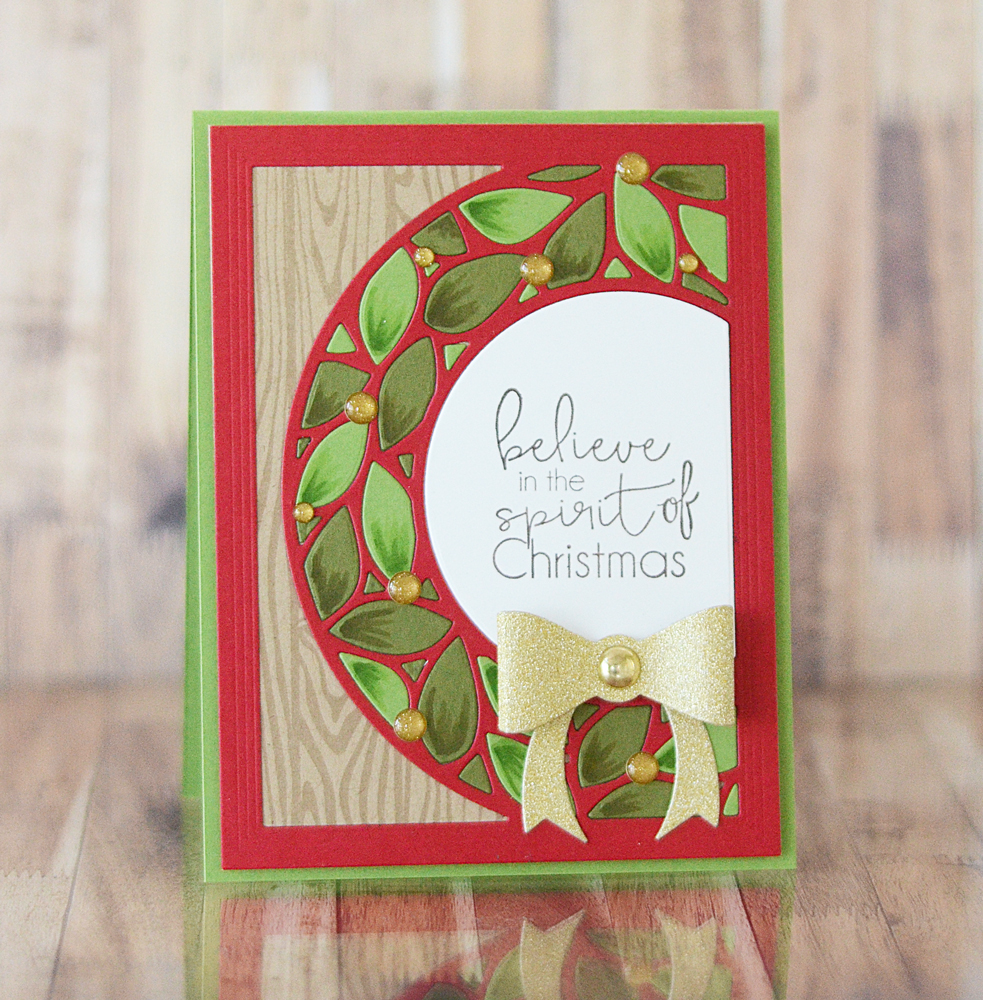
I started by cutting the design from Cherry Pop cardstock, keeping only the frame portion and discarding the inner pieces. Then I cut two more times from Peapod and Sweet Basil cardstock keeping all of the leaves intact as much as possible. I stamped a piece of Toffee cardstock with the Woodgrain Background stamp using Toffee ink and then adhered the cutting plate over the top.
Then I set out putting the puzzle back together with the green leaves inside the red wreath. There’s something therapeutic about putting together a puzzle!
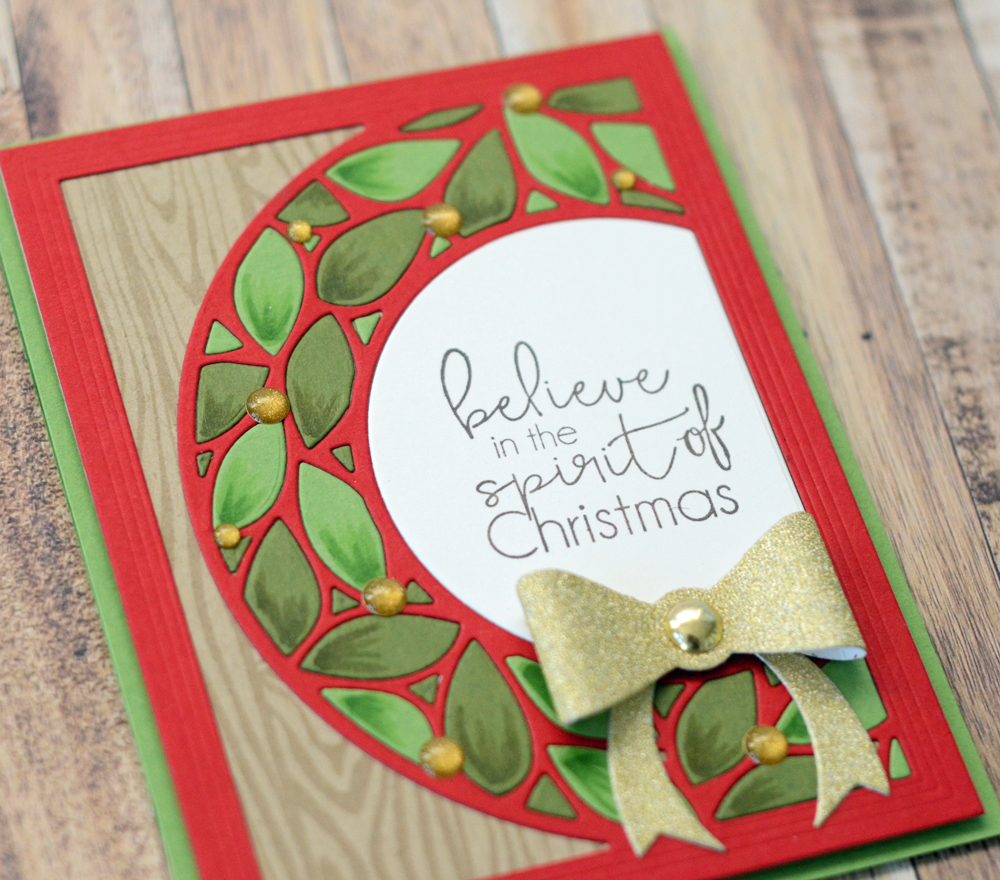
After putting all of the pieces back into the wreath I used Copic markers to highlight the leaves and give them some depth. I cut the plate one more time from Sugar Cube cardstock, stamped the sentiment within the partial circle, and adhered it within the center of the wreath.
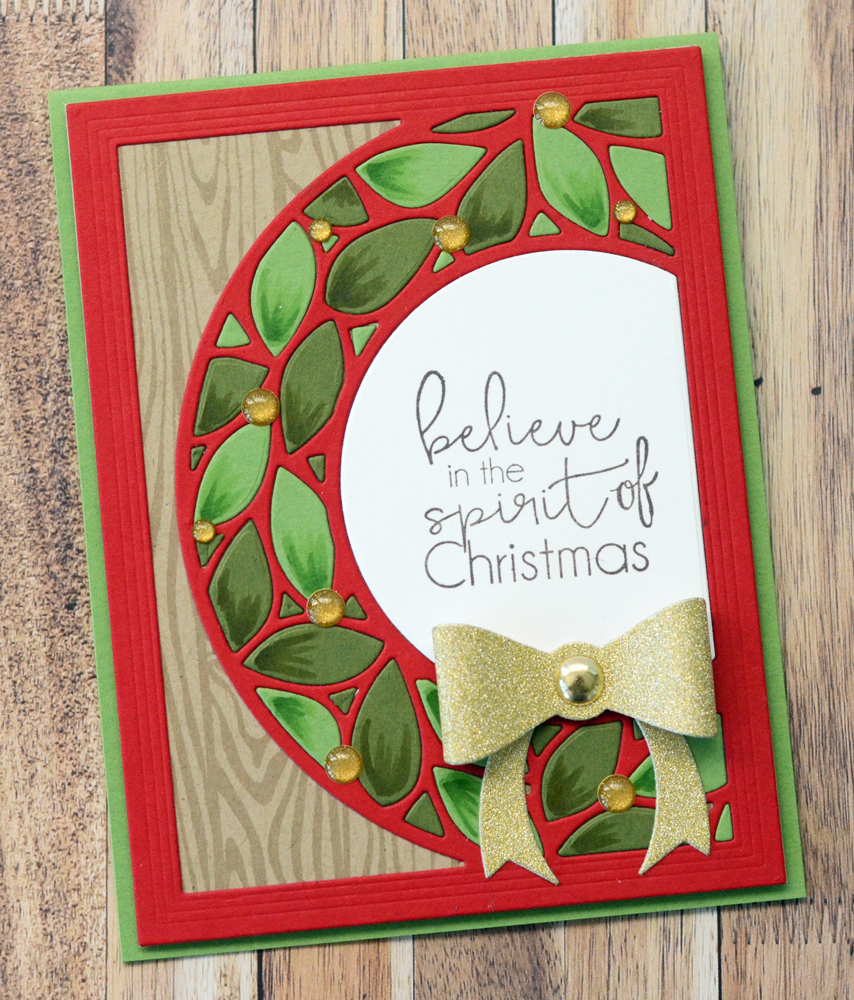
To finish it off I die cut one of our Mini Mix & Match bows from gold glitter cardstock and put it together with glue dots, finishing the center with a shiny metallic dot. I wanted to tie in the gold bow so I added gold glitter sprinkles throughout the wreath. Then I popped up the entire panel with foam tape on a Peapod card base.
There will be so many fabulous projects using this cutting plate so stay tuned for more throughout the rest of our sneak peeks!

For my next project I grabbed one of our new Elf Grumplings. Can’t you just imagine him spending hours decorating the house and getting none of the credit?
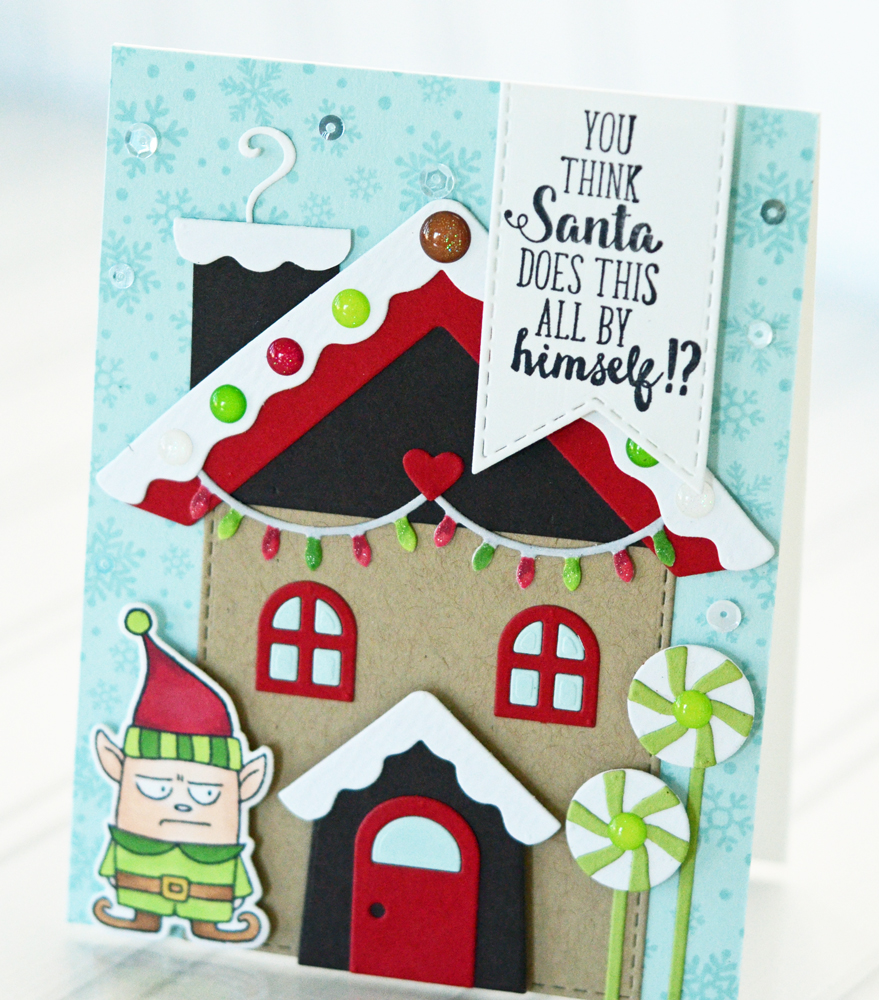
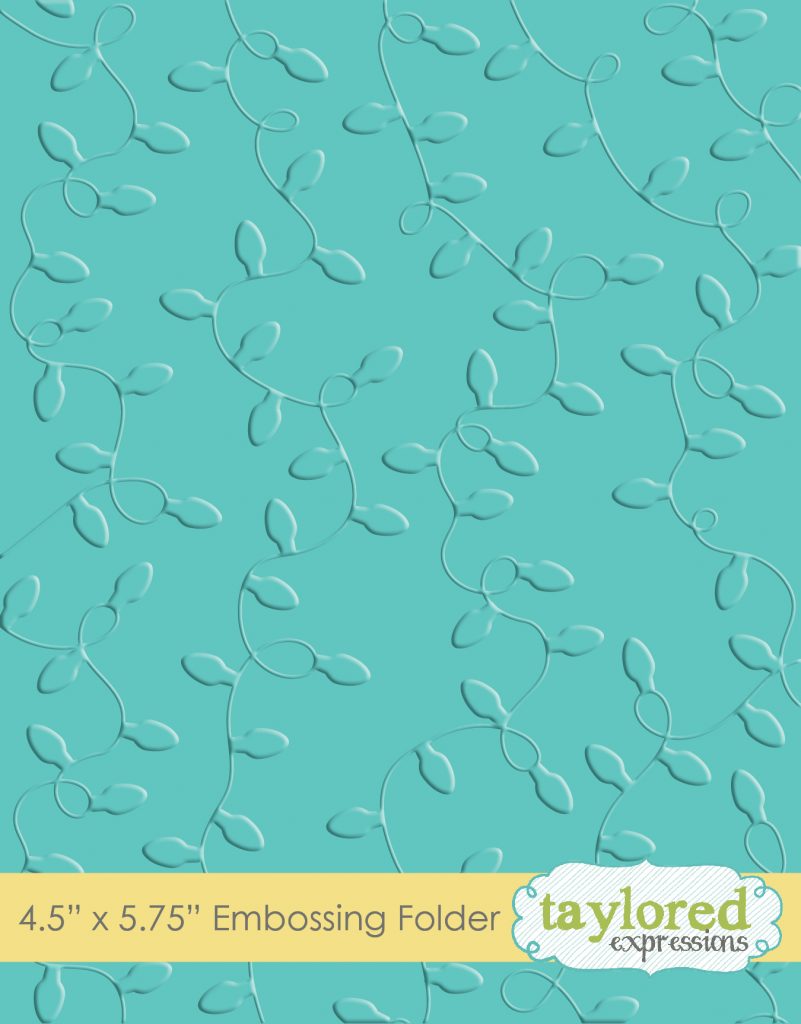
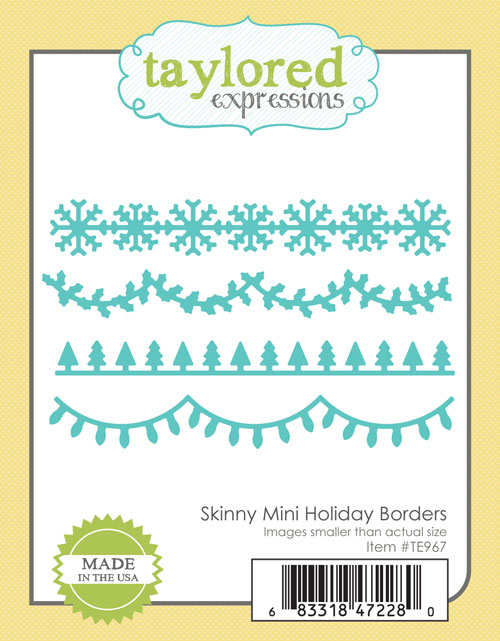
I started die cutting and assembling our previously released Sack It – Gingerbread House. I was tickled to find that the Christmas lights from the new Skinny Mini Holiday Borders fit perfectly on the house! I cut the lights from Sugar Cube cardstock and colored them with Copic markers, adding clear wink of Stella over the top for a little shimmer.
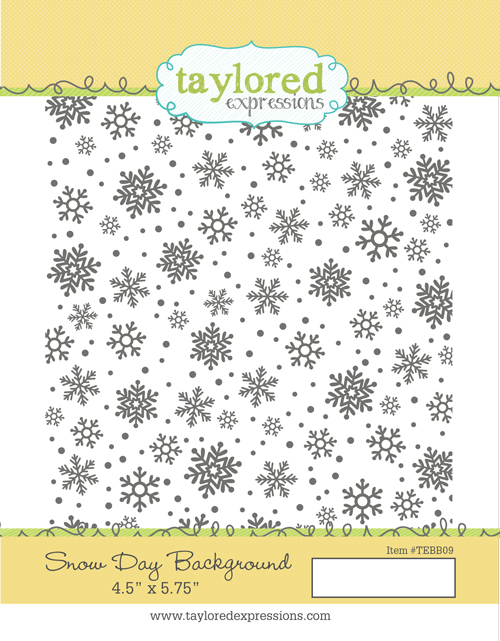
I added chimney smoke from the chimney in the Eventful – Night Before Christmas border and stamped the background of the card with the new Snow Day Background. I can tell these two new background stamps are going to get a ton of use in my creations!
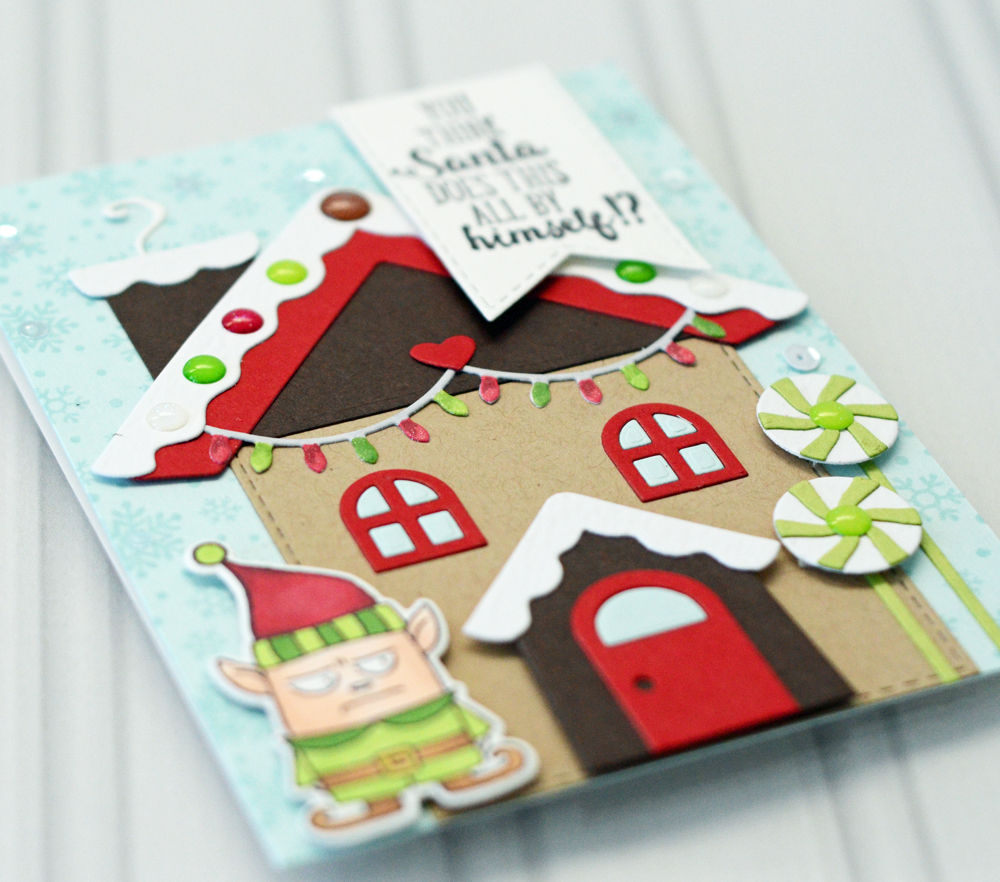
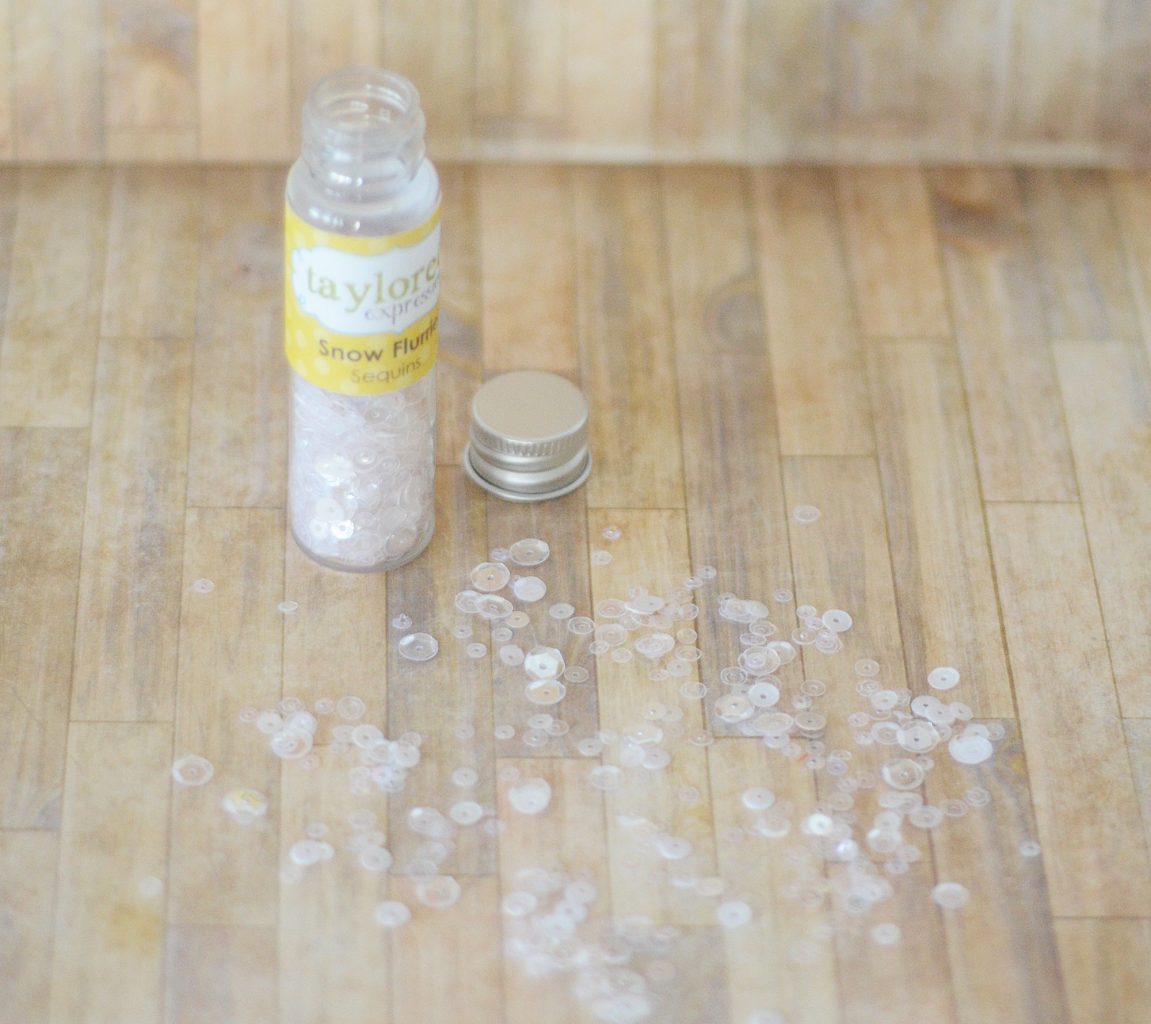
I finished it off by adding the Elf Grumpling and sentiment to the scene and embellishing with a few sequins from the Snow Flurries collection.
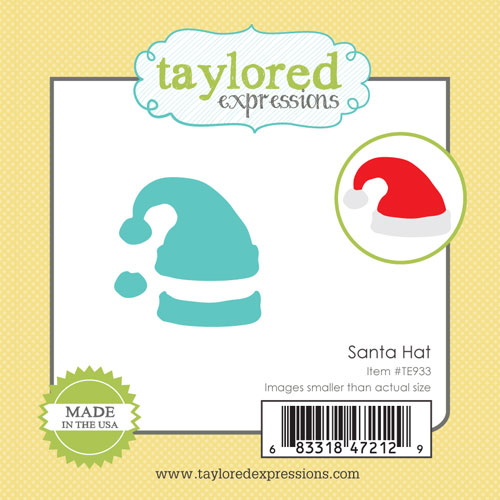
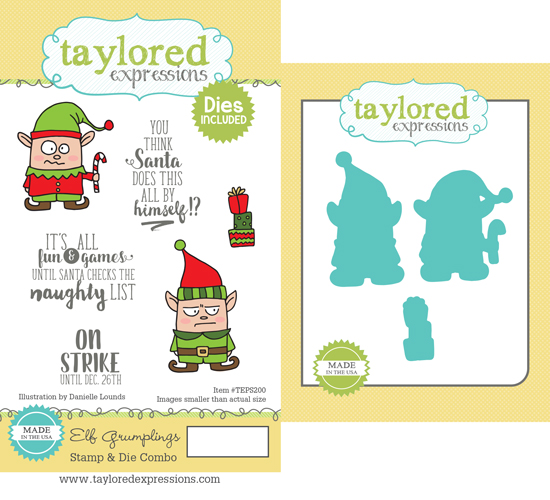
Here’s a look at the new products I used on this project:

For my last project today I had fun combining one of our previously released stamps with one of our new border dies to come up with this fun shaker card:
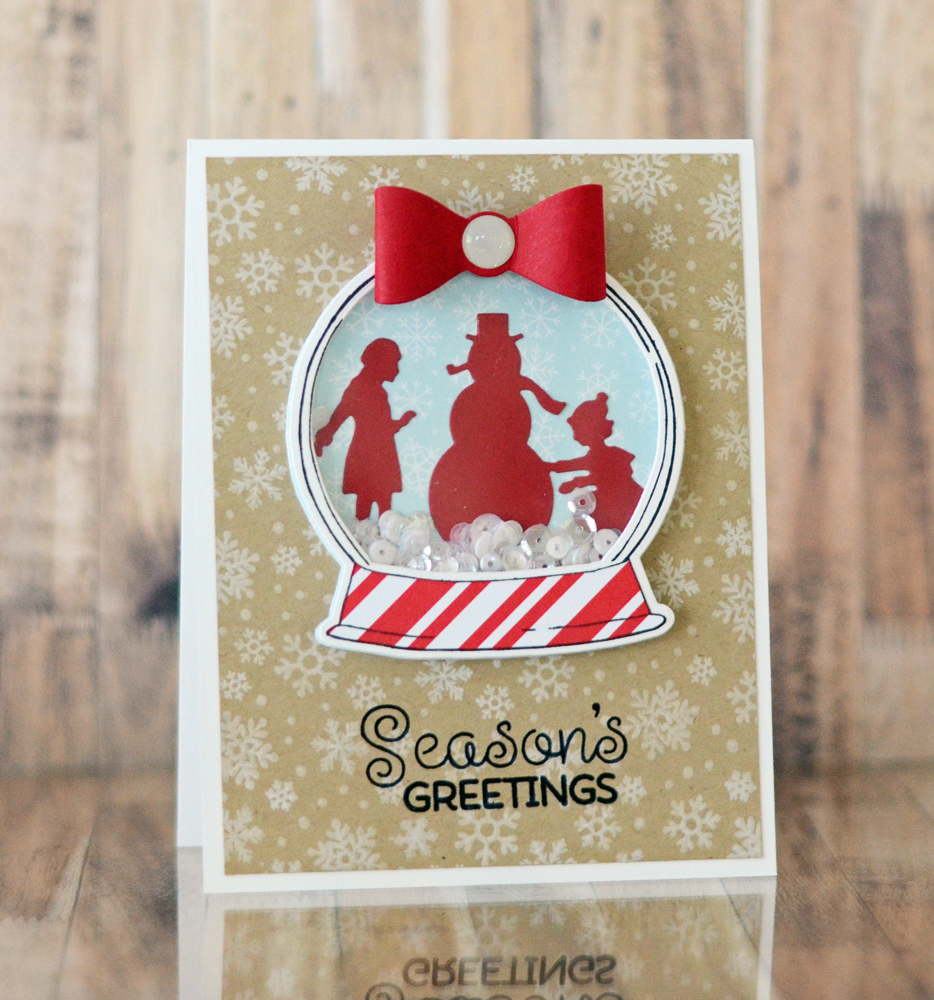
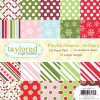
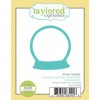
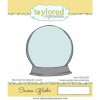
I started constructing the shaker by stamping the Snow Globe stamp and die cutting it with the coordinating die. Then I stamped again to patterned paper from our new Playful Patterns – Holiday collection and paper piecing the bottom portion of the snow globe. I die cut the clear transparency backer and adhered it to the back of the stamped snow globe image into order to hold the sequins inside my shaker.
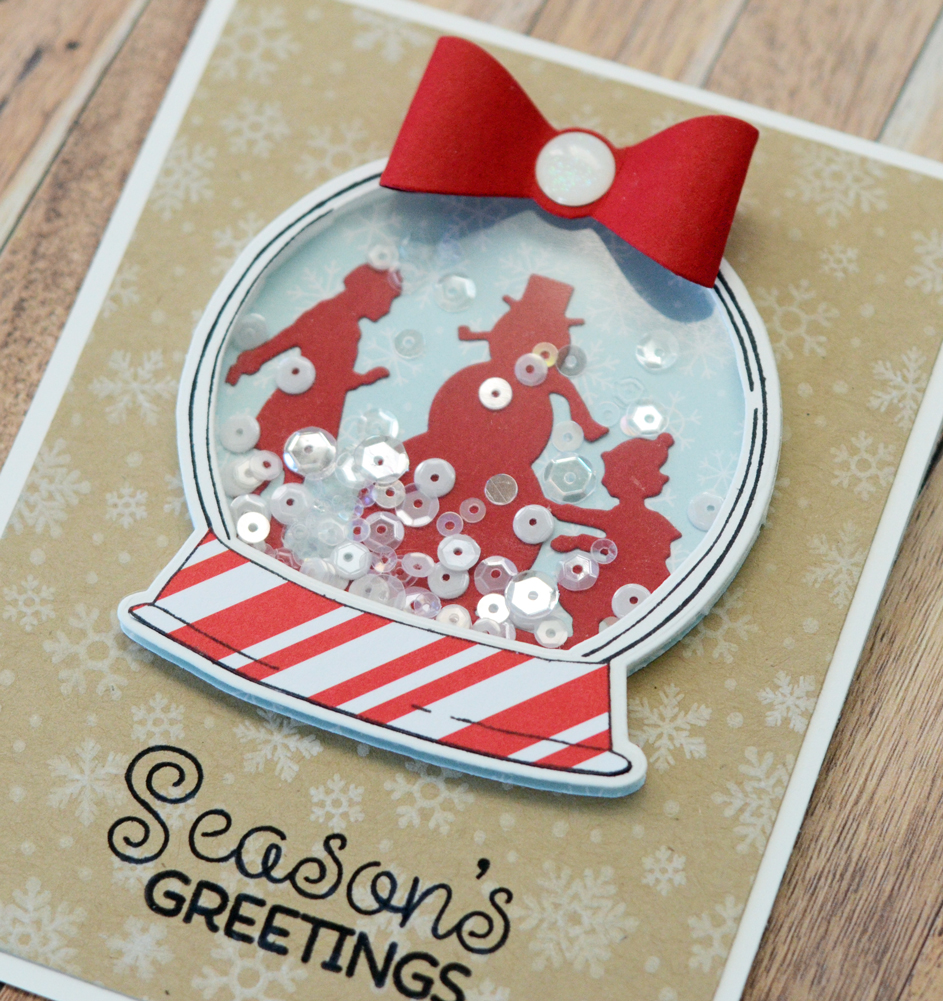
I die cut the back of the shaker element from a snowflake pattern in the same Playful Patterns – Holiday paper pack and adhered a portion of the Do You Wanna Build a Snowman? border onto this piece. To finish off the shaker element I added 1/8″ foam tape all around the border of the snow globe. Then I adhered the snow globe to blue snowflake patterned piece leaving only the top pieces of adhesive with the backing still on them. This allows me to pour the sequins in the top of the snow globe and then seal it up.
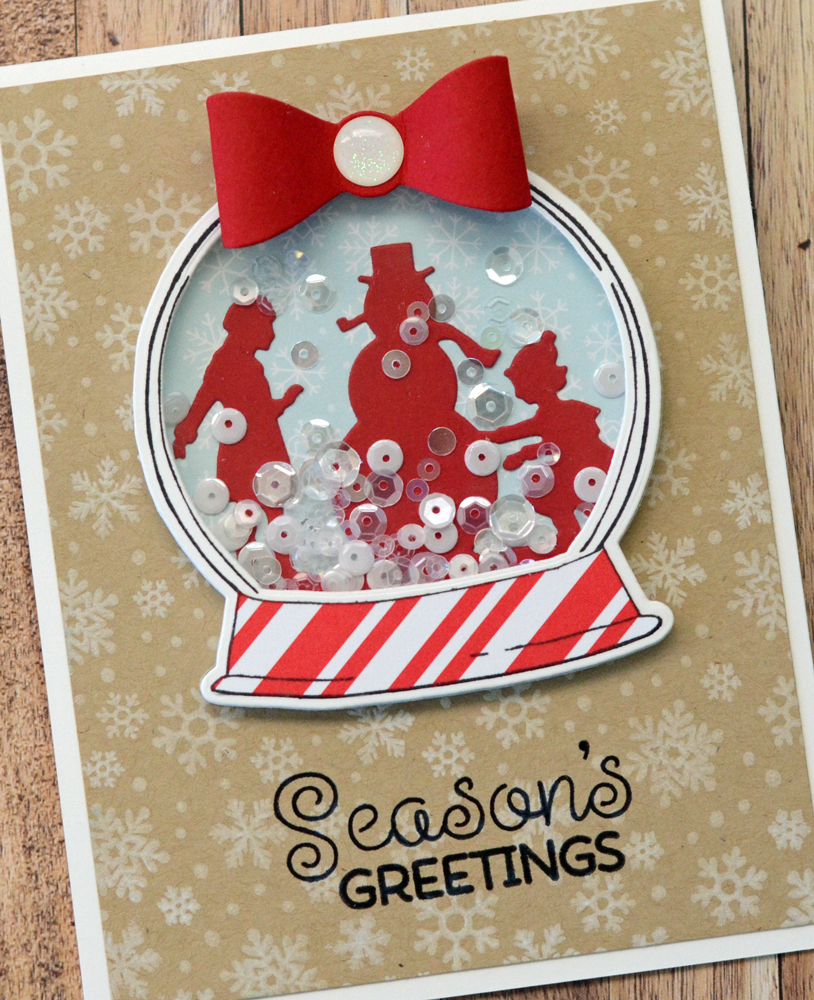
On the background for the shaker element I decided on Toffee cardstock stamped with the Snow Day background in Sugar Cube ink (love this look!). I stamped a sentiment from our new Holiday Florals set (more on that tomorrow!) and added a bow from the Mini Mix and Match Bows die set at the top.
Here’s a look at the new products I used on this project:
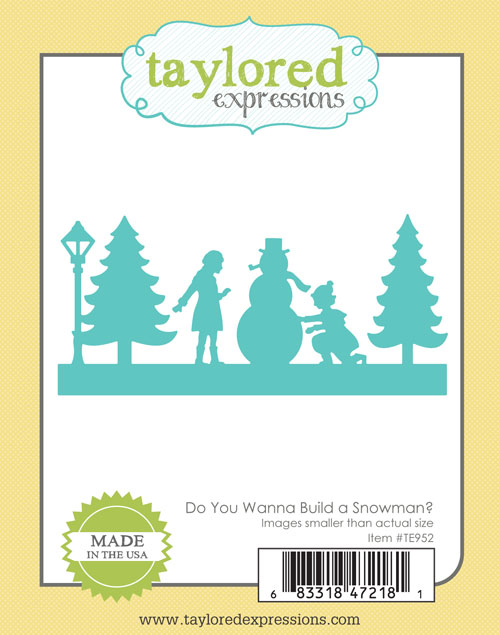

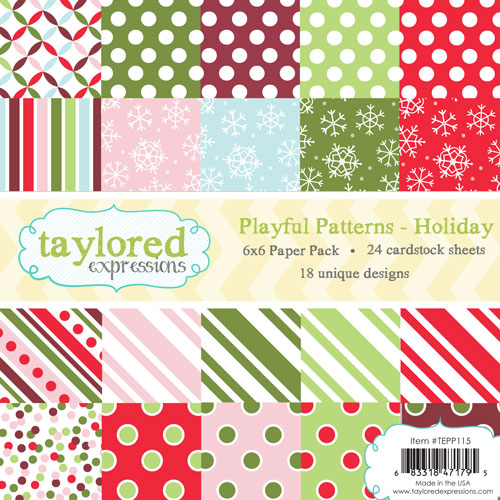

And here’s a look at the complete supply list:
Last, but certainly not least, I have prizes to give away on the blog this month as I continue my Question of the Day series with a twist! Each day of sneak peeks, I will post a Question of the Day and you can leave a comment with your answer for a chance to win one of our new release products or one of two Grand Prizes of 500 Crafty Points! I love reading your comments so don’t be shy!
Today I’m giving away the Snow Day Background!

Leave your comment before Wednesday, October 5th at 11:59pm PST. One entry per person. Each comment will also be entered into our Grand Prize drawing for 2 gifts of 500 crafty points! Winners will be chosen at random and announced on Thursday, October 6th, 2016.
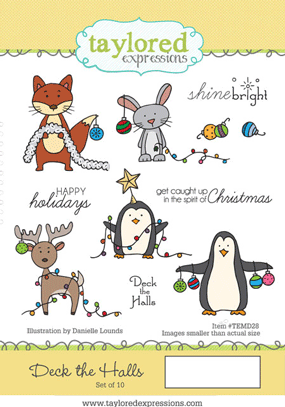
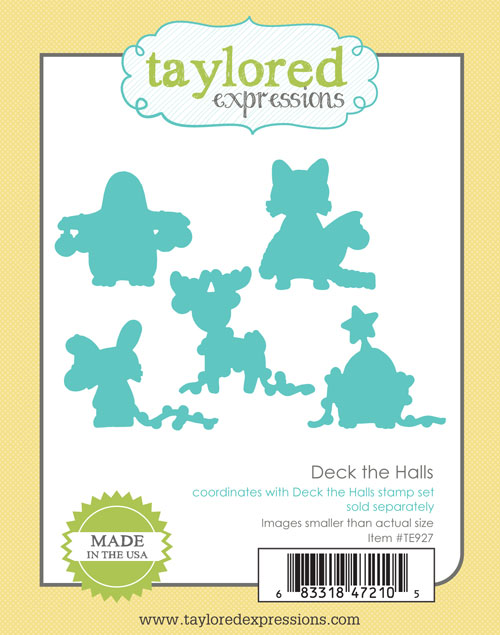
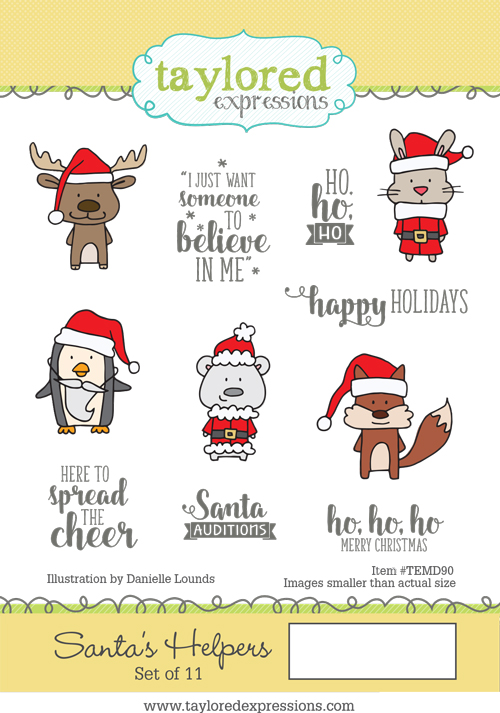
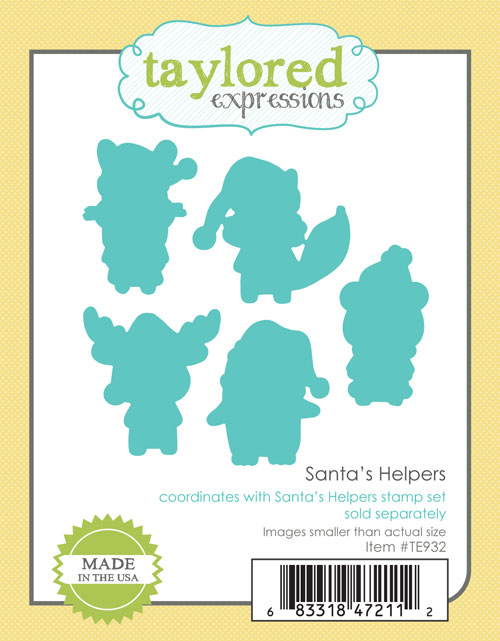
Our fabulous creative team has more inspiring projects to share with you today so make sure you click below and visit their blogs! In addition to the products that I used on my projects, the design team will be showcasing these new products on their projects:
