Oct 04, 2016
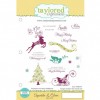
Holiday Sneaks Continue with the True Gifts of Christmas!

Good morning, crafty friends! Are you ready for more holiday goodies as we continue sneak peeks for our October Release? All of the new products we’re sharing this week will be available for purchase at the TE webstore beginning on Thursday, October 6th at 7am PST. Today the creative team and I have projects with a little more elegant style to share with you, but first, I want to make sure you know about our special offer during the October Release:
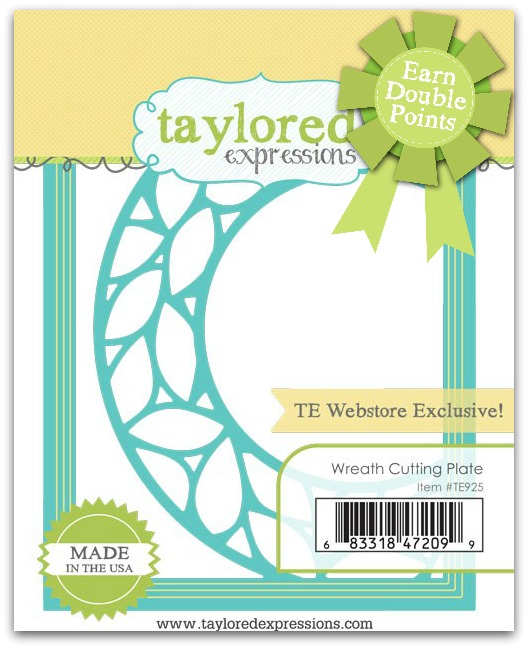
With the launch of our new Crafty Points Loyalty Program, for a limited time you can earn DOUBLE CRAFTY POINTS when you purchase the Wreath Cutting Plate! If you’re not a Crafty Points member, it’s free and easy to join. Just create an account at the TE webstore and you’re automatically enrolled to begin earning crafty points with every purchase. You’ll earn 48 Crafty Points on the purchase of the TE Web Store exclusive Wreath Cutting Plate! Mark your calendar for Thursday, October 6 at 7am PST when all of our new products will be available!
Offer valid on qualifying purchases made between 7am PST on Thursday, October 6 and 11:59 pm CST on Sunday, October 9, 2016 only while supplies last. Crafty Points are only available to purchases made via our retail site, www.tayloredexpressions.com.
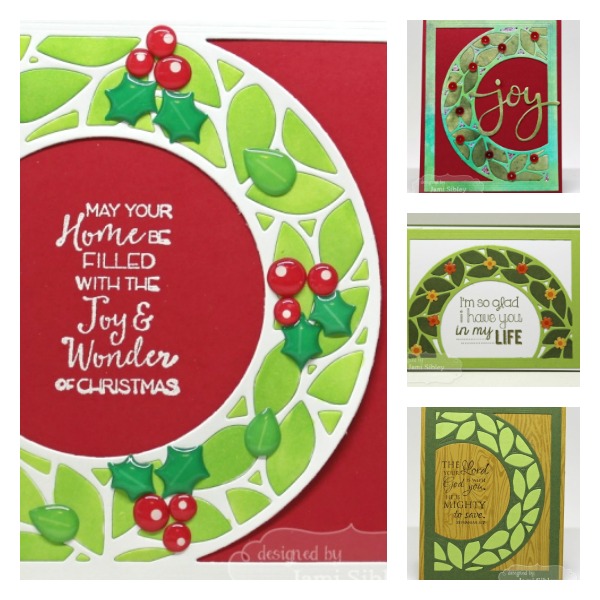
Jami has an amazing array of cards using the Wreath Cutting Plate so check out her blog post for lots of ideas on how to use this cool design (in ways you might not think of!).
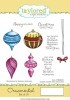
And now I’m super excited to show you the projects I created for today’s sneak peeks. First up, an ornament card using a new stamp set filled with gorgeous hand drawn ornaments:
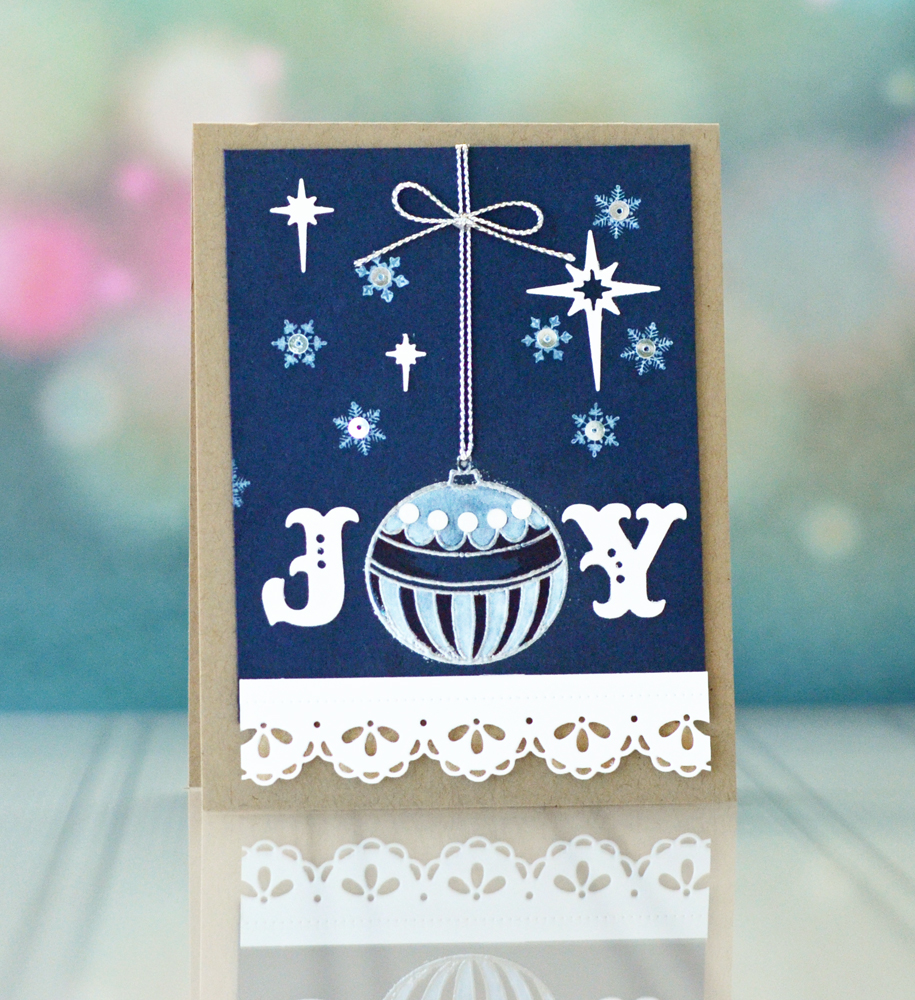
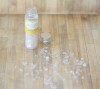
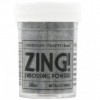
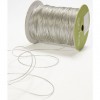
I knew I wanted to spell the word ‘Joy’ with an ornament replaced for the ‘O’ so I started by embossing the ornament onto Blue Corn cardstock with silver embossing powder. I used a technique called White Washing to add color to the ornament. It’s super easy to do… just press your Sugar Cube ink pad onto an acrylic block, pick up the ink with a with a water brush, and paint it onto the dark cardstock. I added small Lily White glitter sprinkles to the top of the ornament, poked a hole and strung silver cording through the opening to hang the ornament from the top of the card.
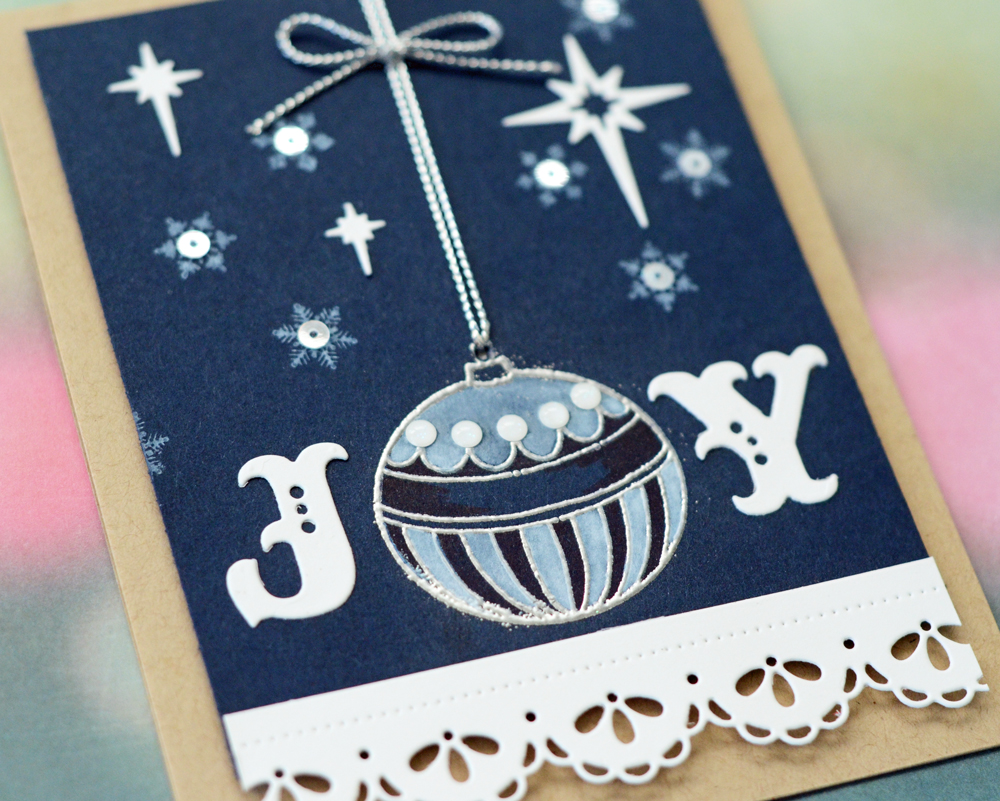
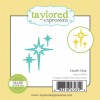
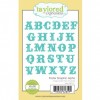
Next I tested out my alphabet dies and settled on the Poster Graphic Alpha for the ‘J’ and ‘Y’ to surround the ornament. I stamped the background with small snowflakes from the Sparkle & Cheer set and finished it off with Little Bits – North Star and the Lace Chain Border along the bottom. I fussed with this card for a long time, but now that the design is finished, I think it’d be pretty easy to mass produce… or I might even try switching the colors up to a more traditional combo of red and green!
Here’s a look at the new products I used on this project:
And here’s a look at the complete supply list:


My next project is probably my favorite of all of my release projects. I love that it’s bold and striking and SIMPLE!
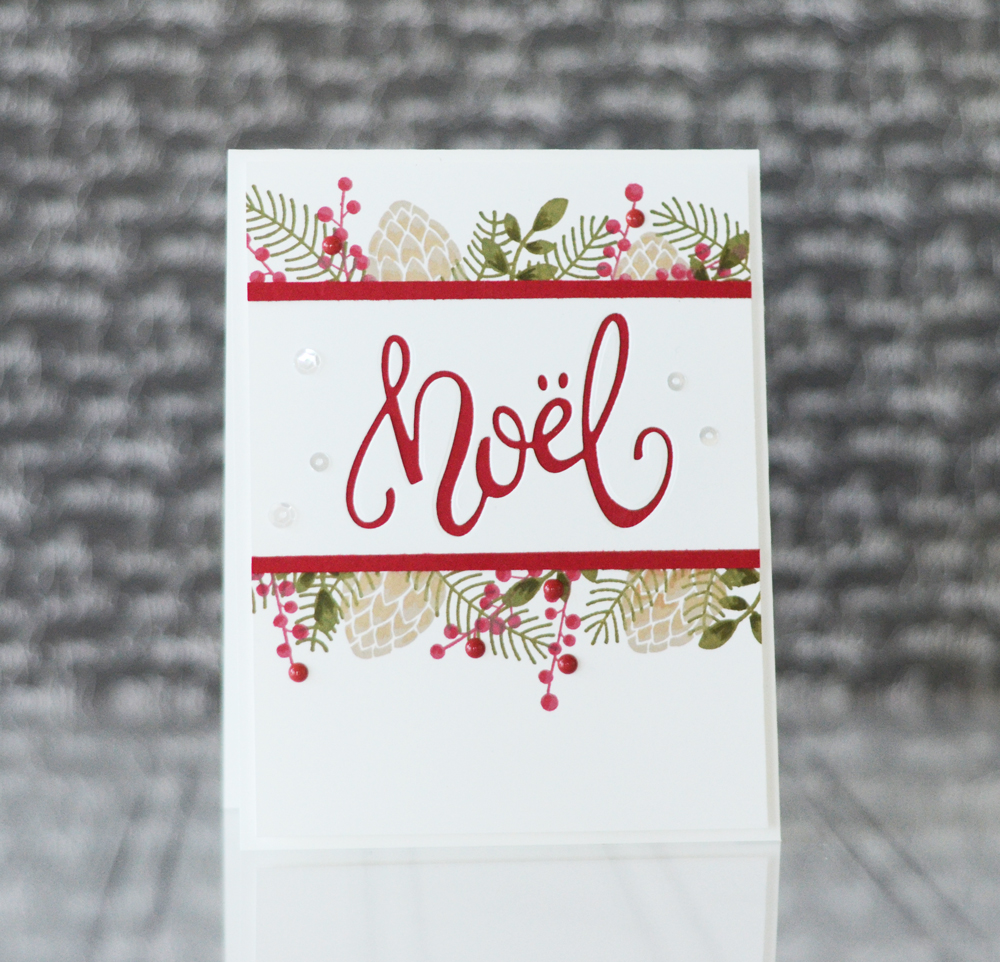
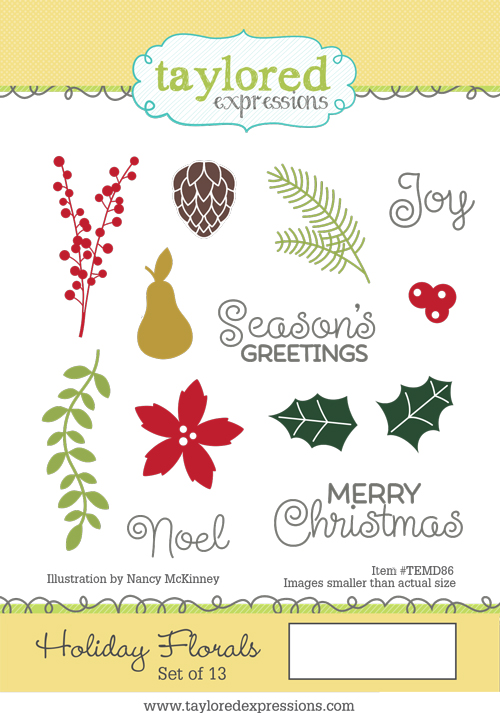
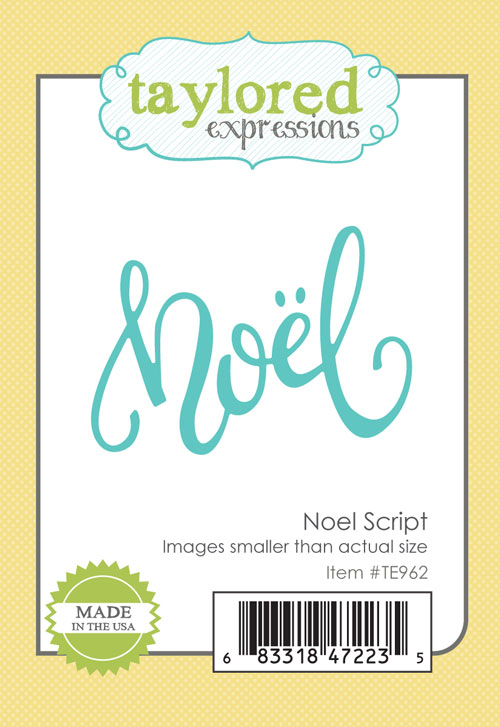
I started by cutting a strip of masking paper and placing it toward the top of the Sugar Cube card panel (4″ x 5.25″). Then I stamped portions of the Holiday Florals above and below, overlapping the masking paper. I removed the mask and positioned the ‘noel’ die centered in the opening and cut the word directly from the white panel.
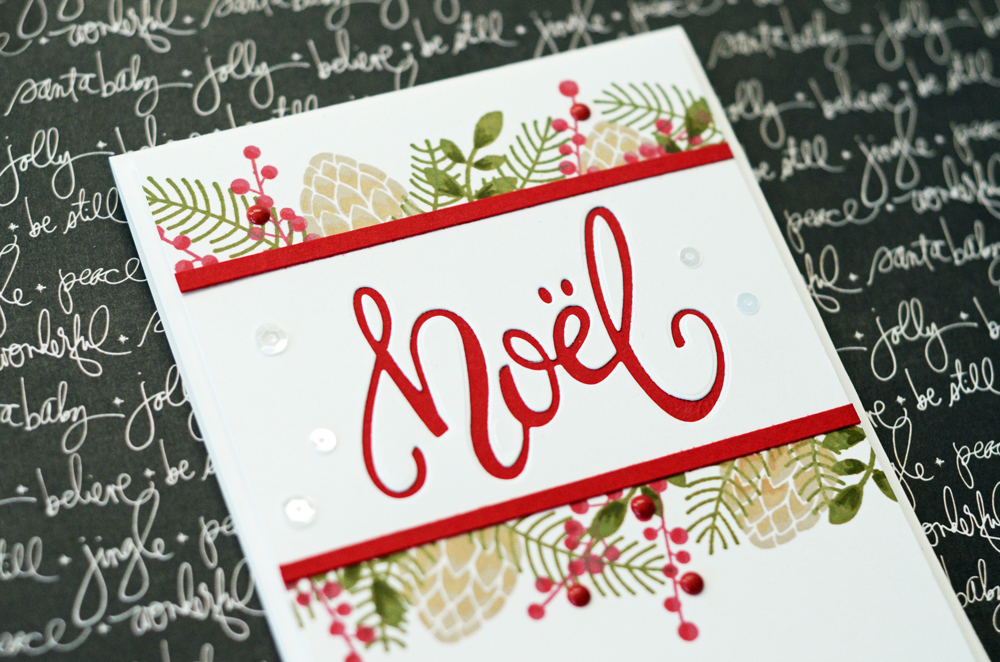
Then I used a piece of Cherry Pop cardstock behind the Sugar Cube panel to make the die cut word pop. Make sure you save the inner pieces from all of the letters and use liquid adhesive to piece them back into the design.
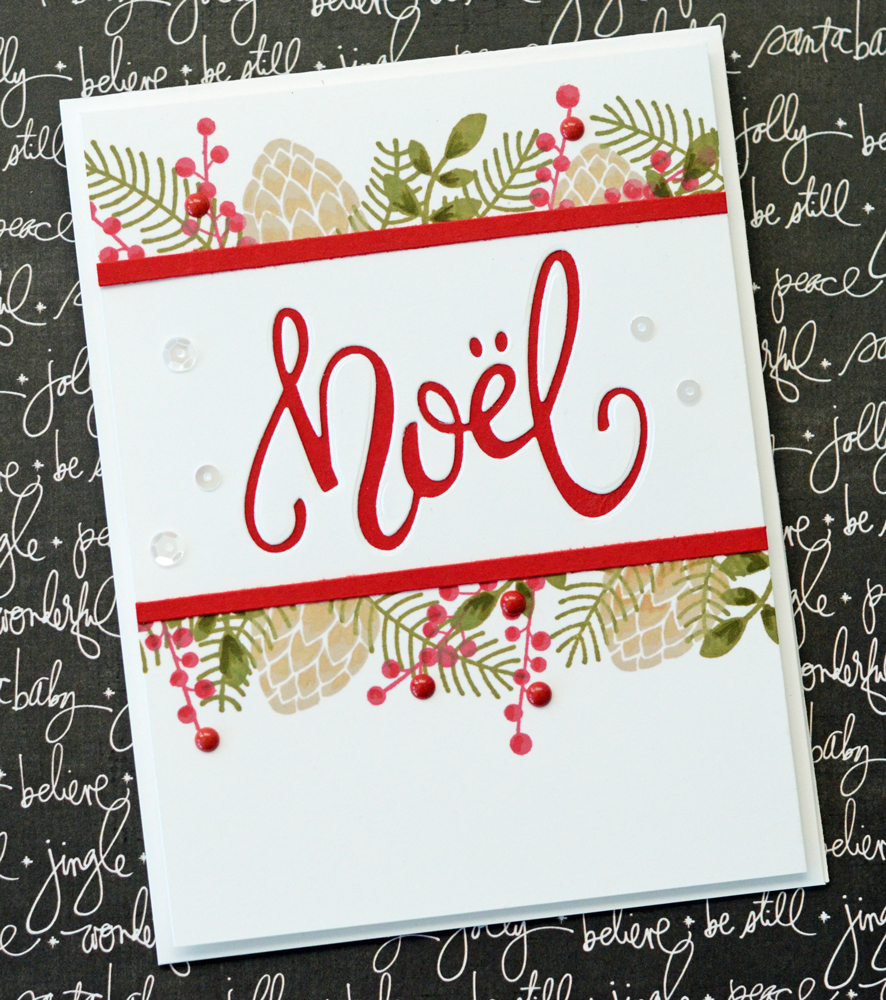
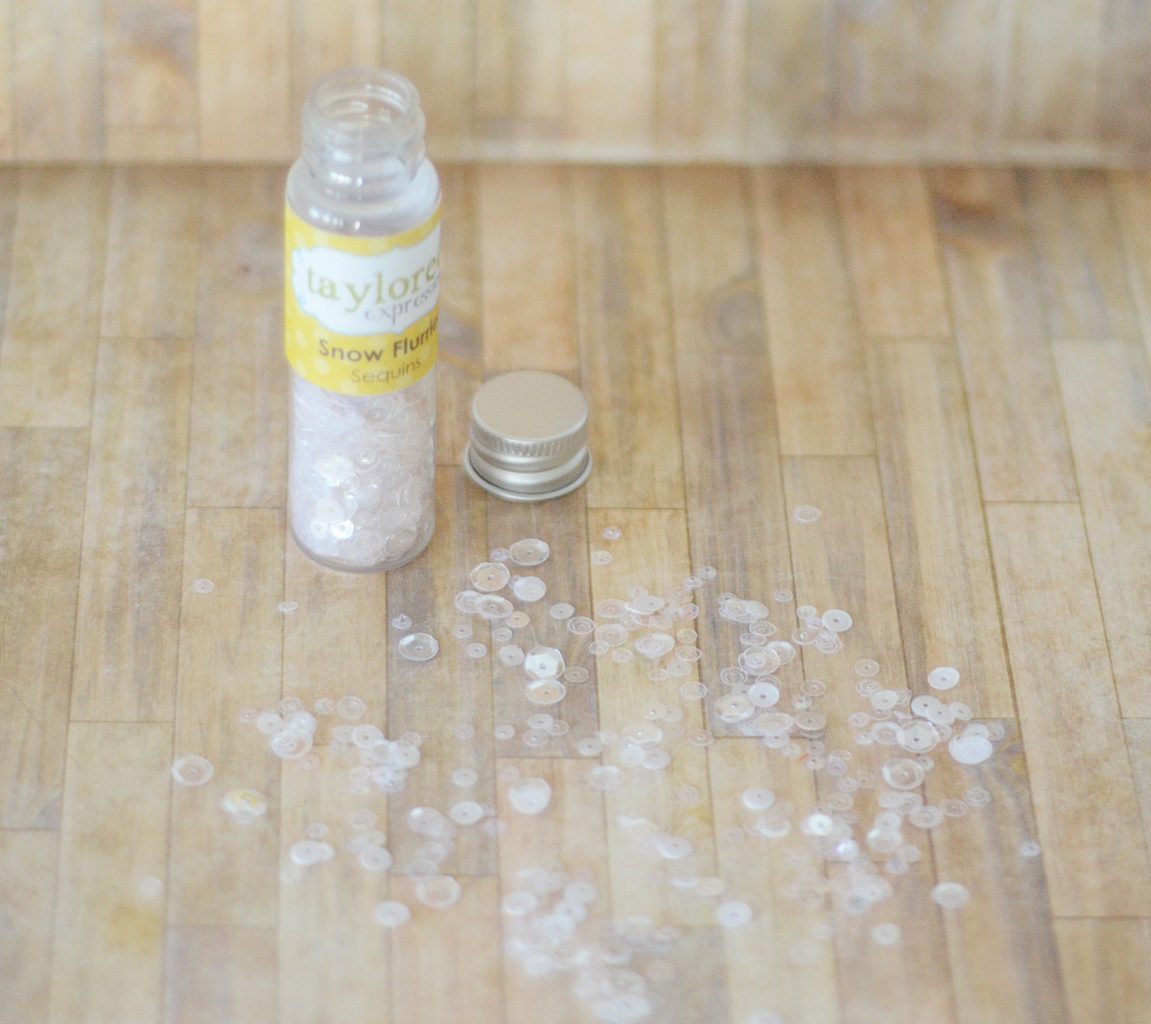
I finished it off by adding some Copic marker accents to the stamped images, strips of Cherry Pop cardstock to cover my masked line, and a few Snow Flurries sequins (because I couldn’t leave it alone!).
Here’s a look at the new products I used on this project:
And here’s a look at the complete supply list:


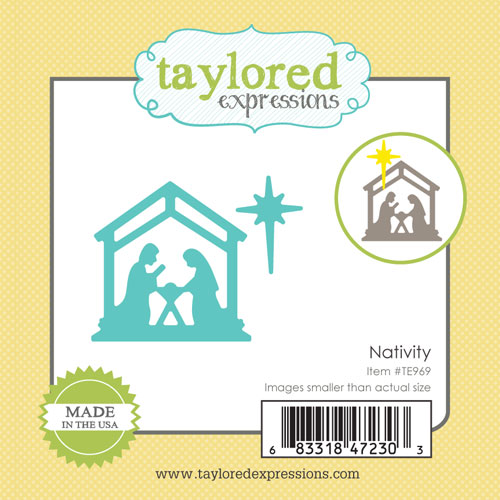
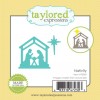
Each year, spiritual Christmas cards are among my favorites to create and the new Little Bits – Nativity die made the perfect focal image for this one:
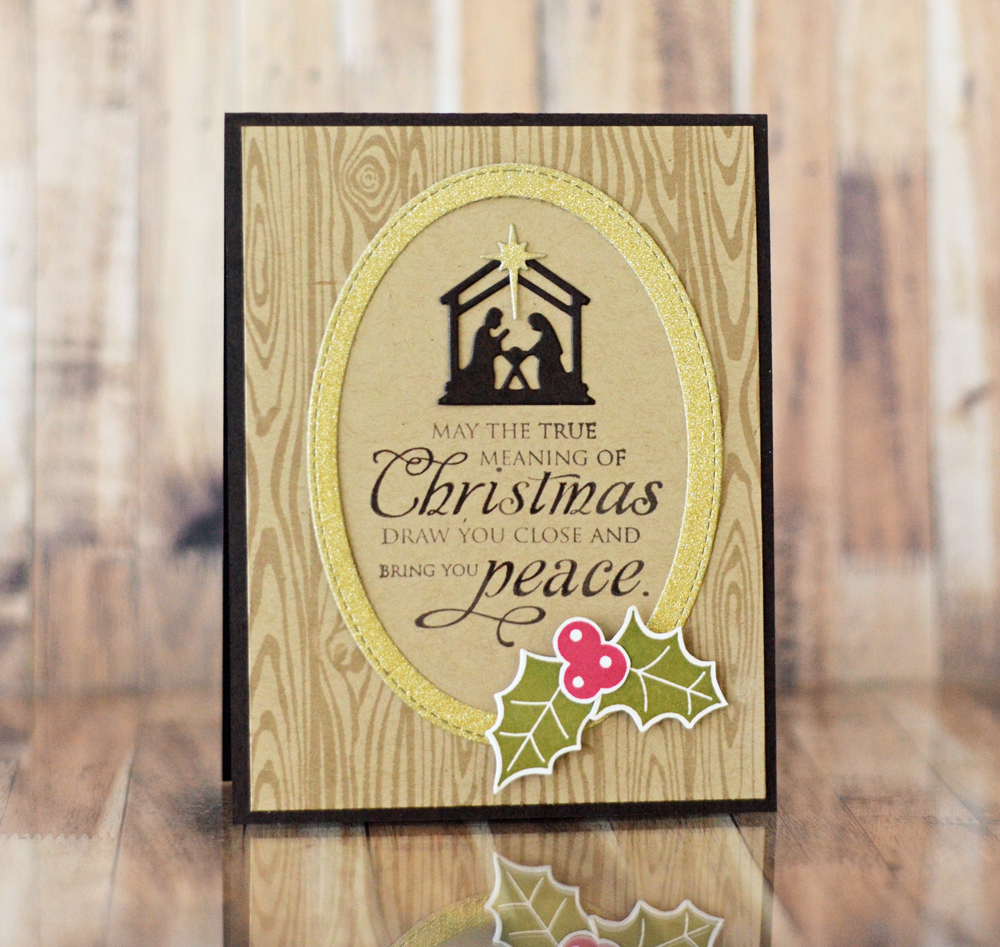
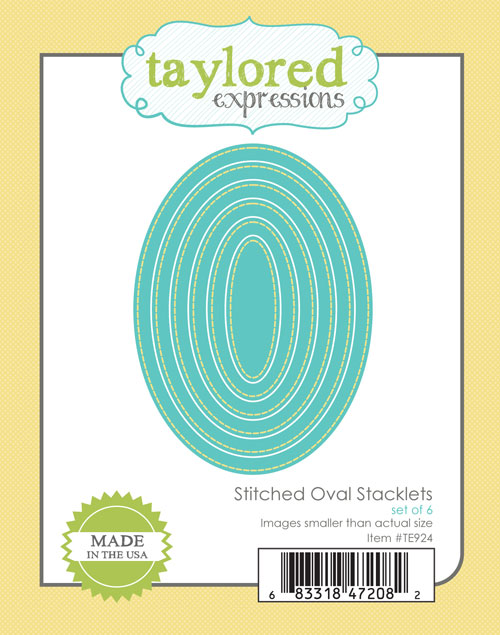
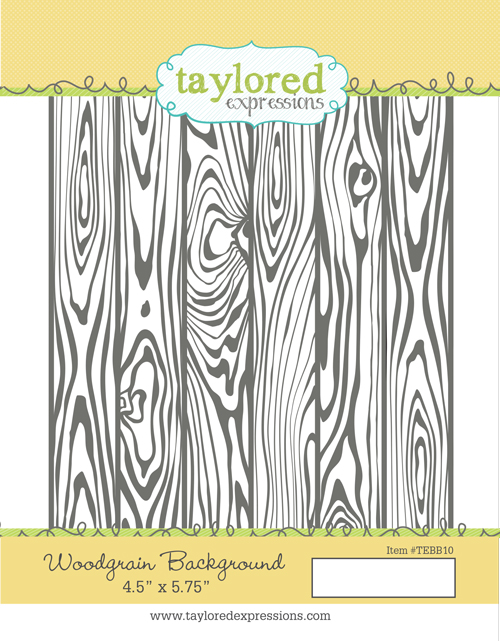
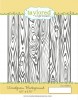
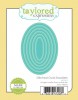
I started by cutting a mask using the new Stitched Oval Stacklets and applying the die cut mask to a piece of Toffee cardstock. Then I stamped this piece of cardstock with the coordinating Toffee ink and the Woodgrain background stamp. After removing the mask I had the perfect oval opening for my sentiment (from previously released Rejoice) and the new Little Bits – Nativity.
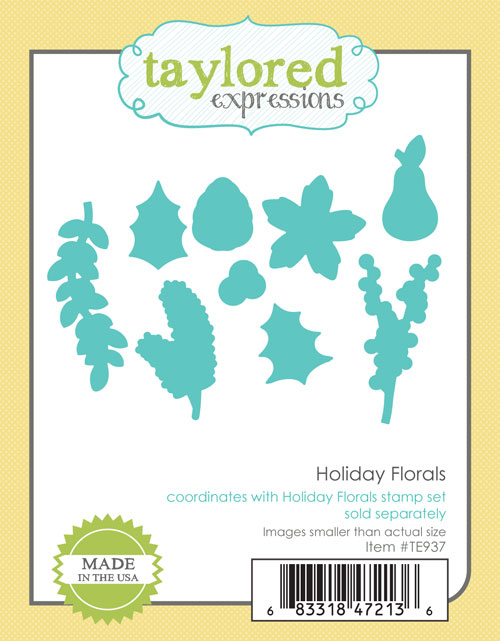
After stamping the sentiment I wanted to set it apart from the background so I created a gold glitter frame using two of the nested Stitched Oval Stacklet dies. I also added the holly and berries from the Holiday Florals stamp set. Another simple card that would be pretty quick to mass produce. I’m going to have a hard time deciding which holiday cards I’m going to mass-produce this year!
Here’s a look at the new products I used on this project:
And here’s a look at the complete supply list:

Last, but certainly not least, I have another prize to give away today as I continue my Question of the Day series! Each day of sneak peeks, I will post a Question of the Day and you can leave a comment with your answer for a chance to win one of our new release products or one of two Grand Prizes of 500 Crafty Points! I love reading your comments so don’t be shy!
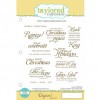
Today I’m giving away the Holiday Florals stamp set!

Leave your comment before Wednesday, October 5th at 11:59pm PST. One entry per person. Each comment will also be entered into our Grand Prize drawing for 2 gifts of 500 crafty points! Winners will be chosen at random and announced on Thursday, October 6th, 2016.
Our talented creative team has more inspiring projects to share with you today so make sure you click on their beautiful faces below to see what they’ve been up to! In addition to the products that I used on my projects, the design team will be showcasing these new products on their projects: