Nov 02, 2016
November Sneak Peeks: Initially Collection – Anything But a Card
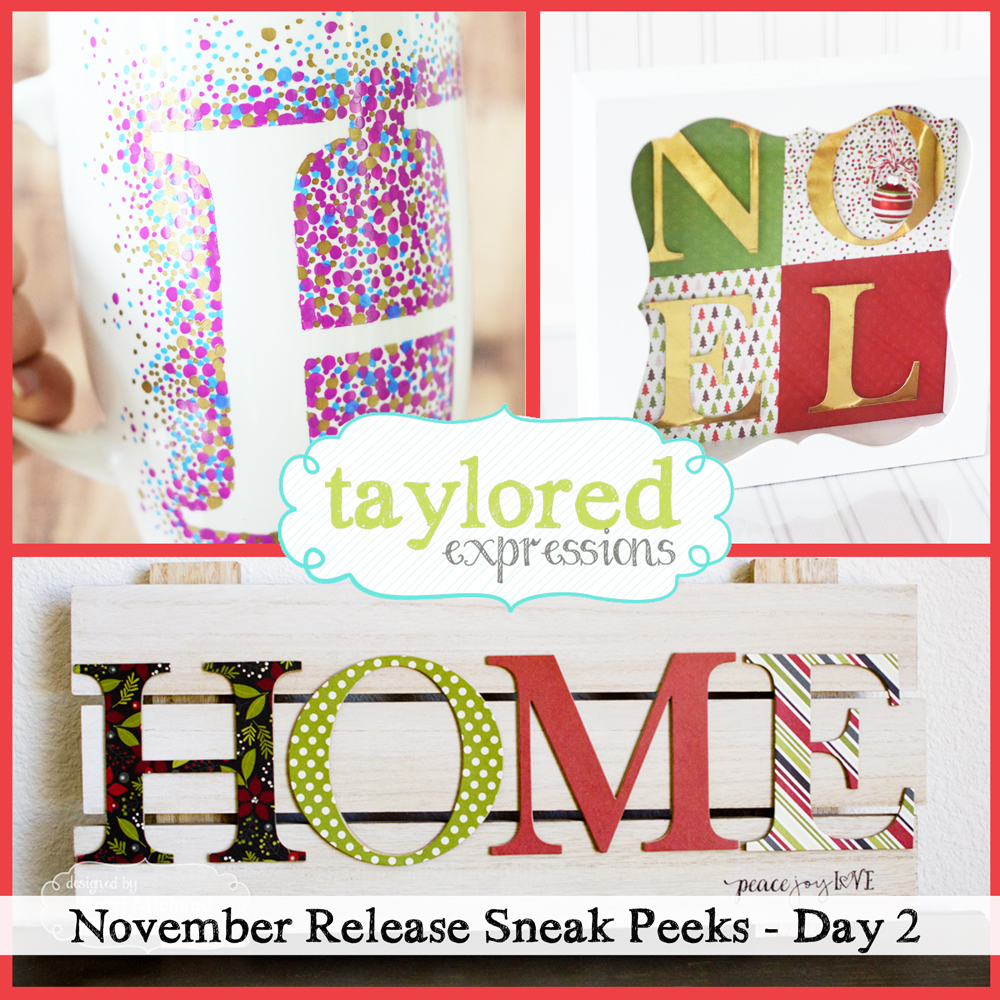
Hey there, crafty friends! It’s Day 3 of our sneak peeks before all of our new products are available for purchase at the TE webstore beginning tomorrow at 7am PST! I alluded to this yesterday, but as a refresher, today the creative team and I will be sharing “Anything But a Card” projects featuring dies from our new Initially collection! We have everything from monogrammed tea towels and mugs to home decor pallets and shadowbox art.
I’m going to jump right in with my projects, but make sure you get all the way to the end for your last chance to win one of our sneak peek prizes! So up first, I used the Initially H letter along with some stencil mask to create this mug that I’ll be giving as a Christmas gift for our daughter’s preschool teacher:
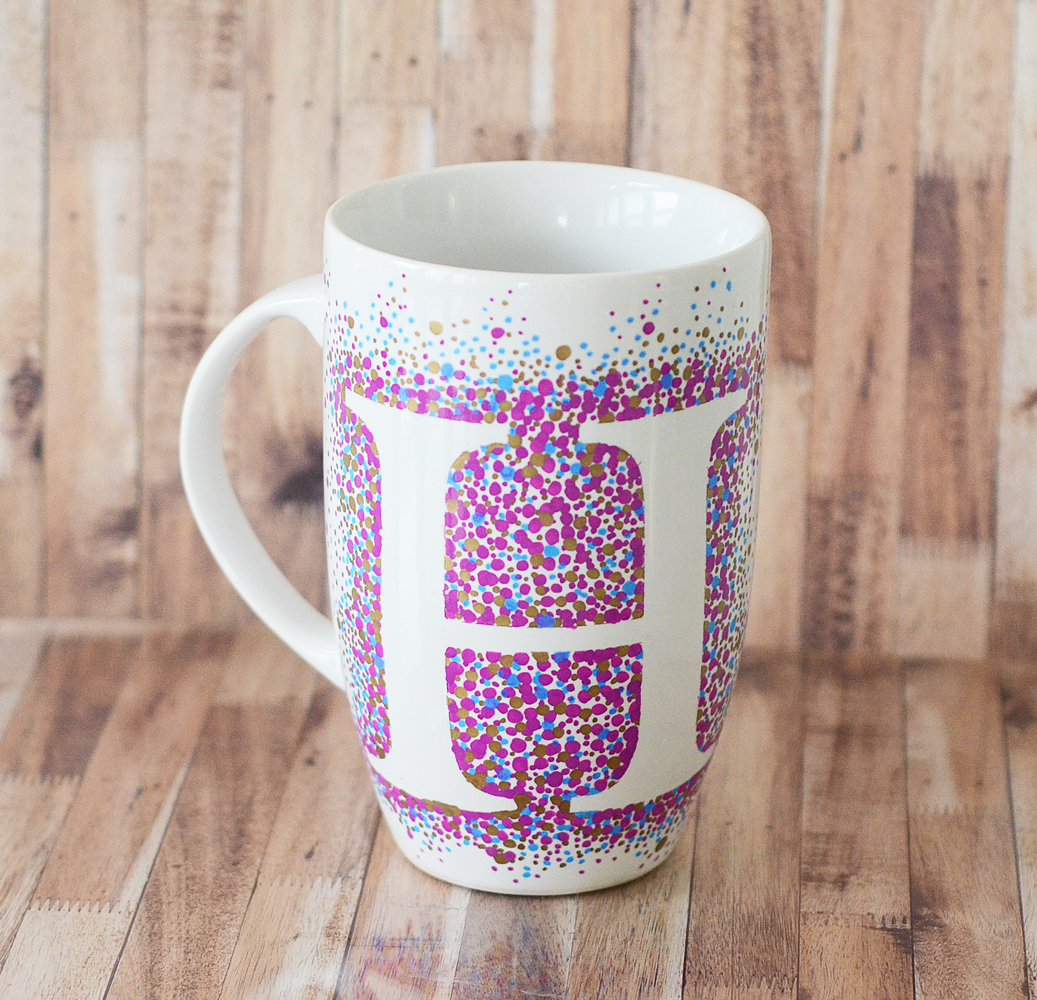
I got the idea for the mug from a post on Pinterest and decided this was the perfect opportunity to try it out! I started by die-cutting the large letter H from stencil mask. This cool vinyl mask is re-usable and works great for molding to the curves of the cup. You can find it HERE in the TE Store. Then I applied the die cut letter to the coffee mug and began dotting and dotting and dotting, and well, you get the picture! I used Sharpie paint pens for the dots and they come in tons of different colors (I picked mine up on Amazon).
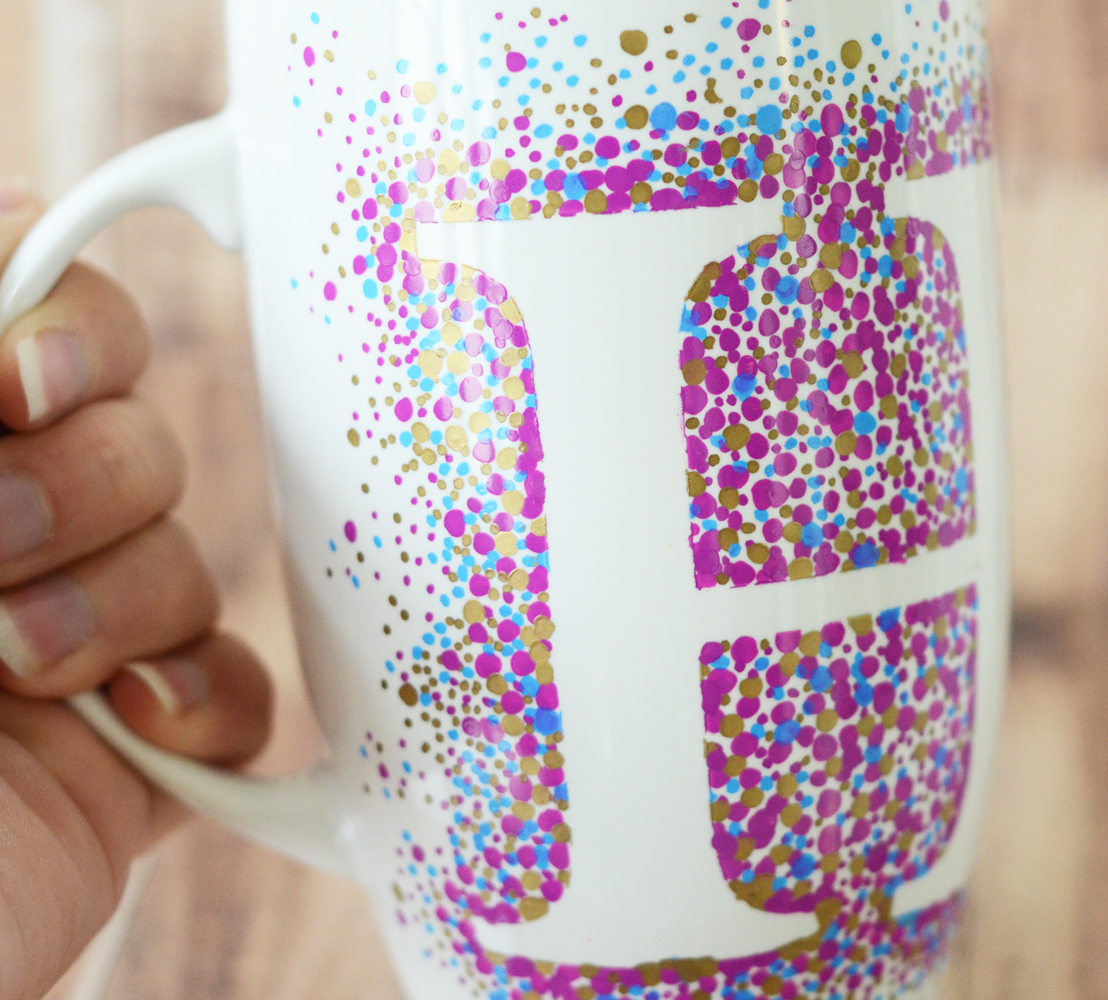
When I felt I had enough dots to give me a good start, I removed the stencil and continued to fill in with a few more dots here and there. After you’ve finished dotting your mug, turn your oven on 250 degrees and place the mug on a cookie sheet inside the oven for 2 hours. Put your mug in a cold oven and let it warm up as the oven warms up and then once the time is up, turn the oven off and let the mug cool down inside the oven. Hand washing is recommended.
Here’s a look at the supplies I used along with a link to the stencil mask product that I used:
For my next project I went the route of holiday home decor. I knew I wanted to add gold foil to my die cut letters and I had picked up this cute shadowbox from Michaels recently so I went with the word Noel. I don’t think I’ll have any trouble finding a place for this somewhere in our home this Christmas season!
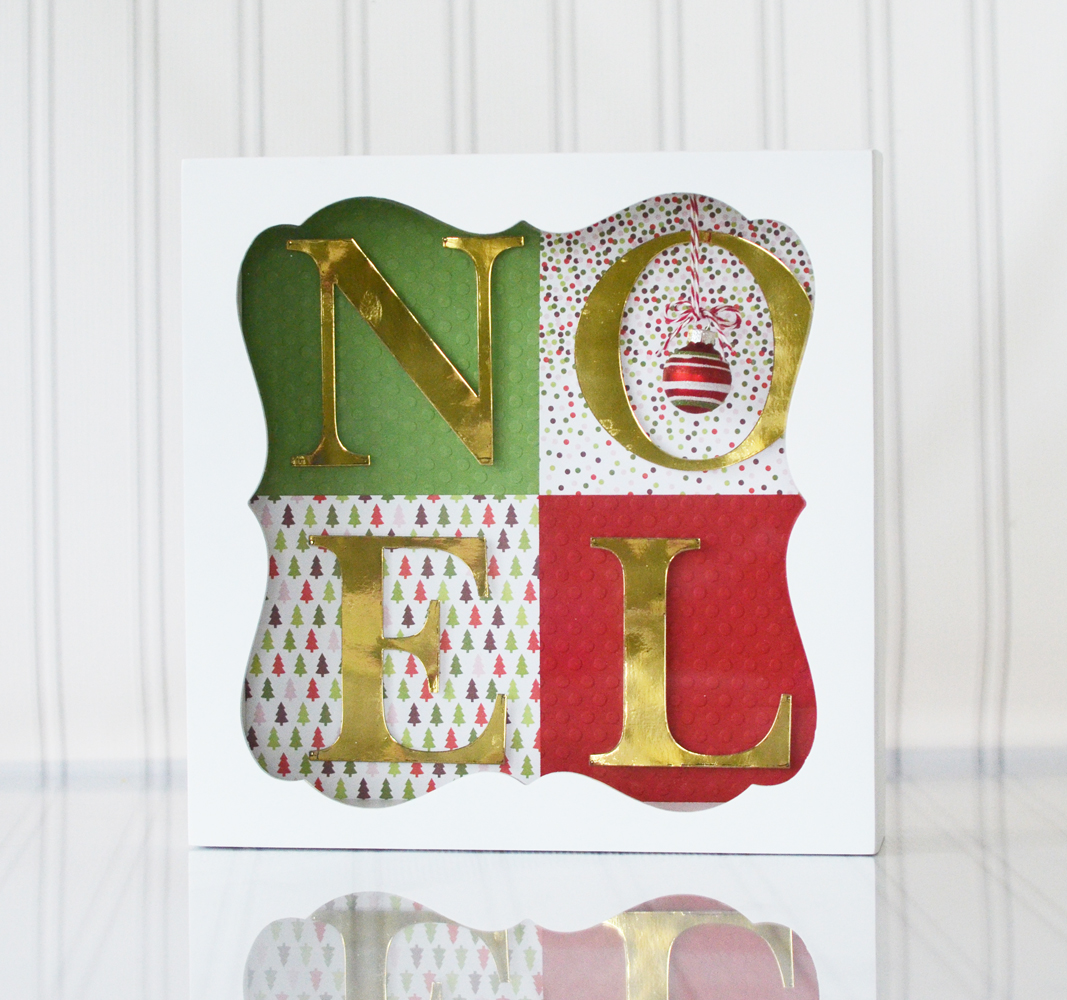
I started by die cutting each letter from Deco Foil Toner Sheets. Then I put gold foil over the top of each letter and ran it through my Minc machine to transfer the foil to the die cut letter.
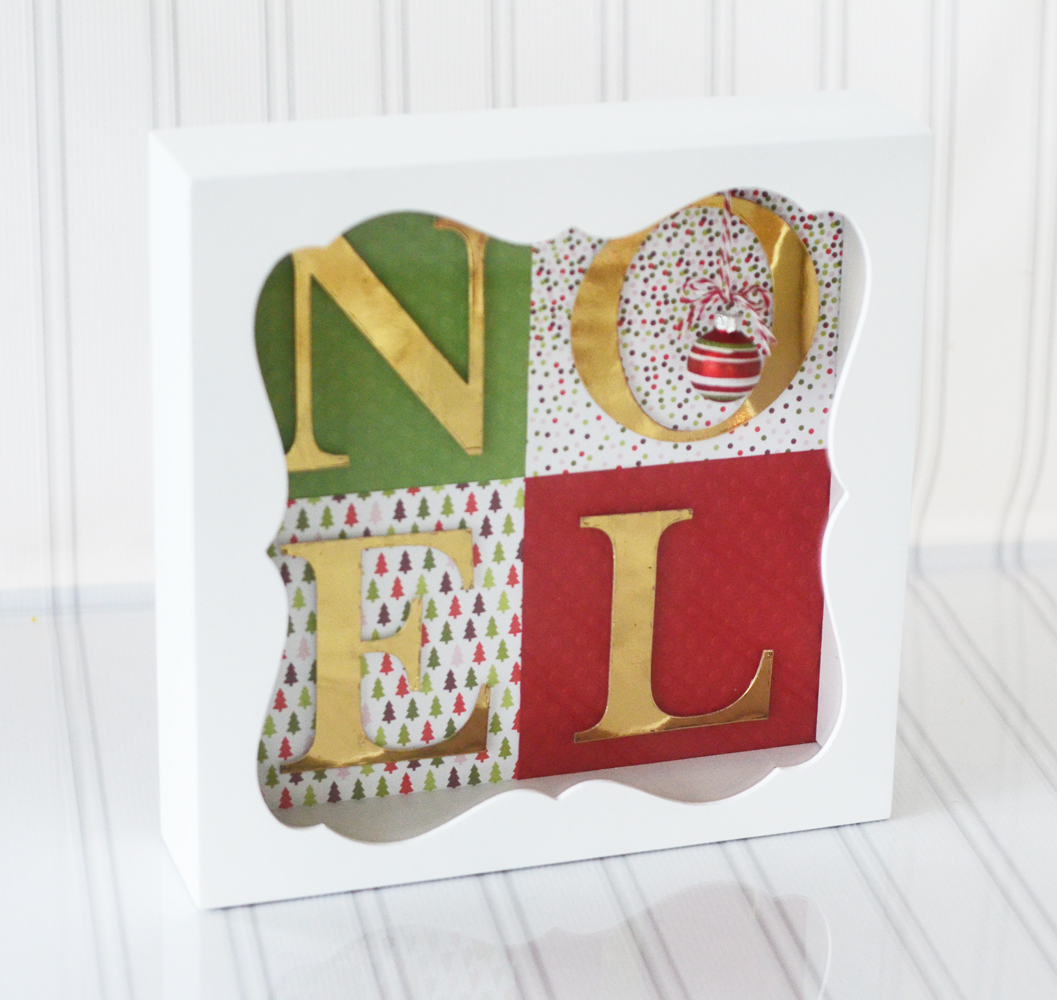
The remainder of the design was pretty simple to put together as I cut 5″ x 5″ squares out of Christmas patterned paper and solid cardstock (embossing the solid squares with the Lots of Dots embossing folder). I popped the gold letters up on foam tape and then hung a small ornament from the top of the shadowbox to hang down into the center of the ‘o’.
Here’s a look at the supplies I used in my shadowbox project:
As promised, I’m continuing with one final question of the day for your chance to win. Read carefully before you answer! Assuming you have up to 4 letters to work with and you can’t make a card, what would you create? One lucky lady will win the requested Initially dies to create whatever project you’ve dreamed up!

Leave your comment before Wednesday, November 2nd at 11:59pm PST. One entry per person. Each comment will also be entered into our Grand Prize drawing for 2 gifts of 500 crafty points! Winners will be chosen at random and announced on Thursday, November 3rd, 2016.
The rest of the Creative Team has some amazing projects to share using the Initially collection for anything but a card! I hope you’ll check ’em out by clicking on their photos below!
And last, but not least, we’re also on our last day for Clearly Planned sneak peeks before all of the new products are released! Check it out on the Clearly Planned blog HERE!
