
Jul 03, 2025
Shaker Card Tutorial with Amy Kolling!
Hi Crafty Friend! Rachel here, and if you’ve ever had to part with a well-loved belonging, you know it’s not easy saying goodbye! This week, our Retirement Sale is in full swing, and while we’re a little sentimental, we’re also excited for all the fresh, fun things coming soon to your craft space.
This is your chance to scoop up some longtime favorites before they’re gone for good. Quantities are limited, so shop early to grab the goodies that will bring your next handmade cards to life!

And because crafting is always better with inspiration, I’m sharing a step-by-step tutorial from Creative Team member, Amy Kolling! Her cheerful shaker card uses Eggplant TE Premium Ink, and is part of the retirement sale. If it’s one you love, now’s the time to stock up! Then at 10 AM CT, join Susan Block live as she shares a project featuring our new July Gift with Purchase. You won’t want to miss it!
Click below to shop the sale, scroll down for Amy’s tutorial, and join Susan live for a dose of crafty joy!

Instructions
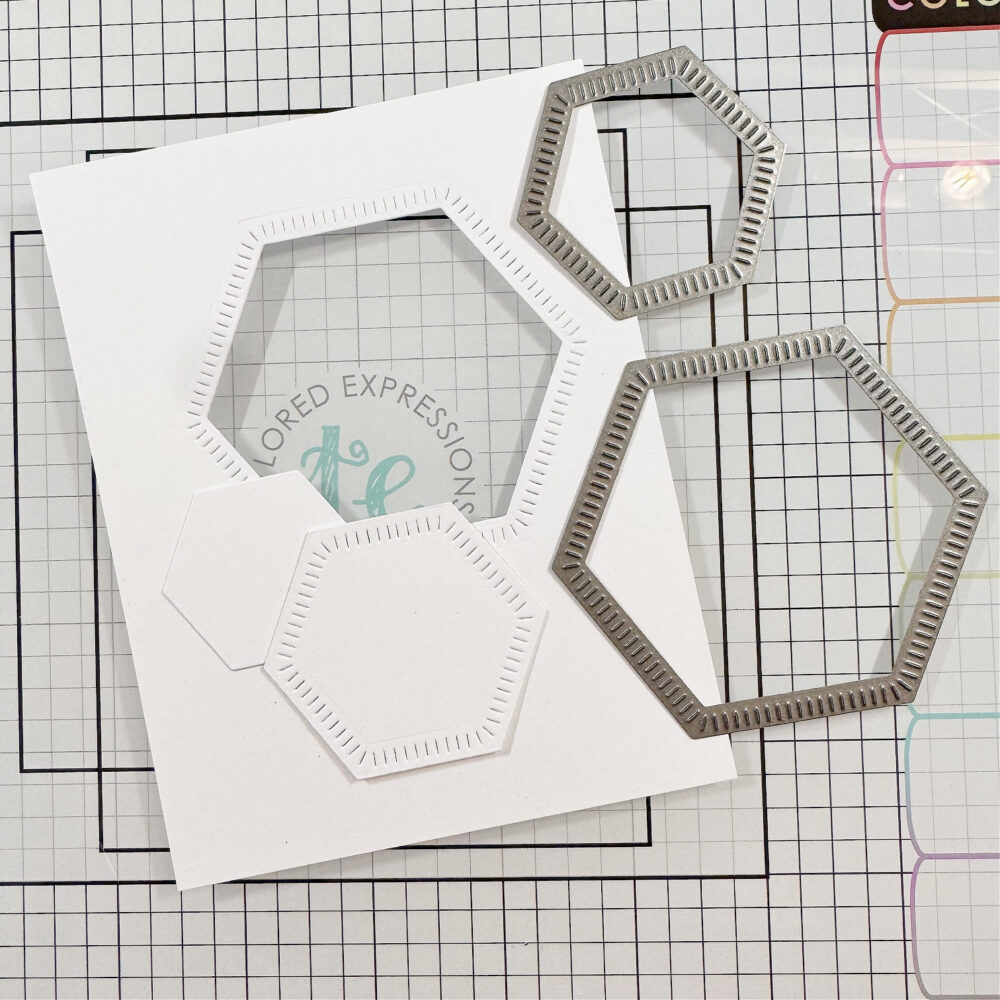
1. Create & build the hexagon window
- Use the Ridged Hexagon Stacklets and Hexagon Stacklets dies to cut a large hexagon from a 4 ¼ x 5 ½ in. panel of Sugar Cube cardstock.
- Die cut smaller hexagons from Sugar Cube using both the plain and ridged hexagon dies.
- Attach a piece of acitate to the back of the large hexagon opening to create the window.
- Add foam adhesive to the back of the panel and around the hexagon window.
2. Add Shaker Contents
- Sprinkle in shaker bits, I used Bits & Pieces Silver Glitter Drops.
- Seal the shaker by attaching the foam-backed die cut panel to a card base or backing panel.

3. Die cut and blend the blooms
- Use the Garden Variety die set to cut blooms and greenery from TE Premium Cardstock:
- Greenery: Green Tea
- Candy Corn: Flower
- Pineapple: Flower
- Dragon Fruit: 2 flowers
- Ink blend the flowers and leaves using Jalapeño, Sweet Potato Pie, Eggplant (retired) Huckleberry, and Sweet Corn TE Premium Inks to add depth.

4. Stamp & cut the sentiment
- Use a MISTI to stamp the “Hi” from Pop Sentiments Stamp Set on a piece of Sugar Cube Cardstock in Versafine Clair – Nocturne ink.
- Die cut the sentiment with the coordinating die.
- Die cut the sentiment shape two more times and glue the layers together to add dimension.
5. Cut the frame & add sparkle
- Cut a frame from Black Licorice TE Premium Cardstock with the largest Frame in Frame 3 Cutting Plate
- Spray this frame and the Garden Variety pieces with Metallic Mist – Unicorn Sparkle to add extra shine and shimmer.
6. Assemble the card
- Attach the layered hexagons and frame to the card front.
- Glue the black fame on top of this panel.
- Arrange the ink-blended blooms around the hexagon.
- Use foam tape on some of the blooms to add dimension.
- Glue the layered sentiment pieces to the card.
- Add a few extra Bits & Pieces Silver Glitter Drops to complete your design.

For more projects from Amy Kolling, visit her blog here!
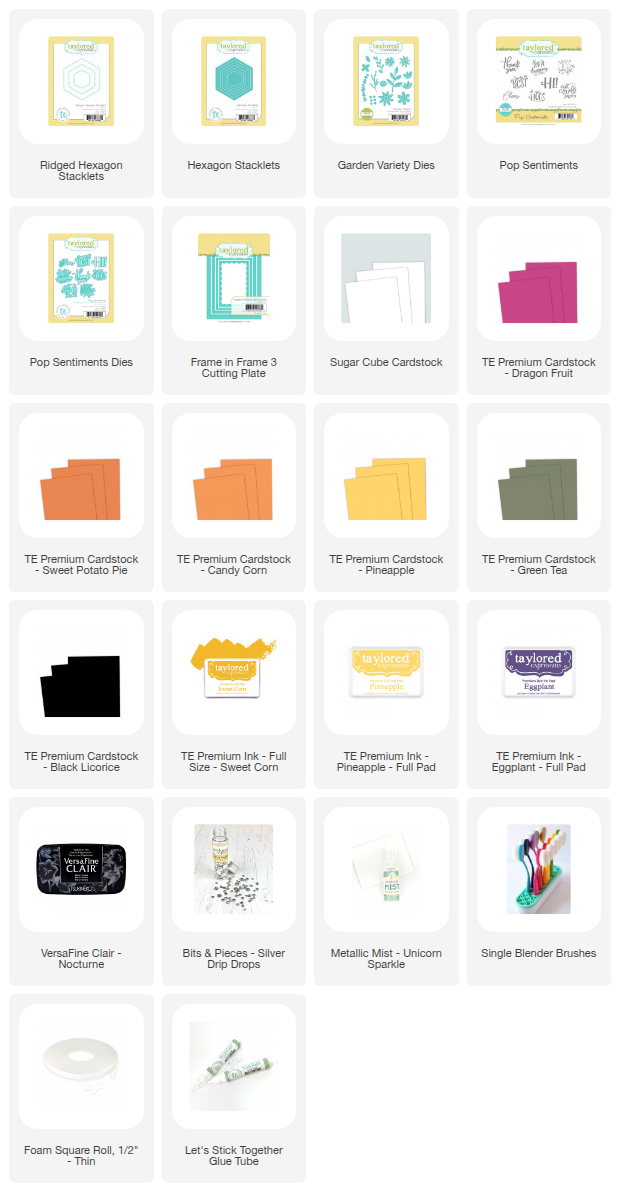
Supplies Used:

Join Susan Block at 10AM Central on the Taylored Expressions YouTube Channel as she whips up something wonderful with our July Gift with Purchase! She’ll share a project packed with crafty tips, clever tricks, and plenty of inspiration. We hope to see you there – come join in the fun! (Don’t worry, if you miss the live you can always watch the replay afterward!)
Thanks for stopping by! Stop back again on Saturday for a sneak peek of what’s coming soon!

