Jun 14, 2017
Crafty Storage Week: Minimalist Melody
Happy Hump Day, crafty friends! This week, I am sharing crafty storage tips from members of our awesome Creative Team and today we’ve got Melody Rupple in the house (or rather, in her house) as she was kind enough to put together a fabulous tour through her craft space and share how she stays organized! Let’s dive in…

Notes from Melody…
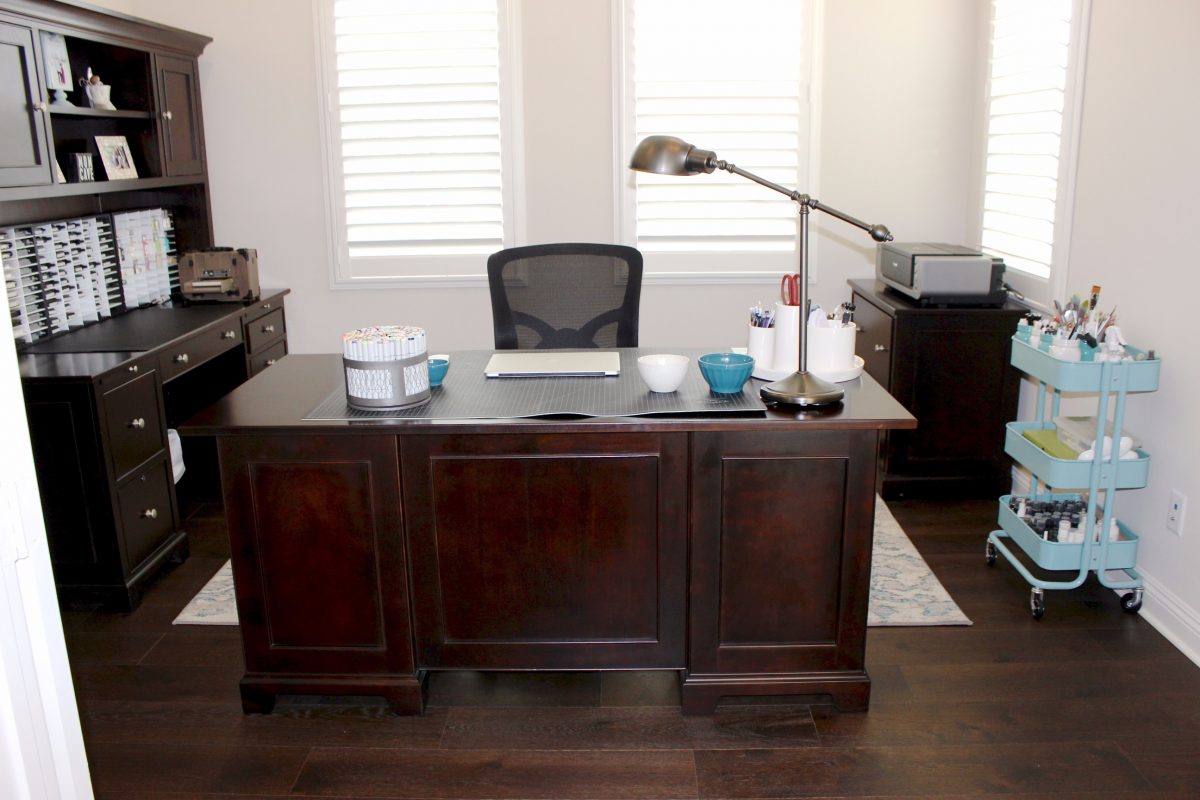
Today I am going to give you a look into my craft room and share some of my tips and methods for organizing my craft space. I am going to start by saying that I recently moved and have plans to personalize my space with a chandelier over my desk and pictures on the walls, including some of my favorite scrapbook pages! I have four daughters and it took me a long time to get a room of my own. I am thrilled to have my own space!
In the corner of the room I have this storage unit from Best Craft Storage that I have owned for about five years.
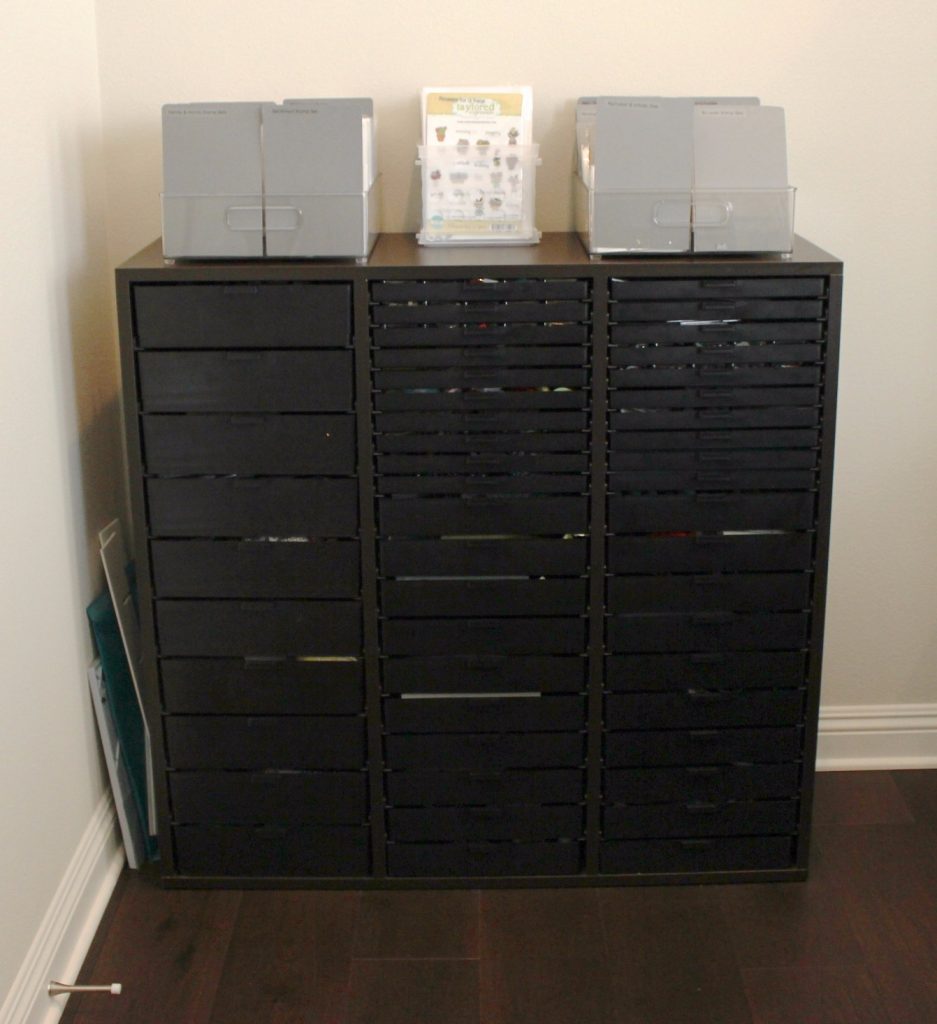
The unit has lots of drawers in various sizes. This is where I store a majority of my supplies, buttons, ribbons, embellishments, extra paper, felt, flowers, scrapbook paper, etc. These types of furniture pieces can be found in more and more places now, but I still love mine.

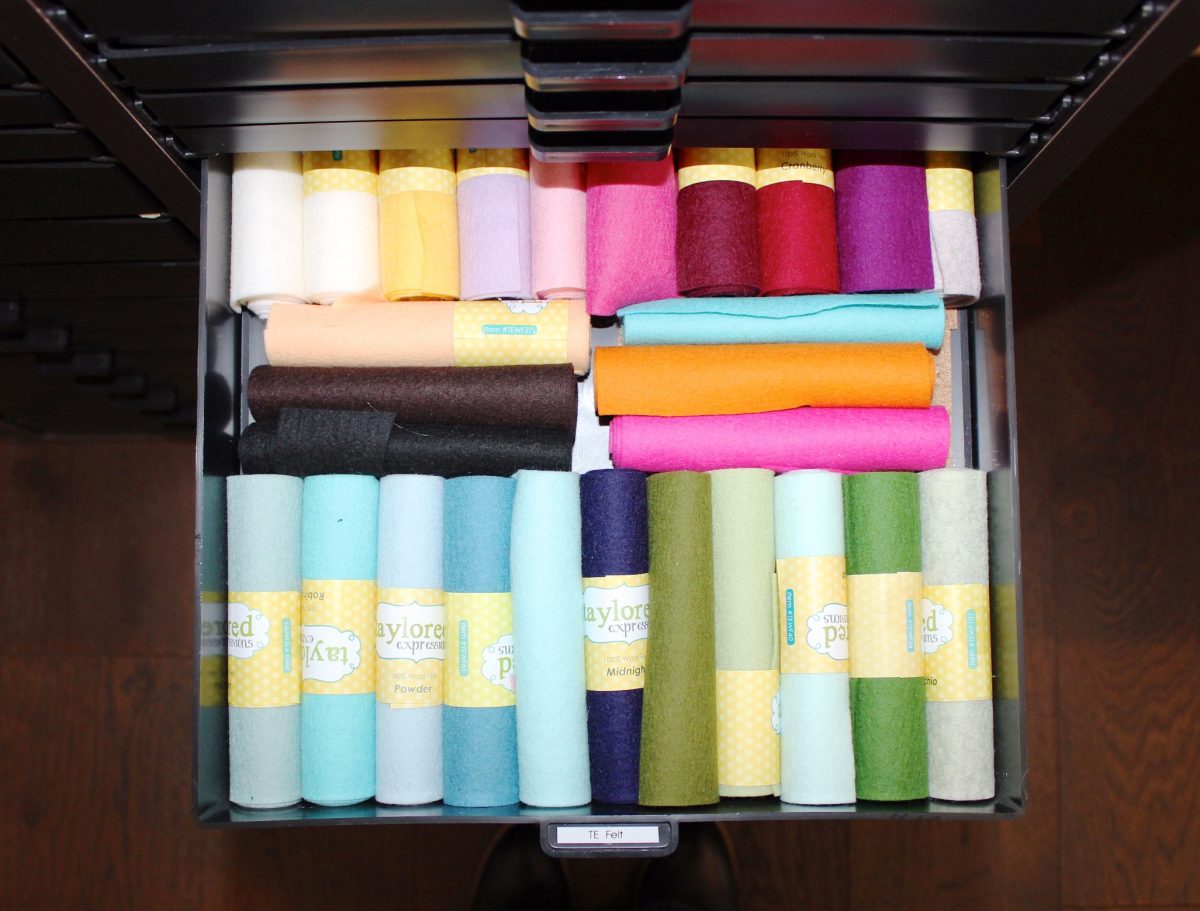
Here a look at the inside of the drawer where I store my TE Felt. You can see there is slot for me to add a label with my label maker so that I know what is in each drawer.
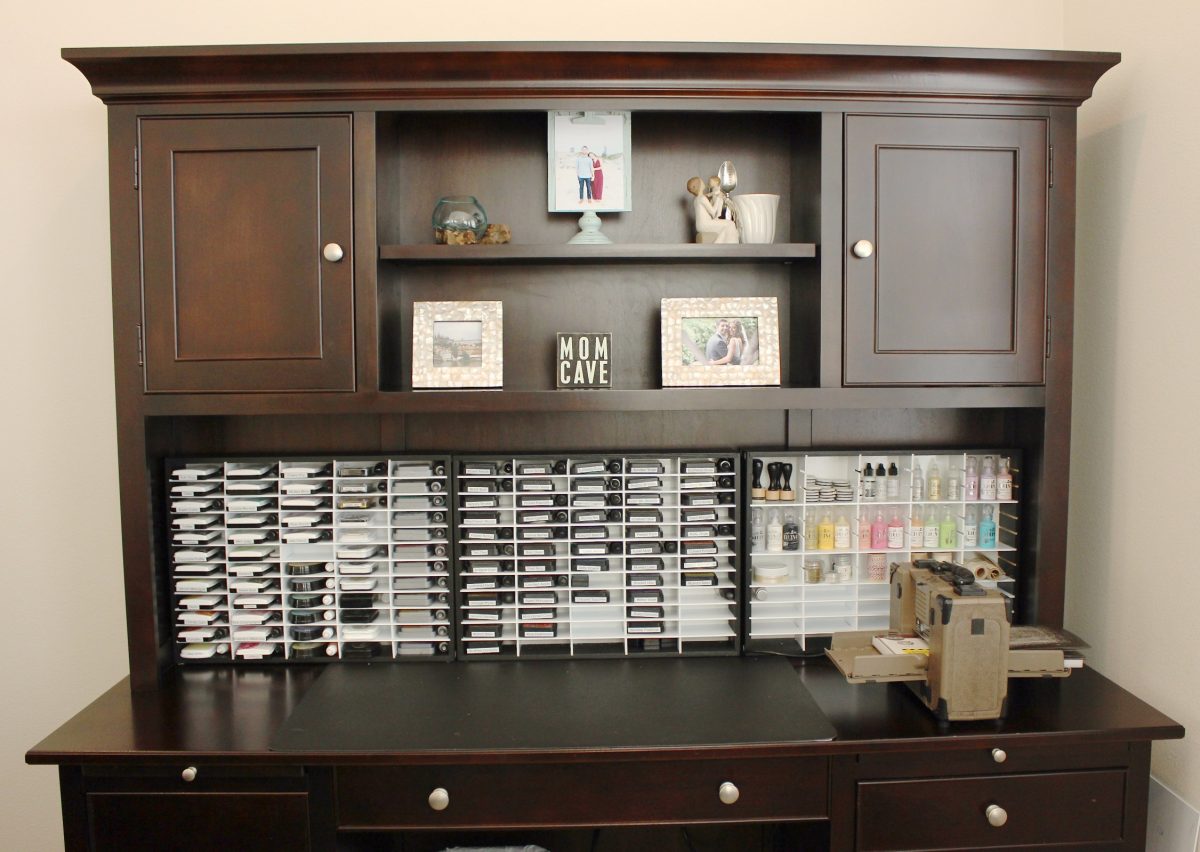
My office furniture was purchased when I worked from home, but I go into the office most days now so my furniture has slowly been converted to craft storage. Office furniture is a great to repurpose for craft storage and with a few added storage solutions, it can really work. Here is a look at my ink storage. (And sometimes my sewing machine sits on this desk.)
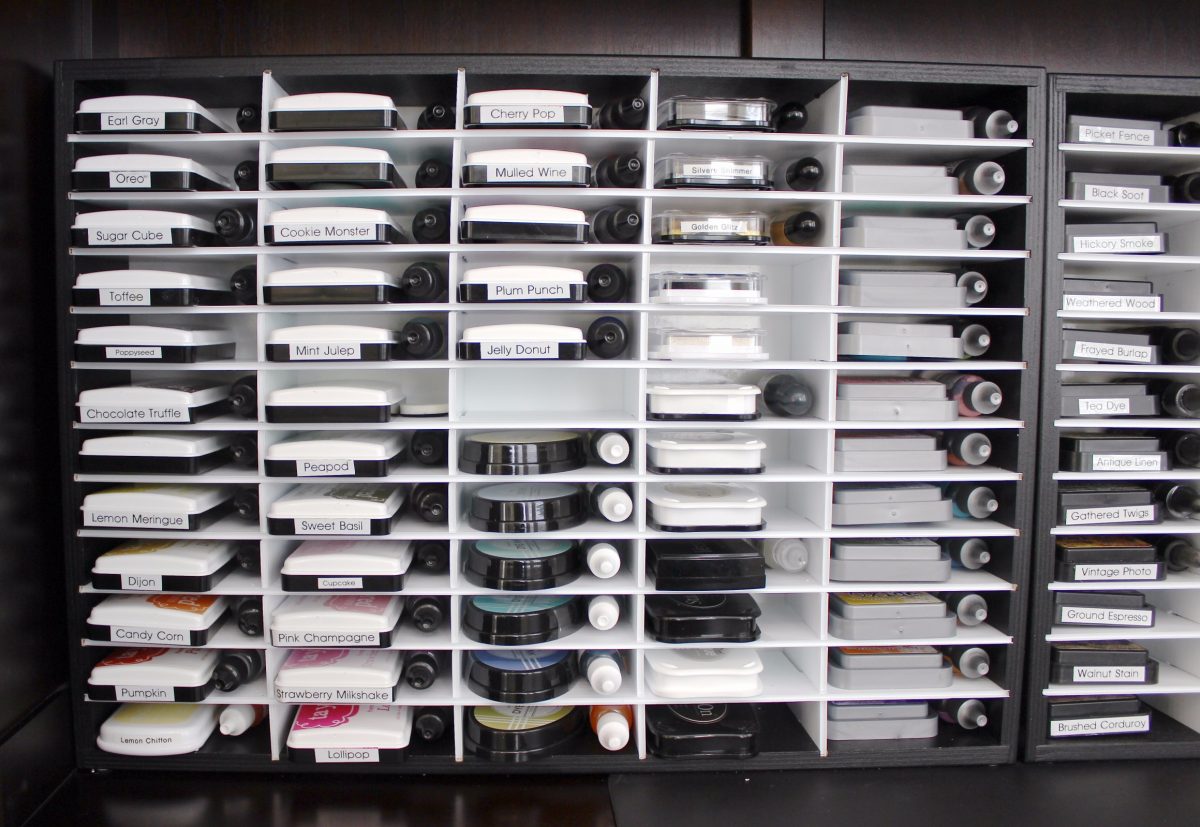
I used a label maker to put the names on my inks and store them in color families. I have room to store the matching ink refill next to the ink pad. Here’s a fun tip: I also add a circle of Velcro to the bottom of each ink pad and attach a Ranger Mini Ink Blending Tool to the bottom of each pad! My ink racks are from Stamp n Storage.
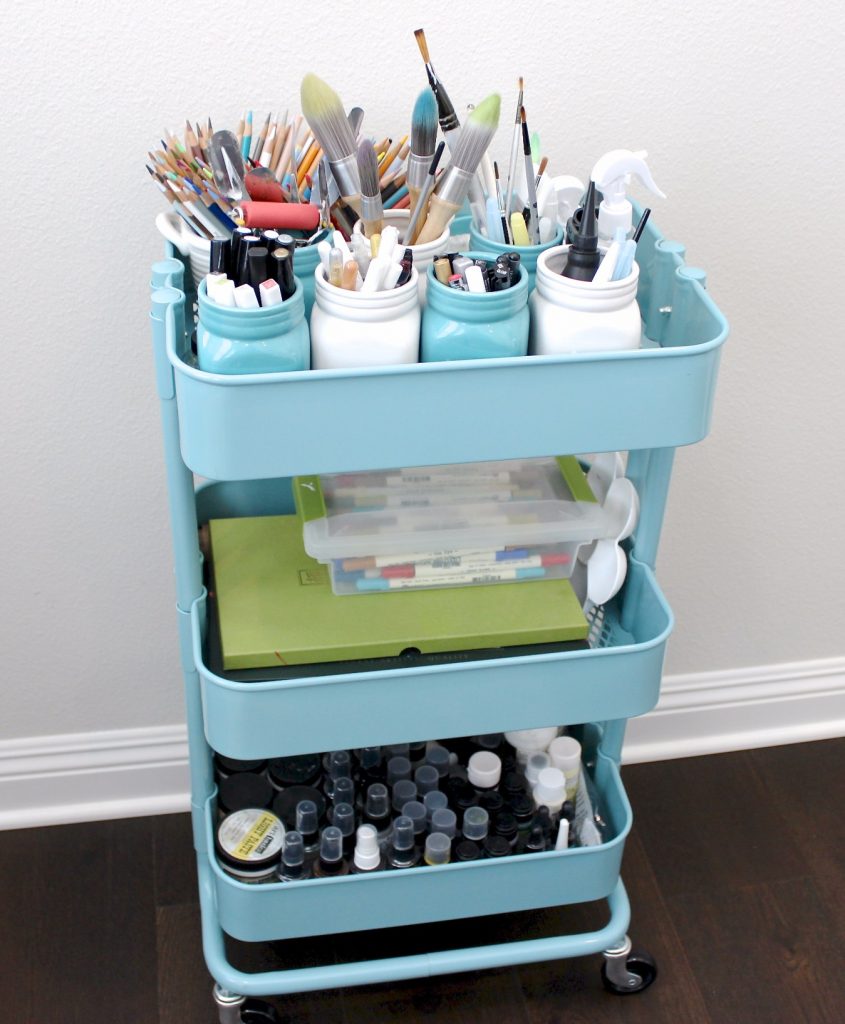
I have a rolling cart from IKEA where I store my colored pencils, paints, paint brushes, glitter pens, and watercolors. I like that I can roll it right up to my desk.
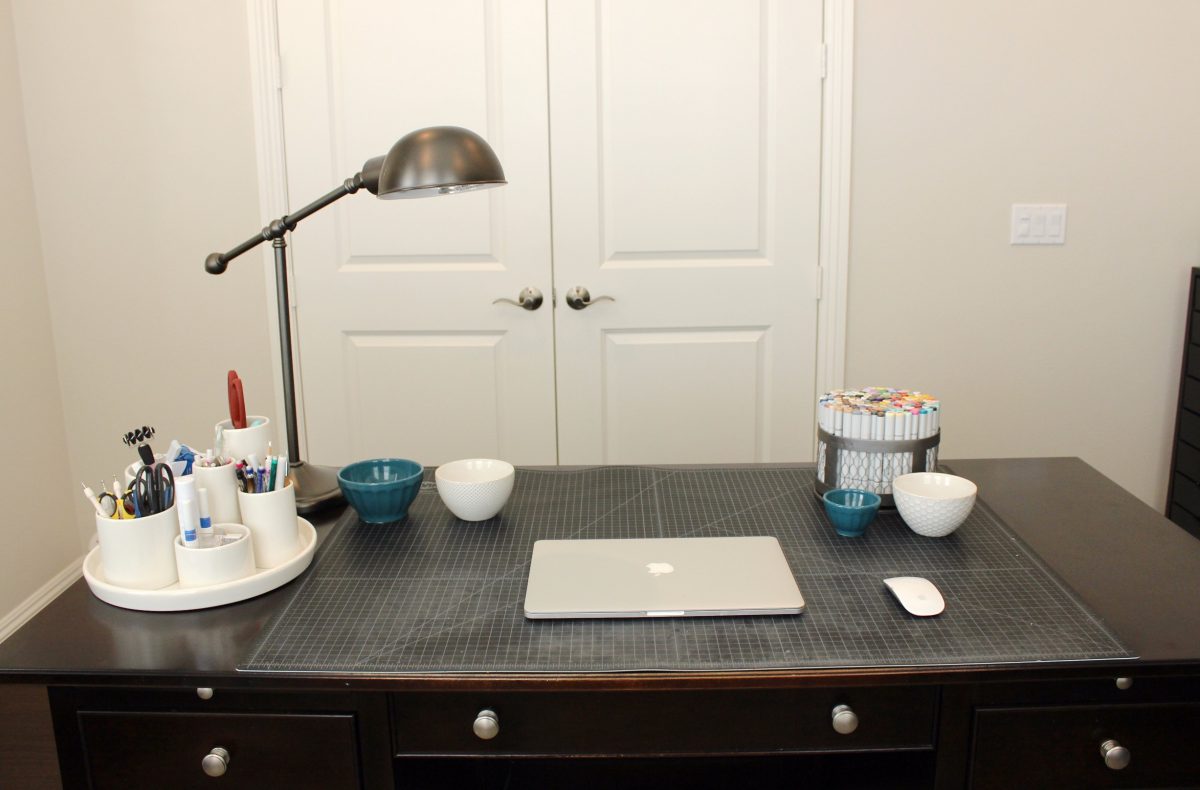 Here’s a look at the top of my desk. Of course it doesn’t look this clean all the time! That is what the doors are for! I keep my most used tools in the storage containers on the left and on my right my Copic Makers in a round wire container that is on a lazy Susan. I like to keep a few small bowls on my desk. Here I will put my die cuts and small dies I am working with at the time so they do not get lost.
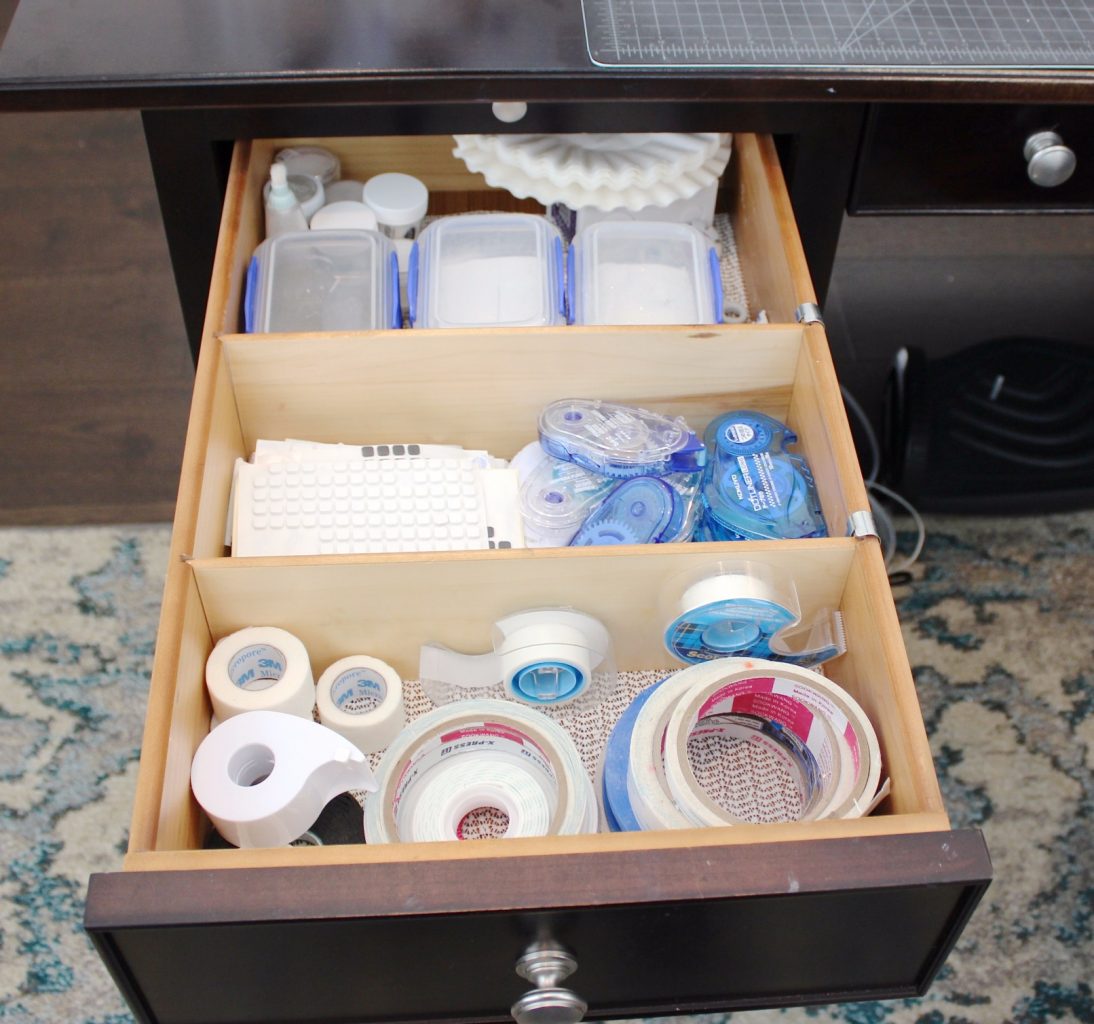
Here a look into one of the drawers just to give you an example of the items I like to keep close. This drawer has all my tape guns, double sided tape, adhesive squares, and the embossing the powders I used more often.
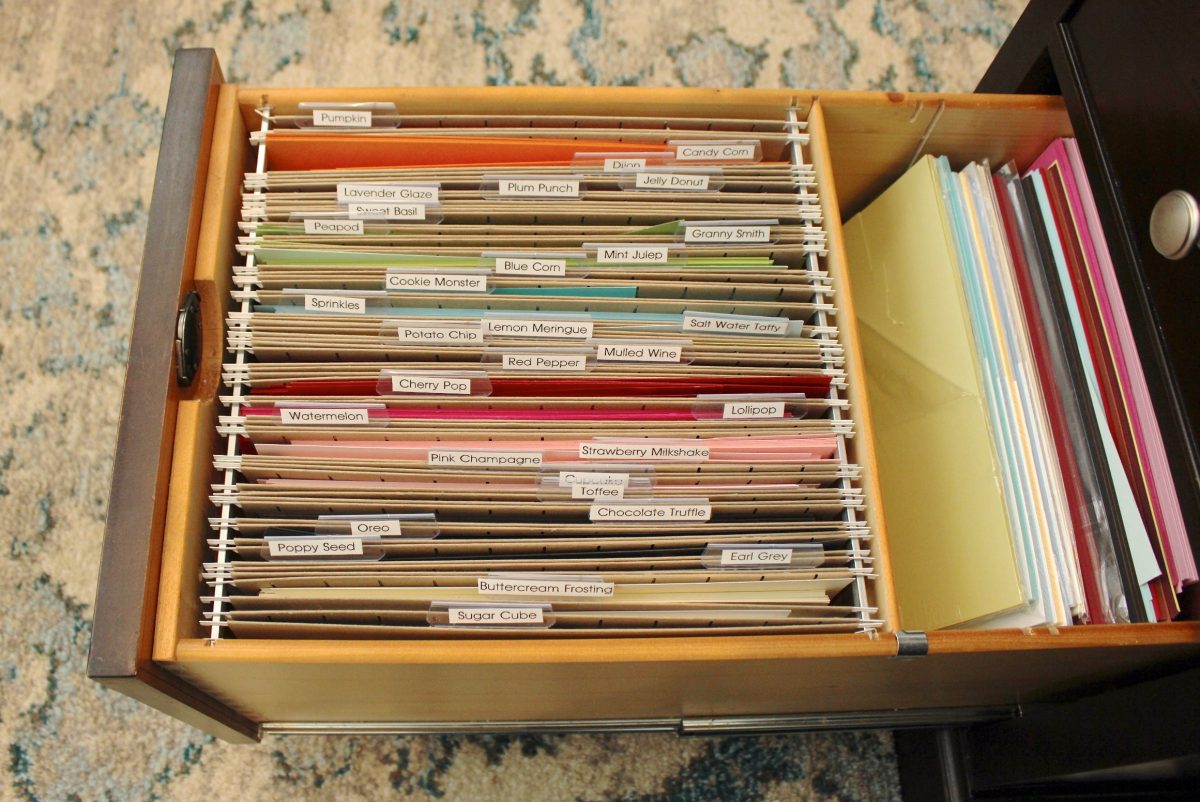
I store my cardstock in the file drawer on the left side of the desk. I use hanging folders, one for each color, and label all the cardstock colors so I can easily find what I need. I store any matching card stock scraps in the front of each file drawer. There is room at the back of the drawer to store extra cardstock. There is another file drawer on the right side of the desk where I store my other types of mediums, like watercolor paper, vellum, foam, acetate, clear plastic sheets, and masking papers.
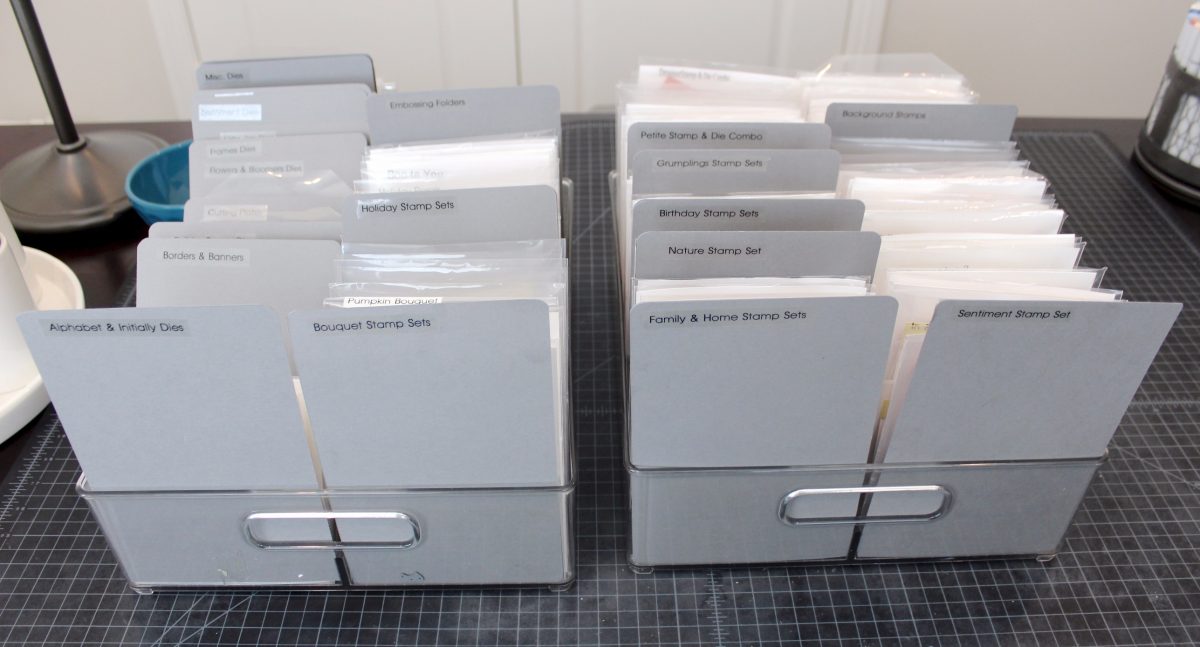
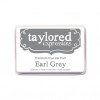
I organize my stamps and dies like many other crafts based on an idea I saw online. I use plastic bins, clear storage envelopes, and my label maker to keep me organized. Both the dies and stamps are divided into categories. For example, my TE Dies are grouped by Collections – Little Bits, Build a Scene, Stacklets, Cutting Plates, Borders, Sentiments, Alphabets and Numbers, etc. I used Earl Grey Cardstock for my dividers, but to make them stronger I glued two sheets together. I also rounded the corners.
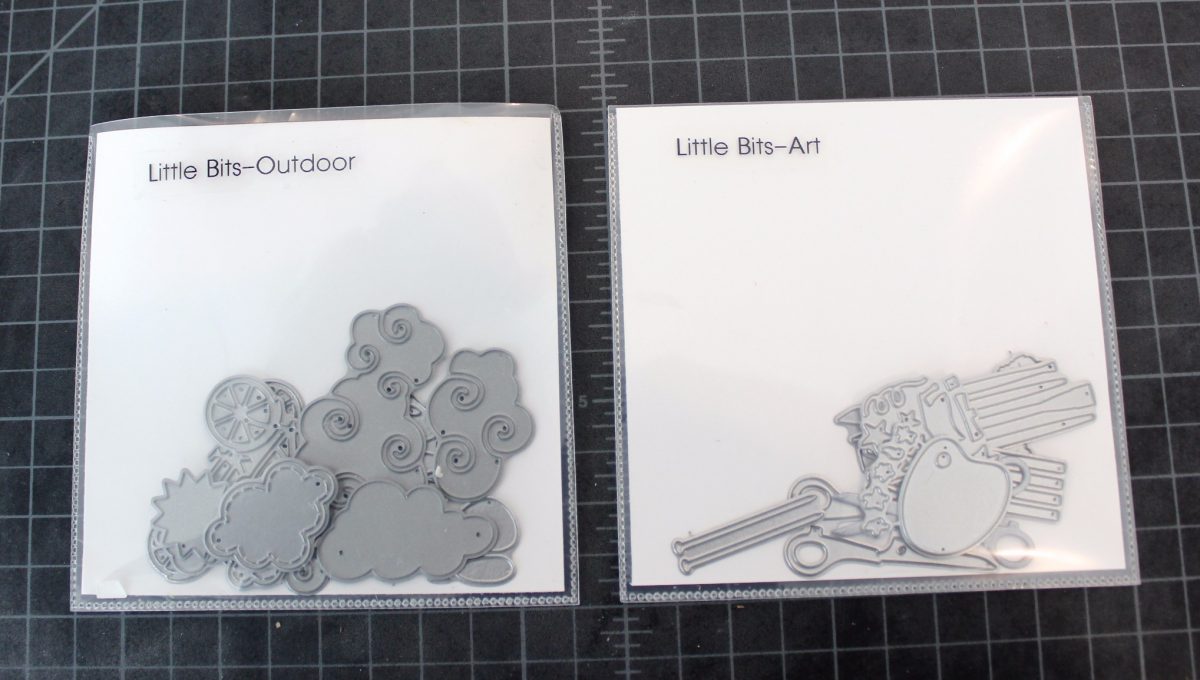
I love the TE Little Bits line of dies. They can just add that special detail to a project. But rather than store each small die separately, I group them by categories to cut down on the number of storage envelopes I need.
Thanks so much, Melody, for all the wonderful tips on craft storage you shared today. I’m pretty sure having four daughters has given her a lot of chances to stay organized! Melody is a wonderful mother and I’m so glad to know that she is finally getting a lovely craft space of her own. It looks like such a serene and quiet place to craft in, doesn’t it?
Now I get to share a project that Melody created in her craft space! Check it out…
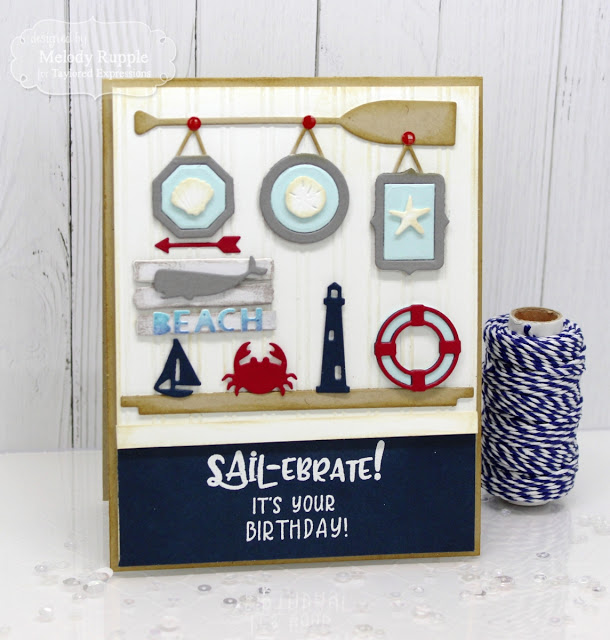
Look at this beach house beauty that Melody created with our recently released Sitting Pretty Nautical Accessories and new Little Bits dies! It’s so fresh and fun and my very favorite part is the distressed Beach sign with the whale. It’s the perfect touch!
Be sure to follow Melody on her blog, A Paper Melody! Have a joyful day and come back tomorrow for more craft storage tips!


