Jun 15, 2017
Crafty Storage Week: From Start to Finish with Kim!
Happy Thursday, crafty friends! All this week, I’ve been sharing fabulous tips and tricks from members of our Creative Team on how to store your craft products and tools. I have gotten so many good ideas from them that I am feeling the itch to rearrange what I have now! Today, Kim Singdahlsen takes us on a tour of her crafty storage solutions by taking us through how she created a pretty birthday card. Check it out!

Notes from Kim…
I love organizing. Sometimes I think I love the act of organizing more than I love actually being organized! This leads to a lot of trial and error in an on-going attempt to find the perfect system. I’m really close when it comes to my cardmaking stash, but after all, I’ve been working on it for 15 years!
First you need to know that I have a very small workspace. I keep the basics nearby and then I have various storage spaces for all the rest of the stash with my general stamps nearby and holiday stamps in a different room. Since I don’t use those all the time, it works to not have them on hand, but I also have a digital system for keeping track of everything…keep reading for details on that!) I’m going to walk you through my work process with a few hints along the way about what works for me.
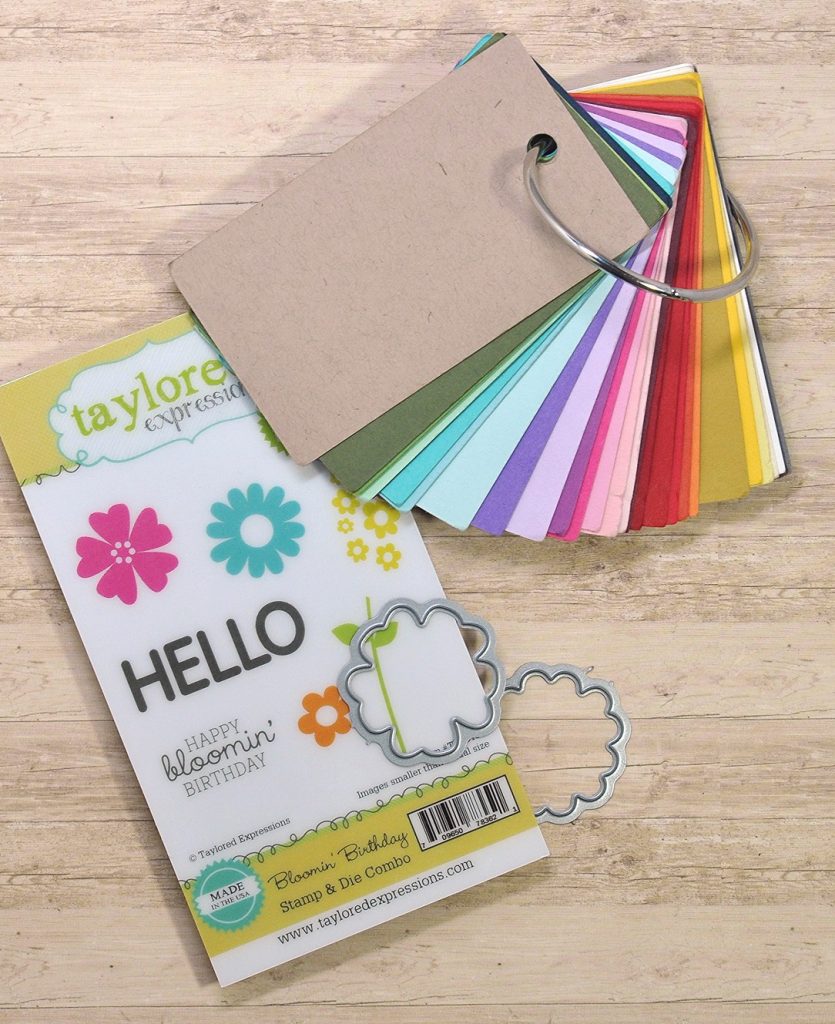
My general stamps are on the other side of my desk in a mesh drawer system. Editor’s Update: Several of you have asked where Kim got her mesh drawers. Kim uses the the Elfa system from Container Store. It’s a design it yourself system. The drawers that fit the stamps are the two-rail drawers (about 7 1/2″ tall) and she recommends the finer mesh drawers.
(See that cute little card beneath the lamp? I’ll walk you through how I get to all my craft products and tools to make it!)
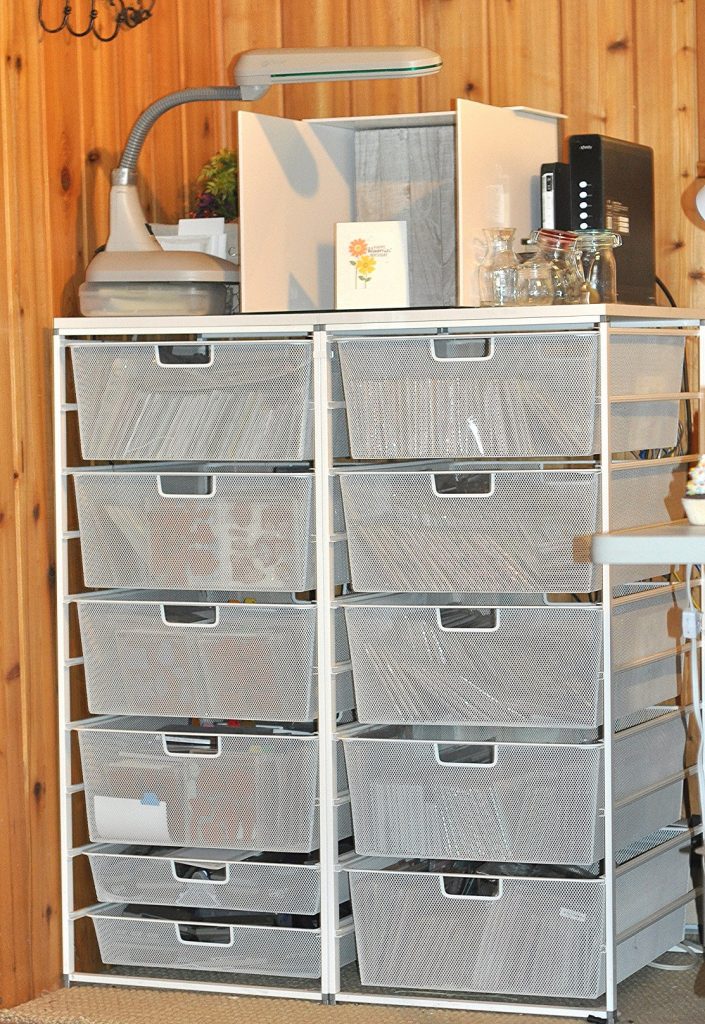
Here’s one drawer of Taylored Expressions stamps!
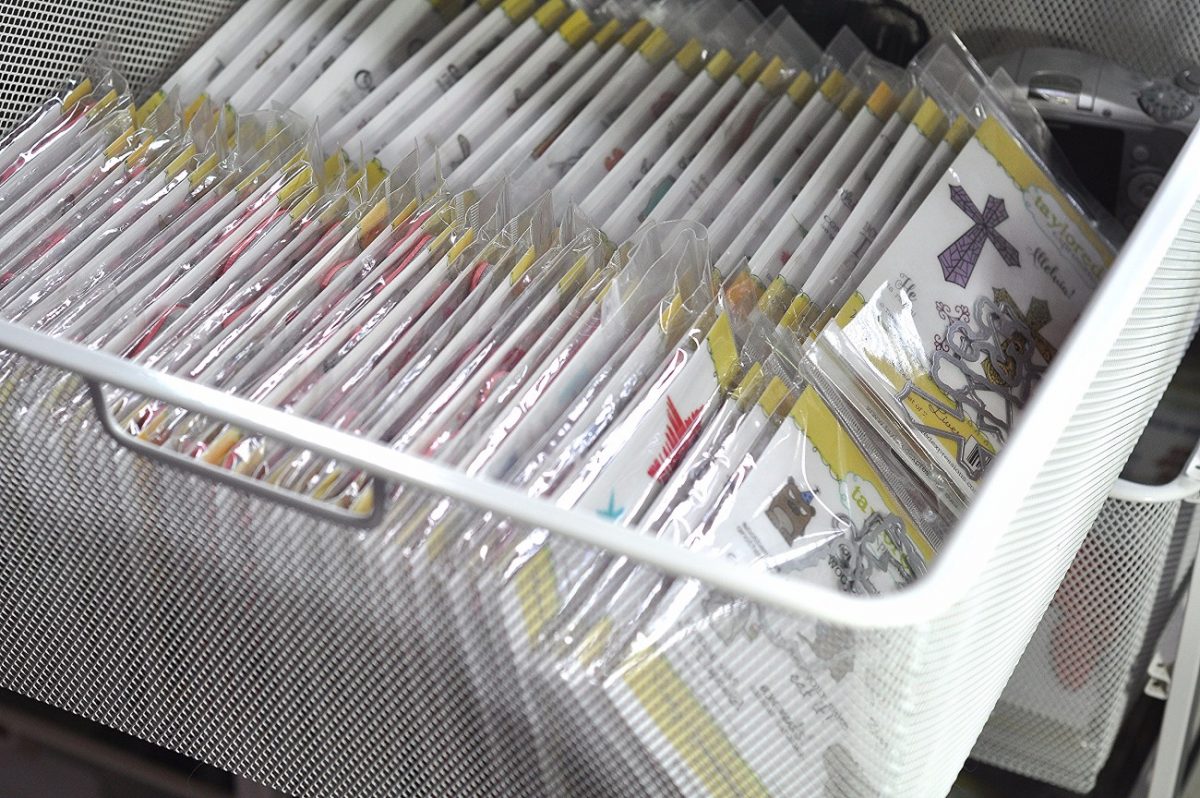
For my card, I was making a birthday card for a gardener so I grabbed Bloomin’ Birthday out of my drawer before settling back into my work area. To find the right stamp set, I used my computer and a popular photo storage and sharing application called FLICKR. FLICKR is a great digital tool that helps me keep track of all my stamps and dies and has a tagging function that helps me search for exactly the product I need. For a tutorial on how to set up Flickr to create a searchable digital crafty stash catalog, check out this week’s TE Newsletter HERE!) Once I located Bloomin’ Birthday, I was set. Everything else I need is within reach. (BTW – I keep coordinating dies with the stamp set.)
I keep cardstock swatches on a key ring – so first I study that. (The color names are on the back of each swatch.) Here’s what it looks like:

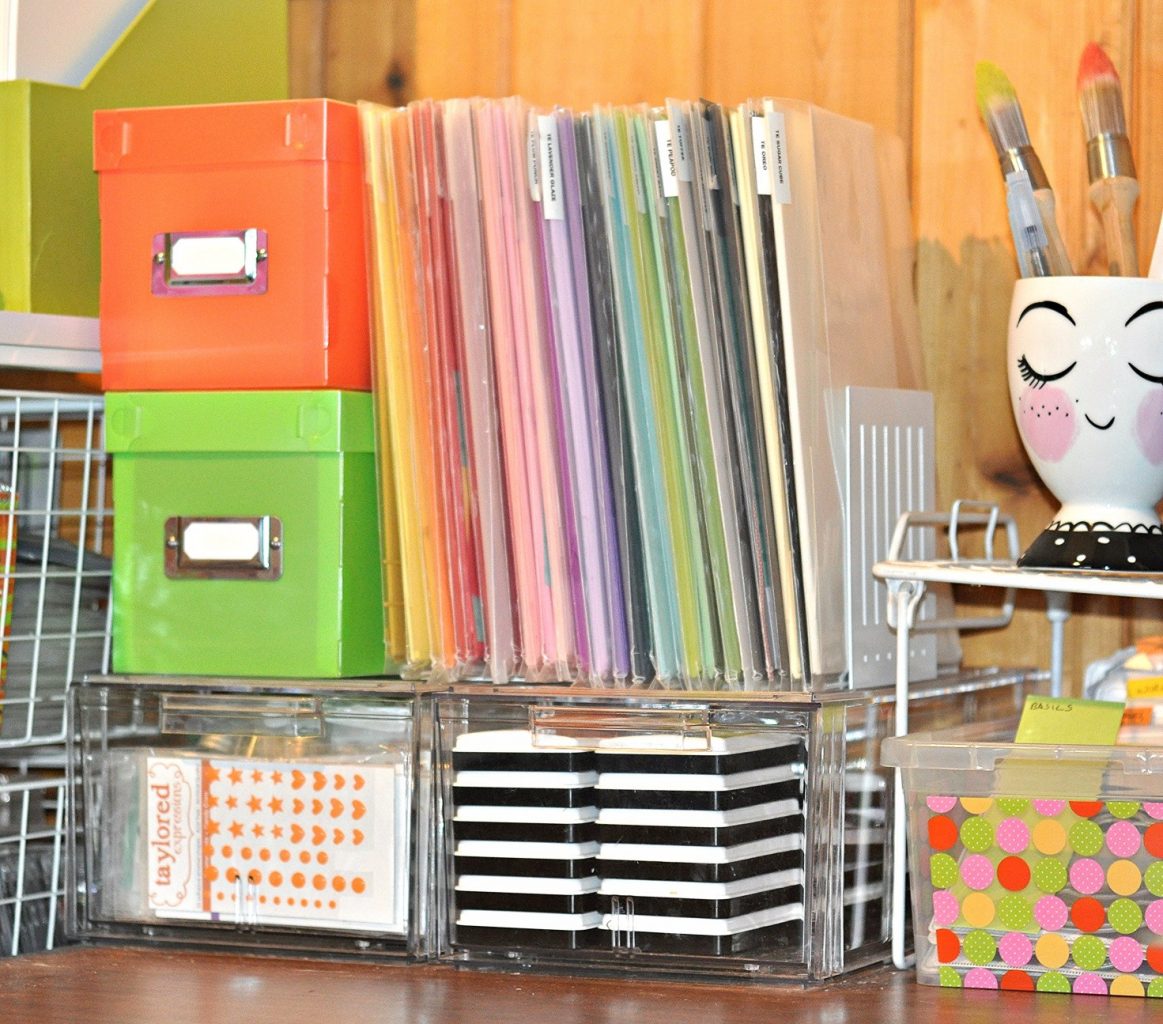
I keep my cardstock sorted by color in Poly Project – View Folders. (I use Office Depot brand, but you can usually find these online or at your local office supply store.) They are clear so I can see the color and they are open on two sides so it is easy to store scraps and get to the cardstock. Also, by keeping them in folders, it’s very easy to pull out just the colors that I need once I select them from my cardstock swatches.
The ink is in a clear drawer underneath. I use Shoe Drawers from the Container Store. There are two sizes and I use both. The larger drawer (Clear Stackable Men’s & Athletic Show Drawer) is the one in the picture – it fits the entire collection of TE ink! I particularly like this drawer because the whole drawer can pull out. If I’m just playing, I can put the entire drawer full on my workspace. The other drawer holds TE’s coordinating Enamel Shapes, a variety of their sequins and things like their test tubes, clear boxes, etc.
My dies are in the polka dot boxes you can just see to the right. I just use CD sleeves. Some CD sleeves have a U-shaped cut-out which can be problematic with dies falling out, so be careful when purchasing. The CD sleeves that I use just have a little keyhole cut-out – so the dies are very secure within the sleeve. For Stacklets, I keep a piece of magnetic backing in the sleeve so the Stacklets stay neatly layered. I created my own little dividers to it’s easy to track down the die that I need.
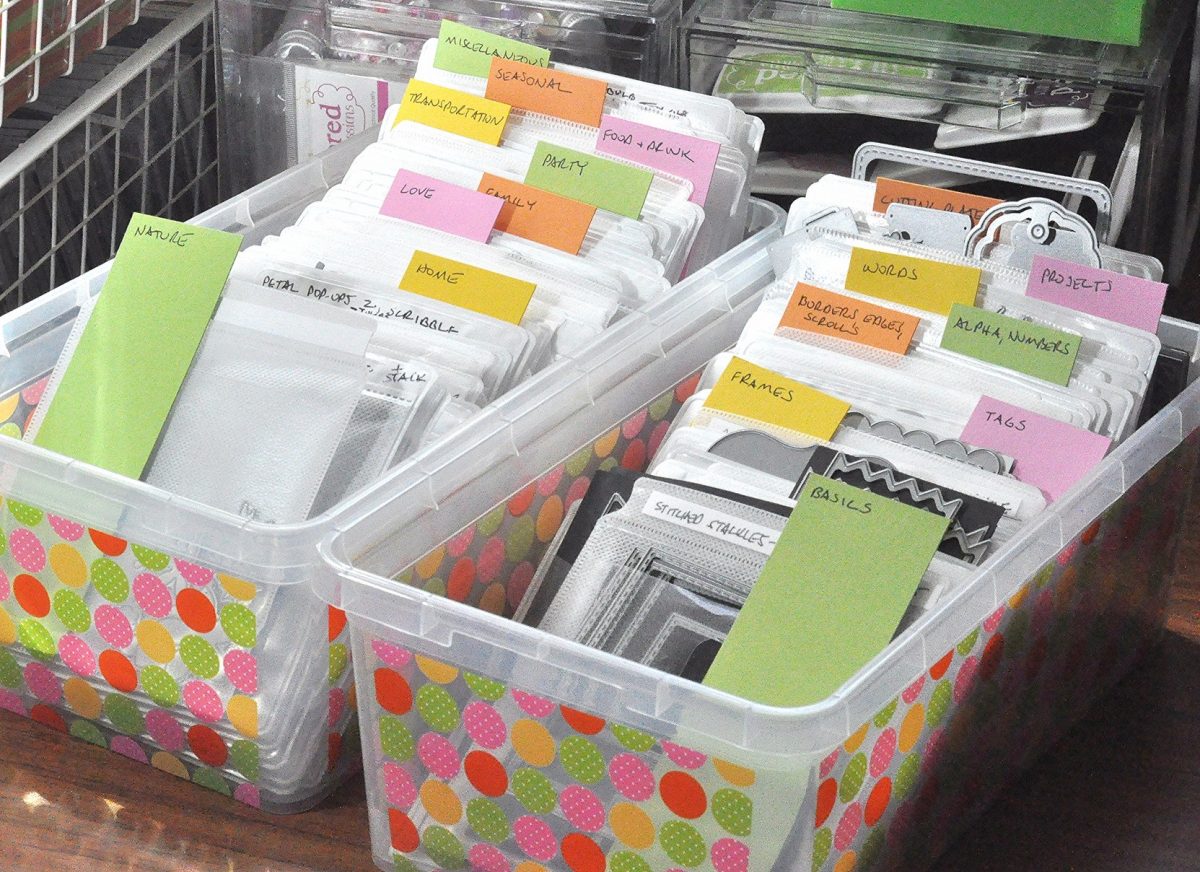
Before I finished up my Bloomin’ Birthday card, I also used FLICKR to track down the right die for my sentiment panel and the right cutting plate for my background.
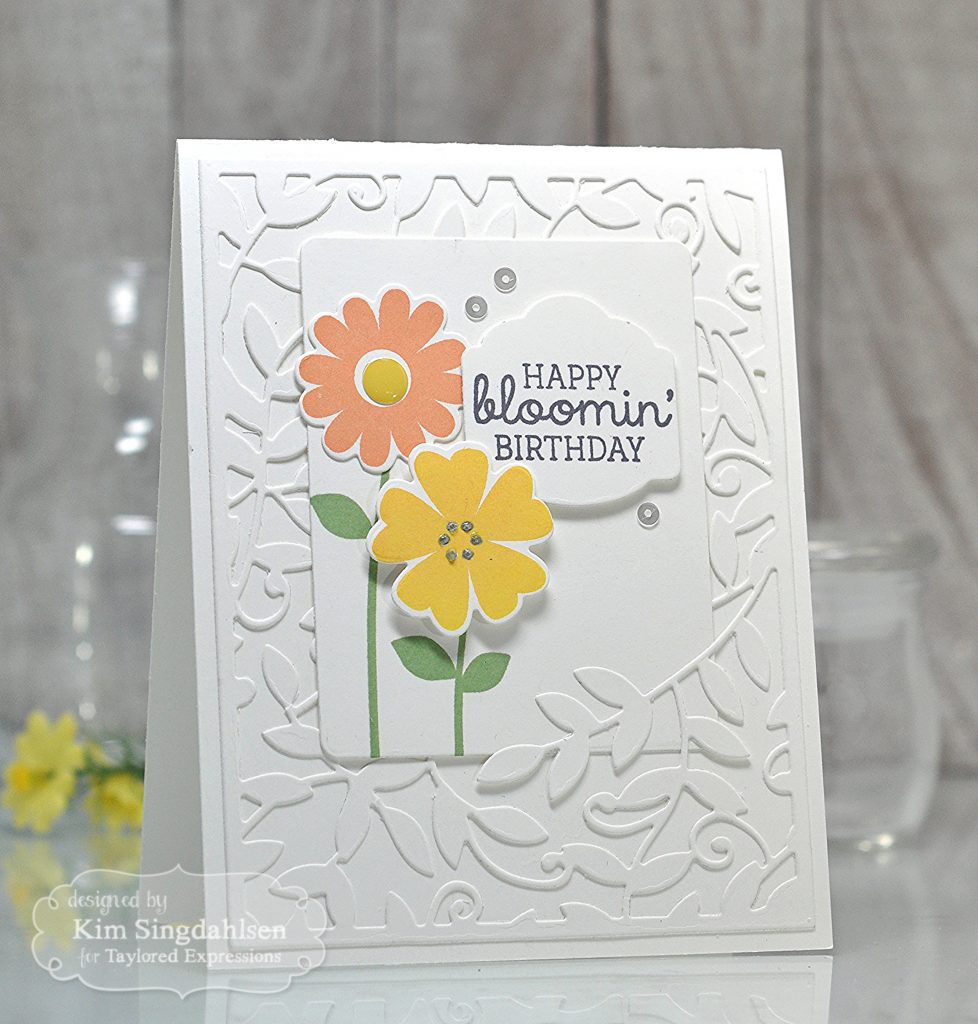
Here’s the final result! Despite my tiny space, I’ve managed to come up with solutions that help me find what I need quickly.
Thank you, Kim, for sharing your awesome tips with us today! Be sure to visit her blog, Joyful Creations with Kim. I for one am definitely going to be checking out how I can create my own digital catalog of my giant stash! How about you? If you have any crafty storage tips, we’d love to hear about them! Have a joyful day!


