Sep 21, 2017
Creative Cutting Plates Week: Embossed Beauty

A very happy Thursday to you, crafty friends! I hope you are enjoying my project share this week of creative things to do with your Cutting Plates because I know I am having a ball sharing them with you. Today, I’m sharing a project and super-simple technique from Creative Team alum and Stamp Joy instructor, Sankari Wegman. The technique Sankari used on her darling card makes use of an embossing pad — by using an embossing pad with a Cutting Plate, you will end up with a beautiful embossed “impressed” cut look, with the pieces not being fully cut from your cardstock and the whole piece staying intact for a sharper, more elegant look than a traditional embossing folder.
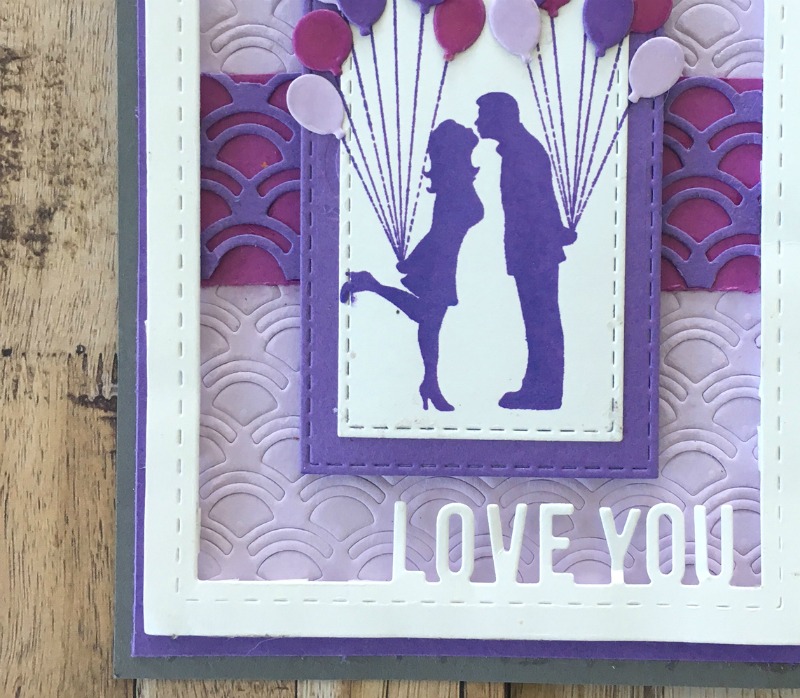
Do you love Sankari’s card? Here’s step by step instructions on how she created it! (And guess what? The Rainbow Scallop Cutting Plate she used is currently on sale!)
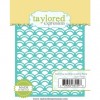
Step 1. Place the Rainbow Scallop Cutting Plate on Lavender Glaze Matched Cardstock to create the cutting plate and embossing pad sandwich to impress the design onto the Lavender Glaze Cardstock. Depending on your die-cutting machine, your sandwich may vary. Play around a little to see what works best for you. Sankari used: a Big Shot with the multipurpose platform open it to tab two, bottom cutting pad, dark brown embossing pad, cardstock, cutting plate (cutting side down), top cutting pad. This gives very smooth results.
Step 2. Adhere the Rainbow Scallop piece to the strip of Plum Punch cardstock and trim excess.
Step 3. Adhere this piece to the center of the impressed design on the Lavender Glaze Cardstock.
Step 4. Add foam tape around the outside of the Love You frame and adhere to the Lavender Glaze impressed design.
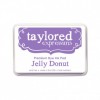
Step 5. Stamp the image from the Carried Away stamp set on the white stitched rectangle with Jelly Donut Premium Ink (Tip: it’s OK if some of the image hangs over the edge). Adhere this piece to the Jelly Donut stitched rectangle.
Step 6. Using liquid glue, adhere the balloons to the stamped strings. Add shimmer to the balloons with a glitter pen.
Step 7. Adhere the image panel with foam tape centered within the Love You frame.
Step 8. Adhere entire piece to Earl Grey card base.
BONUS PROJECT! — In today’s TE Newsletter, you’ll find another project using this technique! Click HERE to view and get step-by-step instructions! Here’s a sneaky peekie:


