Dec 19, 2017
Step It Up Tutorial: Birthday Blooms
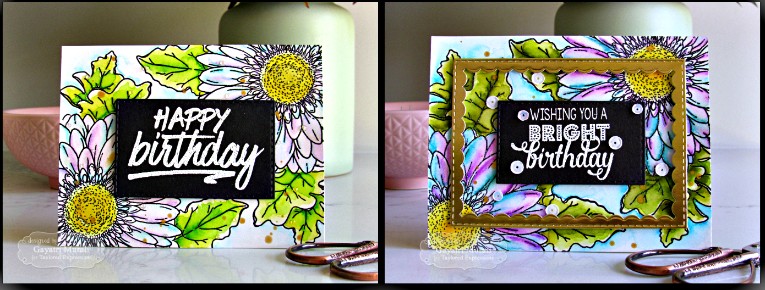
Hey there, crafty friends! I hope you had a lovely weekend filled with fun a creativity. This week, I thought I’d share a few awesome project from our equally awesome Creative Team that show how to step things up with your cards to take them to another level. I’m also going to share a few His/Her projects using the same products! So let’s get started with getting inspired to up your creative game with two gorgeous cards from Gayatri Murali.

Notes from Gayatri about her cards…
I don’t know about you, but after I have made a card, I realize I could have done more to it. Maybe added a die-cut or another embellishment or two or even added dimension or texture or depth to the background or focal point to jazz it up.
Today I’m going to share a tutorial using watercolour technique, die cuts and embellishments to show how to step things up from something simple to something wow. Let’s get started!
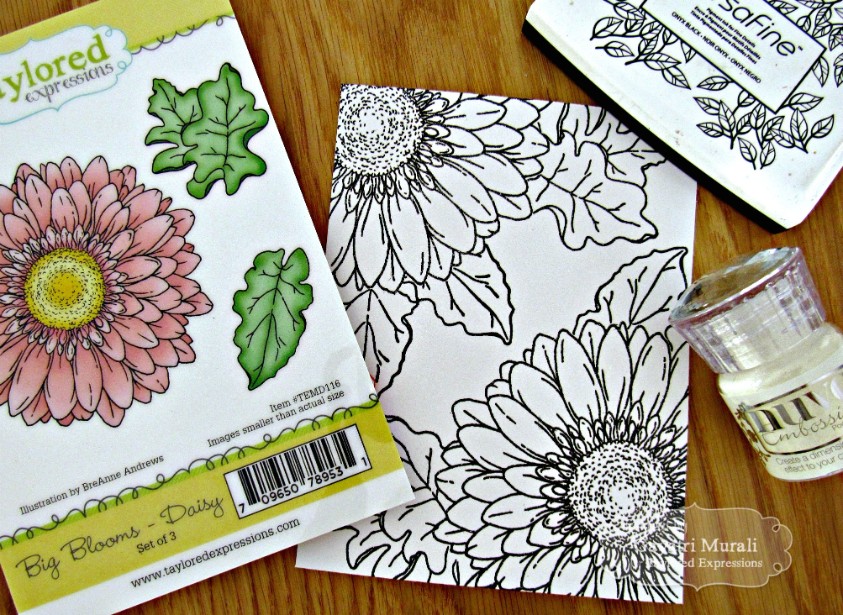
On my first card, I used simple watercoloring using Zig clean color brush pens. But for both, I started with stamping using the masking technique and black heat embossed the images on two watercolor panels. I’ll begin with showing you how I watercolored the Big Blooms – Daisy images for both:
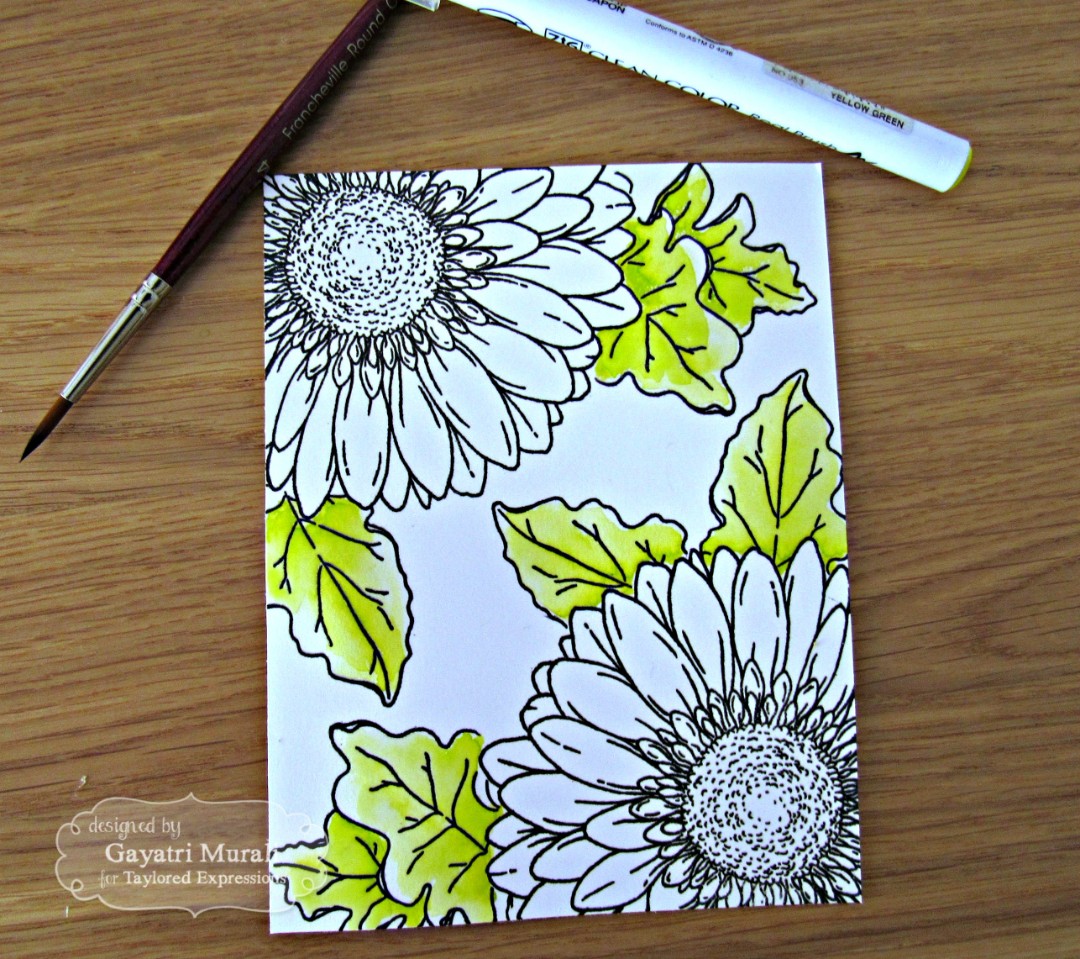
I watercolored the leaves using Yellow Green Zig Clean Colour Brush pens and diluted the colours using water and a brush.

Then the daisies are colored using Turquoise Green and Light Violet Zig Clean Colour Brush Pens, again diluted.
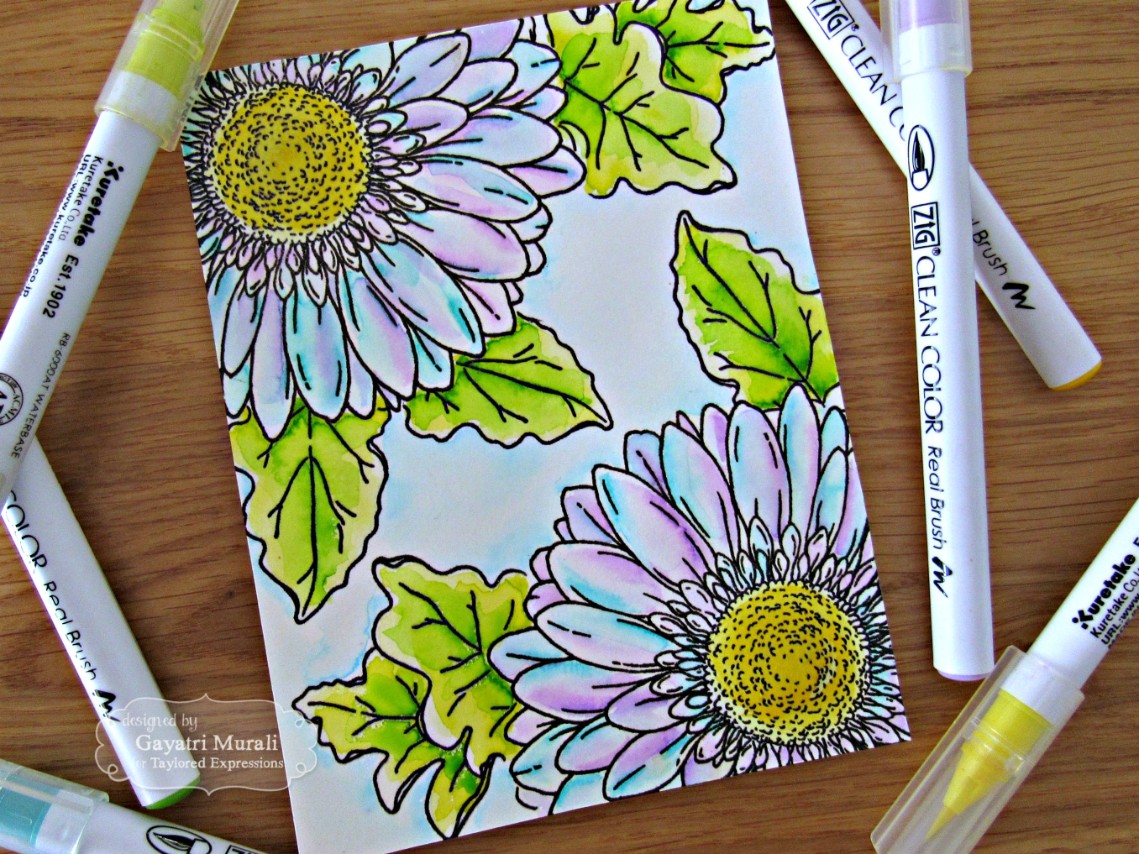
The background is coloured using Light Blue Zig Clean Colour Brush Pen and again diluted with water and brush. Similarly I used Lemon Yellow colour for the centre of the flowers.
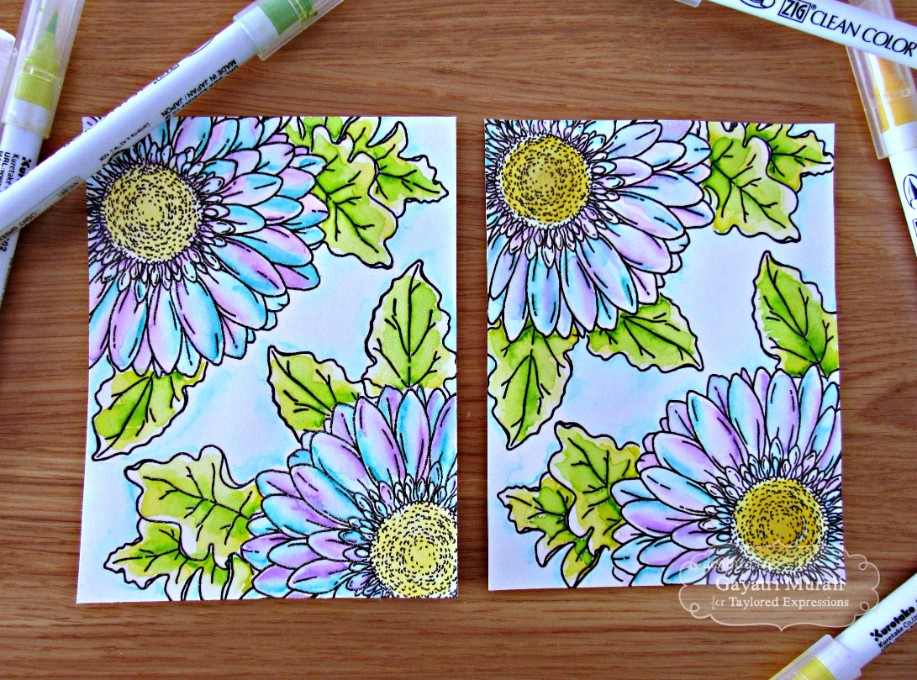
Here are the two panels side by side.
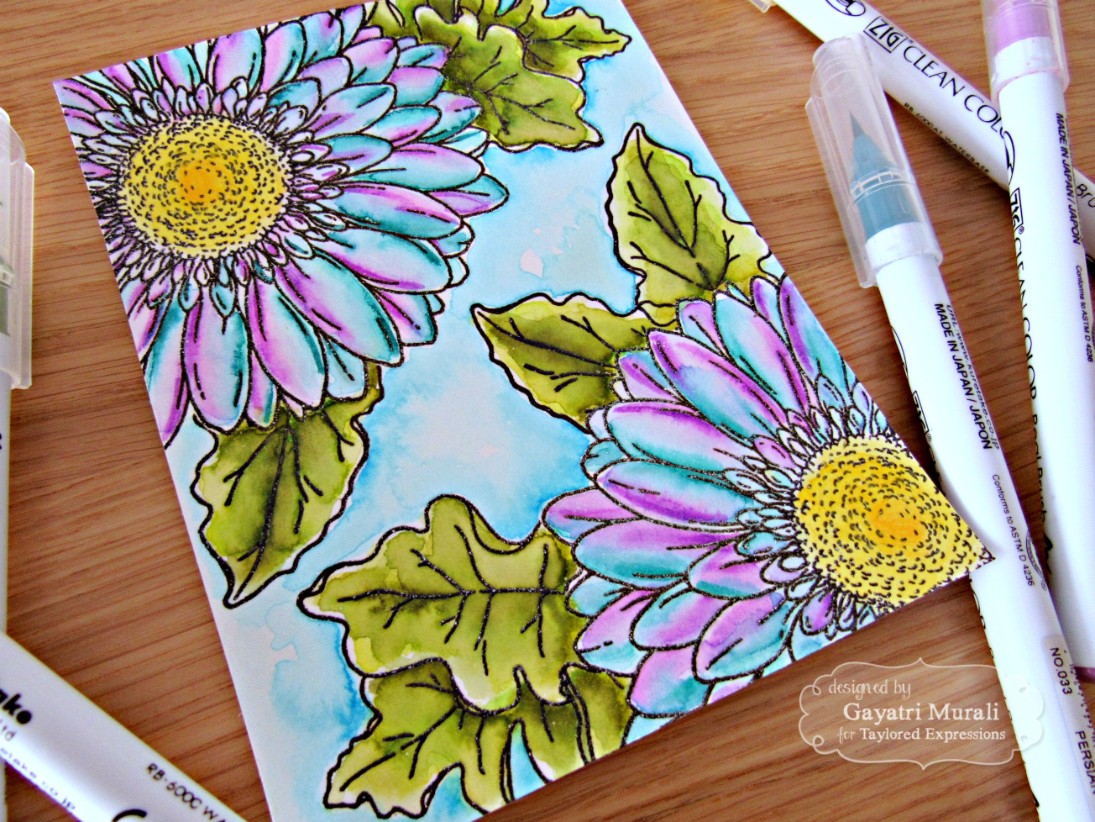
On my “stepped up” panel, I used darker shades of the same colors to add depth.. The colors I used are Olive Green for the leaves, Persian Green and Purple for the flower petals, Cobalt Blue for the background and Yellow for the flower centre.
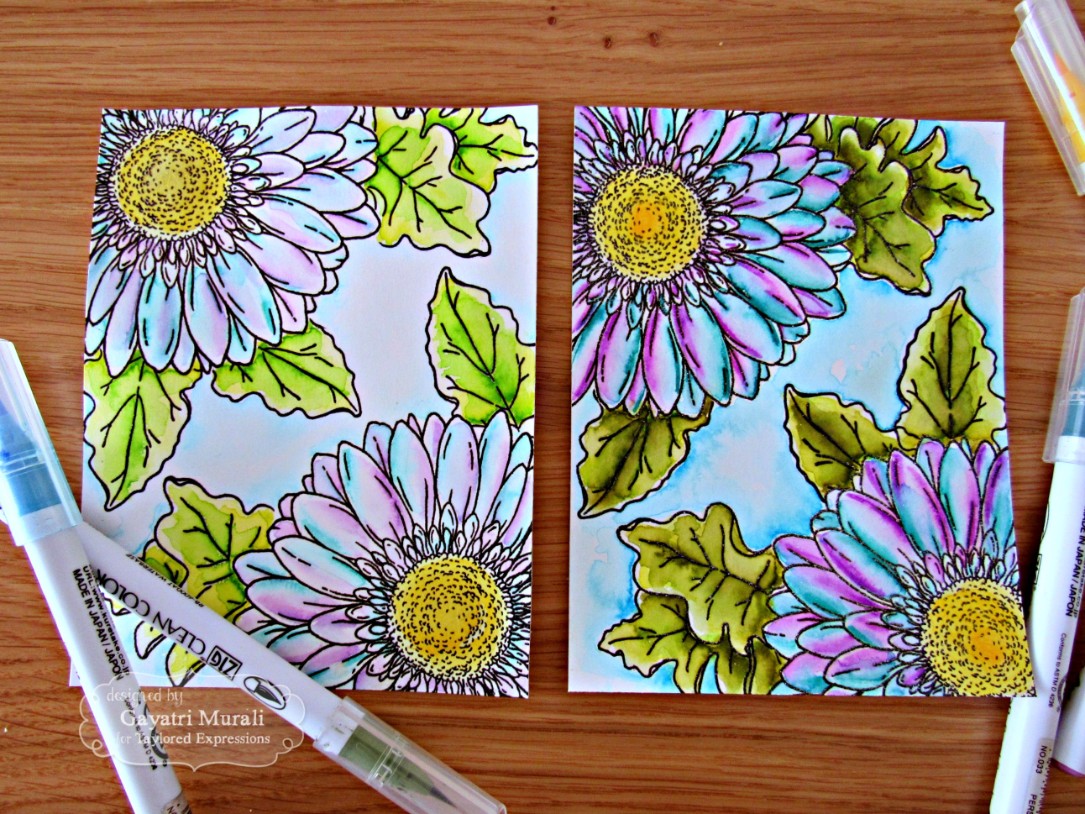
Here is photo of two panels side by side after adding shading and depth to one of them.
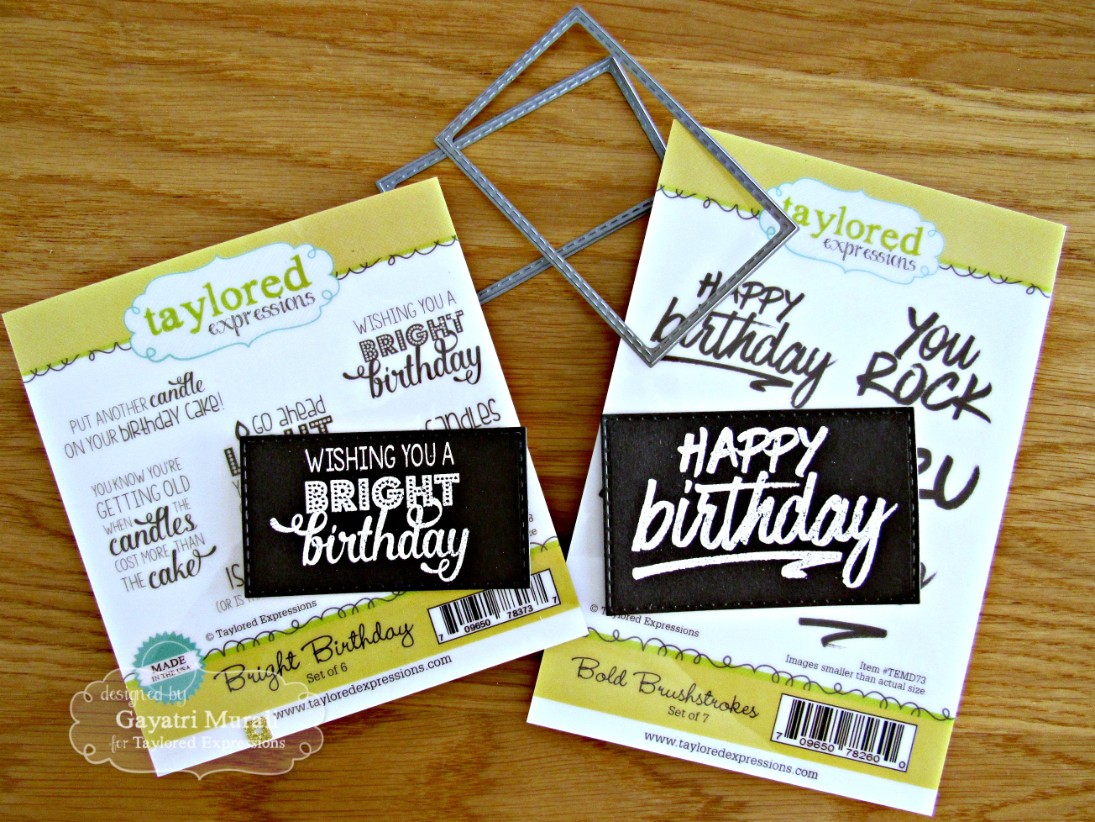
Then I white heat embossed two sentiments on Oreo cardstock and die-cut them using a die from Stitched Rectangle Stacklets.
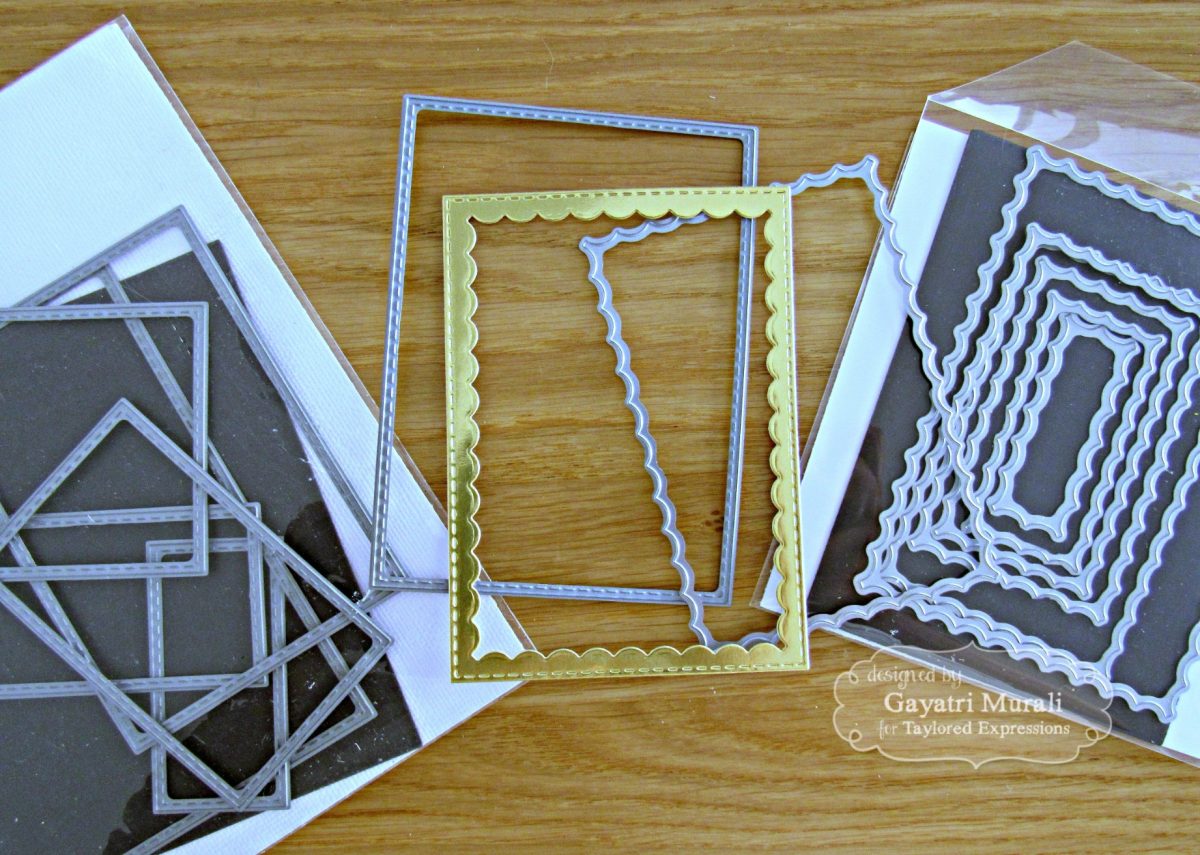
Then I die cut a gold frame using Inside Scallop Rectangle Stacklets and Stitched Rectangle Stacklets.
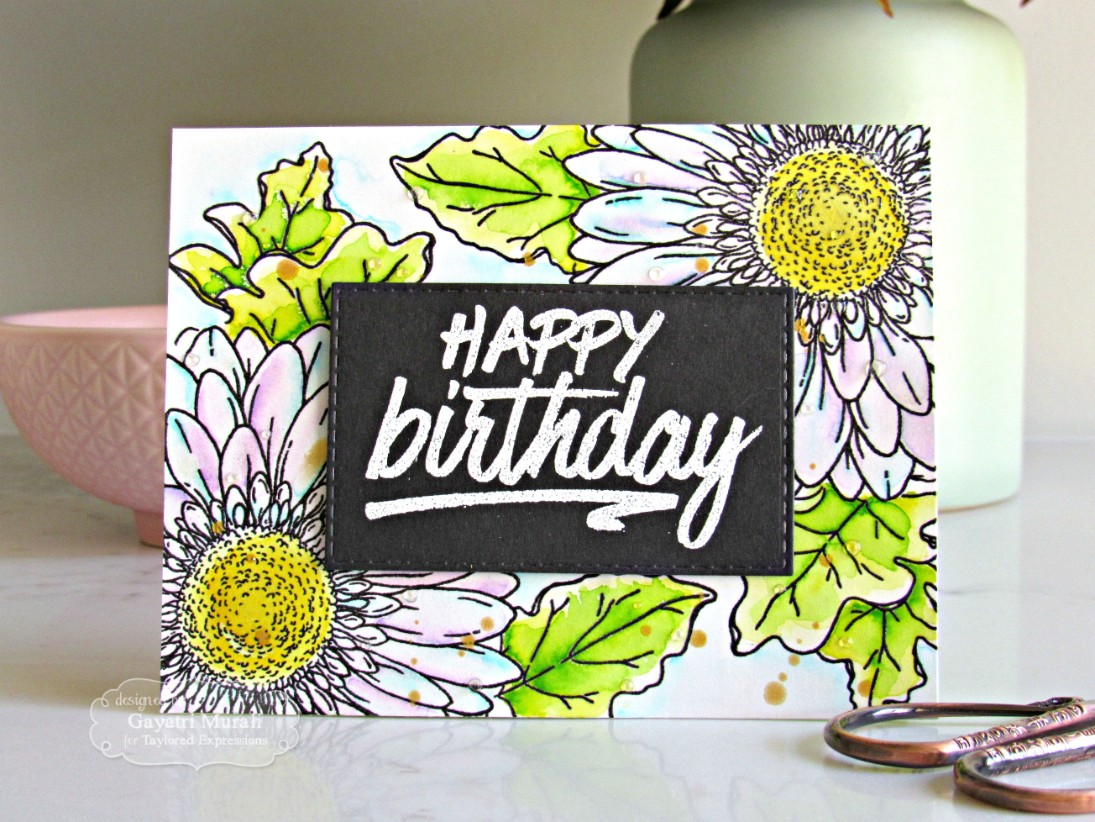
To assemble the first card, I adhered the first watercolour panel to a Granny Smith card base in landscape orientation, spattered some gold watercolor from Gansai Tambi Starry Nights palette and adhered one of the sentiment panels in the middle using foam adhesive. I also added some glossy accents droplets randomly to the card base.
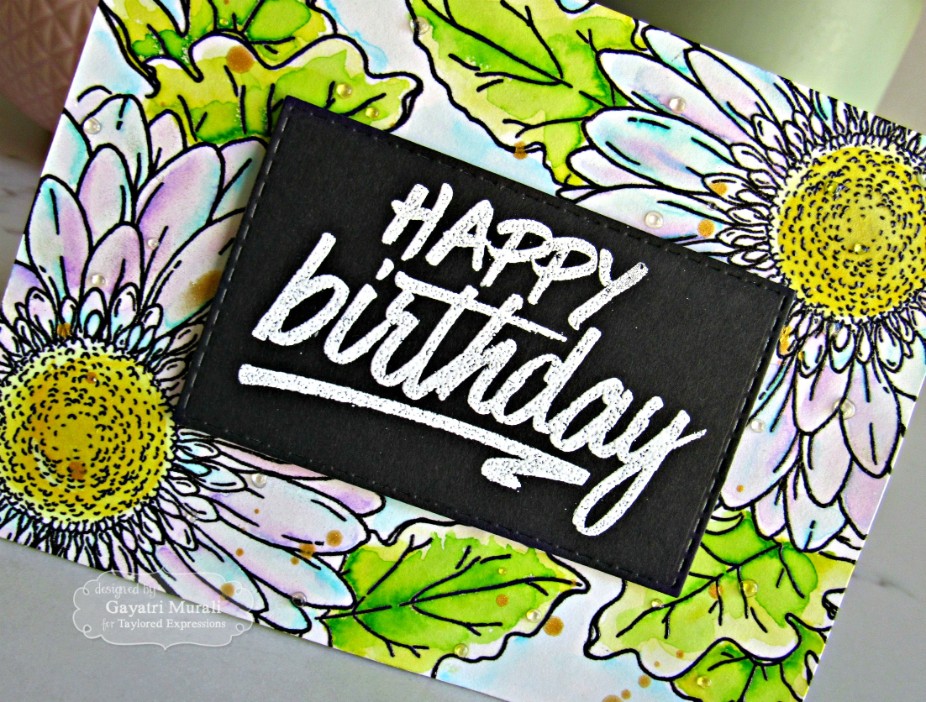
Here is a closeup of the card.
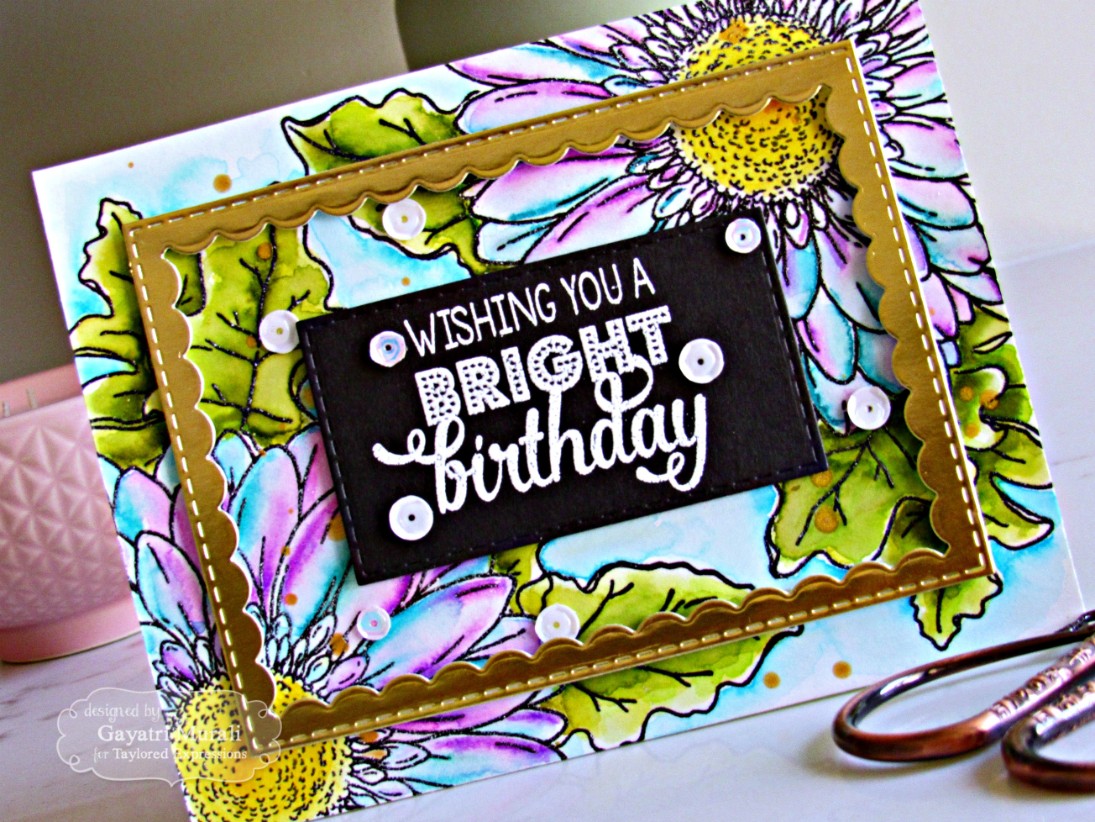
For the Step It Up card, I spattered the shaded watercolored panel with gold watercolour, adhered it to the Granny Smith card base in landscape orientation, adhered the gold inside scallop frame using foam adhesive for added dimension.The smaller sentiment panel was adhered in the center of the frame, again using foam adhesive and embellished with sequins from Snow Flurries.
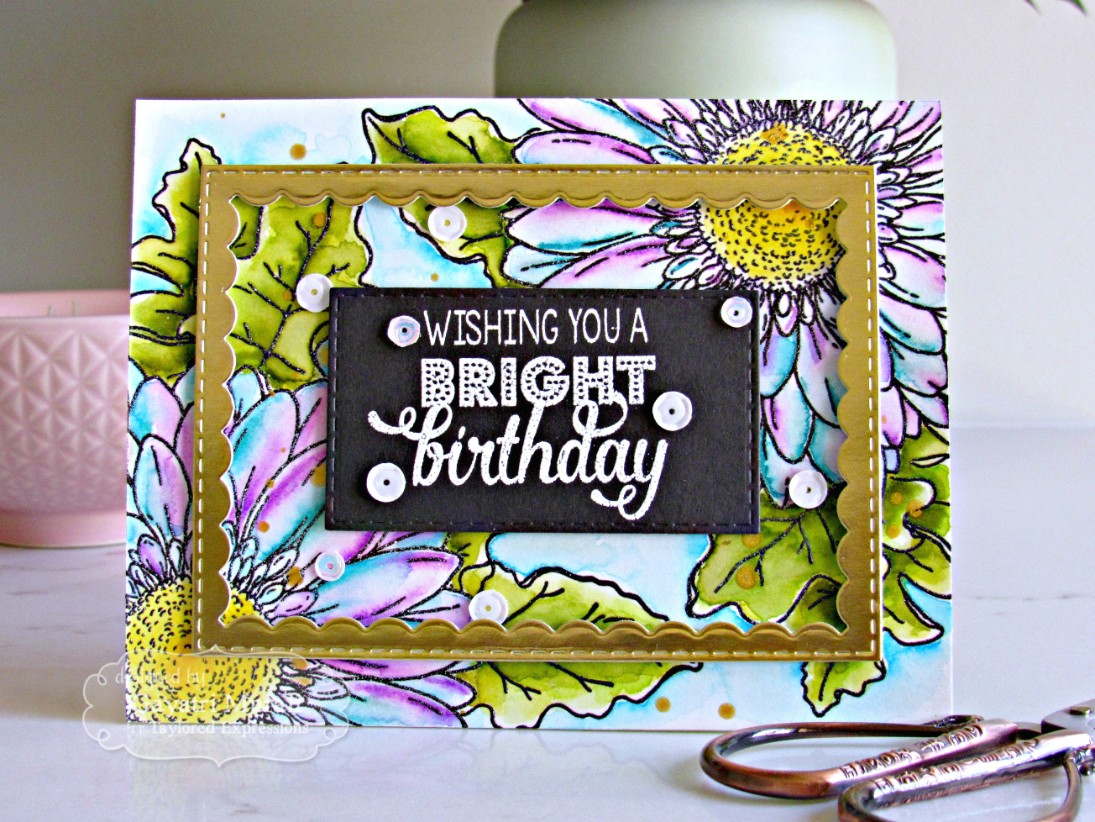
Here is a closeup of the card. As you can see, with just a little more care in coloring, a gold frame, and some sequins, I had a much more ‘elaborate’ card!
Hope you enjoyed the tutorial and give it a try. Add your own twist to a card you have already made and step it up. Enjoy crafting!
Thank you so much, Gayatri, for this delightful tutorial! Come back tomorrow for a His/Hers pair of cars from Jean Manis that’ll have you sailing the high seas. Have a joyful day!


