May 24, 2018
Make This Project: Foil It Wedding Card
 Good morning, crafty friends! Today I have step-by-step instructions and tips and tricks for creating the stunning wedding card you see below designed by Noriko Fairchild. Her card features two trendy foiling techniques and let me tell you – Noriko has the best tips and tricks so you’ll definitely learn something new!
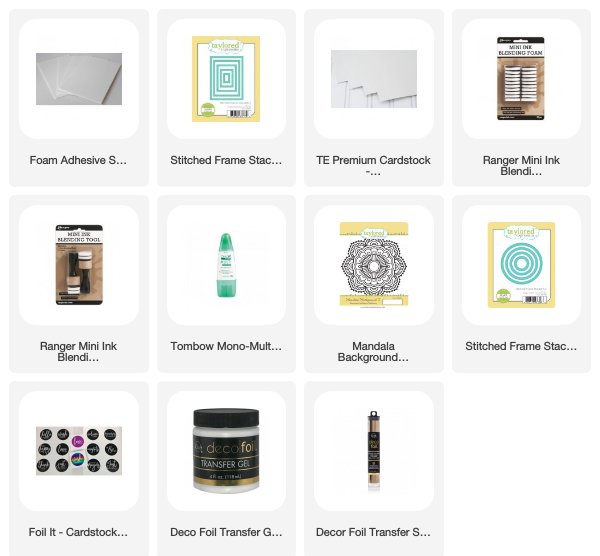
Before I get into the details of this project, I want to make sure you know about our Make this Project category. It’s filled with curated collections of products put together specifically to make the projects pictured in each thumbnail. There’s an easy ‘add to cart’ feature to purchase only the products you need from the collection and then our super speedy shipping team will have your package off to you within 24 hours or less!
Plus, we’re also launching a sale with today’s Make This Project. Just add $30 or more from our Wedding/Anniversary collection of stamps & dies and our Mr. & Mrs./Congrats banner dies will be automatically added to your cart FREE! With wedding season upon us, this is the perfect opportunity to refresh your stash of wedding stamps and dies!
And now, I’m going to turn it over to Noriko to explain her gorgeous card:

Start by cutting an A2 size (4¼ by 5½ inch), top-folding card base out of TE Shimmer White Cardstock. Also, cut a card panel ¼ inch smaller (4″ by 5¼”) which you will use to foil the mandala image on.
Using Stitched Frame Stacklets 1 and Stitched Frame Stacklets 2, die-cut each frame three times using the largest die in of the two sets. Die-cutting the frames multiple times adds depth and dimension to your projects. You could skip this step and only die-cut each frame once and use foam adhesive to pop up your frames, however, die cutting the frames multiple times creates a crisp, clean-cut edge on all side of the card.
- If you chose to layer the die-cuts, adhere the layers together and set aside.
- If you chose to use foam adhesive, place the foam adhesive to the back of the die-cuts and set aside.

And now it’s time to foil! I would suggest planning your foiling based on dry and heat time.
- Start by turning on your heating element to ensure it’s nice and hot before foiling (I used the Heidi Swapp Minc). If your heating element is not hot enough, the foil will not stick to your images well.
- Gather a container with warm, soapy water to clean supplies at the end.
- Place a dollop of Deco Foil Transfer Gel onto a non-stick surface (something you can clean easily or plan to throw away – I recommend one of the plain stamp storage panels as you can easily wipe them clean.)
- The deco foil transfer gel will be your new “ink”. You will apply the transfer gel to the stamp by gently pouncing a blending sponge onto the stamp. Your blending sponge should have a good amount of transfer gel in it. Be careful not to add too much transfer gel to the stamp as it may get into the little crevices of the stamp image causing distortion of your final foiled image.
- Once the stamp is completely coated, stamp the image onto the smaller panel you cut previously from shimmer cardstock. Stamp quickly and with even pressure. The paper will stick to the stamp. You’ll need to peel it away carefully and set aside to dry.
- Soak stamp and clean supplies right away in warm, soapy water.
At this point, your heating element should be nice and hot. Cut a piece of foil (I used Rose Gold) to the appropriate size to cover the circular Mr. & Mrs. sentiment. Send the piece through your Minc or laminator and remove the foil sheet to reveal the beautiful sentiment! Once the transfer gel has completely dried on the stamped mandala image (about 20 minutes), cut a piece of foil to cover the design and send it through your Minc or laminator.
Once the foiled images are complete, you can assemble the card!

Click the image below to find the Make this Project at the TE webstore and download your own printable version of Noriko’s project and instructions!


