
Jul 01, 2025
Heat Embossing with Melody Rupple!
Hi Crafty Friend! Taylor here, and this week we’re saying a heartfelt goodbye to some longtime favorites during our Retirement Sale. It’s always bittersweet to see them go, but that just means we’re clearing space for even more crafty fun on the horizon!

Today, I’m also sharing a tutorial from our talented Creative Team member Melody Rupple, and I’ll be going live at 10 AM CT to create a crafty project using some of our retiring products! Click below to shop the sale, scroll down to check out Melody’s tutorial, and be sure to join me live at 10 AM CT for some crafty fun!

Instructions
1. Cut the card base
- Cut the card base from Bleu Cheese cardstock and score.
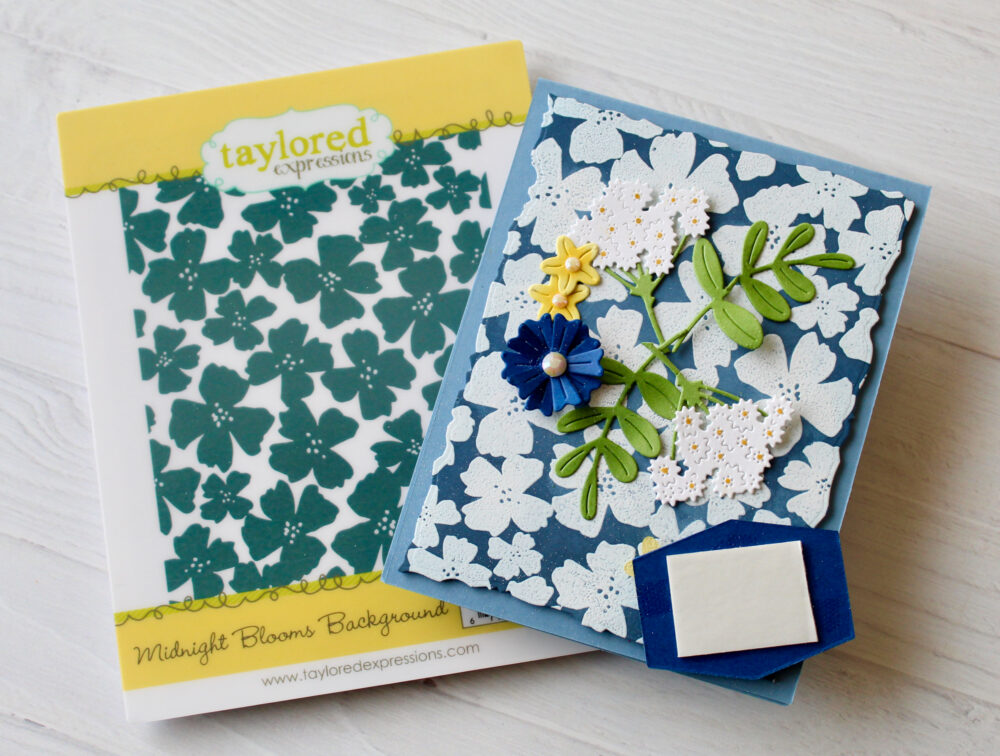
2. Stamp and emboss the background
- Apply the TE Anti-Static Powder Tool to a piece of Bleu Cheese cardstock.
- Place the cardstock in a MISTI and stamp the Midnight Blooms Background Stamp using VersaMark Watermark ink.
- Sprinkle white embossing powder over the stamped image.
- Tap off the excess and heat set with a heat tool until the powder melts and the image becomes shiny.

3. Die cut the embossed panel
- Use the largest die in the Frayed Edge Stacklets to die cut the embossed panel.
4. Blend ink on the edges
- Use a blender brush to blend Bleu Cheese ink around the edges of the die-cut panel for added depth.
- Then blend Blueberry ink into the corners for even more depth.
- Use a soft cloth to gently wipe away any extra ink sitting on top of the embossed flowers.

5. Stamp and emboss the sentiment
- Use the TE Anti-Static Powder Tool on a small piece of Blueberry cardstock.
- Stamp the “Hello Friend” sentiment from the Signature Sentiments Stamp Set using VersaMark Watermark ink.
- Sprinkle white embossing powder to cover the ink, tap off the excess, and heat set.
- Die cut the sentiment using the coordinating Signature Sentiments die.
6. Add dimension to the sentiment
- Die cut Blueberry cardstock with the sentiment die two more times so you end up with three pieces of cut cardstock.
- Glue all three layers together to create dimension, (or use foam tape instead for a raised look).
7. Create the sentiment label
- Die cut a label from Sugar Cube cardstock using the Modern Sentiment Labels Die Set.
- Die cut a backer from Blueberry cardstock using the Modern Sentiment Labels Backer Die Set.
- Glue the cut Sugar Cube piece to the Blueberry Backer and then glue the layered sentiment to the center of the label.
8. Die cut the flowers and greenery
- Use the Garden Variety 2 Die Set to cut:
- Flowers from Sugar Cube, Potato Chip, and Blueberry cardstock.
- Greenery from Peapod cardstock.
- Use Lemon Meringue ink to blend the centers of the Potato Chip flowers.
- Blend Peapod ink onto the leaves for added depth.
- Use a yellow gel pen to add flower centers to the small white Sugar Cube flowers.
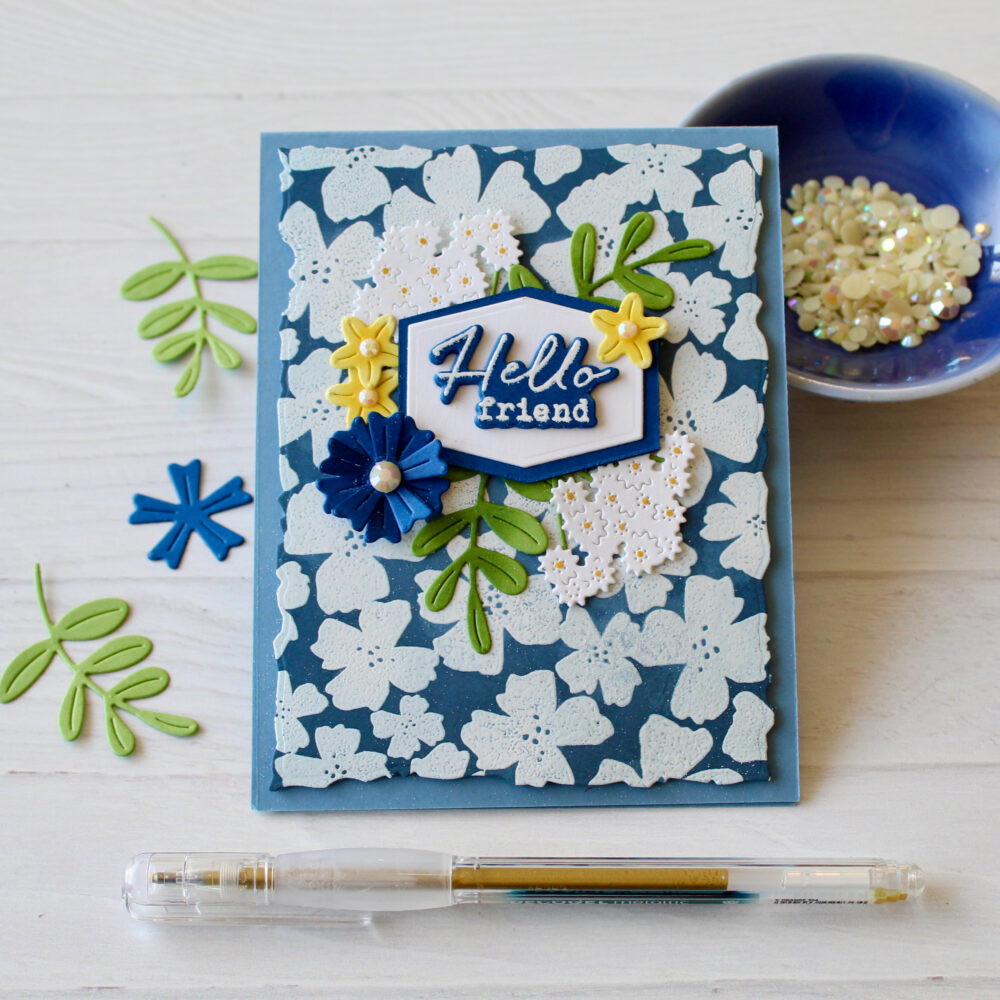
9. Assemble the card
- Arrange the die-cut flowers and leaves in the center of the card front, leaving space for the sentiment and save one yellow flower.
- Glue the floral pieces in place when you’re happy with the layout.
- Use a foam dot to attach the Blueberry flower for extra dimension.
- Add the layered sentiment label to the card front and then place the last yellow flower onto the top right corner of the sentiment (as pictured).
- Add white rhinestones to the center of the flowers.
For more projects from Melody Rupple, visit her blog here!
Supplies Used:

Join me for “T Time” at 10AM Central on the Taylored Expressions YouTube Channel! I’ll be sharing tips for a simple layout design using the All Planned Out die and give one of our retiring colors a final sendoff. We hope to see you there – come join in the fun! (Don’t worry, if you miss the live you can always watch the replay afterward!)
Thanks for stopping by! Stop back again on Thursday for another crafty tutorial!

