Jun 20, 2018
Die Cutting for Days: Tools, Tips, & Tricks
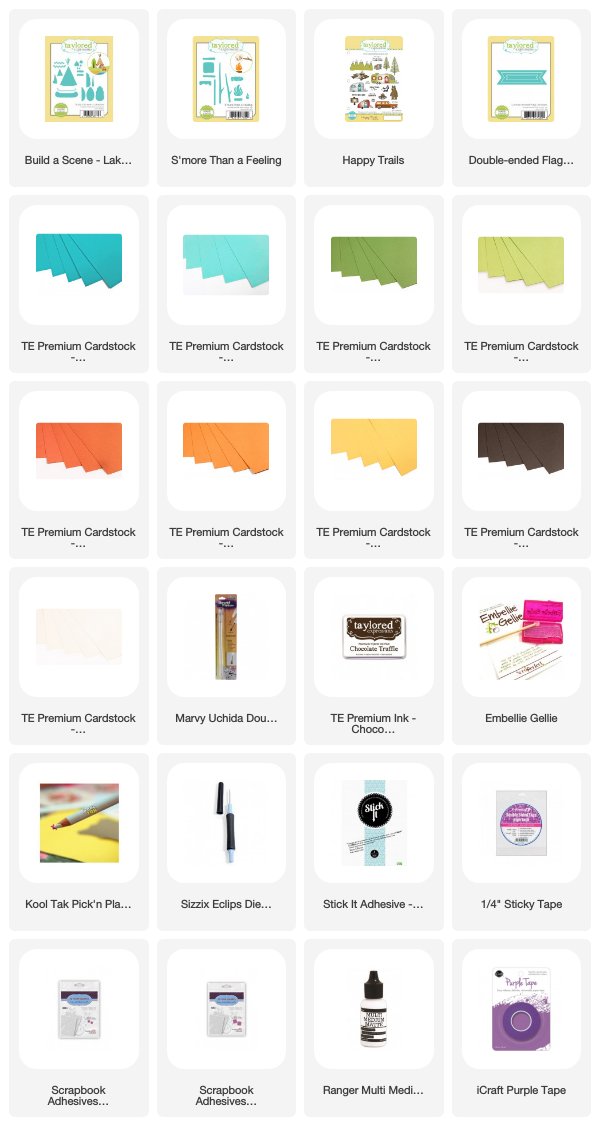
Good morning, crafty friends! I hope your week is off to a great start! Wait… I guess it’s Wednesday so half the week has already passed me by! Today I’m popping in to share a project along with tools, tips, and tricks from our resident die cutting expert, Creative Team member Jean Manis. If you’ve become familiar with Jean’s signature style over the years, then you know how much she loves to piece die cut scenes together. She happens to be very good at it so I thought I’d ask her to share some tips, tricks, and special tools she uses to create her die cut masterpieces. Today, she’s taking us through the construction of an outdoor-themed, die-cut scene showcasing Build a Scene–Lakeside and S’more Than a Feeling die sets.
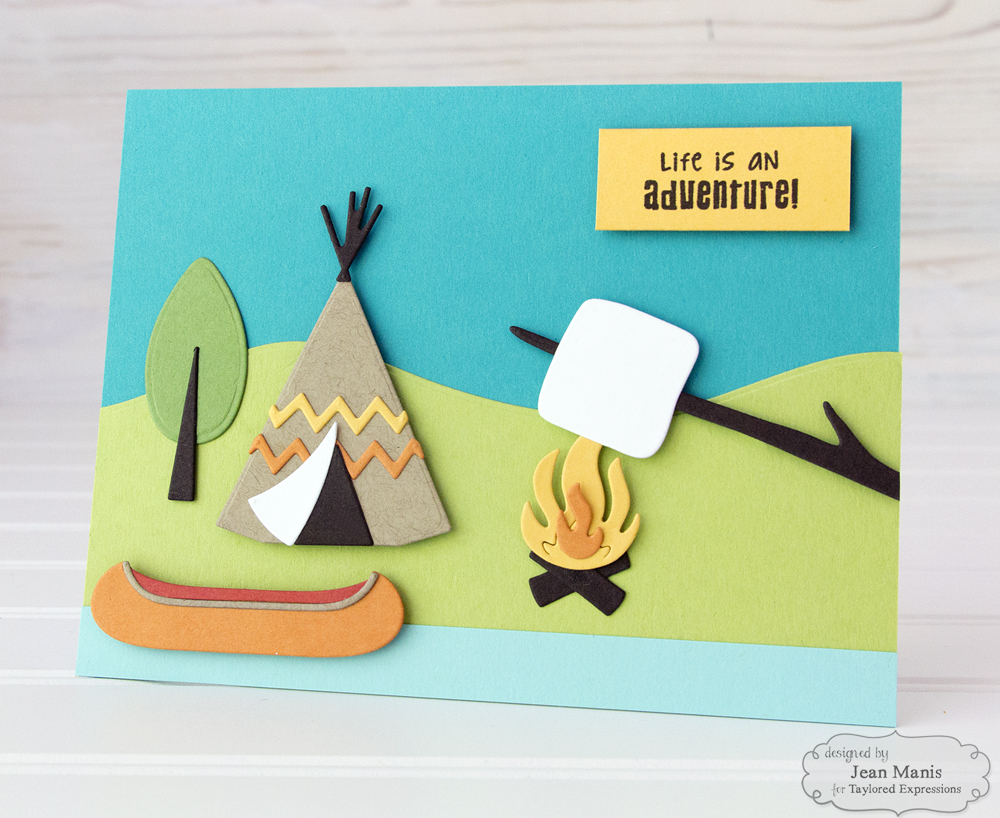
First, I wanted Jean to review the tools she uses to place small die-cuts and help us understand which adhesive she uses depending on the application. So let’s start there…
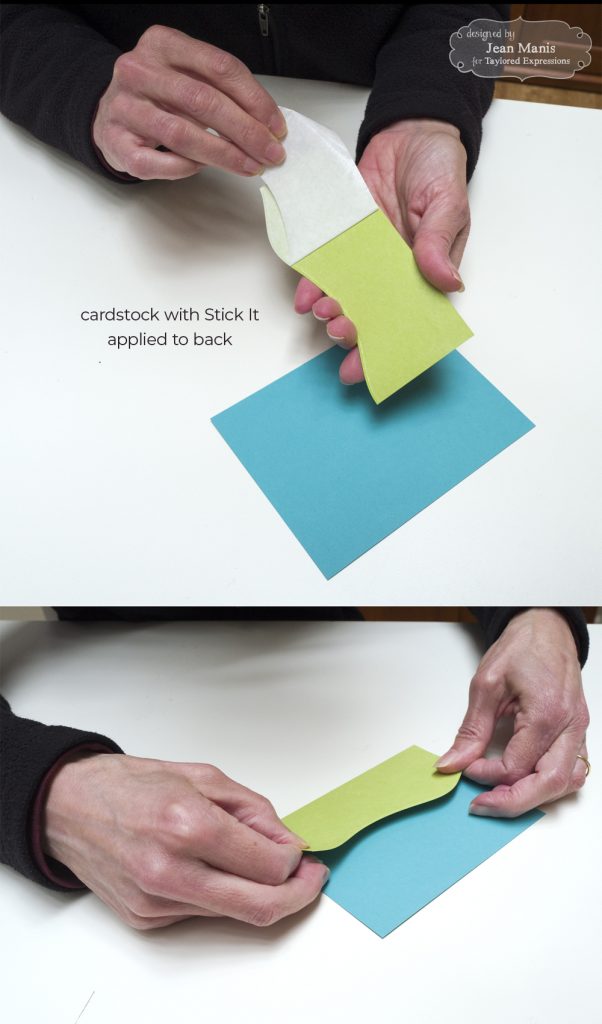
Jean used Stick It Adhesive for the largest areas on her card: the ½” strip on the bottom of the scene and the hill in the background. She trimmed the Stick It sheet to the size needed, adhered it to the cardstock, and cut the cardstock as desired.
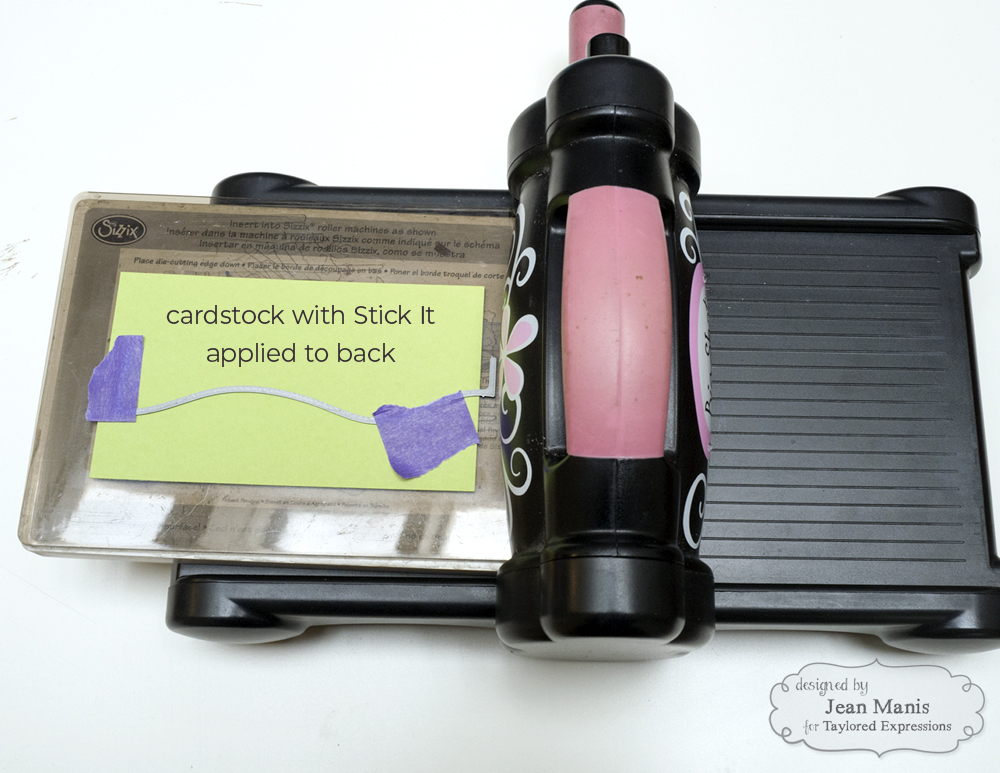
The Stick It securely attaches the cardstock to the card base and ensures there are no gaps along the bottom or the edges.
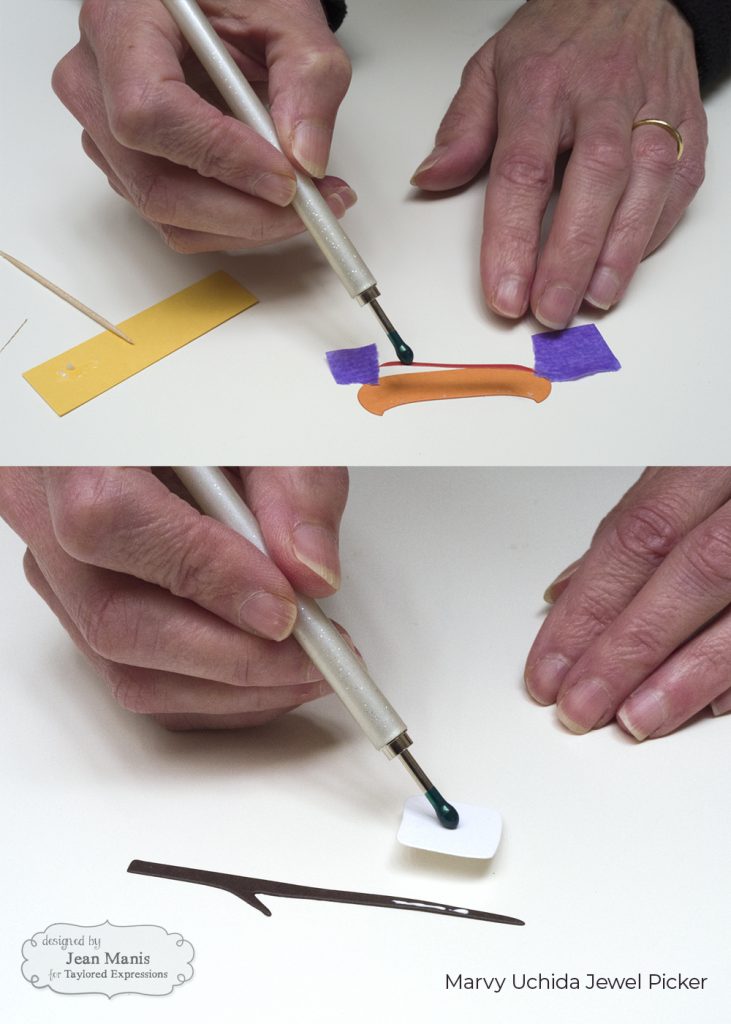
For adhering smaller die-cut pieces, Jean favors the Ranger Multi Medium Matte. For particularly small areas, she picks up a small amount of the liquid adhesive with a toothpick. Jean suggests using small pieces of the iCraft Purple Tape to hold the canoe to your work surface while adding the liquid adhesive. Tip: to avoid sticky fingers, lift the die-cut piece with the large tip of the Marvy Uchida Double-Ended Jewel Picker. The Jewel Picker includes a small tip and a large tip. It’s important to note that the Jewel Picker can lose adhesive by catching dust and oils so you want to avoid touching it with your fingers and always keep the cap on when not in use. If your Jewel Picker has lost its tackiness, you can try rolling the tips on adhesive tape to pick up the dust and oils so that adhesion will be regained.
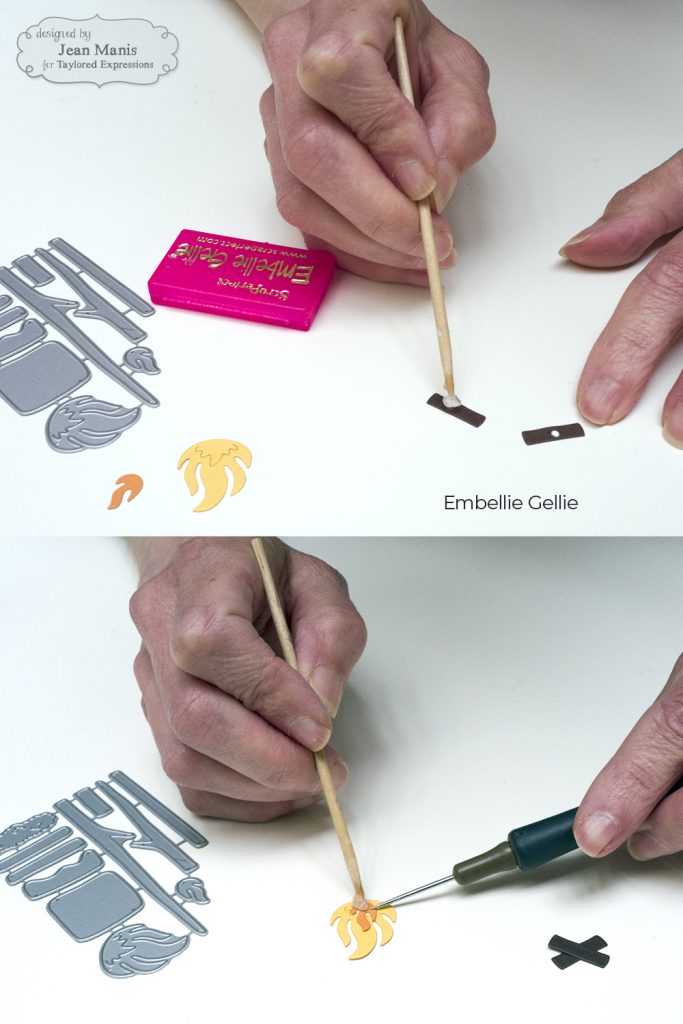
Embellie Gellie is another tool that is used similarly for lifting small die-cuts (also rhinestones, sequins, etc.) to place them in position. The product includes a wooden wand and container of Embellie Gellie. Apply a pearl-sized ball of the Embellie Gellie onto the wand. Simply use fresh Embellie Gellie when it loses its stickiness. Jean used the tool to place the smaller flame, cut with the S’more Than a Feeling die set, on to the larger flame.
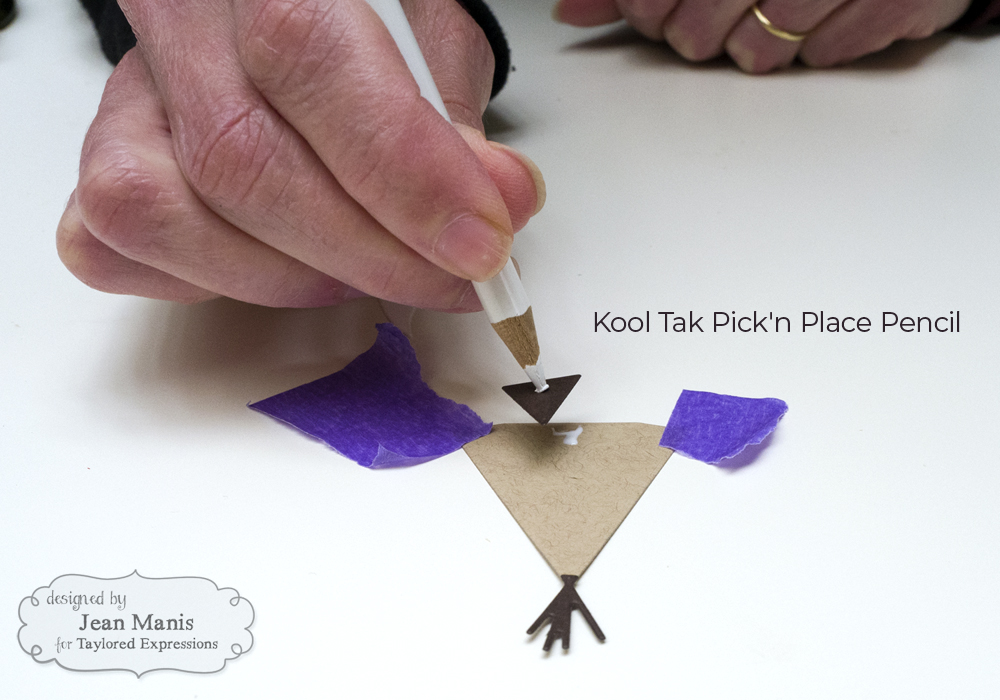
The Kool Tak Pick’n Place Pencil offers one more option for placing small die-cut pieces. The pencil can be sharpened when it loses its stickiness. You can see Jean using the tool to pick up and place a piece for the teepee.
With so many pick and place tools on the market it’s hard to know which one to purchase! You can’t go wrong with any of these choices (and we carry them all in the TE webstore), but my personal favorite is the Embellie Gellie. I’ve been using it and recommending it for years and here’s why:
— Best Value: the little container of gellie will last forever! I only trade out my pearl-sized nib of Embellie Gellie once every 6 months or so. I leave it open to the air and it doesn’t dry out or lose its tackiness.
— Best Release: let your glue get a little tacky before you attempt to stick your die cut piece or embellishment down. As long as the glue is just slightly tacky, the Embellie Gellie will release the embellishment onto the adhesive without having to hold your die cut in place to keep it from lifting.
It’s important to decide ahead of time which items will be adhered with foam adhesive and which will be adhered directly to the background. She often uses Sticky Tape, which is available in 1/8″, 1/4″ and 1/2″ to adhere parts of her scene to the card base (shown here with 1/4″ Sticky Tape on the small tree). This tape is easy to tear with your fingers and the varying widths allow you to use it on both small and large pieces.
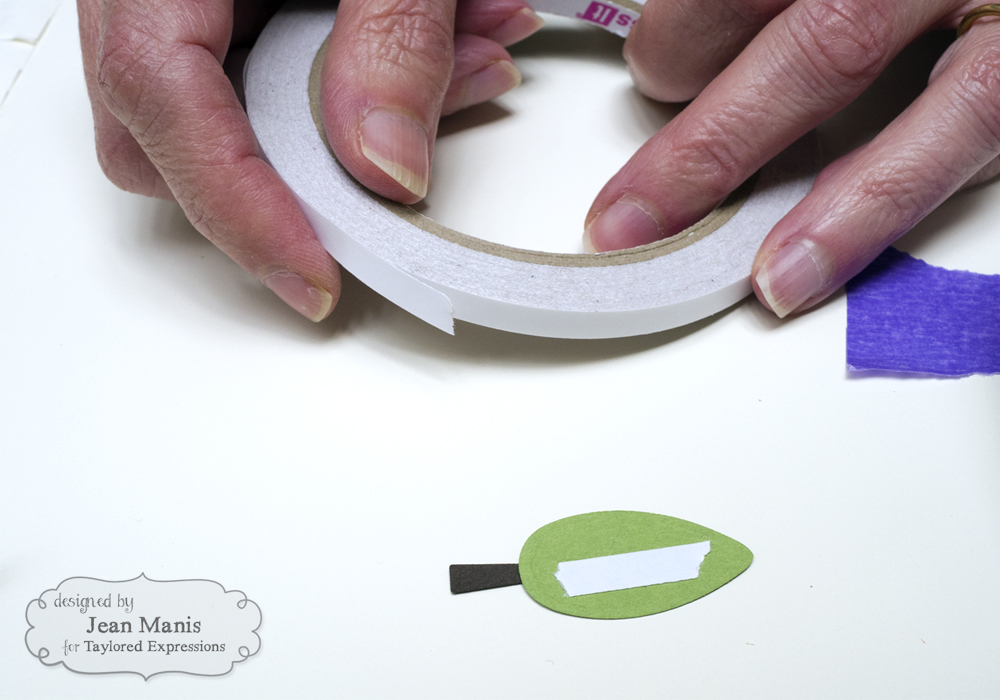
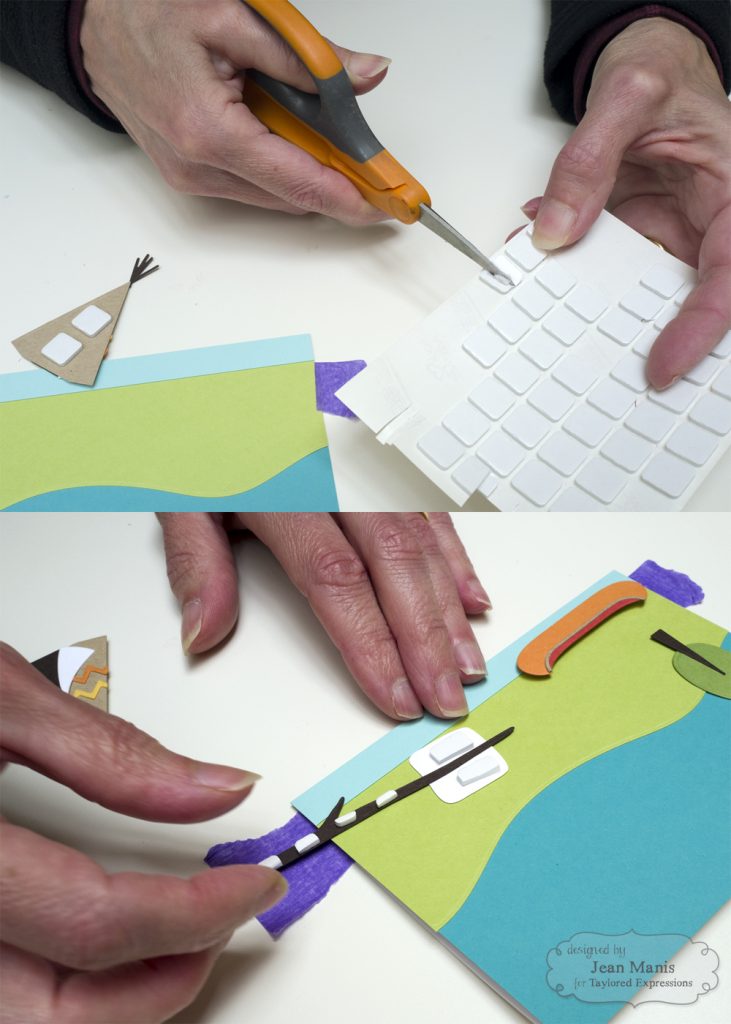
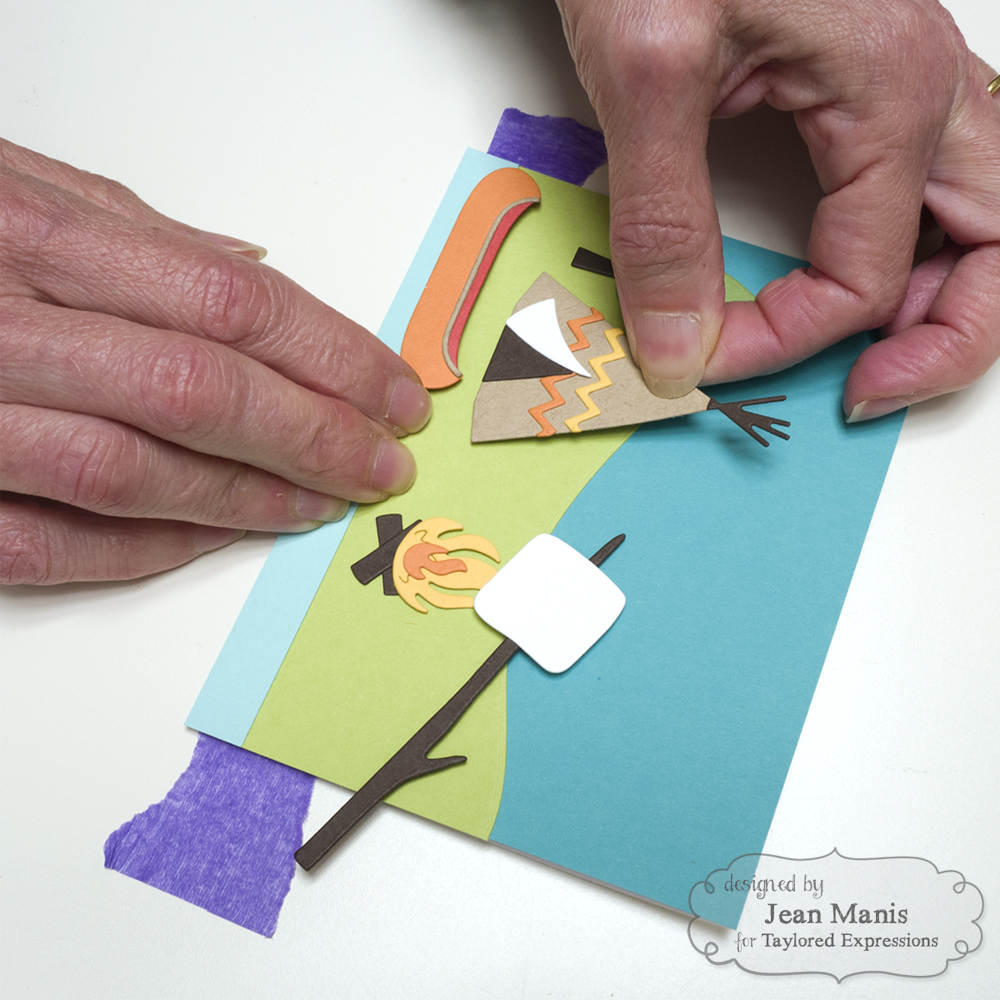
Jean uses regular and small-sized foam adhesive squares on the teepee, canoe, marshmallow/stick, and the sentiment. Tip: trim the squares into smaller pieces as needed before adding them to the die-cuts. Our large foam tape rolls also offer flexibility in that you’re able to cut them to your desired length and width.
I hope you’ve enjoyed this tour of adhesives and tools that can be used to create a die-cut scene and picked up a few tips and tricks from Jean’s craft room! Just in case this card is making you hungry for s’mores, I thought I’d share these fun s’more recipes for your summer roasting pleasure! Can anyone say Salted Caramel Bacon S’mores!? Yes, please! Find 12 creative s’mores recipes HERE!


