Apr 03, 2019
April Sneak Peeks Day 3
First comes love, then comes marriage, then comes the baby in the baby carriage. Remember that rhyme from your childhood?! Today I have new products to share that are based around the themes of wedding, anniversary, and baby so this rhyme has been running through my head as I try to figure out how to tie these themes together! So there you have it… my attempt at tying it all together! *grin* Before you scroll to see the new products and sneak peek projects, here’s a
- This release includes over 40 new products including stamps, dies, stencils, and a new {Frame-worthy} design. Everything will be available at the TE webstore on Thursday, April 4th at 9am CST.
- Each day will feature a new how-to tip, technique, or process video from me.
- Get a chance to win it before you can buy it by commenting with your answer to my Question of the Day (located at the bottom of each sneak peek blog post)
- Last, but certainly not least – don’t miss this month’s special offer that includes a FREE Sending Smiles Bundle (details below).
You won’t want to miss this month’s special offer that includes a FREE Sending Smiles Bundle when your purchase totals $40 or more before tax and shipping (details below):
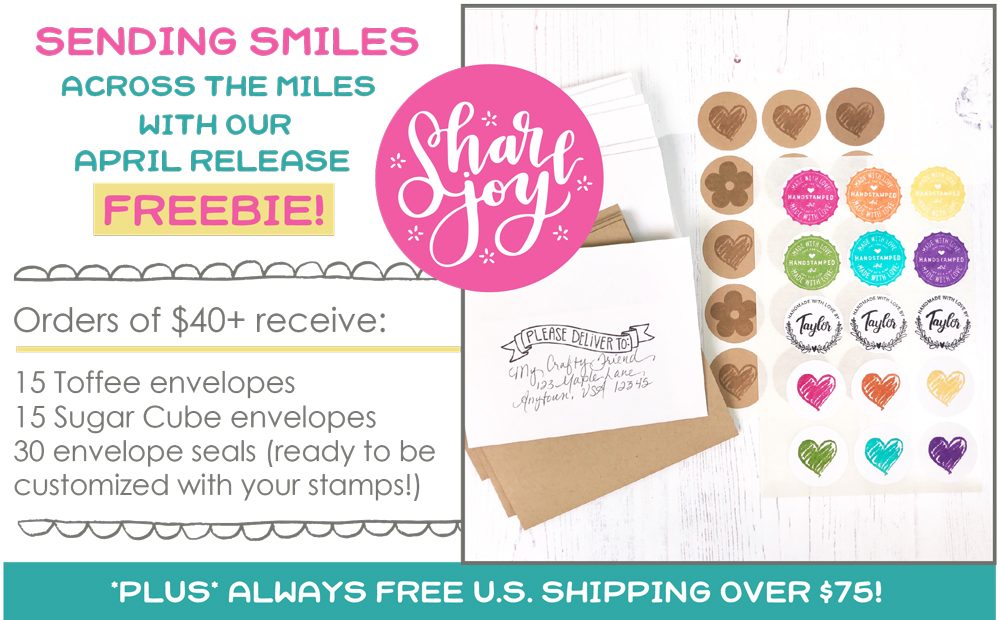
Our Sending Smiles Bundle is FREE with purchases of $40+ from April 4th – April 7th. The bundle includes 15 Toffee envelopes, 15 Sugar Cube envelopes, and 30 envelope seals ready to be customized with your stamps. Simply stamp, seal, send, and Share Joy!
*The bundle will not appear in your cart, but will automatically be included with qualifying orders.
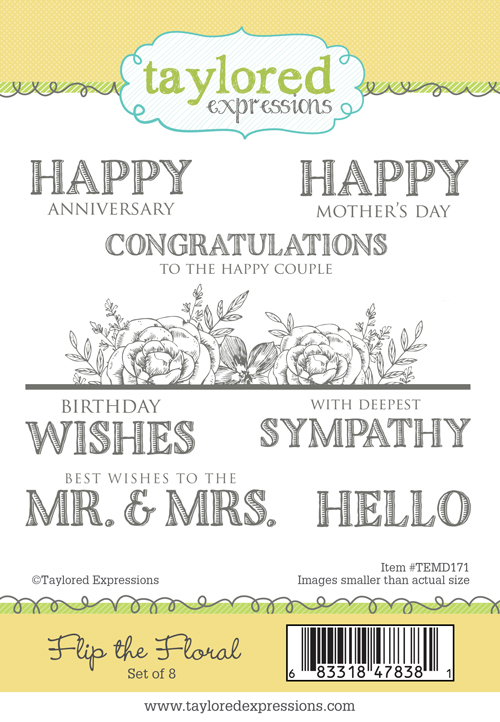
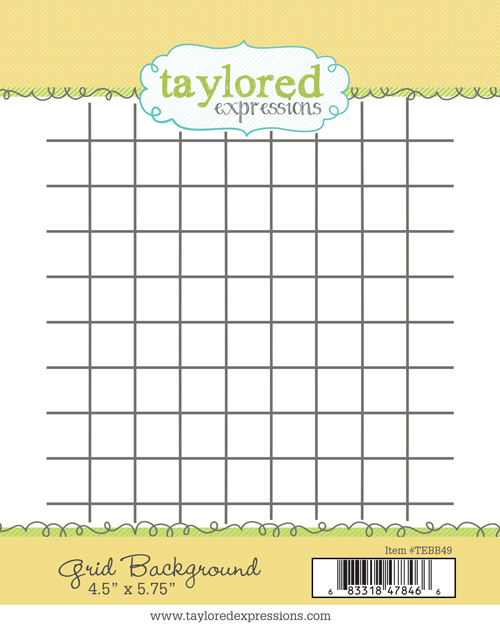
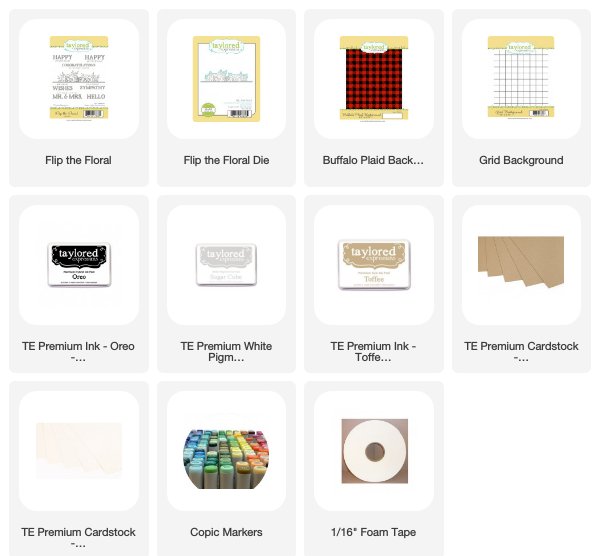
In today’s video, I am sharing the new Flip the Floral stamp set and coordinating die. I’ll show you a few tips and tricks for using this collection with a MISTI to create a beautiful focal element quickly and easily! I am also sharing the new Grid Background stamp that coordinates with the previously released Buffalo Plaid Background stamp. It’s a must-have for creating custom plaid patterns!
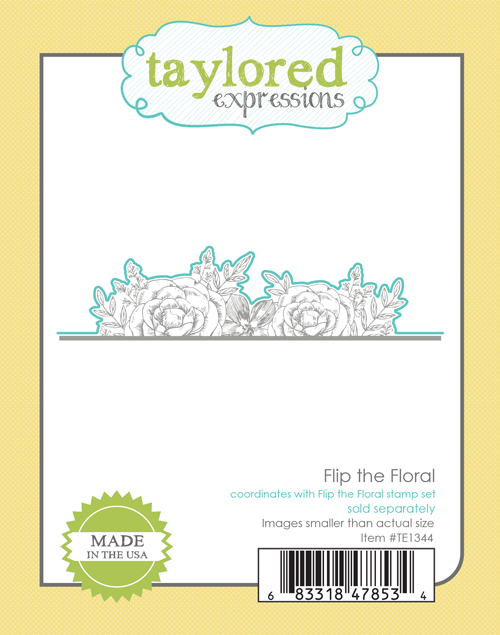
Let’s take a closer look at the Flip the Floral stamp set and coordinating die that I shared in the video:
Flip the Floral includes a border stamp made up of dainty florals that are perfect for occasions that deserve a bit of elegance. The set includes seven different sentiments for occasions like wedding, anniversary, sympathy, and more. The coordinating Flip the Floral die cuts along the top edge of the floral image.
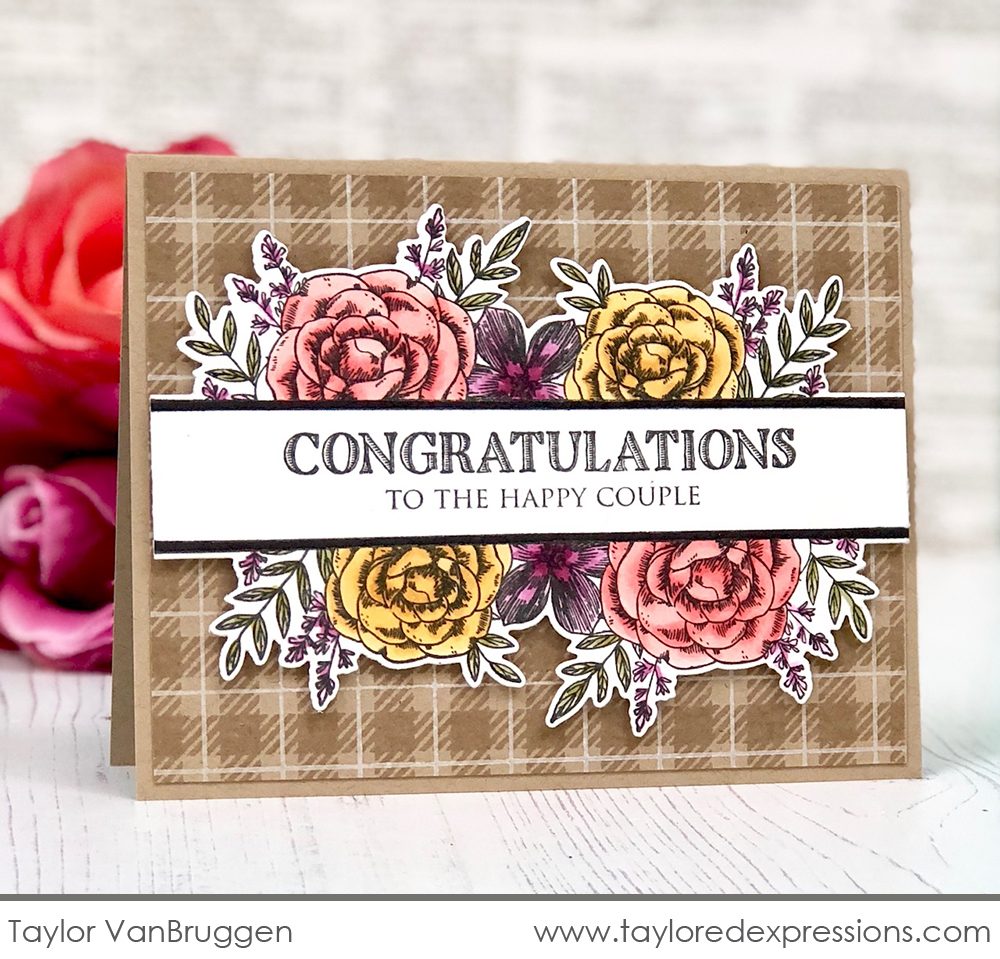
After setting up the stamp in my MISTI and stamping the design with Oreo ink, I chose to add color to the images using Copic markers. Here is a list of the Copics that I used to color this image – YG93, YG95, RV63, RV66, YR21, YR23, R21, R22, R24.
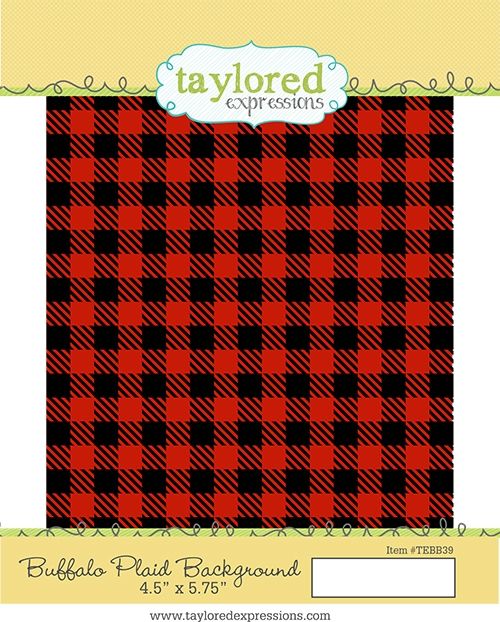
The background of my card uses the previously released Buffalo Plaid Background stamp (on the right) paired with the new Grid Background stamp (on the left). The grid is sized to layer perfectly with the Buffalo Plaid Background stamp so you can expand your plaid pattern possibilities!
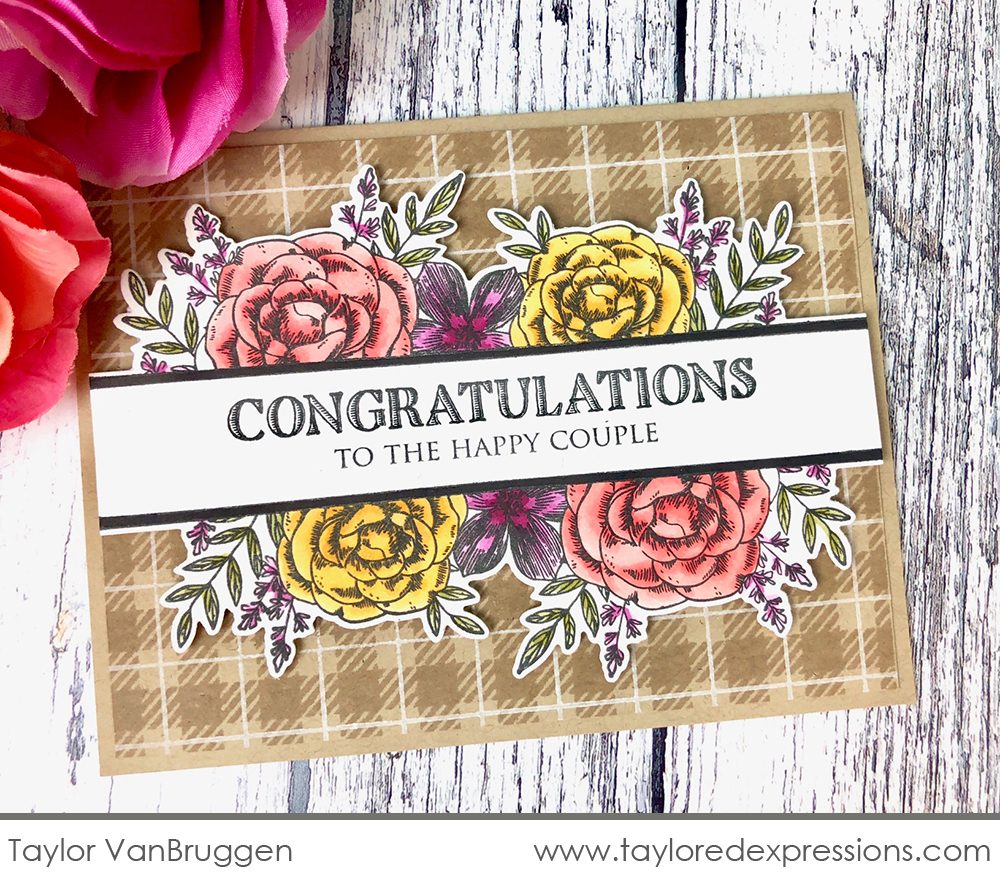
I stamped the Buffalo Plaid onto Toffee cardstock using Toffee ink for a tone-on-tone look. Then I aligned the grid background making sure that the intersecting lines of the grid background lined up in the center of each open square of the Buffalo Plaid background. For a different look, you could align the intersecting lines of the Grid Background with the solid square or stamp and offset slightly before stamping again. There are so many possibilities!

I wanted to show something a bit more simple. You’ll also want to note that the floral border stamp will work for both horizontal cards (shown above) and vertical cards (shown below):

I used the same process as I shared in the video to stamp the floral element with the “best wishes…” sentiment, using Black Detail embossing powder to up the elegance and then layering over the top of the Dotted Lattice embossing folder. Simple can be stunning too!
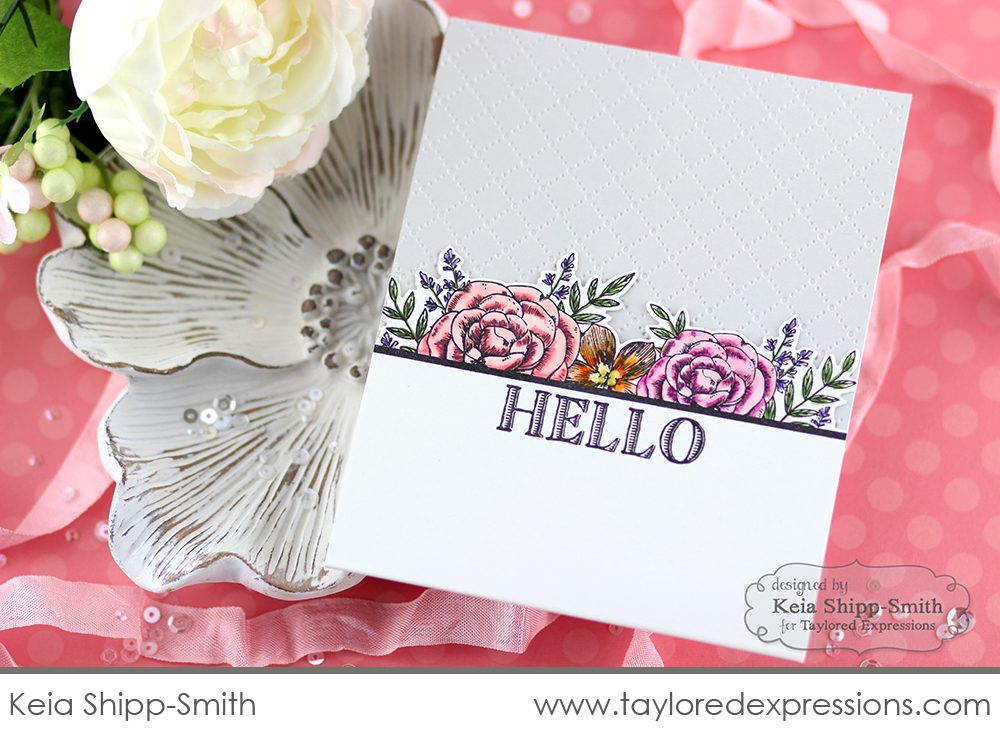
Keia Shipp-Smith created this beautiful ‘hello’ card using Flip the Floral as a single border, die cutting along the top edge of the border and layering over a card front embossed with the Dotted Lattice embossing folder.
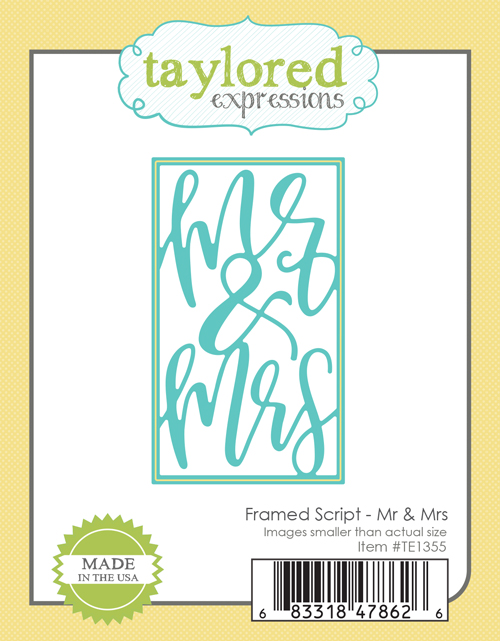
This next new die will be great for wedding cards! The Framed Script – Mr & Mrs was designed to fit perfectly within the previously released Framed Roses Cutting Plate die.
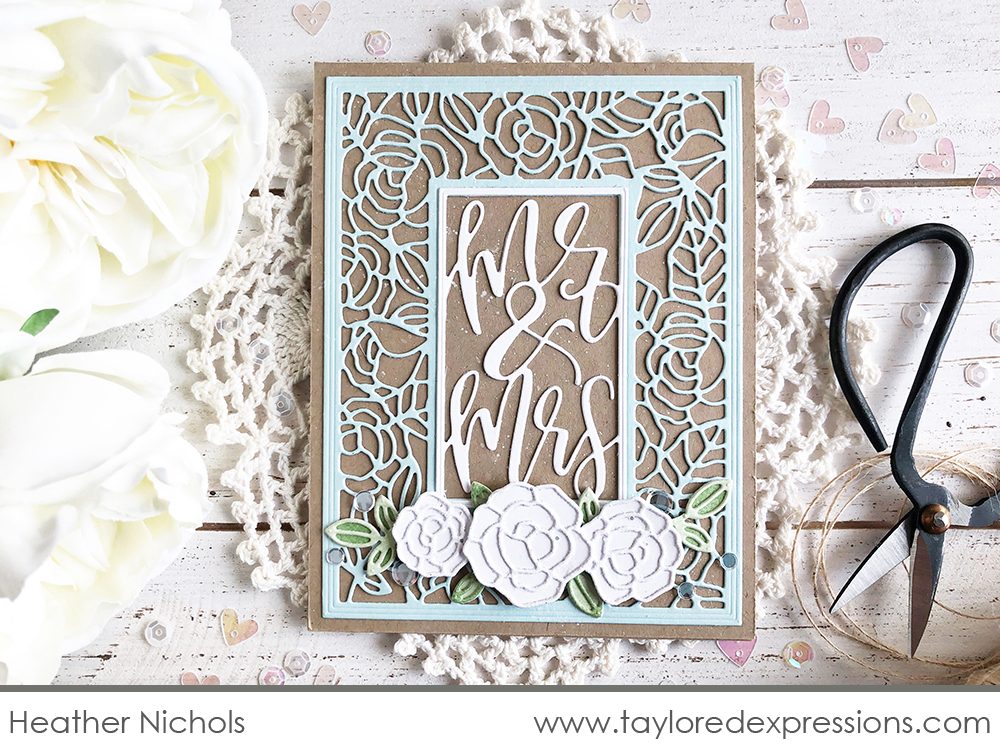
Heather Nichols created this beautiful wedding card combining these two products. I love the glittery roses she added using the Bloomers 9 die collection.
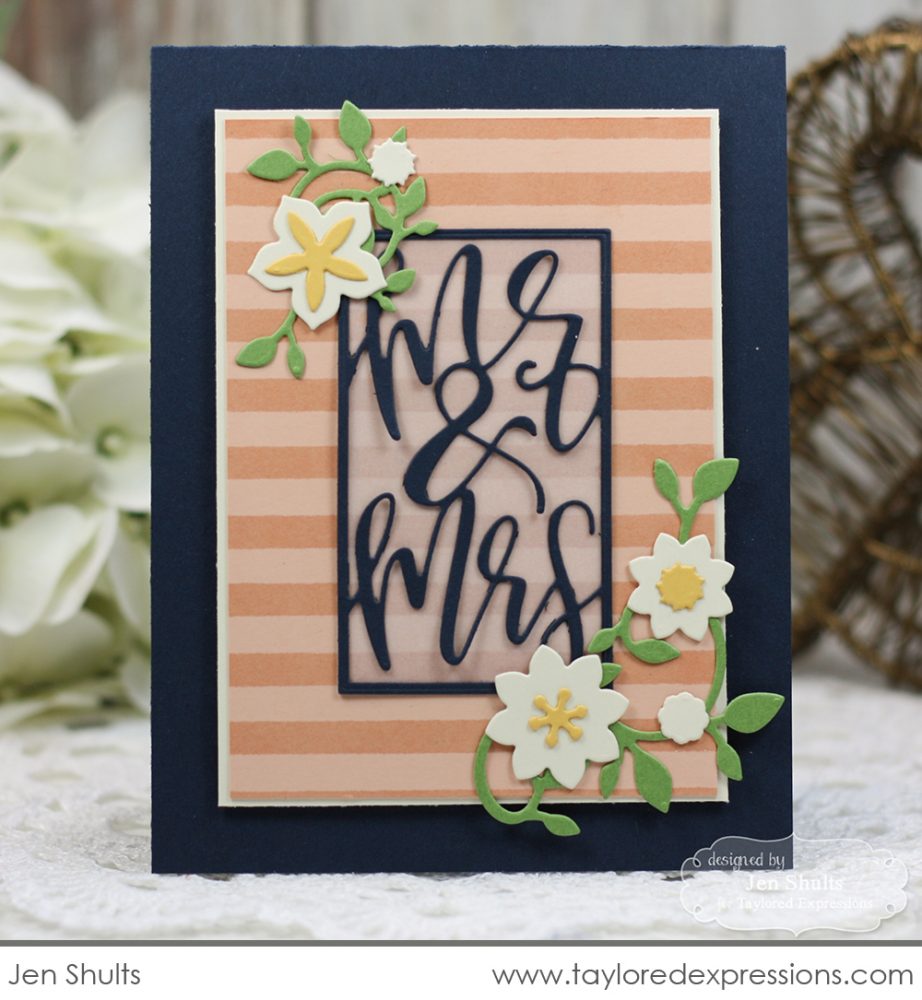
Jen Shults shows that you can also use the same die without the Framed Roses Cutting Plate. She added a piece of vellum behind the Mr & Mrs die cut and layered it over a striped background, adorning the corners with die cut flowers and vines.
Next up for
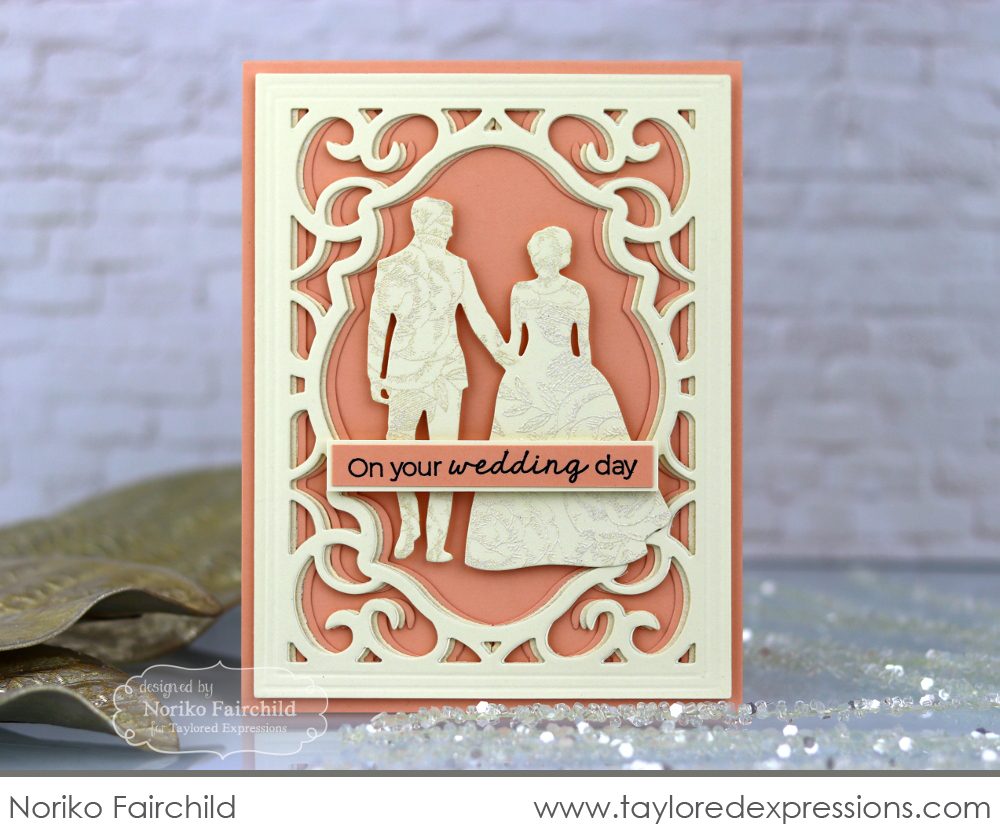
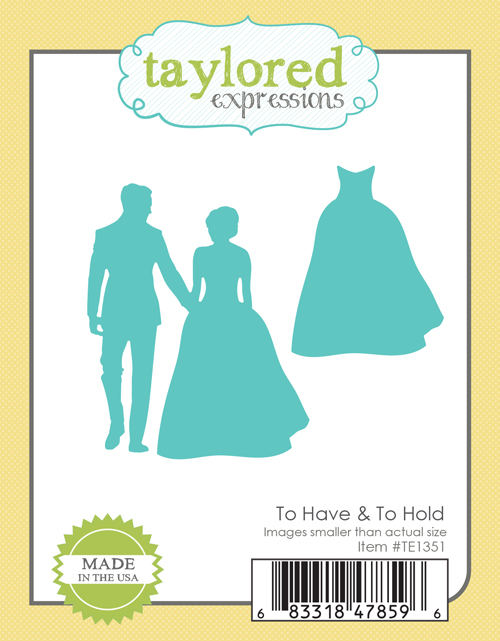
Noriko Fairchild created this elegant wedding card using To Have & To Hold framed with the Ornate Frame Cutting Plate. If you look closely, you will notice that Noriko also stamped the florals from the Flip the Floral set onto the die cut couple. Such an elegant touch!
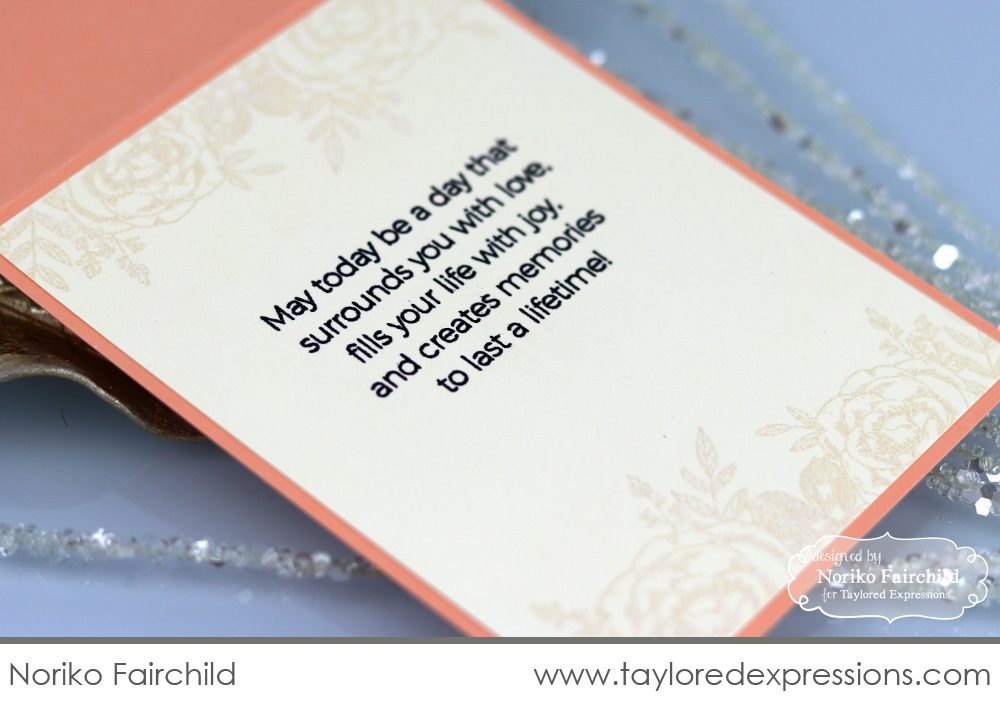
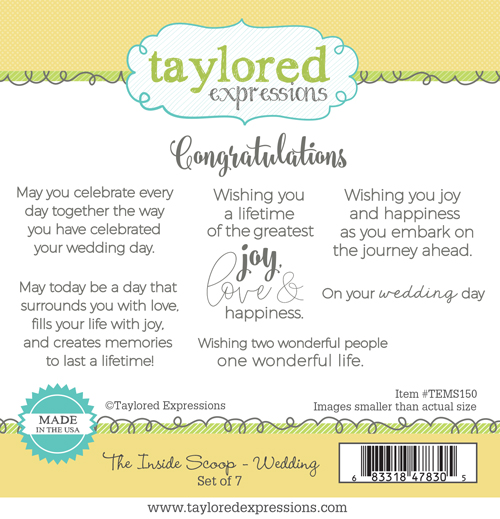
Here’s a peek inside Noriko’s card. She used a sentiment from The Inside Scoop – Wedding and added floral borders to the top and bottom to match the florals she used on the front of the card.
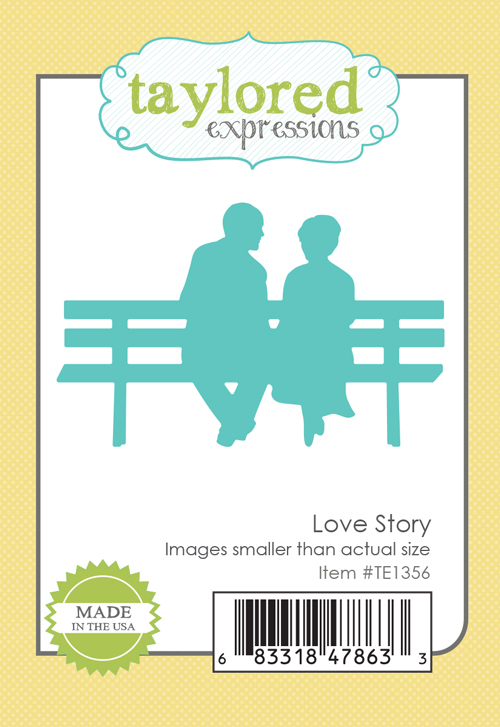
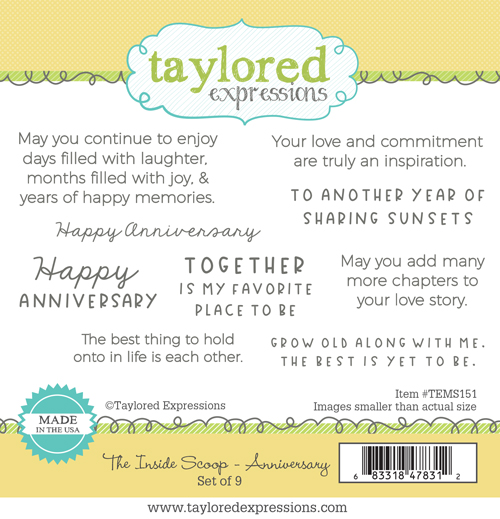
Celebrating anniversaries is the next step on this journey. For this theme, we are debuting the new Love Story die that depicts a couple sitting on a park bench and The Inside Scoop – Anniversary stamp set that includes anniversary themed sentiments for both the front and inside of your cards.
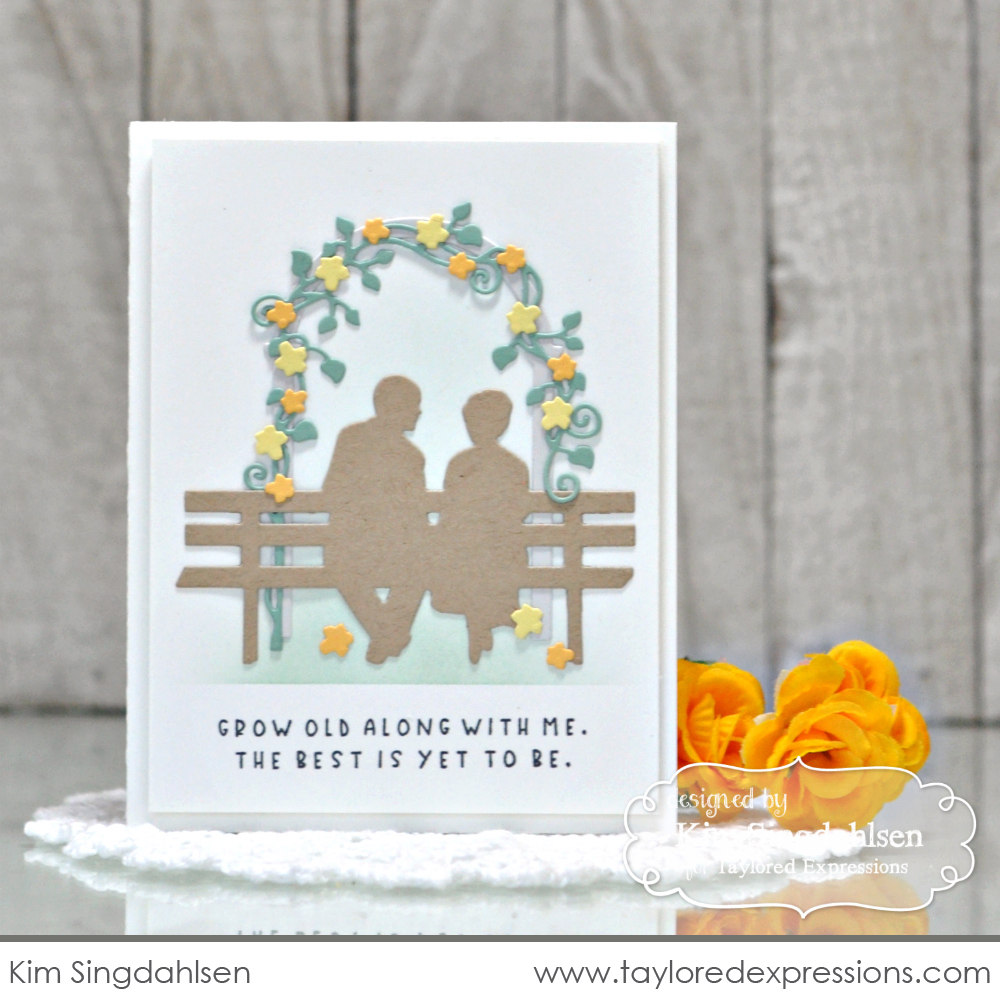
Kim Singdahlsen framed the couple with a pretty arch of flowers that she die cut using the Garden Arbor & Gate and Arbor Accessories die collections. She added the “grow old with me…” sentiment at the bottom of the card. I love Kim’s soft color choices on this card!
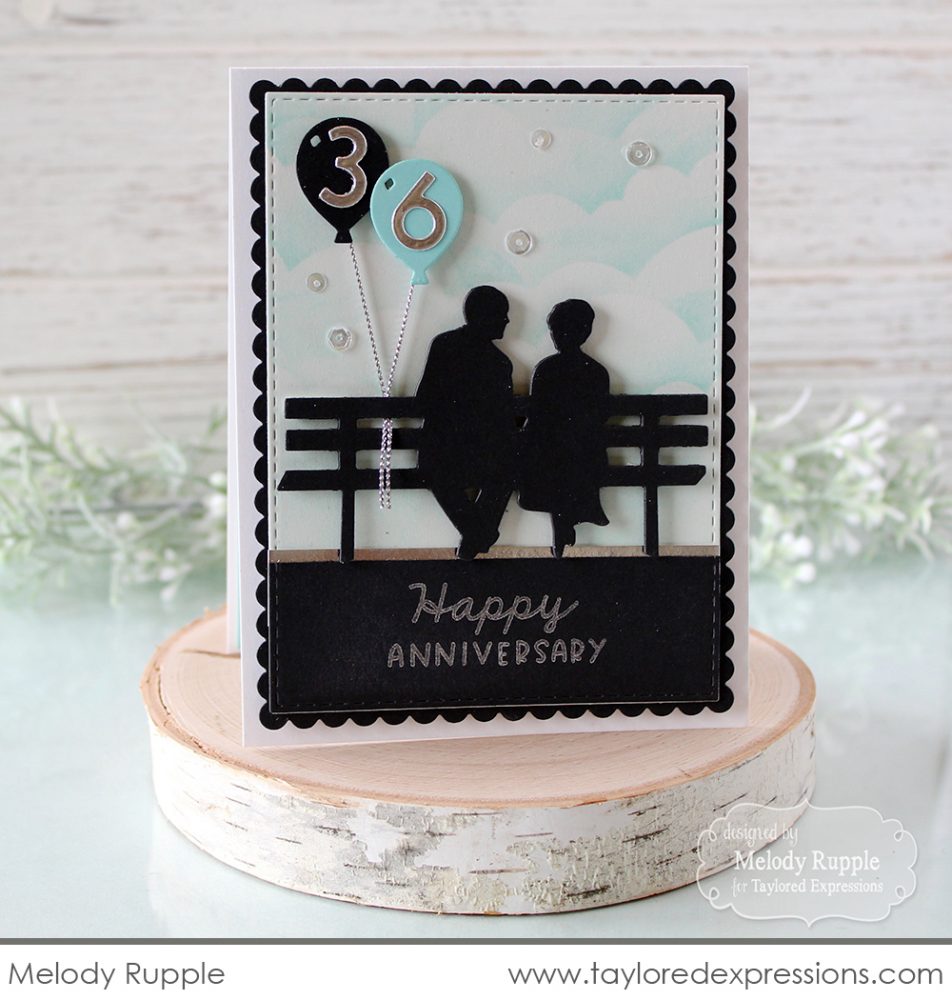
Melody Rupple took a bold approach on this anniversary card. I love that she was able to personalize the card by adding the anniversary year to the balloons!
Next, we are welcoming the baby in the baby carriage! There are several new baby themed products making their debut this month, but perhaps my favorite is this sweet set of
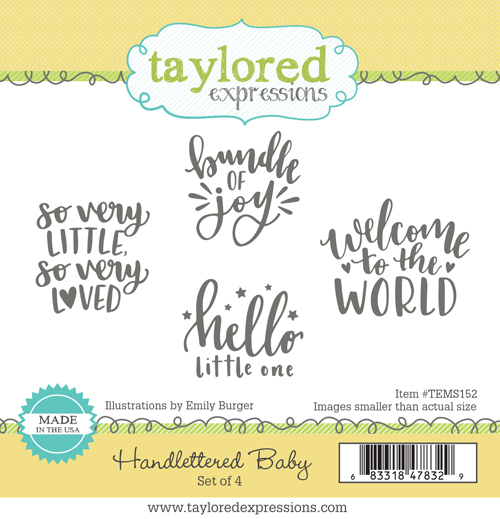
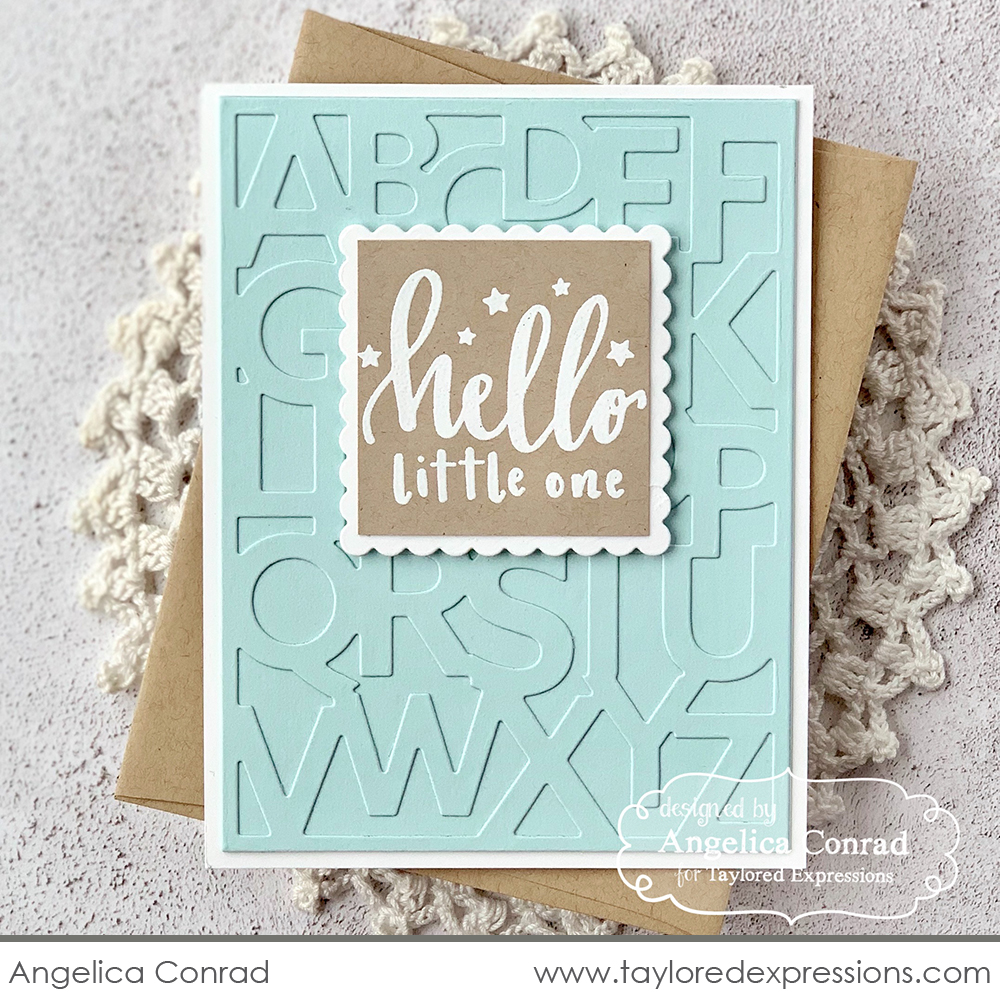
Do you recognize the Alphabet Soup Cutting Plate die from yesterday’s “teacher” sneak peeks? Angelica Conrad used it here for the backdrop on this adorable baby card. The “
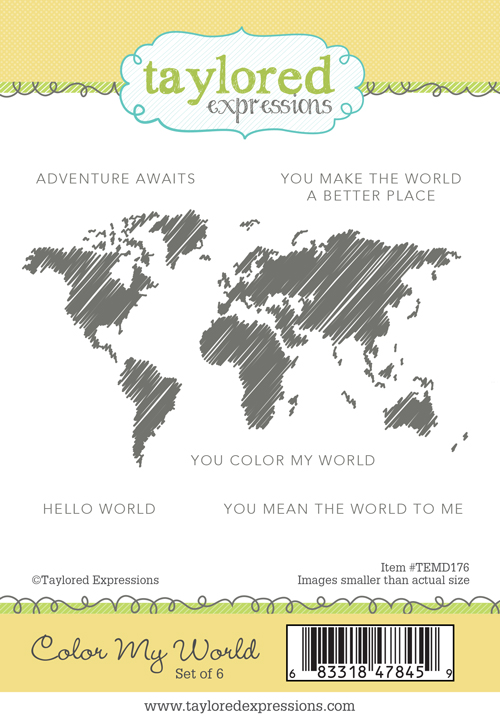
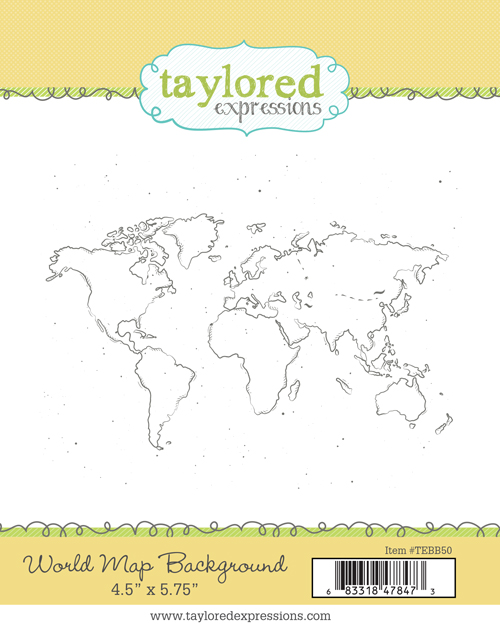
Next, I want to introduce the new Color My World and World Map Background stamp sets. They are designed to work together so you can add the scribbled world map image onto the outline world map image. These stamps are perfect for welcoming a new baby to the world, but also for special friends (you mean the world to me), graduates (adventure awaits), and more!
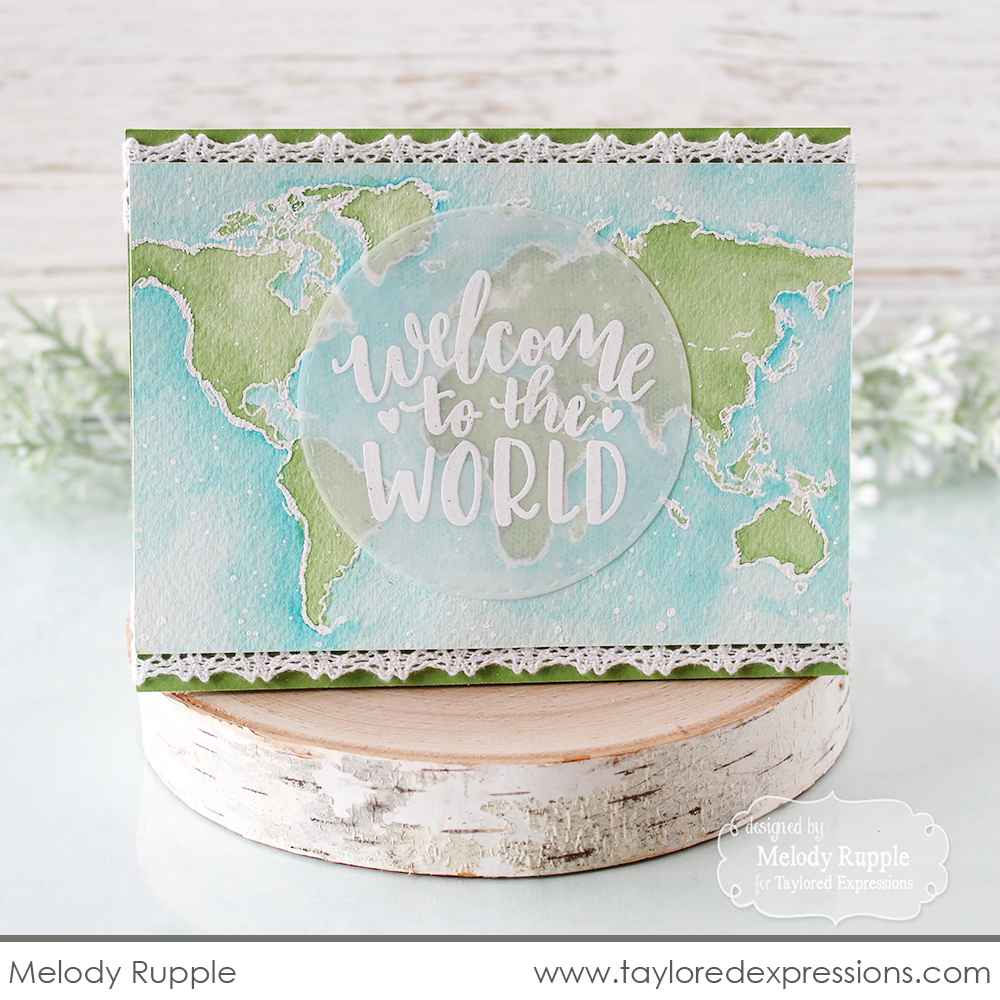
Melody Rupple used the World Map Background for this sweet baby card. She embossed the world map image onto watercolor cardstock using white embossing powder and then colored it with liquid watercolors. She added the “welcome to the world” sentiment from the Handlettered Baby stamp set embossed in white onto a vellum circle. I love the touch of lace at the top and bottom of the card!
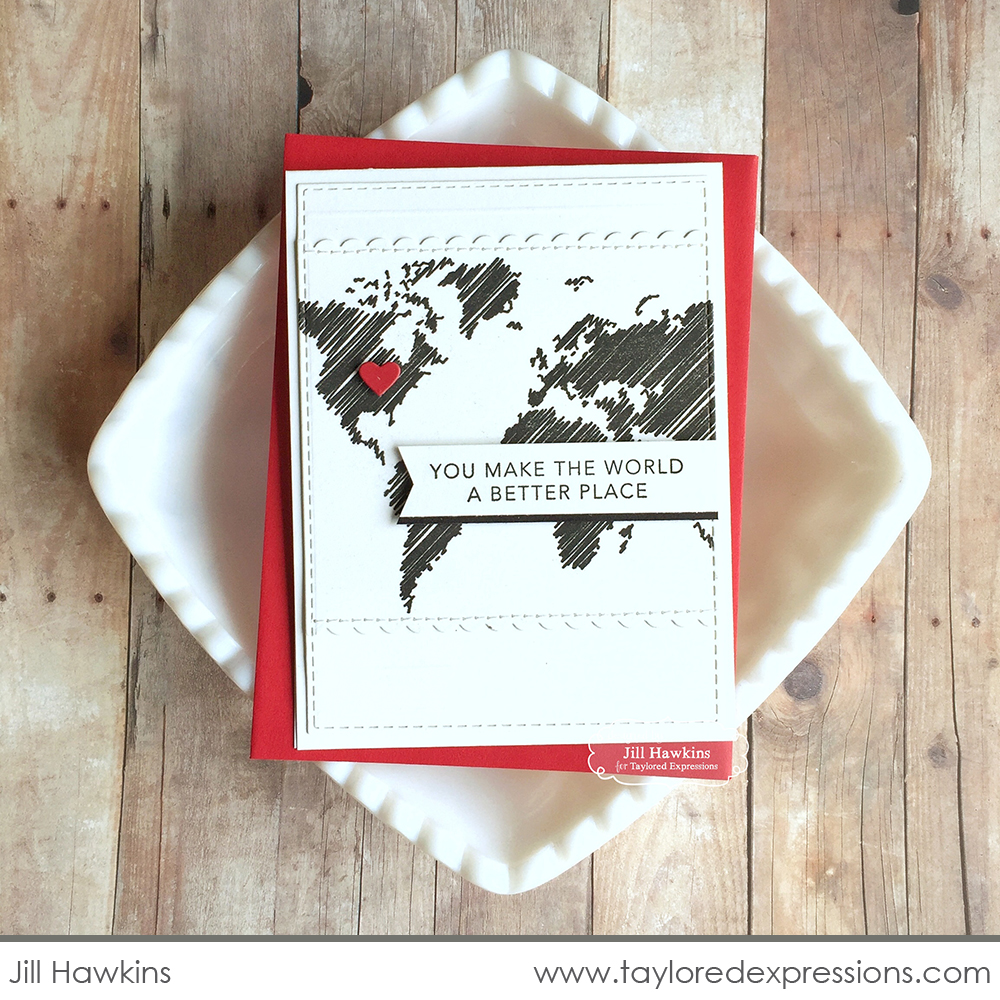
This next card by Jill Hawkins shows how you can use the Color My World stamp set all by itself for a different theme. She stamped the scribbled world map in Oreo ink and added a die cut heart to an important location. Love this one for so many special people in my life!
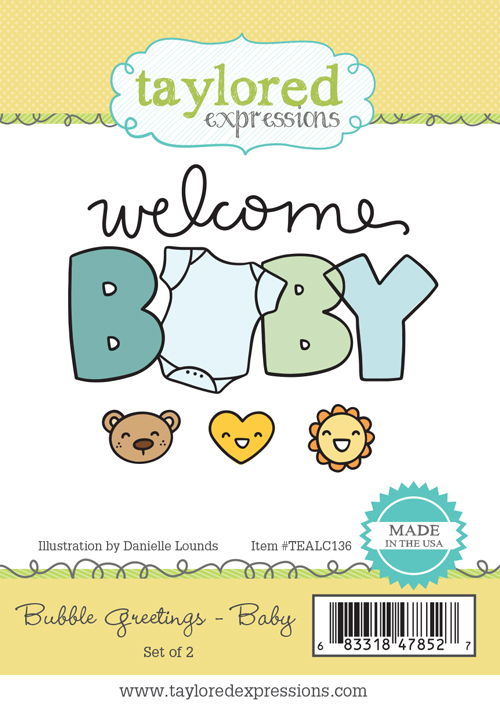
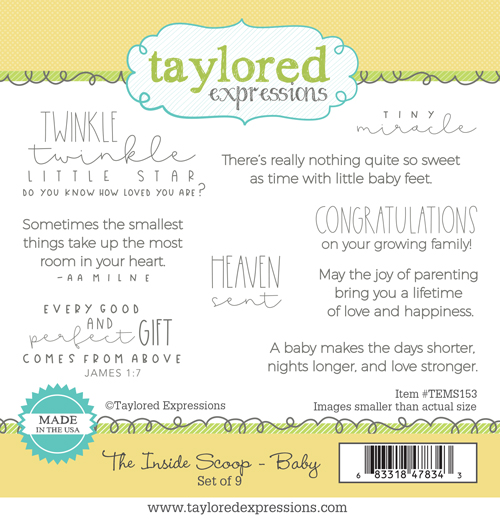
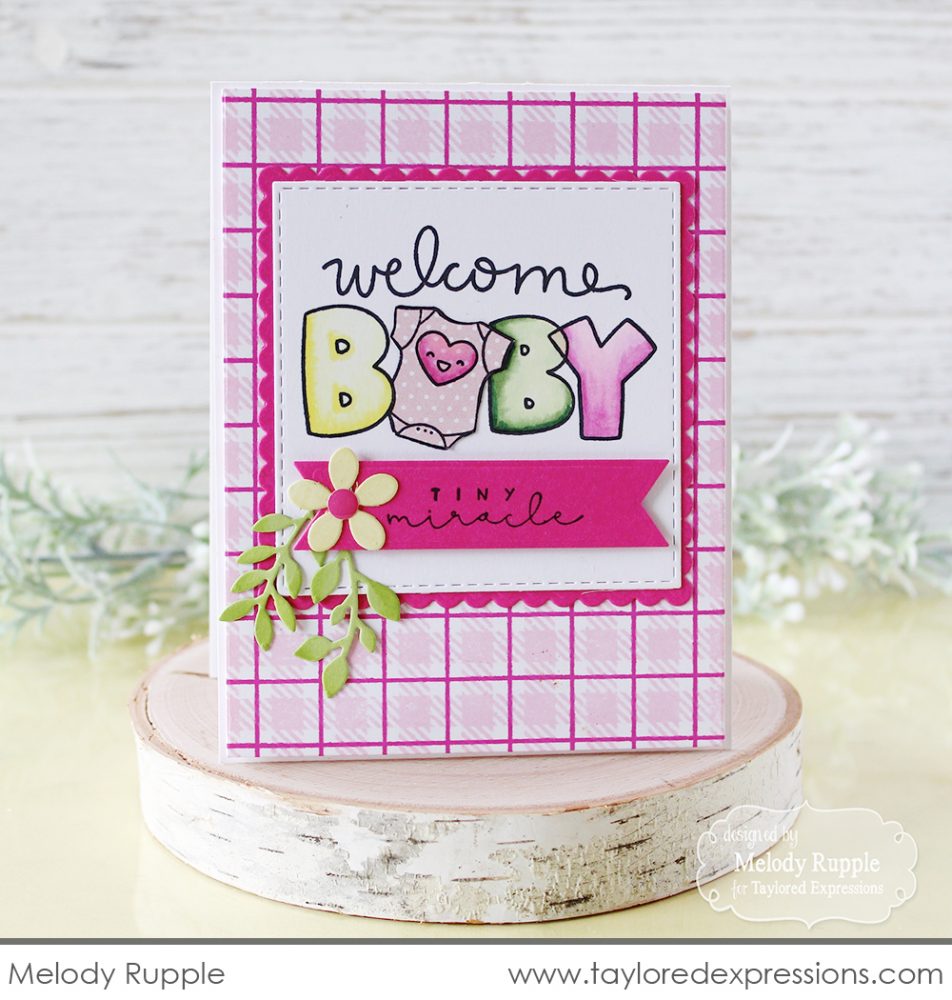
Next, I’m excited to share Bubble Greetings – Baby and The Inside Scoop – Baby stamp sets. Bubble Greetings – Baby features a fun and whimsical bubble letter greeting with smaller images that you can use to decorate the onesie. The Inside Scoop – Baby stamp set includes baby themed sentiments for both the front and inside of your cards.
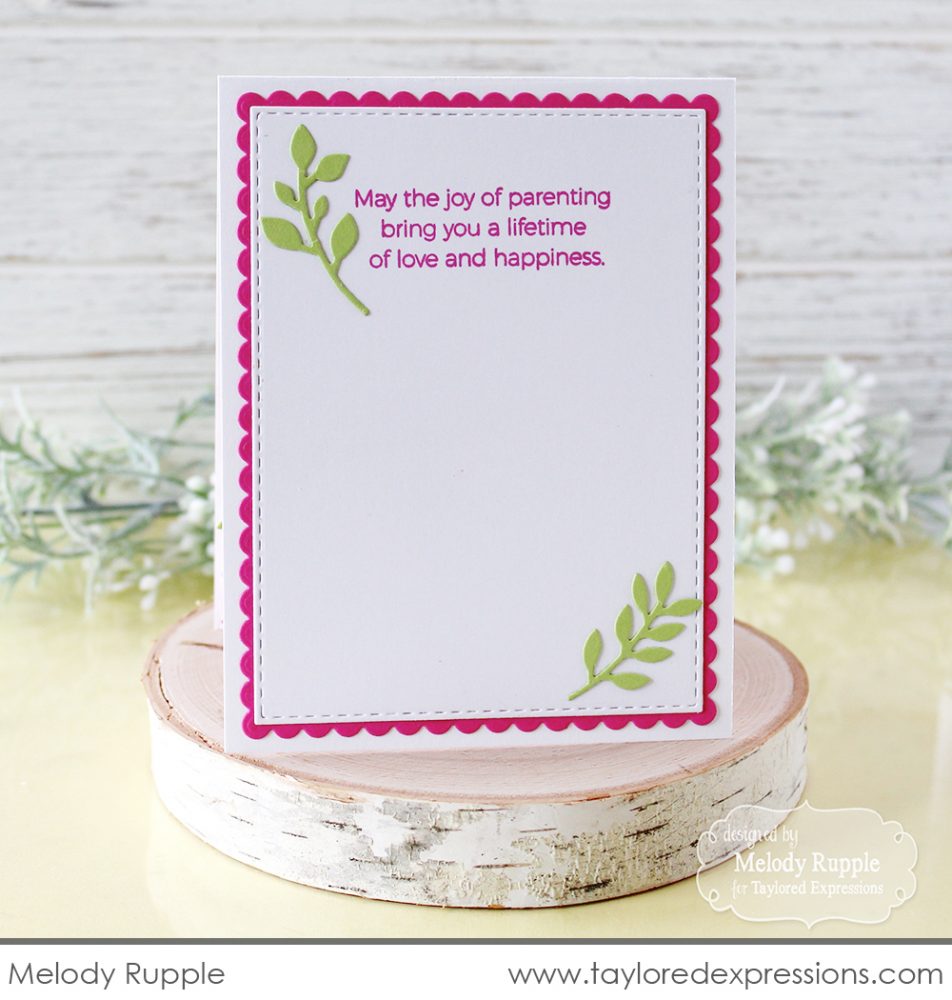
Melody Rupple created this pretty in
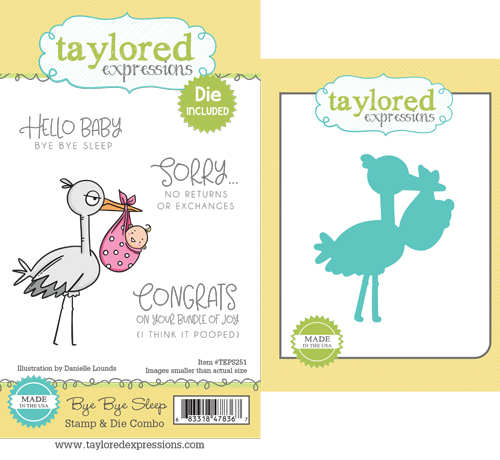
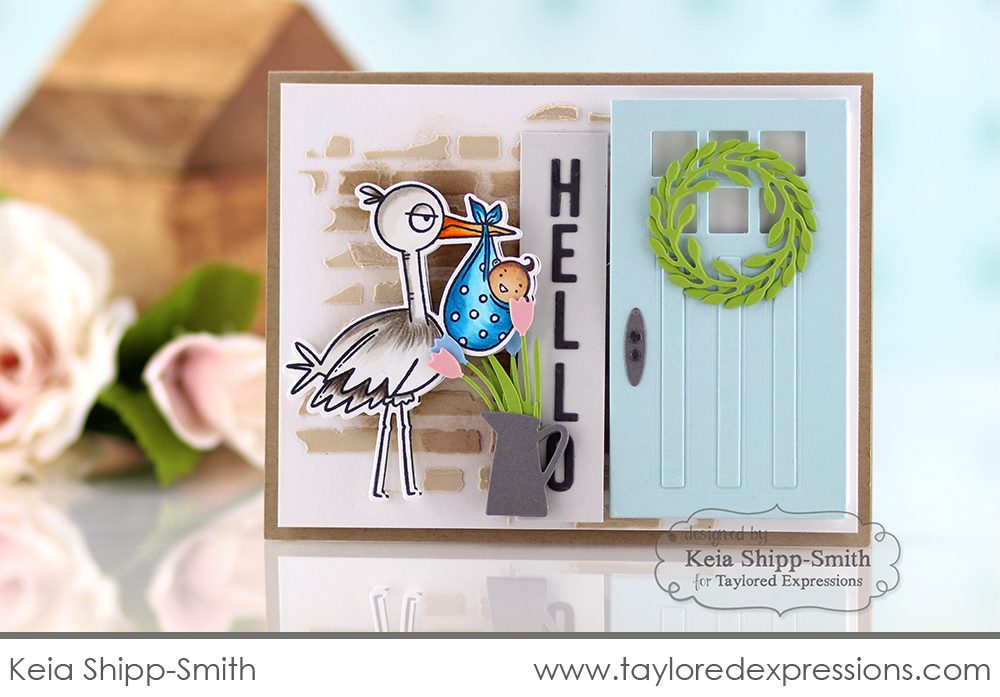
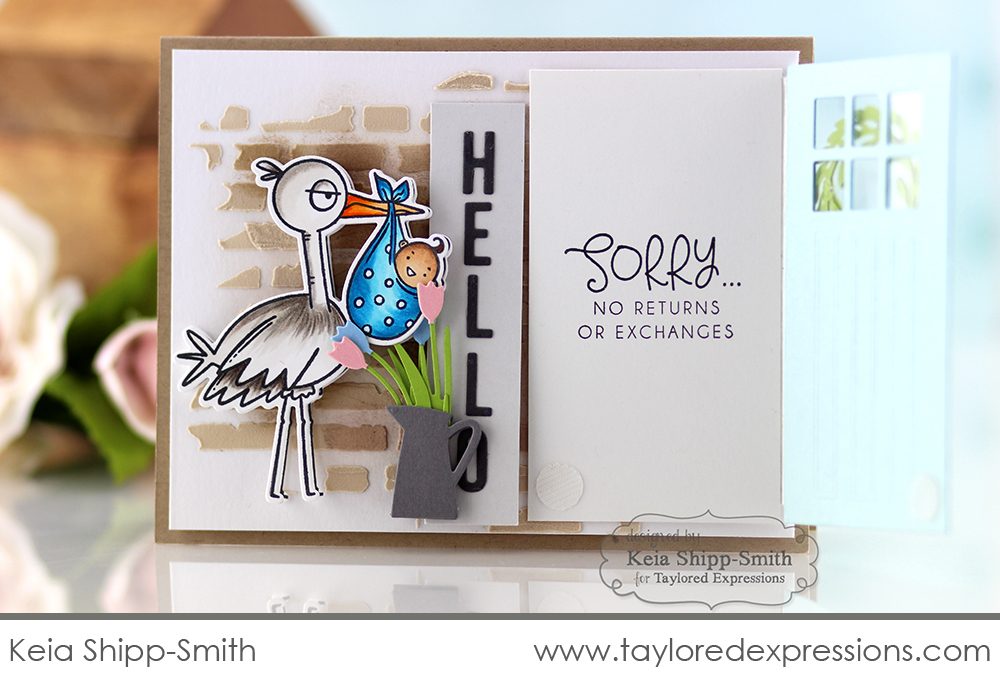
And finally for today is the Bye Bye Sleep stamp & die combo set. The grumpy stork in this set certainly tells it like it is for new parents!
Keia Shipp-Smith created this card of the stork delivering a new baby to the doorstep – the door opens and the sentiment “Sorry… no returns or exchanges” is behind it. Hehe…
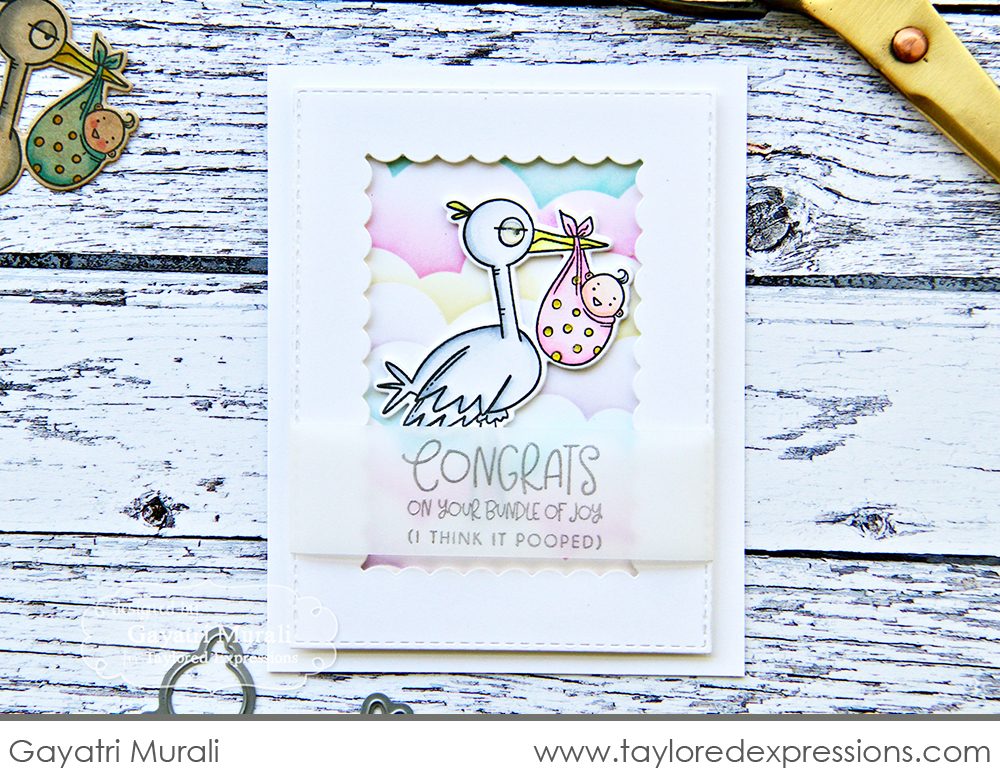
Gayatri Murali stork nestled among
And that’s it’s for Day 3 of sneak peeks! All of the new products will be available TOMORROW (Thursday) at
Looking at the world map has me dreaming of world travels. My Question of the Day is: Not including the country in which you were born, how many other countries have you been to? My answer: 3 – Mexico, Philippines, Japan (I can’t believe I’ve never been to Canada!). Must change that soon! And it’s been a longtime dream to attend Wimbledon so hopefully someday I can hop across the pond!
Today I’m giving away the Flip the Floral Stamp set + Coordinating Die!
Leave your comment before Wednesday, April 3rd at 8PM CST. One comment per person. Each comment will also be entered into our Grand Prize drawing for a $50 gift certificate! Winners are chosen at random and and announced on the TE blog on Thursday, April 4th.
The rest of the Taylored Expressions Creative Team has been busy with today’s featured products so pop over to their blogs more even more inspiration!


