Aug 24, 2020
Halloween Sneaks – Spooky & Sweet!
Hey, crafty friends! It’s Taylor here today! Are you ready for some sweet and spooky creations!? Halloween is one of my favorite holidays (I’m a huge candy lover!) and our new release has me excited for the coming fall weather, black & orange, and pumpkins!
The Creative Team and I have been busy creating with the NEW Halloween products and we have so much to share with you this week! Here’s an ‘at-a-glance’ look at our Halloween Release and what we’ll be up to here on the TE Blog this week:
- The release has 15 new products including stamps, dies, a new Mini Slim stencil, glow in the dark embossing powder, and a fun project kit to create Halloween treat containers!
- Everything we’re sneak peeking today will be available at the TE webstore on Tuesday, August 25th at 9am CT (Yep, that’s TOMORROW!).
- Our TE blog posts this week (Monday – Wednesday) will feature a new how-to tip, technique, or process video.
- Get a chance to win it before you can buy it by commenting with your answer to my Question of the Day today only (located at the bottom of this blog post)
- Last, but certainly not least – you won’t want to miss the special offer for this release (details below).
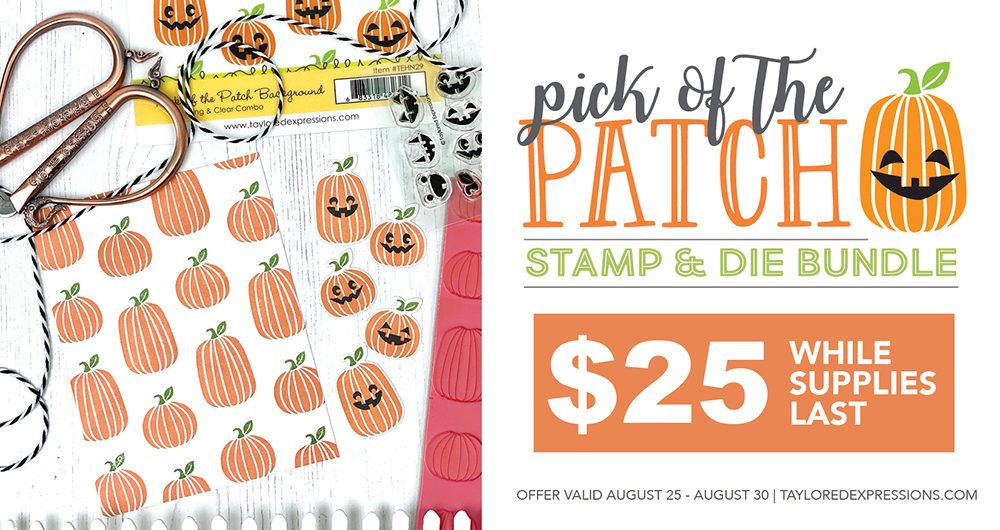
Tomorrow through Sunday, August 30th, you can purchase the Pick of the Patch Bundle for only $25 that includes the Pick of the Patch Cling & Clear Combo stamp set (regular price $18) and the Pick of the Patch die collection (regular price $10).
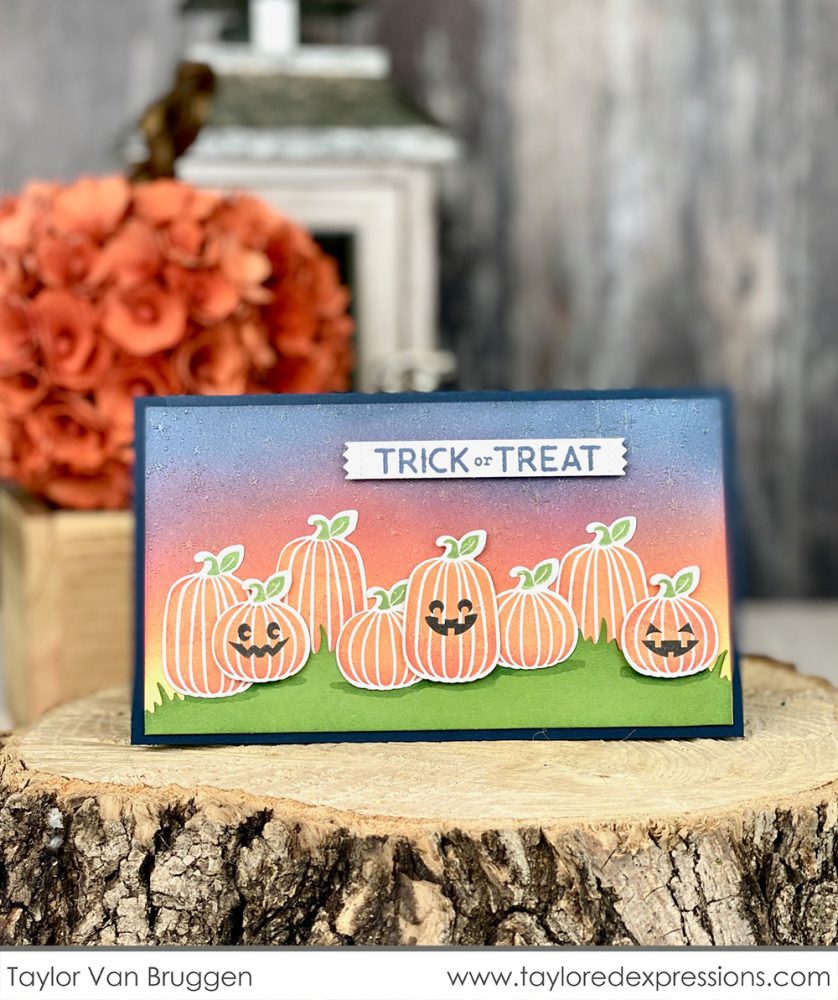
The project I am sharing with you today is a Mini Slim card that I created with the products in our special offer bundle. Plus, I’m excited to share a new addition to our Embossing Powder collection – Glow in the Dark! You’ll get to see it in action in the video!
I started the project by stamping and die-cutting several pumpkins. A couple tips: 1) Try using both a light and dark orange ink on the pumpkins – it adds a nice dimension without a lot of extra work. 2) If you plan to die cut your pumpkins, wait to stamp the stems onto the top until after you’ve die cut. It’s much easier to place the stem in just the right spot.
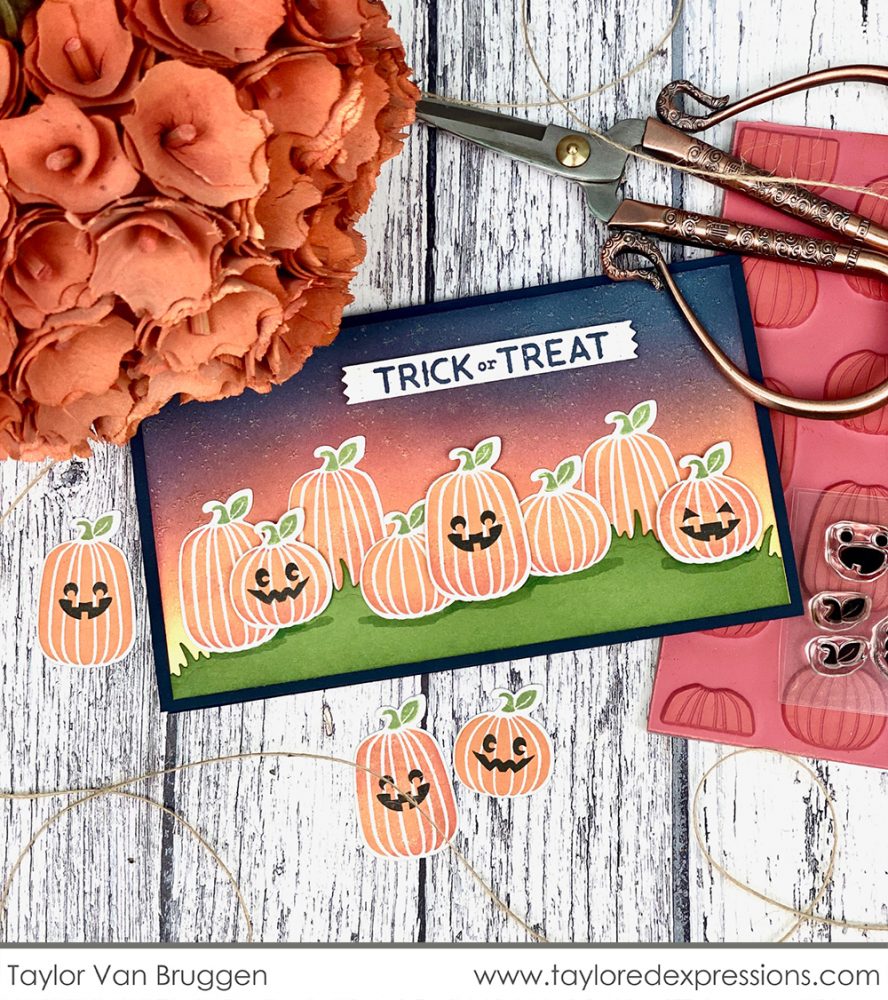
Next, I blended the nighttime spooky sky with several colors of ink and used the Twinkle Twinkle background stamp to create the embossed glow in the dark effect within the night sky. I love how it looks when it’s all lit up in the dark! I finished it off by arranging the lineup of pumpkins and adding a simple sentiment strip.

Alright, now let’s take a look at all of the new products for this Halloween release along with inspiration from the TE Creative Team!

You already got a peek at the Pick of Patch Cling & Clear stamp on my project above. This allows you to easily stamp a bunch of pumpkins at once with the background stamp and then add stems and optional jack-o-lantern face details using the included clear stamps. Then you can leave the full background or die cut the pumpkins to use on your projects.
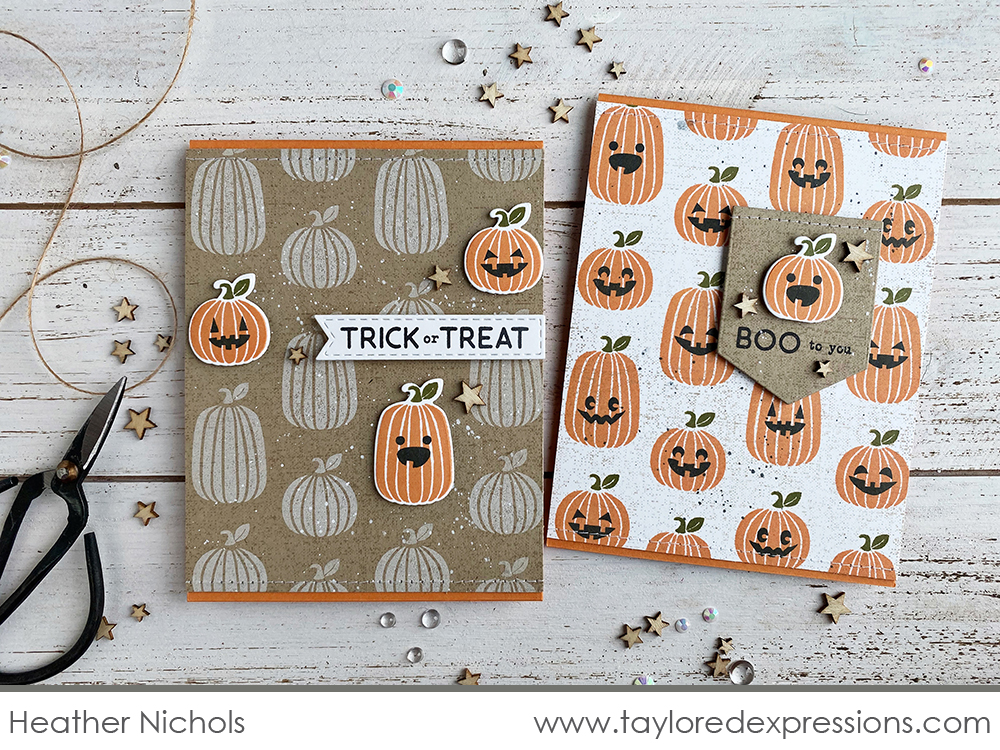
Heather Nichols (the illustrator of this set!) created this adorable pair of pumpkin cards using the Pick of the Patch products. For the card on the left, she stamped the pumpkin background in her signature Sugar Cube ink on Toffee cardstock and then popped up a few orange pumpkins over the top. For the card on the right, she stamped a whole background of pumpkins on Sugar Cube cardstock and then added a single die cut pumpkin to a pennant. The sentiments that she used are from the new Pennant Parade – Halloween stamp set that you will learn more about in just a bit!
We are all about cute and fun here at TE and these next new Halloween stamp sets and coordinating dies fit that criteria perfectly!

The Spooktacular stamp set (+ coordinating dies) features four super cute Halloween images and coordinating sentiments. These images are sized perfectly to use with our new Mini Slim Trifold concept and of course, will work for other types of projects too!
You knew it was coming, right? Big Grumpy is being forced to go trick or treating and you can get him all dressed up with the accessories from the Big Grumpy – Halloween set (+ coordinating dies). The set includes a witch hat that Big Grumpy will not enjoy wearing, a candy bucket that Big Grumpy will complain about carrying, and sentiments to tell you how Big Grumpy is really feeling!
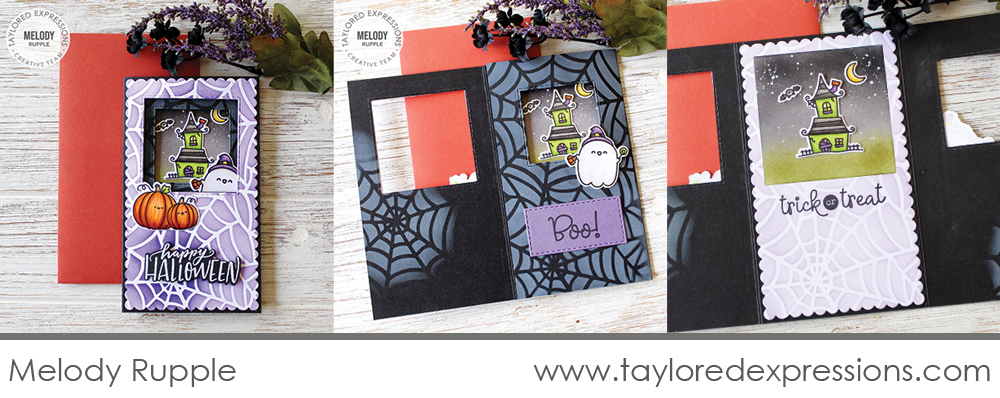
Melody Rupple created a trifold Mini Slim card with the new Spooktacular stamp set and Mini Slim Trifold Template + Dies – Square set that was released last week. She layered the cute Halloween images within the windows of the trifold card to create a ‘spooktacular’ Halloween scene! You probably noticed that Spiderweb too!? Keep scrolling though the inspiration to learn more about that!
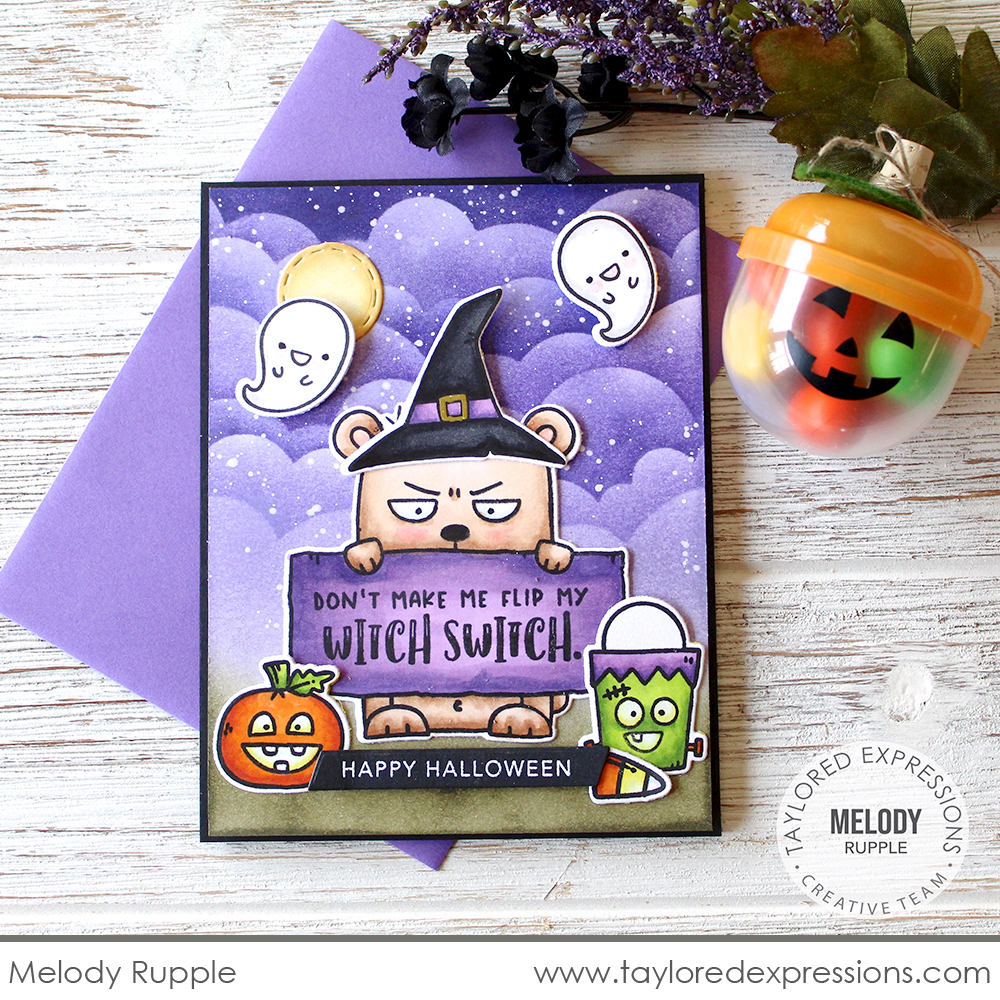
Melody Rupple also created this laugh out loud card using the new Big Grumpy – Halloween set paired with the original Big Grumpy! She dressed up Big Grumpy in the witch hat and he looks just thrilled about it. Big Grumpy will not carry the treat bucket and he’s holding a sign (Really, Big Grumpy? The sign is better to hold than the treat bucket?) with probably my favorite of the sentiments that are included in the set! (P.S. There’s a peek at the new Pumpkin Candy Capsules that you’ll learn more about a bit later in this post!)
Here a few more Halloween essentials making their debut this week:

We think you’ll love this spooky new spiderweb stencil designed to fit our Mini Slim collection! Blend up backgrounds, add sparkle and dimension using texture pastes, and more!
Use the new Handlettered Halloween die collection to cut out the sentiments from the previously released Handlettered Halloween stamp set. You are going to love the close-cut detail that will bring added dimension and contrast to these sentiments!
The new Pennant Parade – Halloween clear stamp set coordinates with the previously release Pennant Parade Cling & Clear Combo stamp set. There are 5 new pennant options designed with a Halloween theme along with seven sentiments that you’ll find yourself reaching for again and again.
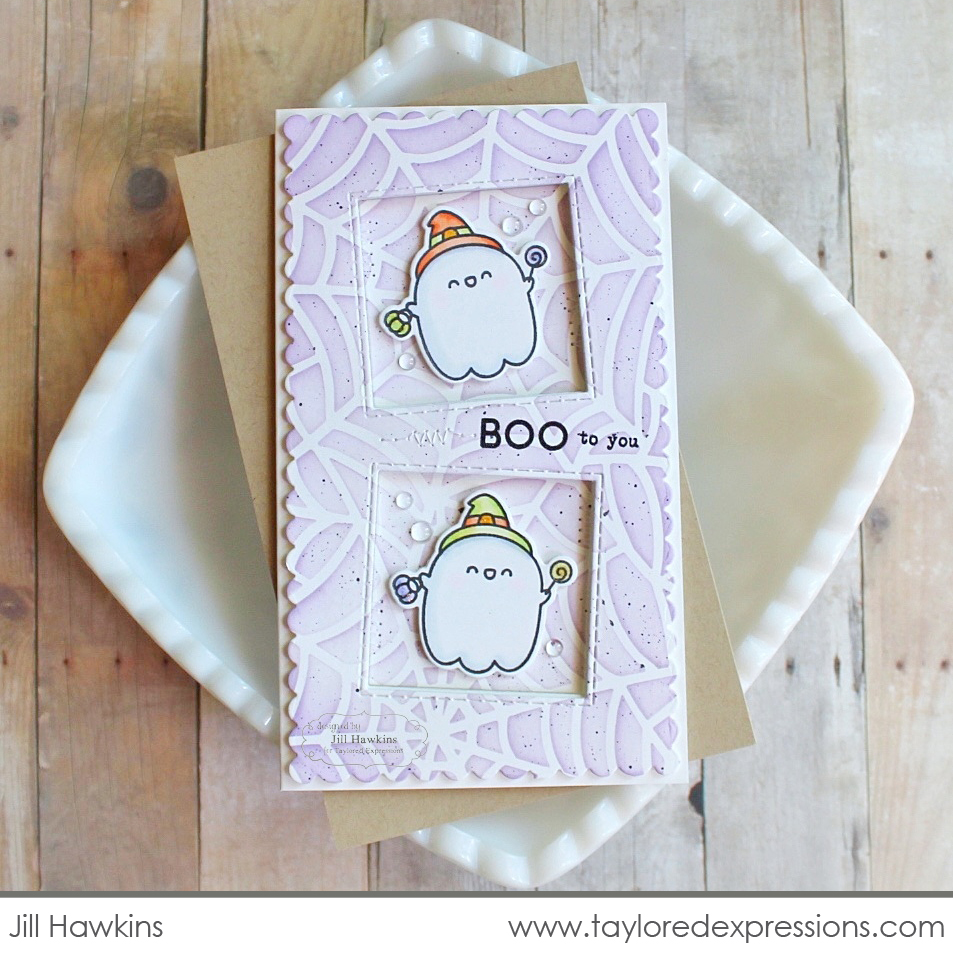
Jill Hawkins used the new Mini Slim – Spiderweb stencil on this mini slim sized card that features the cute ghost from the new Spooktacular stamp set. She used the smaller window die from the Mini Slim Trifold Template + Dies – Square set to create the cute and topsy turvy windows for the ghosts. I love how Jill used the window cutouts and set them into the die cut windows on her project for a background pattern that lines up perfectly!
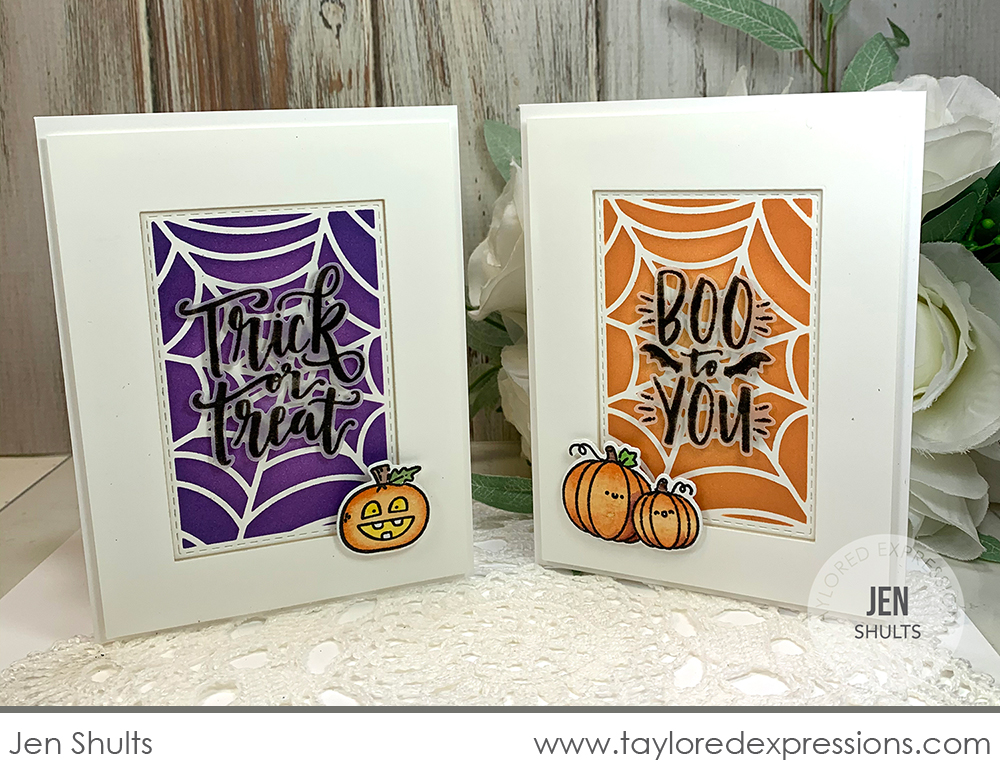
Jen Shults let the sentiments from the Handlettered Halloween stamp set shine on this pair of cards. She stamped the sentiments on vellum and cut them out with the new Handlettered Halloween dies. Jen stenciled the background on her cards with the Spiderweb stencil and layered the sentiments over the middle of the web. She added cute pumpkins from Big Grumpy Halloween (left) and Spooktacular (right).

Instead of using the Pennant Parade – Halloween stamp set with the Pennant Parade Cling & Clear Combo set, Gayatri Murali used the set on its own to create this whimsical and fun Halloween card. I love how she stamped the ‘eek!’ and ‘boo!’ words randomly around the witch hat (from Big Grumpy – Halloween) and the haunted house (from Spooktacular) on the corners of her card. She also stamped a few of the banners coming in from the edge of the cardstock – I love that look!
We have a few products debuting this release that you will love to add to the “basics” in your crafty collections.

Introducing the new Pennant Stacklets die collection! Use the Pennant Stacklets die set to make pennant shapes of all sizes for your cards and crafts. Use one pennant on its own or link a bunch up to create a banner!
You are going to find yourself reaching for the new Linen Background stamp over and over! It’s designed to look like linen fabric and it’s perfect to add a distressed or farmhouse feel to your projects.
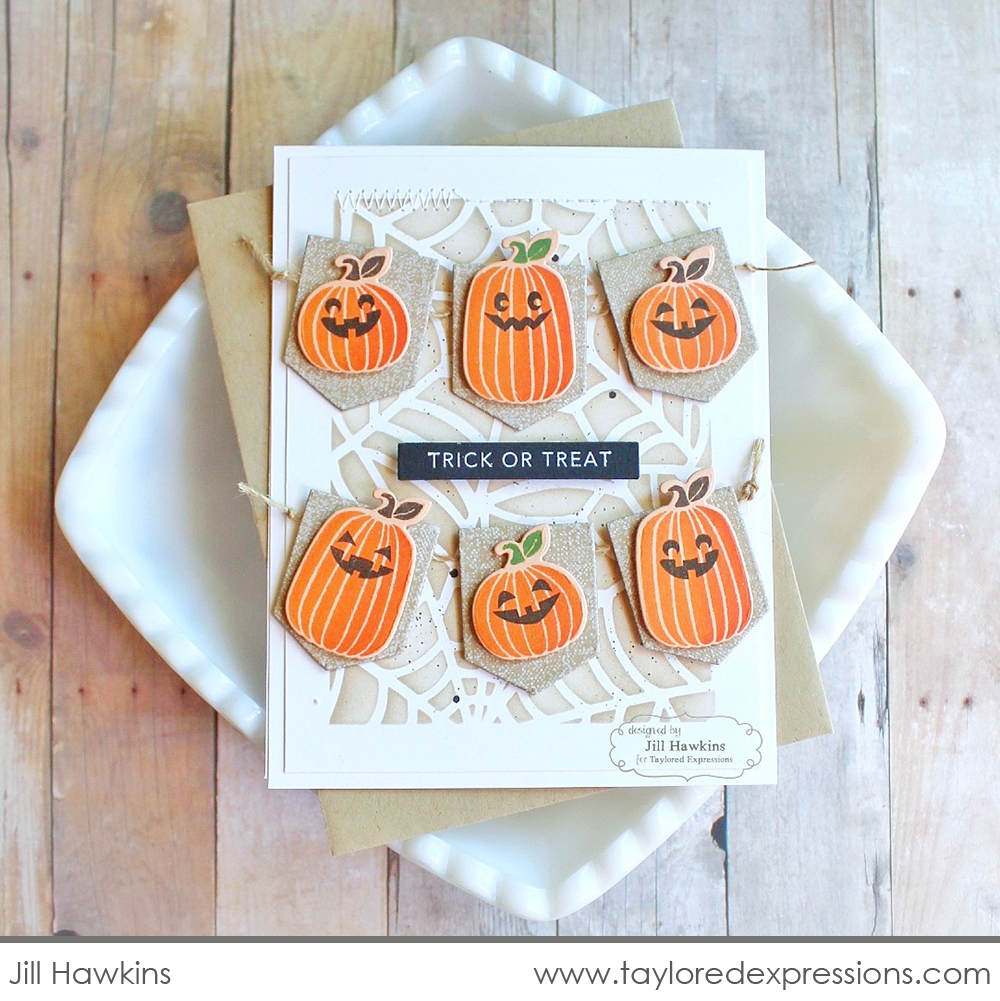
Jill Hawkins arranged several of the smallest size pennants to create the cute pumpkin banners for this Halloween card. She stamped the Linen Background onto the Toffee cardstock pennants with Sugar Cube ink before adding the pumpkins that are created with the Pick of the Patch set and coordinating dies. Jill layered the banners over a background that she blended up using the Mini Slim – Spiderweb stencil and Toffee ink.
This next group of Clearly Crafty stamp sets have a rustic farmhouse feel and include options to create projects for Halloween, Christmas, Valentine’s Day, and more!

The new Farmhouse Wreath Cleary Crafty stamp set includes a wreath and different wreath filler options including flowers, bats, stars, snowflakes, hearts, leaves, and berries. The coordinating Farmhouse Sentiments Clearly Crafty stamp set includes nine words designed to fit into the center of the wreath.
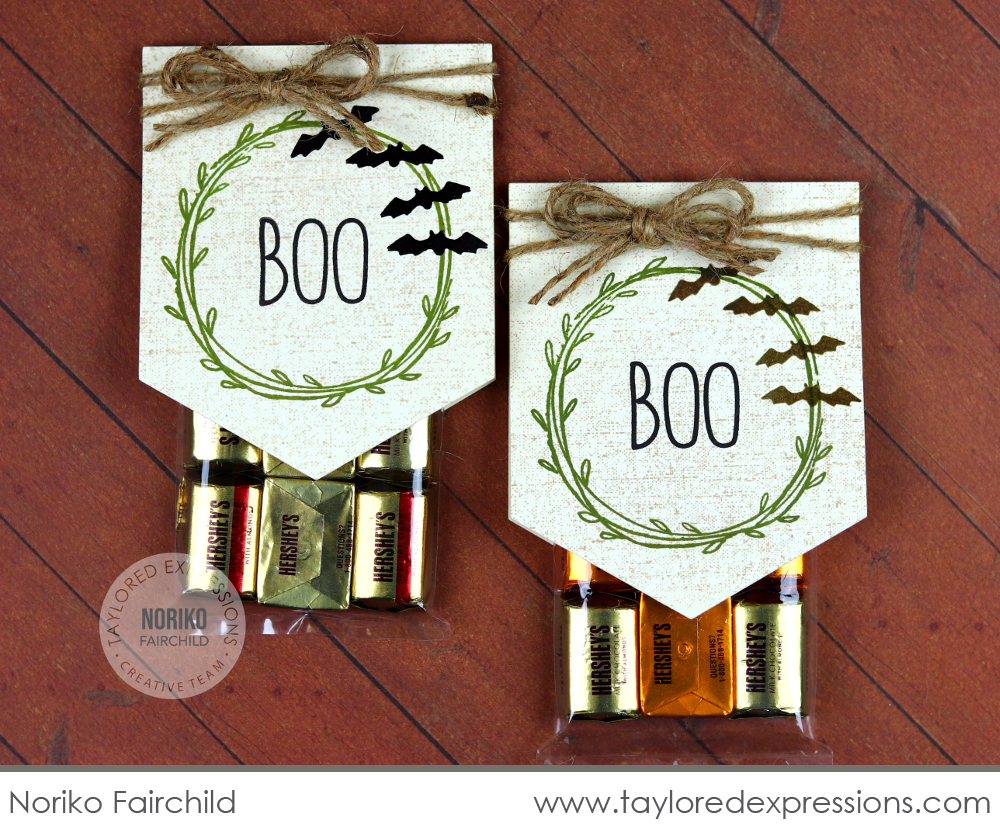
Noriko Fairchild whipped up a few fun Halloween treats using the Farmhouse Wreath and Farmhouse Sentiments stamp sets. She added the bats to her wreaths that are stamped onto package toppers die cut with the Pennant Stacklets die set. The treat toppers are stamped with the Linen Background stamp. So classy, cute, and fun! Plus, chocolate….right?
And finally, we have a fun craft kit to create Halloween treats and the new Glow in the Dark Embossing Powder color that I used in the video!

The Pumpkin Candy Capsules Kit includes everything you need to create 12 pumpkin capsules, which are great for holding candy as well as other small goodies. Simply use hot glue or glue dots to adhere the leaves and cork stem to the plastic capsule (you can create your pumpkin oriented either direction), then choose one of three different vinyl face stickers to make a whole patch of adorable jack-o-lanterns!
You will love adding a glowing effect to your projects with the new Glow in the Dark embossing powder! The embossing powder appears clear (center picture), but gives off a green glow in the dark (picture on the right). You’ll love using the Glow in the Dark embossing powder for projects with a Halloween theme, space theme, and more!
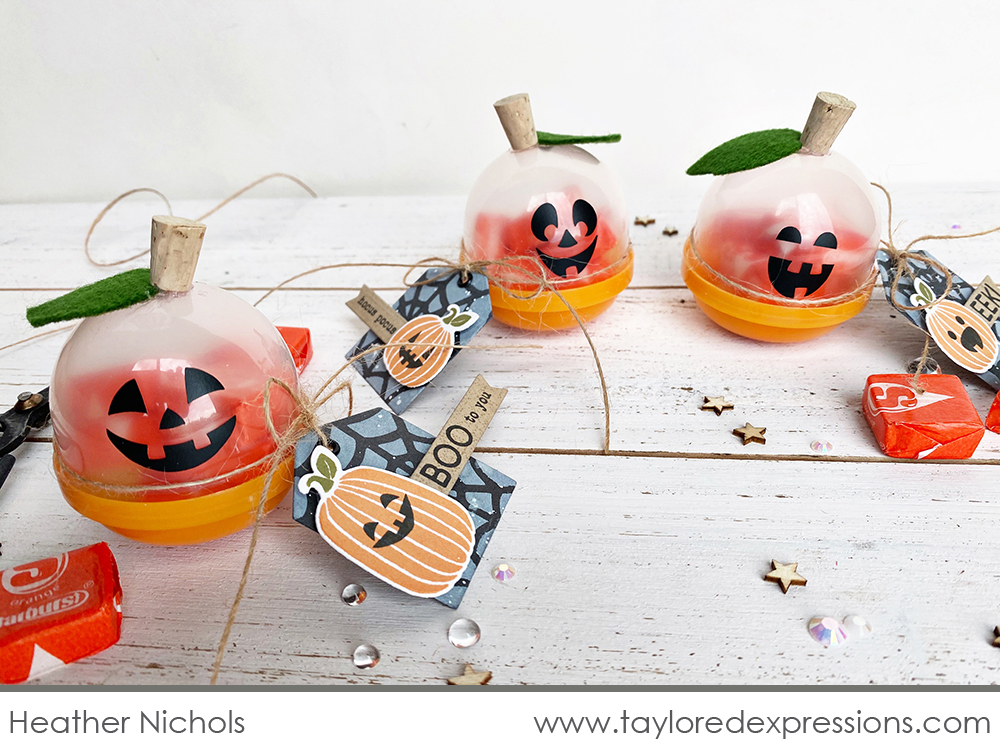
Heather Nichols tipped her capsules in the opposite direction from what I originally envisioned, but the results are equally cute! She filled the capsules with a sweet treat, applied the vinyl face to the clear capsule piece, and hot glued a leaf and the cork stem to the top. She finished off her Halloween treats with cute pumpkin tags tied on with a bit of burlap twine. The tag bases are die cut using the new Pennant Stacklets die collection!
So there you have it! Our new Halloween products will be available for purchase starting tomorrow at 9am Central Time, but before I head out for today, you have a chance to win it before you can buy it! Just comment below and let me know:
What’s your favorite product from this release? Or products – if you must! *grin* What ideas are rolling around in your head?
I’ll choose three lucky winners to receive their favorite from this release!
Simply leave your comment by TONIGHT, Monday, August 24th at 10PM Central Time. One comment per person. Winners are chosen at random and will be announced on the TE blog on release day, tomorrow, August 25th!
Thank you for stopping by for our new Halloween release sneak peeks! Stop back tomorrow for more inspiration from the TE Creative Team and a video from Heather! See you then!


