Mar 18, 2021
More Inspiration Created With the NEW Masking Stencils Add-ons Products!
Hey, crafty friends! It’s Heather here today! How excited are you for the new products that we released this week? I love the new options for adding scallops with the new Masking Stencils and my very favorite are the new Diagonal Stitch Stacklets sets. I love how they coordinate with the square and rectangle Masking Stencils, but I also plan on using them on their own too! Today, I have more inspiration to share with you using the new Masking Stencil Add-ons products. First up will be a video from Joy Baldwin and then more inspiration from the TE Creative Team.
Here’s one more reminder about the promotion happening in the TE webstore this week for our previously released Masking Stencils:
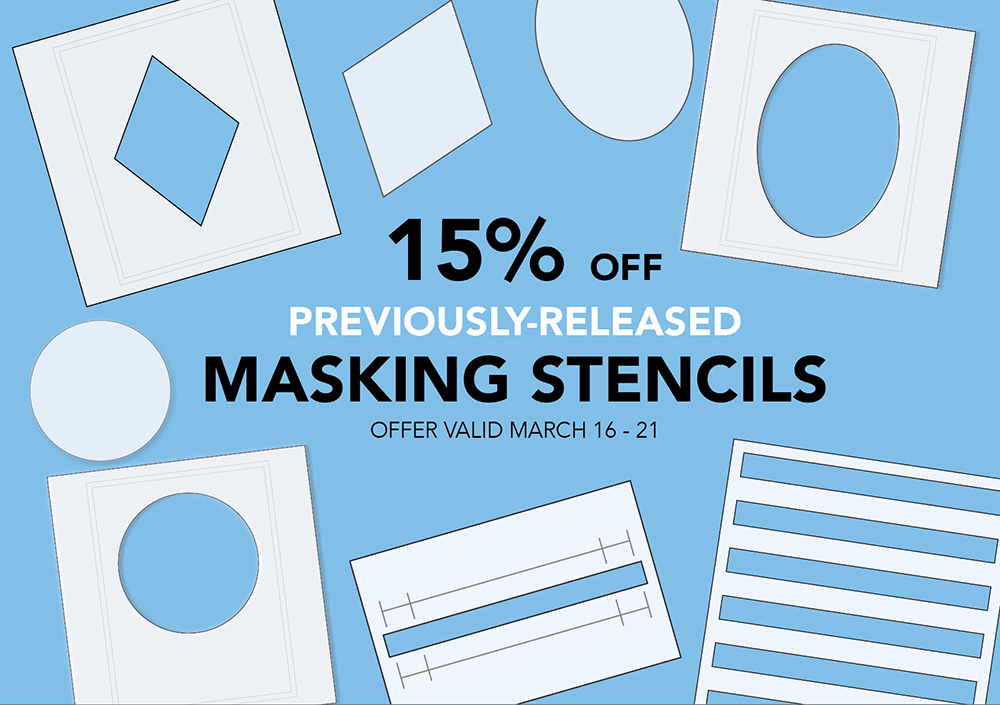
Now until Sunday, March 21, all of our previously released Masking Stencils are 15% off. This is a great time to get your hands on the Masking Stencils that you need to complete your collection! This promotion only includes in stock items and does not include the newly released Masking Stencil products. CLICK HERE to shop our Masking Stencils collection in the TE webstore.
Click above to check out the new Masking Stencils Add-ons products in the TE webstore and then keep scrolling for all of the inspiration!
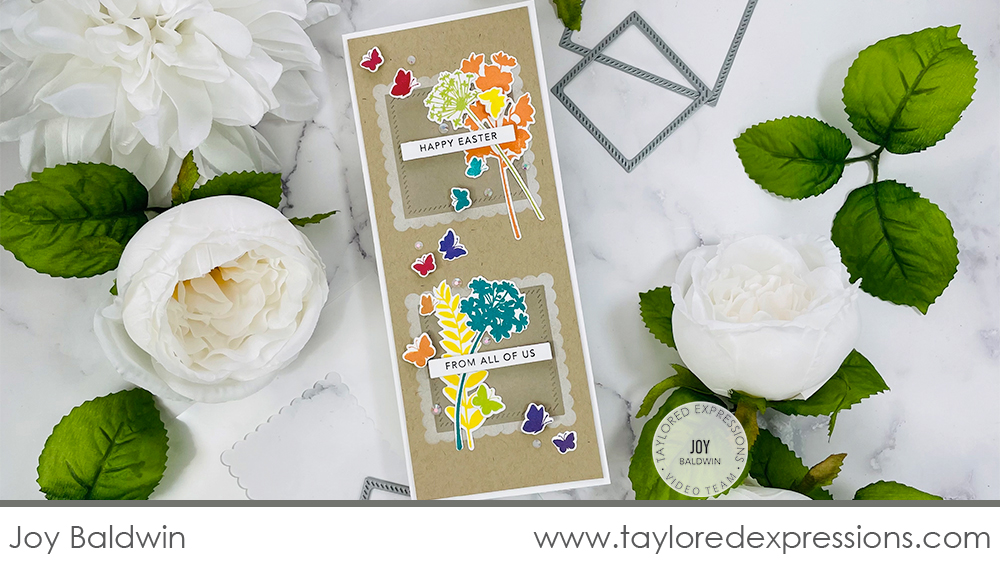
Watch the video below to see how Joy Baldwin created an Easter Slimline card with a few of the new Masking Stencils Add-ons products:
In the video, Joy shows how she added the scalloped squares to the background on her Slimline sized (3.5″ x 8.5″) card using the Masking Stencils – Scalloped Squares and Masking Stencils – Squares sets with Sugar Cube and Toffee inks. Joy used the Diagonal Stitch Square Stacklets to impress a stitched frame in each of the stenciled squares. She added flowers and butterflies stamped in bright rainbow colors to her card using the Spring Stems stamp set (+ coordinating dies). The sentiments are stamped with the Mini Strips – Easter stamp and cut out with the Mini Strips die.
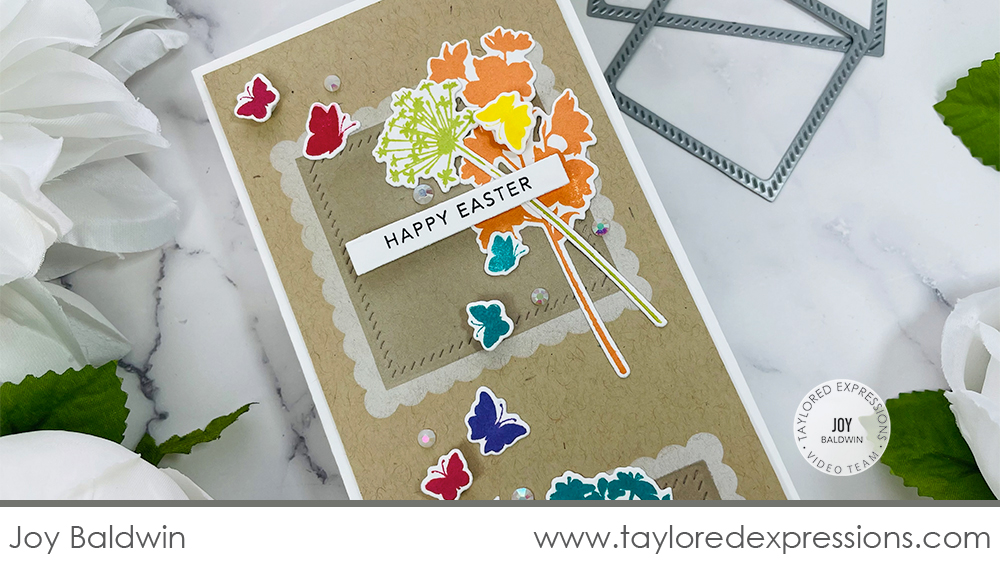
The etched alignment guides on our Masking Stencils are designed to use when creating A2 sized (4.25″ x 5.5″) cards, but don’t let that stop you from using these great shapes on other project sizes and formats! Joy used the Masking Stencils on a Slimline sized card and she shares a few great tips in the video for lining things up just right using scrap pieces of paper and her Grid Paper Placemat.

The scalloped squares that Joy added in the background of her card are the perfect landing spots for the flowers and butterflies from the Spring Stems stamp set. Joy describes the look of squares as ‘vintage postage stamps’ and I couldn’t agree more! They really add to the fun rustic feel of the card and the neutral colors let the colorful flowers shine! Joy used Easter themed sentiments, but this card design would be wonderful for so many different occasions!
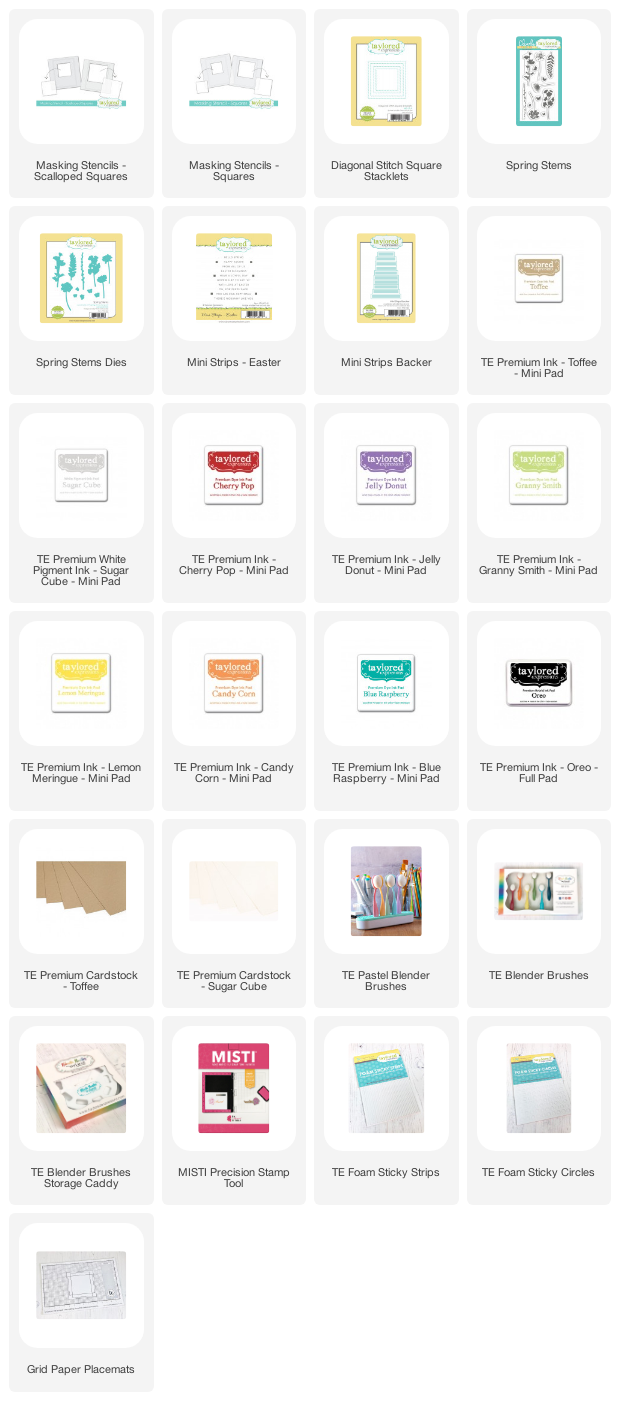
The products that Joy used on her project are included in the list below:

Here’s more inspiration from the TE Creative Team using the new Masking Stencils Add-on products that we released this week:
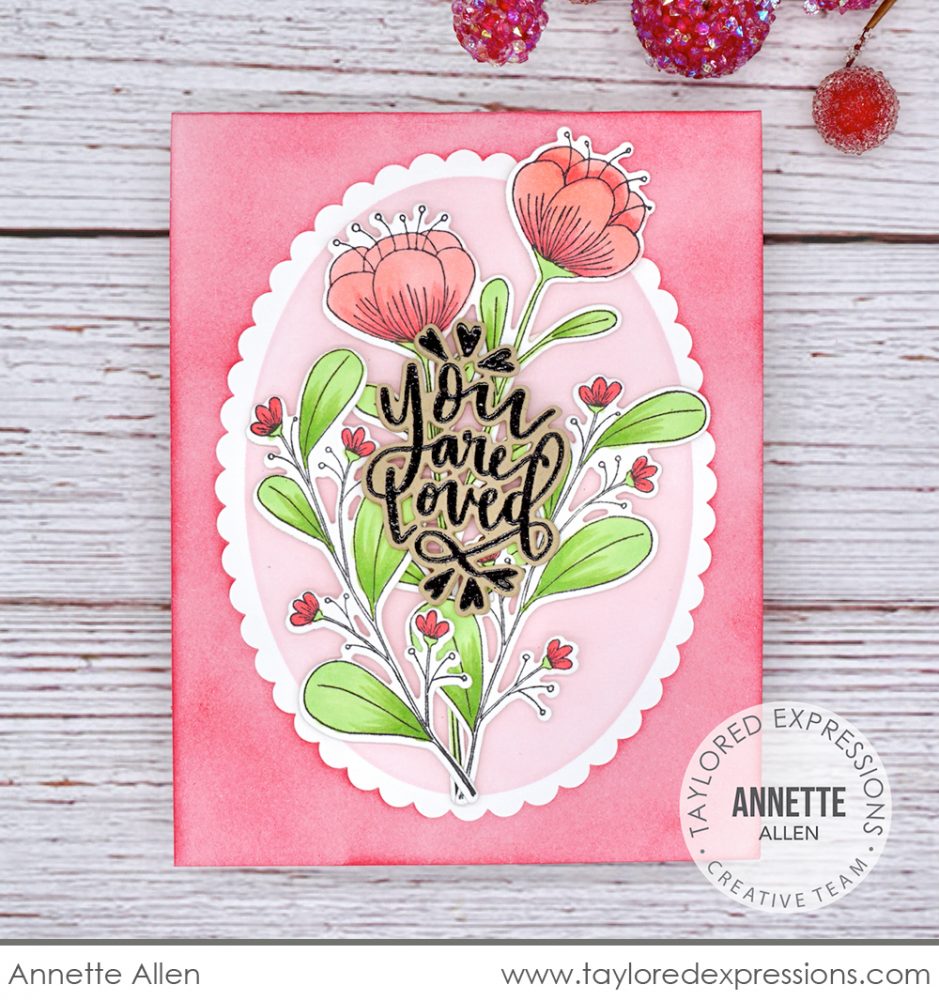
Annette Allen framed a bouquet of flowers created with the Beautiful Blossoms stamp set using the Masking Stencils – Ovals and Masking Stencils – Scalloped Ovals sets. She first set the large scalloped oval insert shape onto her card front and added Watermelon ink around it with her Blender Brushes. Next, she removed the first mask and layered the large oval stencil mask onto her card front and applied Cupcake ink through the opening. I love the pretty white scalloped frame that is the result!
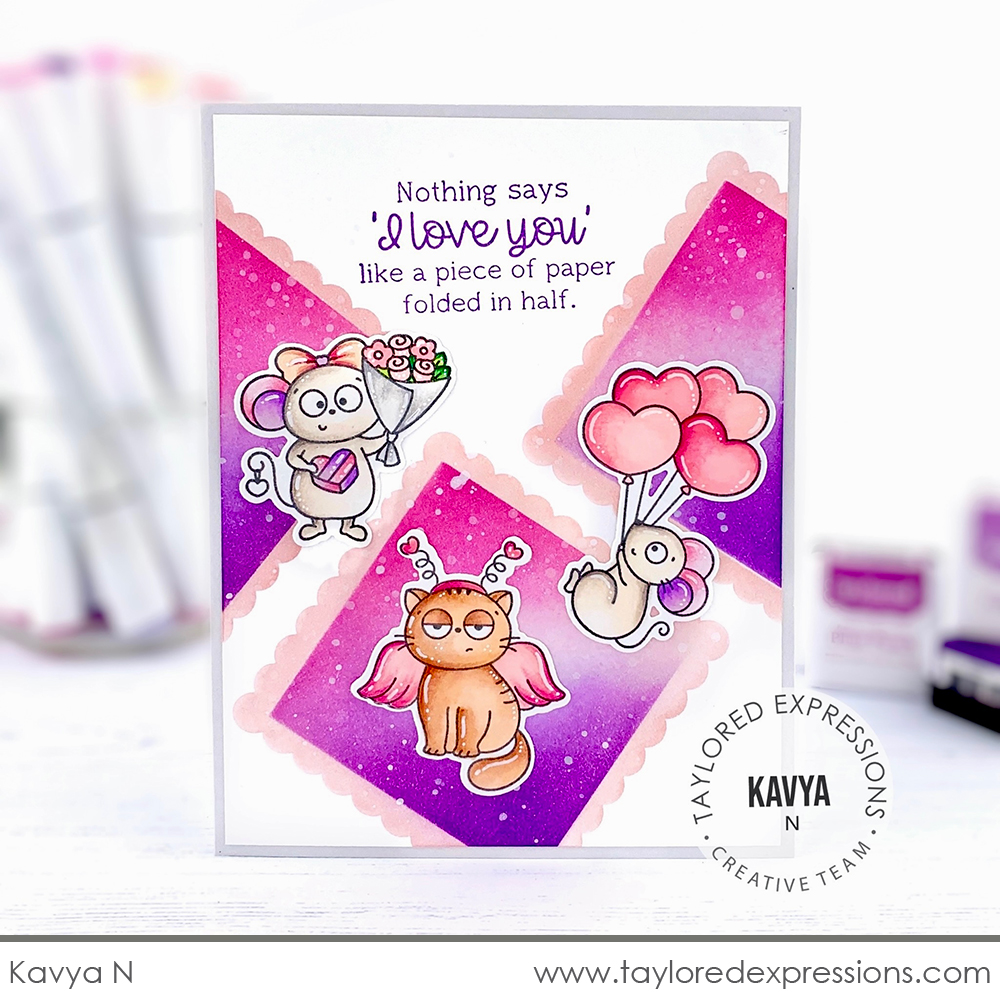
You can get creative with how you stencil shapes using the Masking Stencils on your project – they don’t always have to be straight and centered! Kavya created a fun background by stenciling several scalloped squares using the Masking Stencils – Squares and Masking Stencils – Scalloped Squares sets. I love how the squares are tipped at an angle as well as the the fun purples and pinks that Kavya used! The background is perfect to coordinate with the cute images from the Love from Max & Millie stamp set.
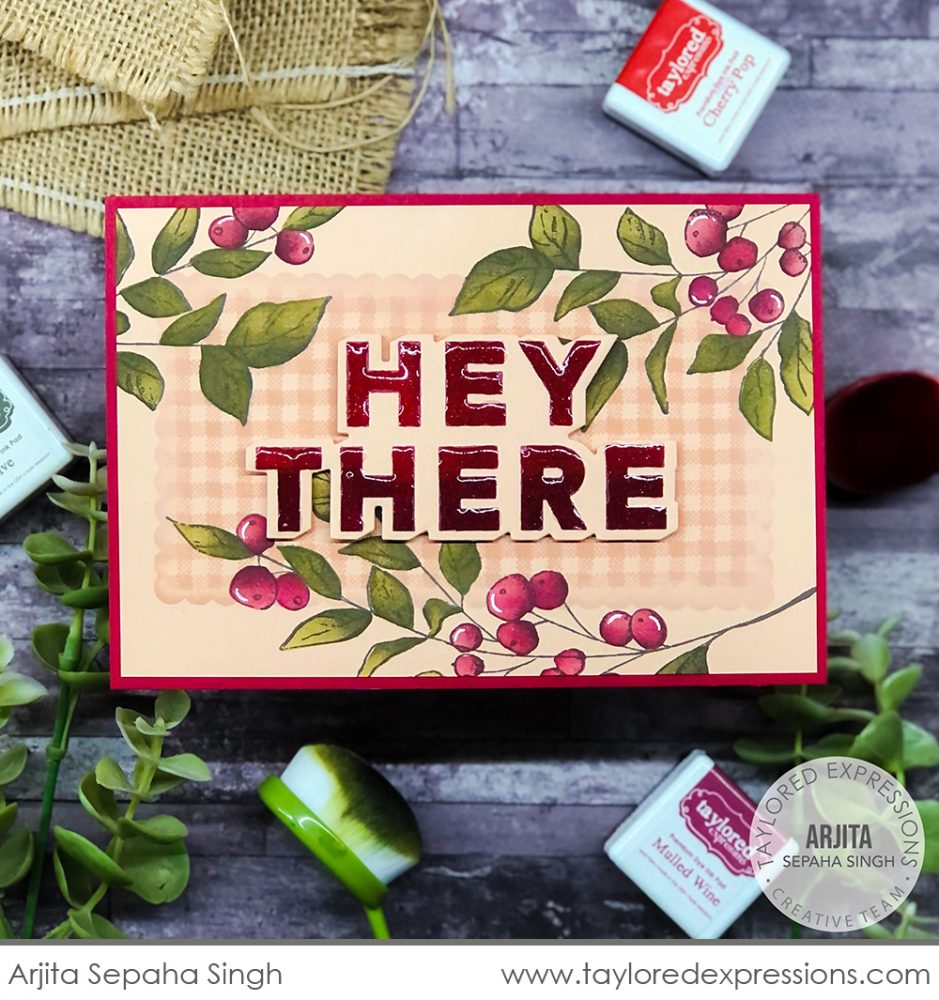
Here’s another example of even though we sometimes design products for a specific card size, you can definitely use them for other sizes and formats. Instead of using the Masking Stencil – Mini Slim Rectangle and Masking Stencil – Mini Slim Scalloped Rectangle sets for a Mini Slim size, Arjita Sepaha Singh used them on an 5″ x 7″ sized card. She stamped the Gingham Check Background through the rectangle stencil first, masked it off with the insert shape, and then added the scalloped rectangle for a border. Isn’t it a great background for the Seasonal Sprig images that Arjita added? The sentiment is stamped using the Hey There set and then covered with Glossy Accents to add shine!
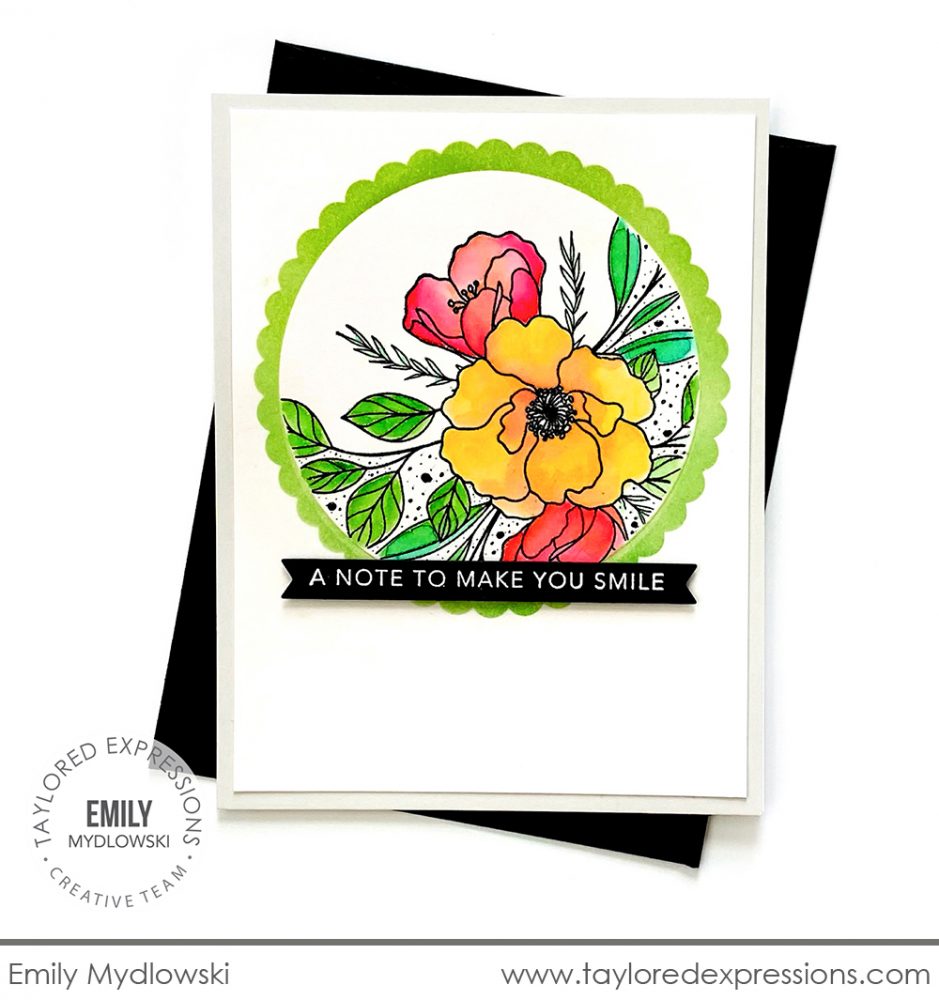
The Spring Spray image is perfectly framed on this card by Emily Mydlowski. She stamped the image into the opening of the large circle in the Masking Stencils – Circles set after she embossed the circle with the stencil to ensure her stamping went all the way to the edge. Embossing raises the card stock up so that it is even with the edge of the stencil! Emily used the shape insert to mask the flower image and then added the frame using the larger circle from the Masking Stencils – Scalloped Circles set. The sentiment is from the Simple Strips Background stamp and is embossed in white on Oreo cardstock.
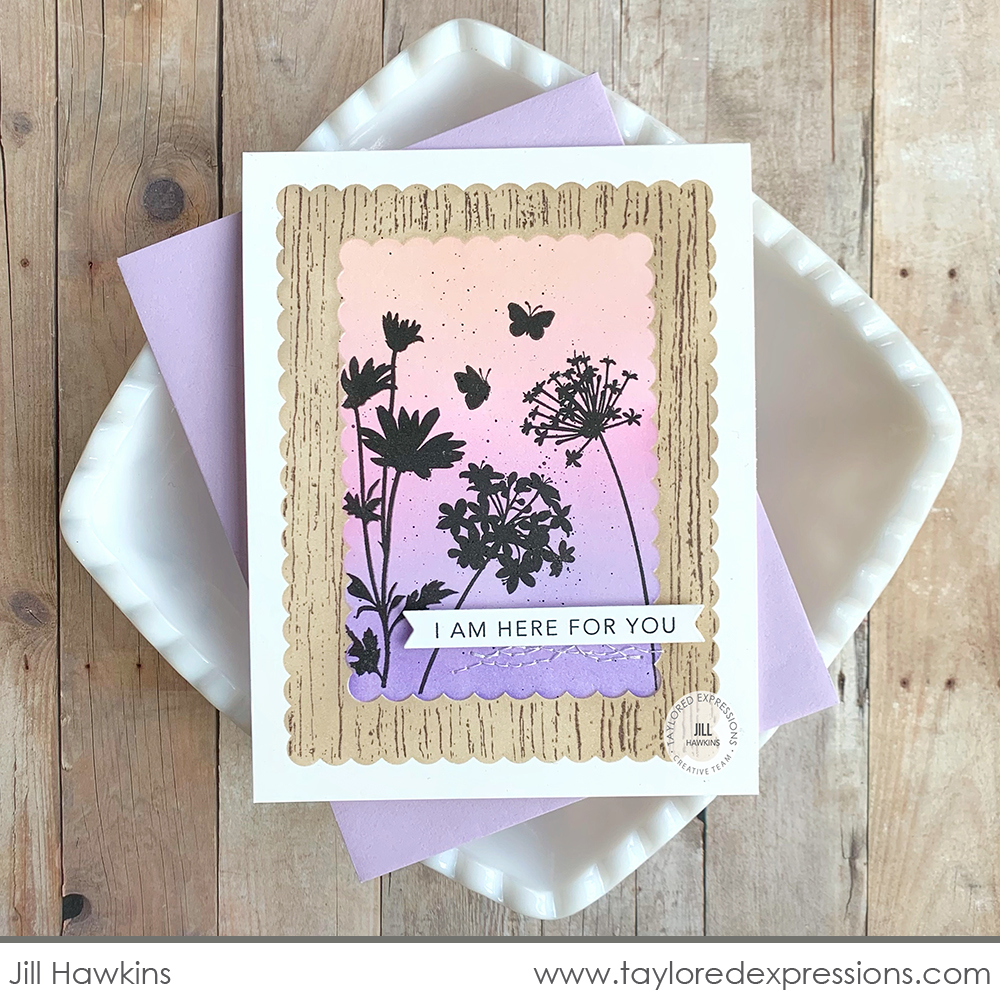
Here’s another card that looks like multiple layers, but is actually only one! Jill Hawkins used the Masking Stencils – Scalloped Rectangles to achieve the look. She used the small rectangle in the set to blend the color in the middle of the card and add the stamped florals with the Spring Stems stamp set while the mask was still in place. Then, she masked that area with the shape insert piece and used the larger rectangle masking stencil to add the Toffee ink blending. While the masks were left in place, she stamped the Wood Plank Background over the top. I know this card had to feel like magic when Jill took off the stencil masks to reveal the finished result – that’s the best part!
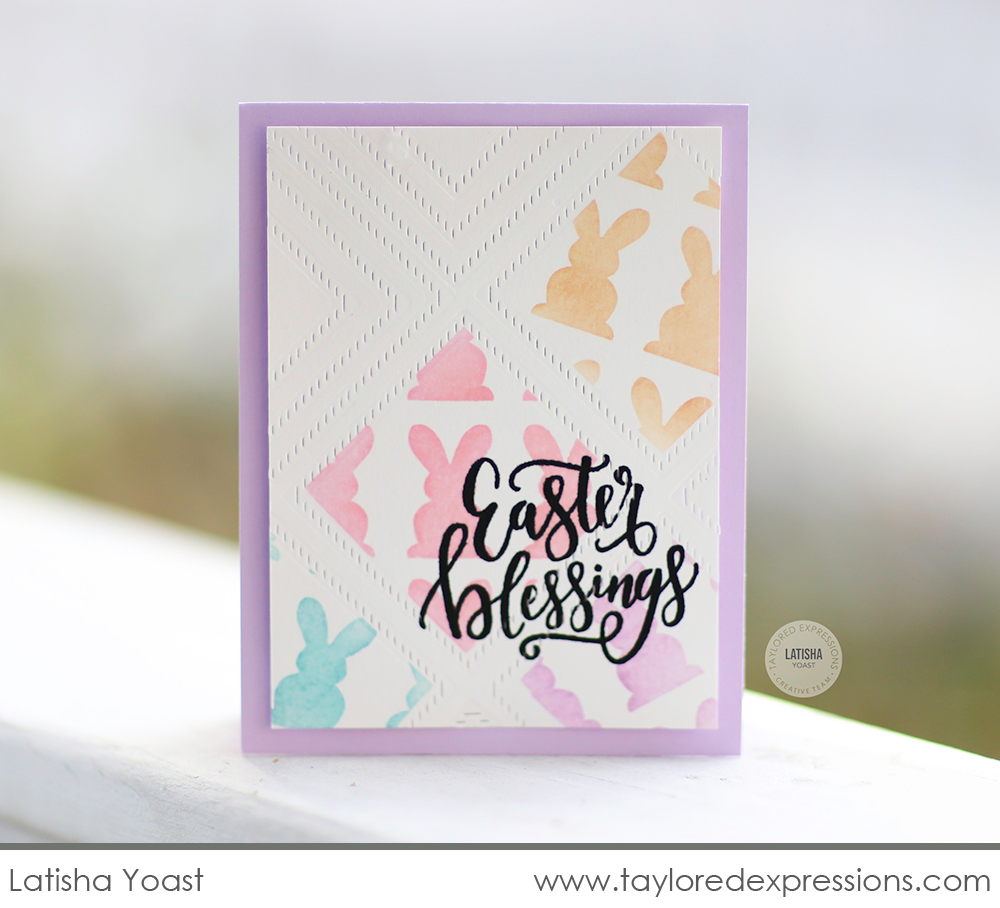
Latisha Yoast had fun creating a grid pattern on this Easter card with the Diagonal Stitch Square Stacklets. She tipped the frame an angle and impressed it into her cardstock multiple times to create the pattern. Latisha used the Masking Stencils – Squares set to mask around a few of the squares and stencil the bunnies from the Oh Hoppy Day stencil into the middle of them in pretty pastel colors. The ‘Easter blessings’ sentiment is from the Handlettered Easter stamp set.
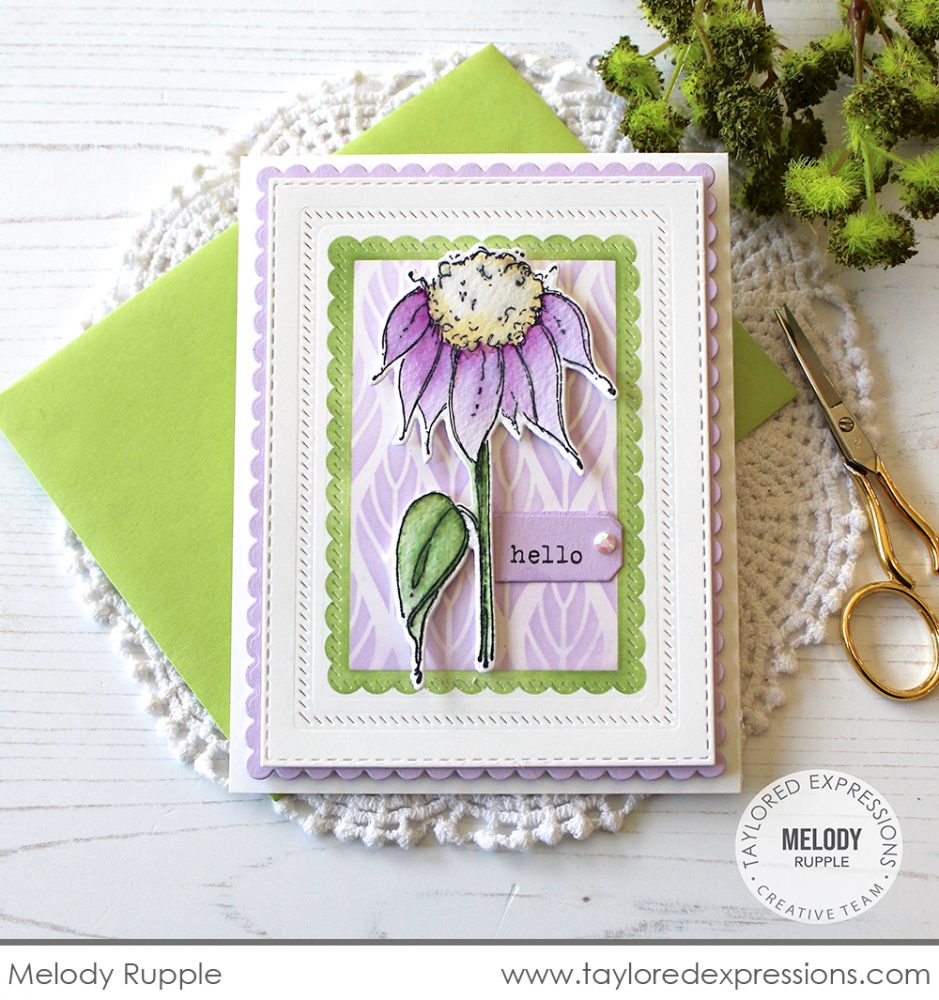
I love the texture that the Diagonal Stitch Stacklets add to a project like this one by Melody Rupple. Melody alternated different frames with stenciling and die cutting to showcase her pretty watercolored flower from the Sketchbook Florals stamp set. I like the different looks of impressing the frames from the Diagonal Stitch Rectangle Stacklets over plain cardstock as well as over the stenciled frame. What a gorgeous ‘hello’ for the recipient that receives this card in their mailbox!

Join Taylor today for “T Time” at 1pm Central on the Taylored Expressions Facebook Page. We would love to have you join us for some crafty chat! Hope to see you there!
Thank you so much for joining me this week – I hope you enjoyed all of the inspiration with the new Masking Stencils Add-ons products! Next week is a busy week at TE with Stamp Joy coming up at the end of the week, but we still have lots of crafty inspiration coming your way. Make plans to stop and check it out and I’ll post a sneak peek of new things coming to the TE webstore on the blog this weekend!
Did you know that you can subscribe to our blog and get our posts right in your inbox? Just sign up right HERE – that’s all there is to it to make sure you don’t miss any of our crafty inspiration!


