May 20, 2021
Stretch Your Stash & Use NEW Theater Fold Products for Non-interactive Cards!
Hey, crafty friends! It’s Heather again today! There’s nothing I like better than being able to use my crafty supplies in lots of different ways – how about you? While the products that we released this week were designed to work with the Theater Fold Frame die and Theater Fold Flaps packs to create theater fold cards, you can absolutely use them on other kinds of non-interactive projects too. Today, I have a round-up of inspiration to share with you from the TE Creative Team and a video from Joy Baldwin sharing all sorts of “regular” card ideas using the Theater Fold release products.
Before we get to the inspiration, here’s one more reminder about the Theater Fold Starter Bundle available this week in the TE webstore:
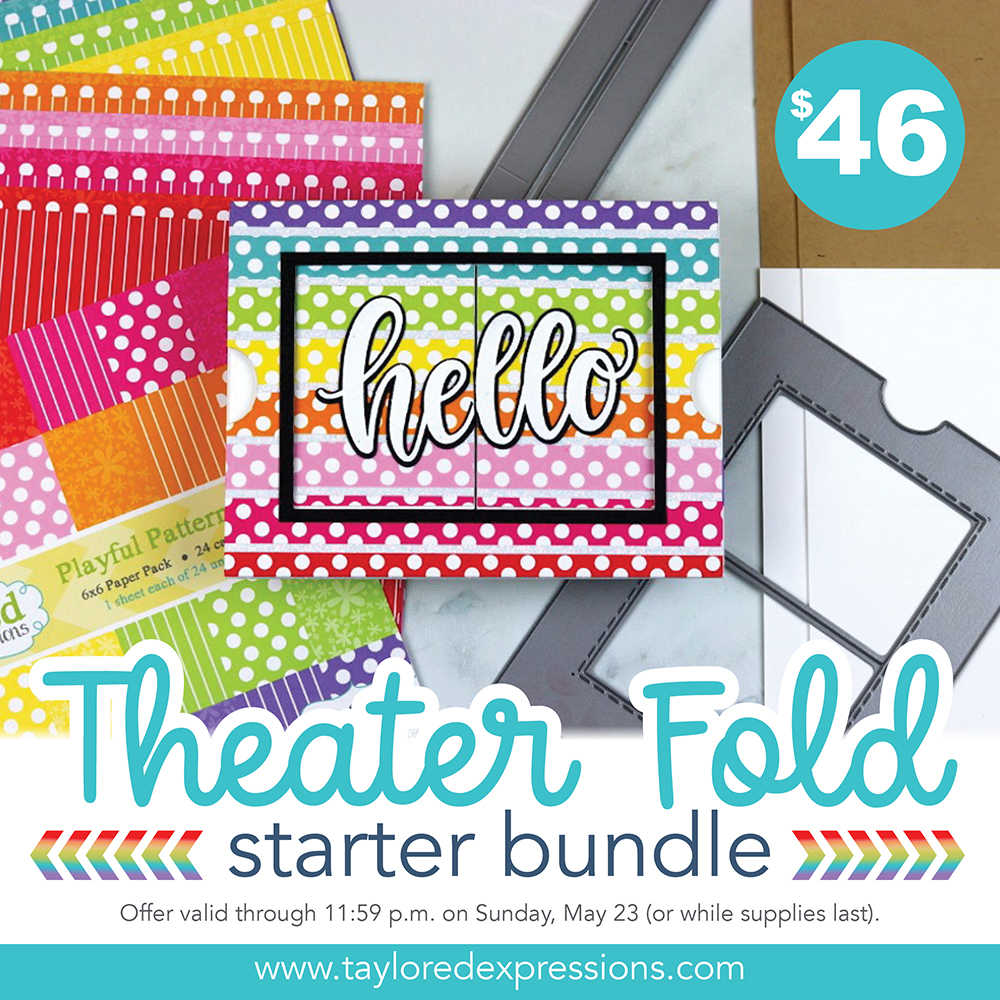
You’ll be ready to start making interactive Theater Fold Cards when you purchase our Theater Fold Starter Bundle, available for a limited time only! The bundle includes one Theater Fold Frame Die and two sets of our Theater Fold Flaps (one each in Sugar Cube and Toffee), as well as a 6×6 Paper Pack in Playful Patterns – Bold! The Theater Fold Starter Bundle is available through Sunday, April 23, or while supplies last.
Click below to shop all of the new products that released this week and then keep scrolling for inspiration!
- New products are available to purchase RIGHT NOW in the TE webstore!
- Receive FREE shipping on orders of $50 or more in the United States!
- Earn a free, exclusive product with purchases of $100 or more. CLICK HERE for more information.
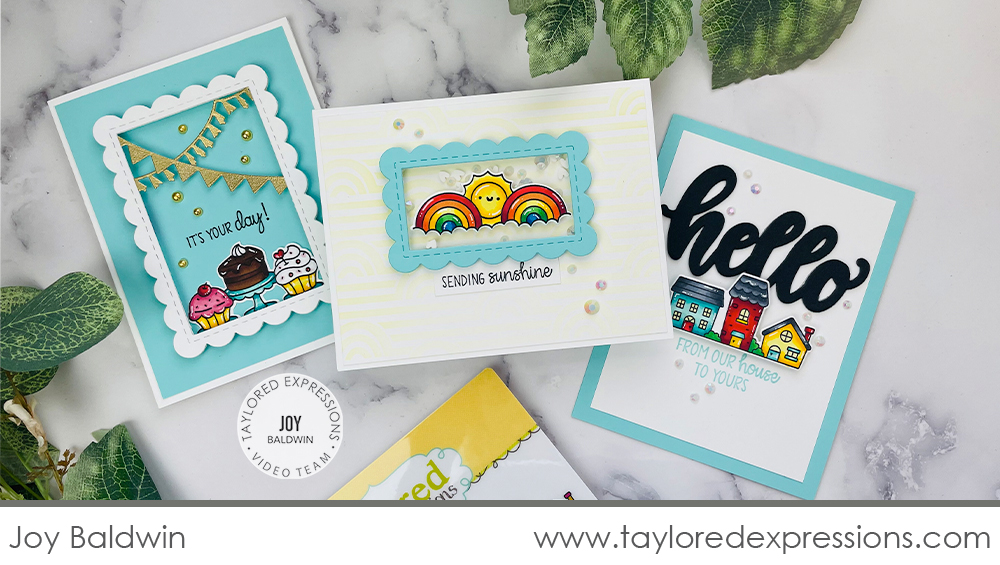
Joy Baldwin is here with today’s video where she is sharing a few card ideas other than a theater fold card using the new products. Watch the video below for great ideas to stretch your new stash of crafty supplies:
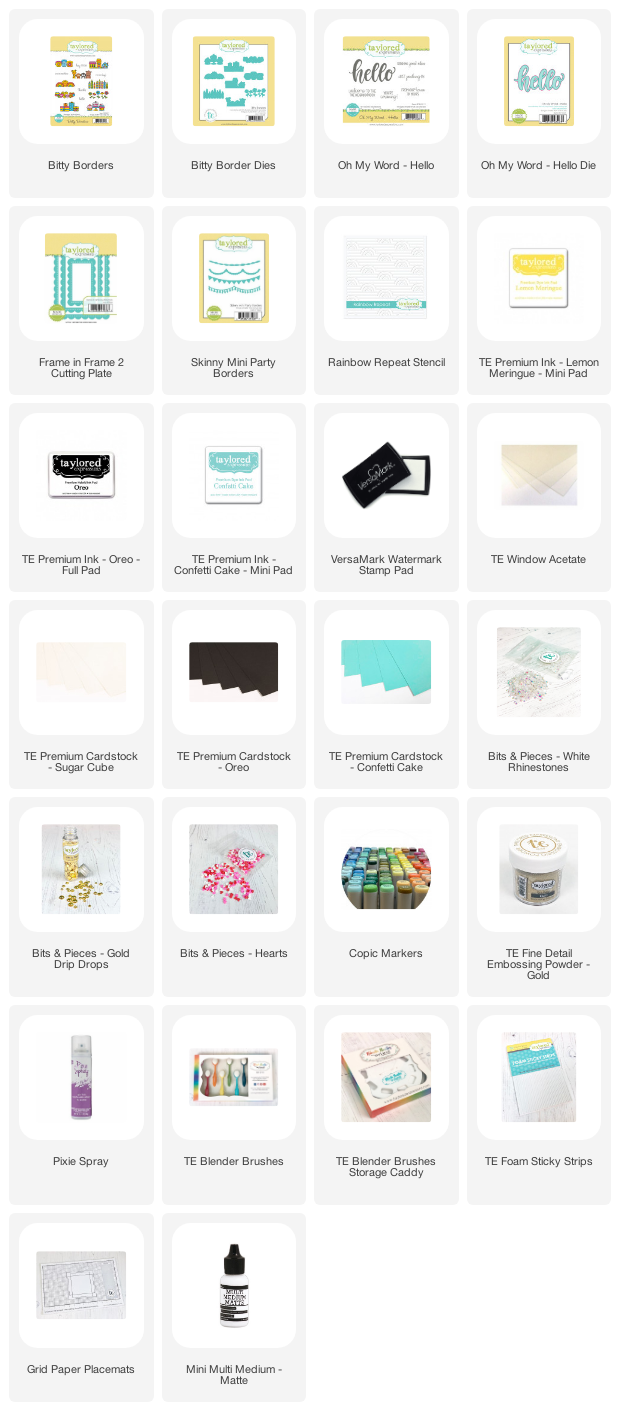
In the video, Joy shares three cards that she created with a few of the new products that were released for creating theater fold cards, but using them to create standard cards. First she stamps three images from the Bitty Borders stamp set using Oreo ink and colors them with Copic markers. Once the images are colored, Joy shows how she puts the three different cards together.
Here’s a closer look at each of the cards that Joy created in the video:
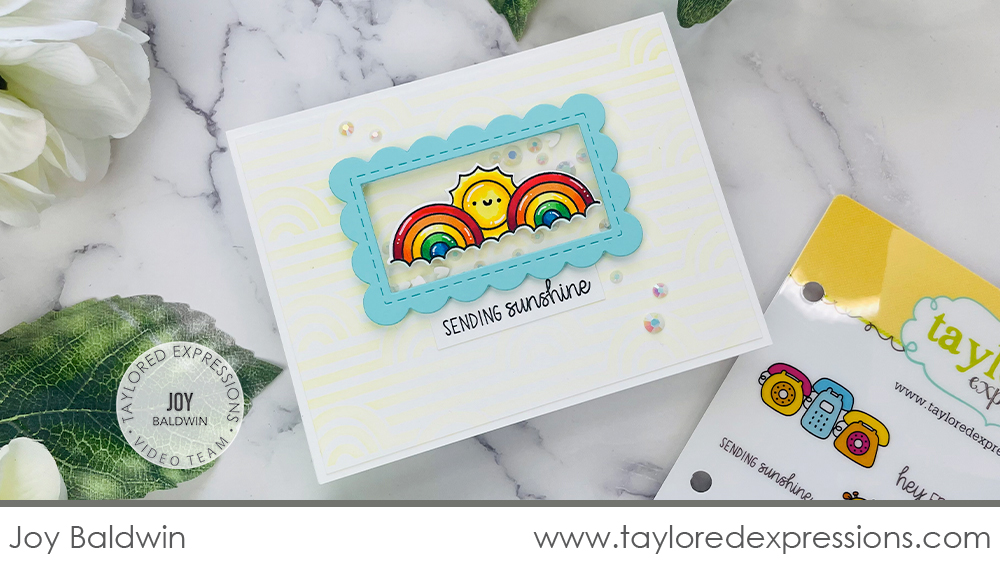
This first card is an adorable shaker card featuring the sun and rainbows image from the Bitty Borders stamp set. Joy created the shaker element using a frame from the Frame in Frame 2 Cutting Plate die. She backed the frame with acetate, added foam sticky strips, and placed the frame over a pile of Bits & Pieces – White Rhinestones and Bits & Pieces – Hearts to fill the shaker. The background on this card is created with the Rainbow Repeat stencil, Lemon Meringue ink, and a Blender Brush. Joy placed the sun and rainbows image right on the front of the shaker element and added the ‘sending sunshine’ sentiment on a strip of Sugar Cube cardstock underneath.
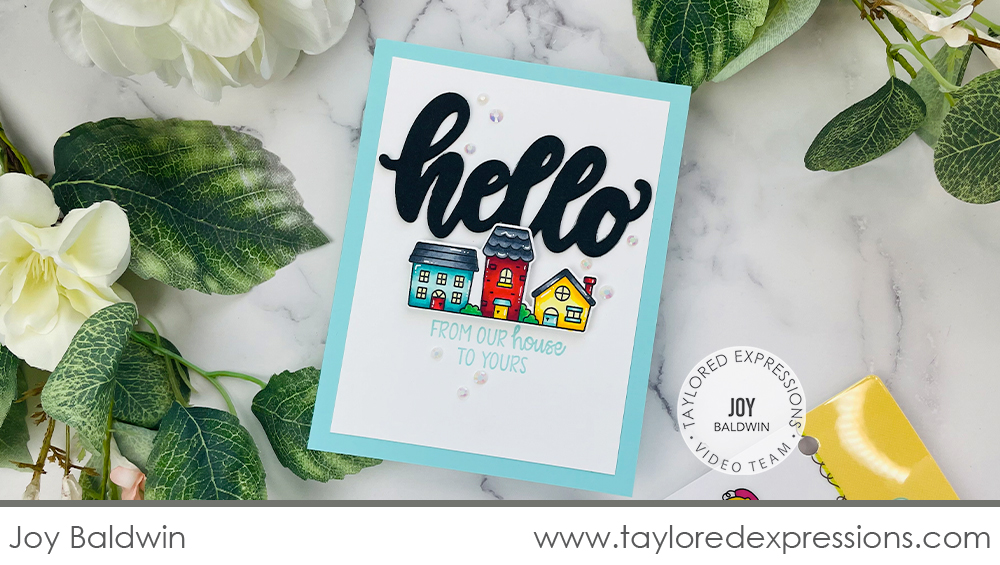
For this next card, Joy added the little houses above the ‘from our house to yours’ sentiment from the Oh My Word – Hello stamp set that she stamped with Confetti Cake ink. The houses are popped up with foam sticky strips and then the ‘hello’ is tucked right behind them. The ‘hello’ is created with the Oh My Word – Hello die cut from several layers of Oreo cardstock that are stacked together so the word pops up from the card a bit. Joy’s finishing touch on this card are a few Bits & Pieces – White Rhinestones sprinkled around the design.
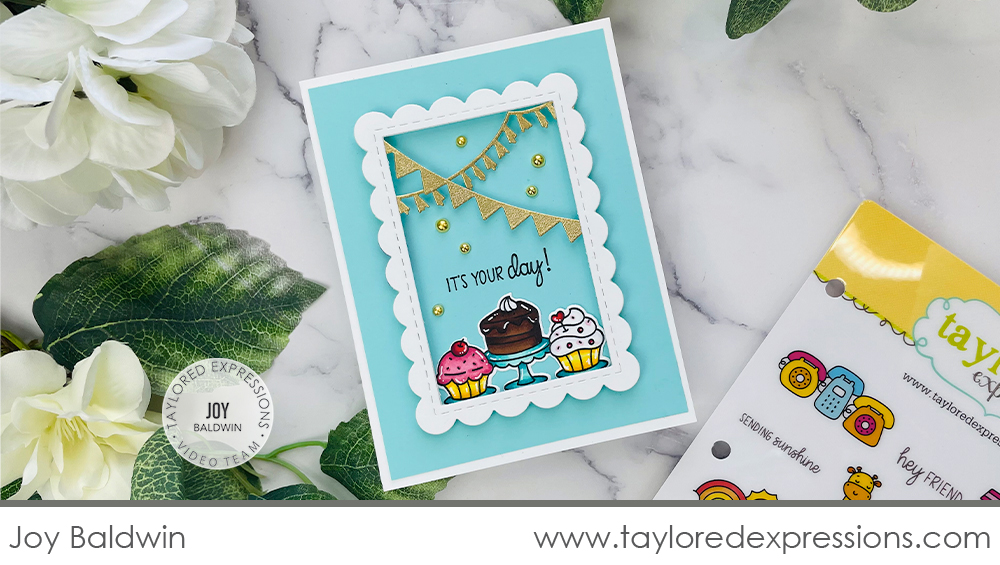
This last card is perfect to celebrate a birthday! Joy used one of the frames from the Frame in Frame 2 Cutting Plate die to create a shadowbox look. She cut several of the frames and stacked them together, adding the gold banners in between two of the layers to create a dimensional effect. The cute cupcakes are added to the bottom of the frame along with the ‘It’s your day!’ from the sentiment from the Bitty Borders stamp set and a few Bits & Pieces – Gold Drip Drops.
I love all of the ideas that Joy shared today to create non-interactive projects using the new products that were released to coordinate with theater fold cards. The list below includes all of the supplies that Joy used on her projects:

Now, here’s a look at more “regular” card inspiration from the TE Creative Team using products from this week’s Theater Fold release:
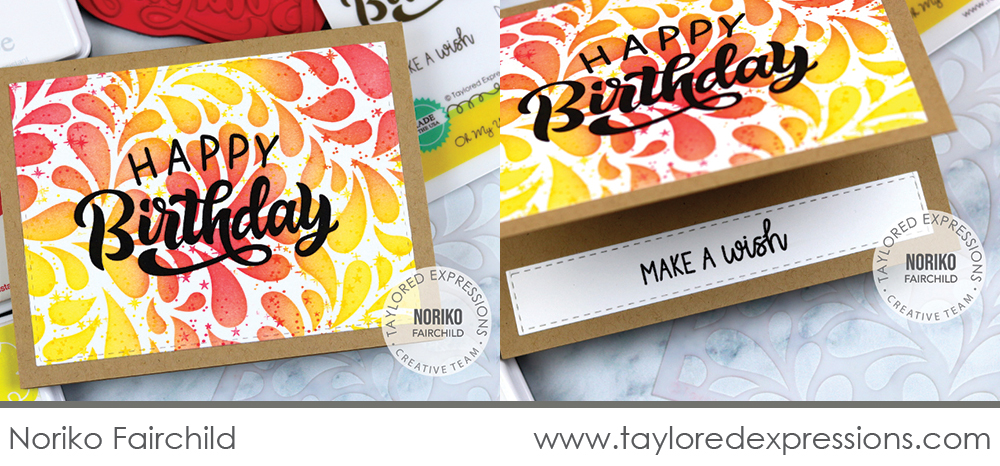
Noriko Fairchild created a colorful birthday card using the Oh My Word – Happy Birthday stamp set and Splash stencil. I love how she paired the stenciled design with the Twinkle Twinkle Background stamp that is inked with colors to match – mini ink cubes are great for inking a stamp with multiple colors! Noriko stamped the ‘happy birthday’ in Oreo ink on the front of the card and added the ‘make a wish’ sentiment to the inside of the card stamped on a strip of Sugar Cube cardstock.
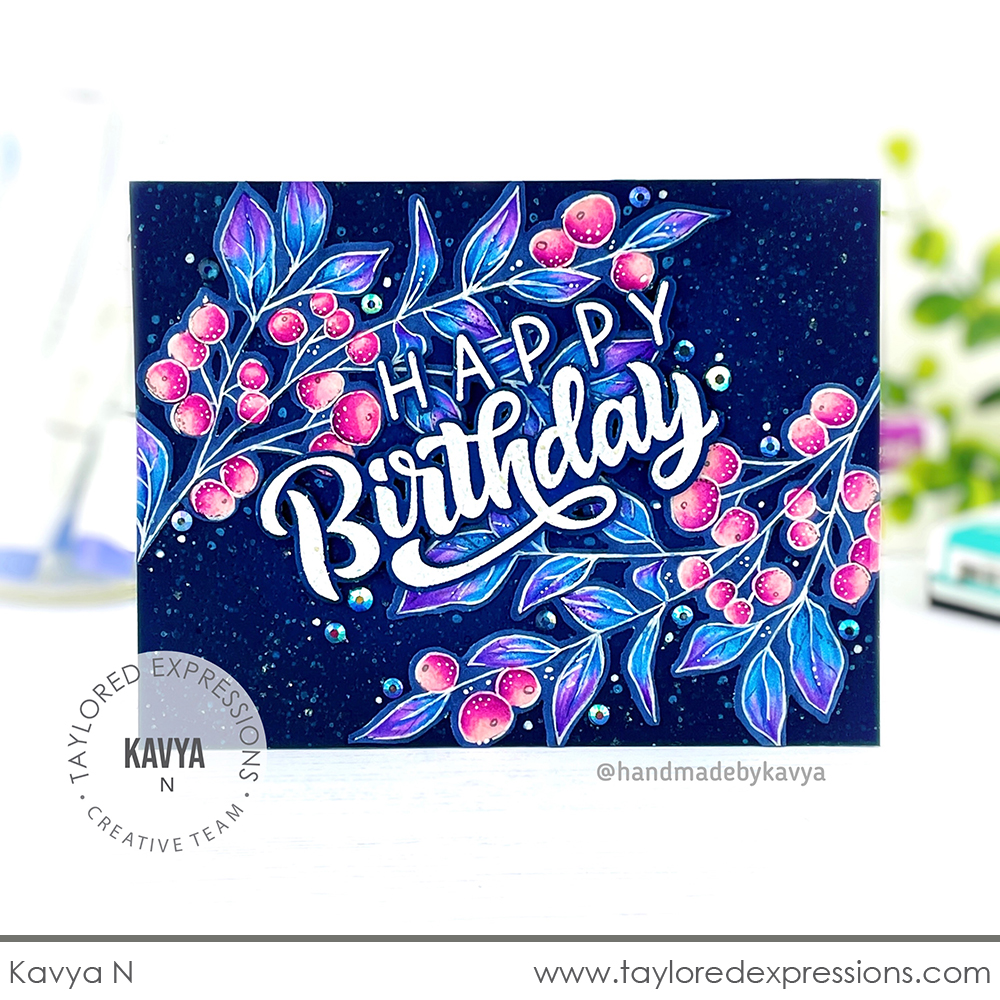
Kavya added the ‘happy birthday’ sentiment from the Oh My Word – Happy Birthday stamp set (cut out with the coordinating die) embossed in white to a card that is adorned with a few of the branches from the Seasonal Sprig stamp set. The branches are stamped on Sugar Cube Cardstock with a light tone ink (like Sea Salt), colored with a no line effect, and then the outlines and details are added with a white gel pen. I love how Kavya added the branches to a dark cardstock background and colored the edges of the branches with a dark blue color to match.
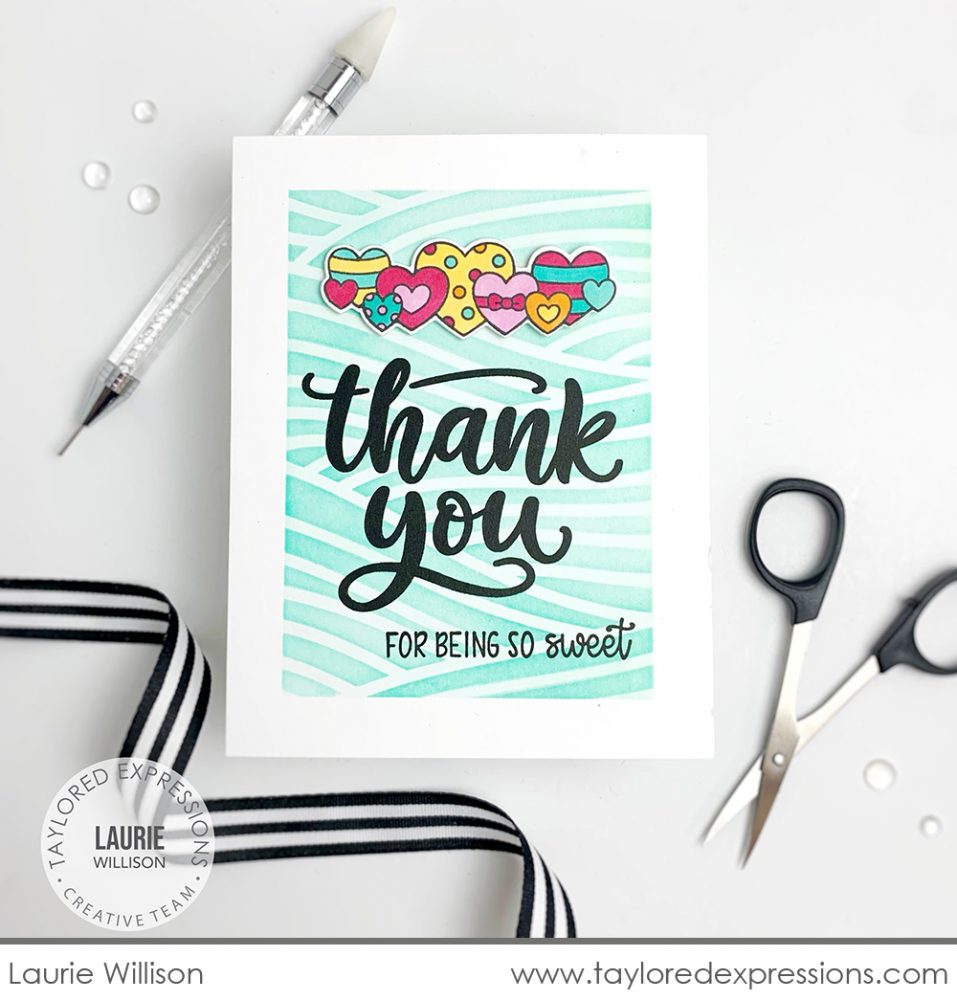
Laurie Willison used the Oh My Word – Thank You stamp set to create this sweet thank you card. She added the ‘thank you’ sentiment stamped with Oreo ink onto a background that is stenciled with the Breezy stencil and Masking Stencils – Rectangles set . The coordinating ‘for being so sweet’ sentiment is stamped underneath, also with Oreo ink. The cute hearts at the top of the card are from the new Bitty Borders stamp set (+ coordinating dies) and are colored with Copic markers.
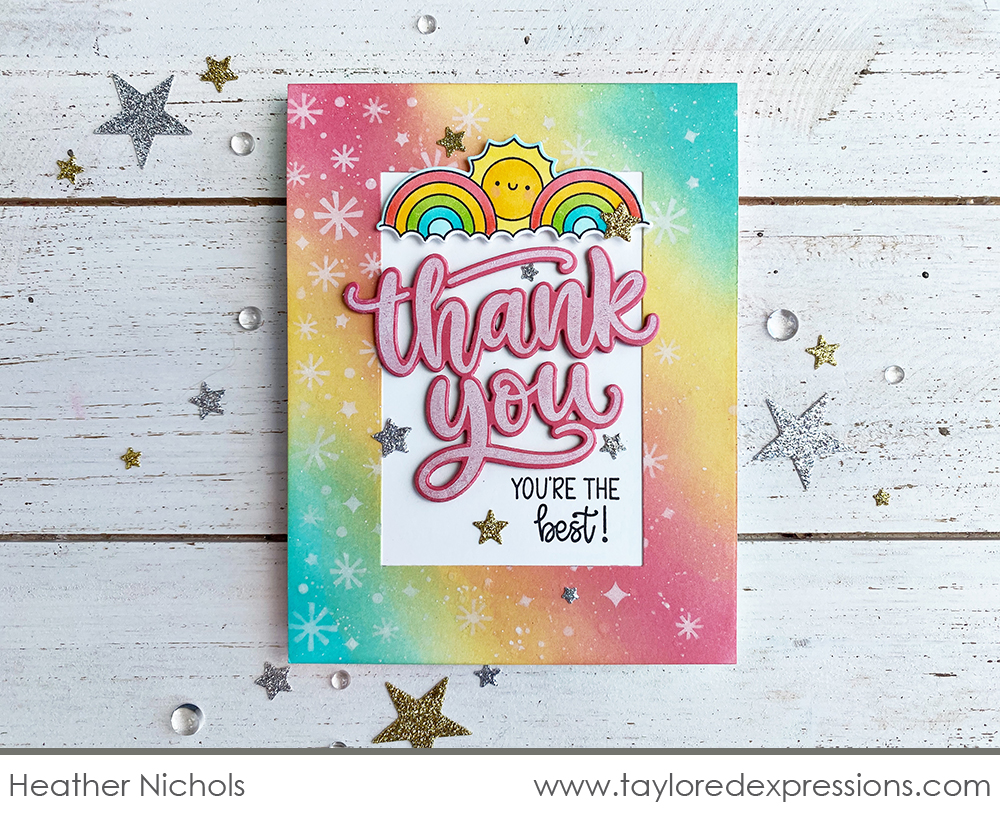
This bright and cheery thank you card is created by me (Heather Nichols). I stamped the ‘thank you’ from the Oh My Word – Thank You stamp set with Sugar Cube ink onto Guava cardstock cut out with the coordinating die. The sentiment is added to a frame that is blended with Guava , Pineapple, and Cookie Monster inks and stenciled with Sugar Cube ink using the Confetti Toss stencil. I added the cute sunshine and rainbows image from the Bitty Borders stamp set to the top of the frame opening and the coordinating ‘you’re the best’ sentiment stamped at the bottom.
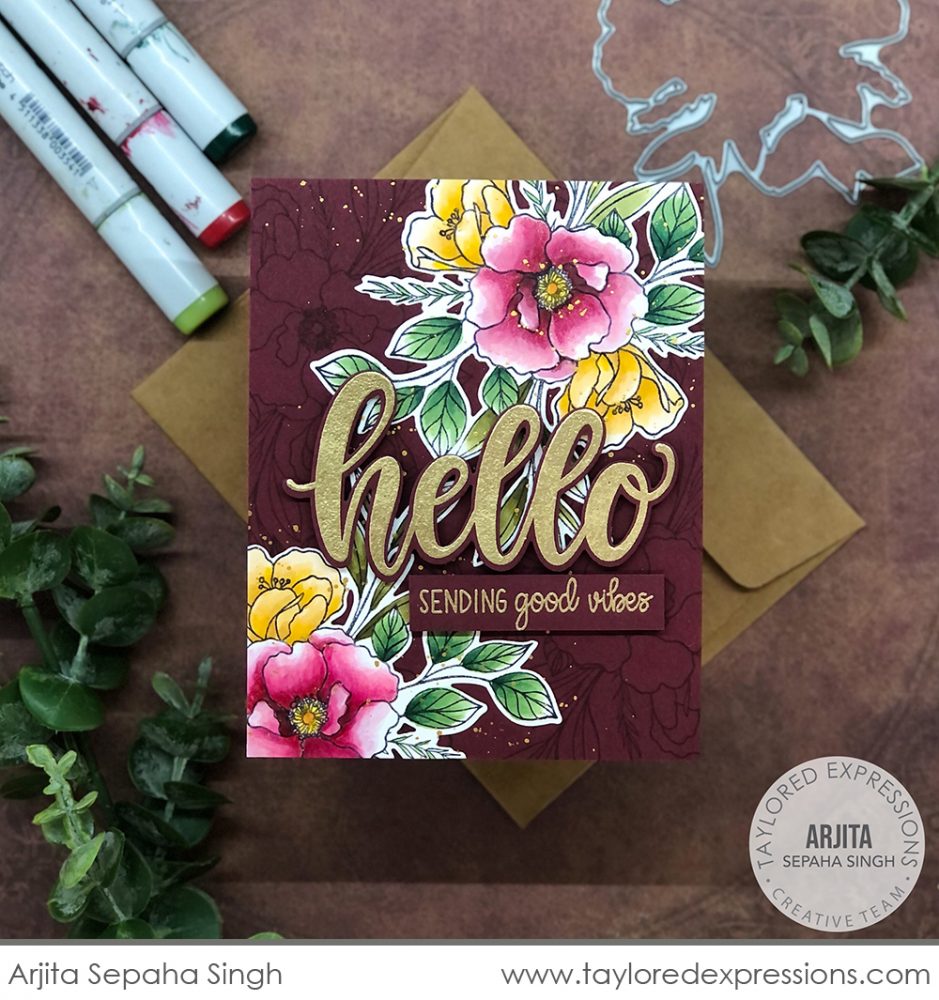
Here’s another floral showstopper created by Arjita Sepaha Singh. The sentiment on the card is created with the Oh My Word – Hello stamp set (+ coordinating die) that is embossed in gold on Mulled Wine cardstock. The florals are stamped with the Spring Spray stamp: a few on Sugar Cube Cardstock for the main images, that Arjita colored with Copic markers, and on the Mulled Wine cardstock background with Mulled Wine ink for a tone on tone look. I love the gold splatters that Arjita added to coordinate with the gold embossed sentiments!
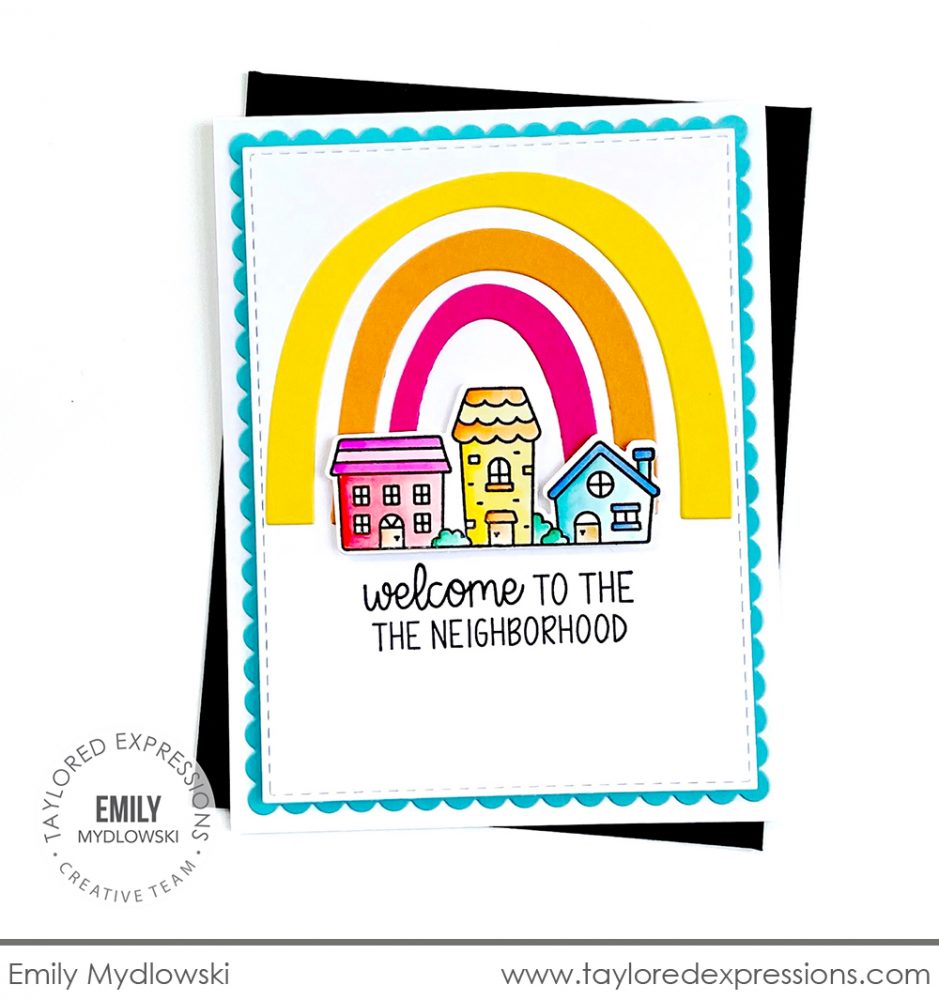
This last card created by Emily Mydlowski features the cute little houses from the Bitty Borders stamp set. The houses are colored to match the rainbow in the background that is die cut with the Over the Rainbow die. Below the houses, Emily stamped the ‘welcome to the neighborhood’ sentiment from the Oh My Word – Hello stamp set. This sweet and simple design would be great to mass produce to have on hand for delivering to new neighbors along with a sweet treat or gift!
That does it up for the inspiration for this week for the new Theater Fold release products – I hope you have enjoyed all of the inspiration from the TE Creative Team! Next week, there is more crafty inspiration coming your way… this time for organizing your craft space. Do you have an idea of what we might be bringing to you? Make sure to join us next week to learn more!
Did you know that you can subscribe to our blog and get our posts right in your inbox? Just sign up right HERE – that’s all there is to it to make sure you don’t miss any of our crafty inspiration!


