Aug 10, 2021
EEK! NEW Halloween Products Available NOW! It’s Release Day!
Hey, crafty friends! It’s Heather here today and it’s release day! All of the new products that we introduced to you yesterday are now available to purchase in the TE webstore. Do you get crafty for Halloween? My girls are both grown now, but I still love to put together fun Halloween treats for them and for other close family and friends. There are so many fun crafty options to choose from for this release – do you have a favorite? I had a whole lot of fun playing with the new Critter Clips – Halloween dies and felt! These cute critters are so much fun attached to a clip and you can use them on other projects too. I made a few fun treat tags with them that you’ll see as you scroll through today’s inspiration.
Speaking of inspiration, you don’t want to miss today’s video from Mindy Eggen. She shares a stunning trio of cards created with the Happy Halloween Stamp & Stencil Combo set. I also have more inspiration to share from the TE Creative Team too!
Also, I want to remind you about the promotions we have going on for this week’s release. Here are the details:
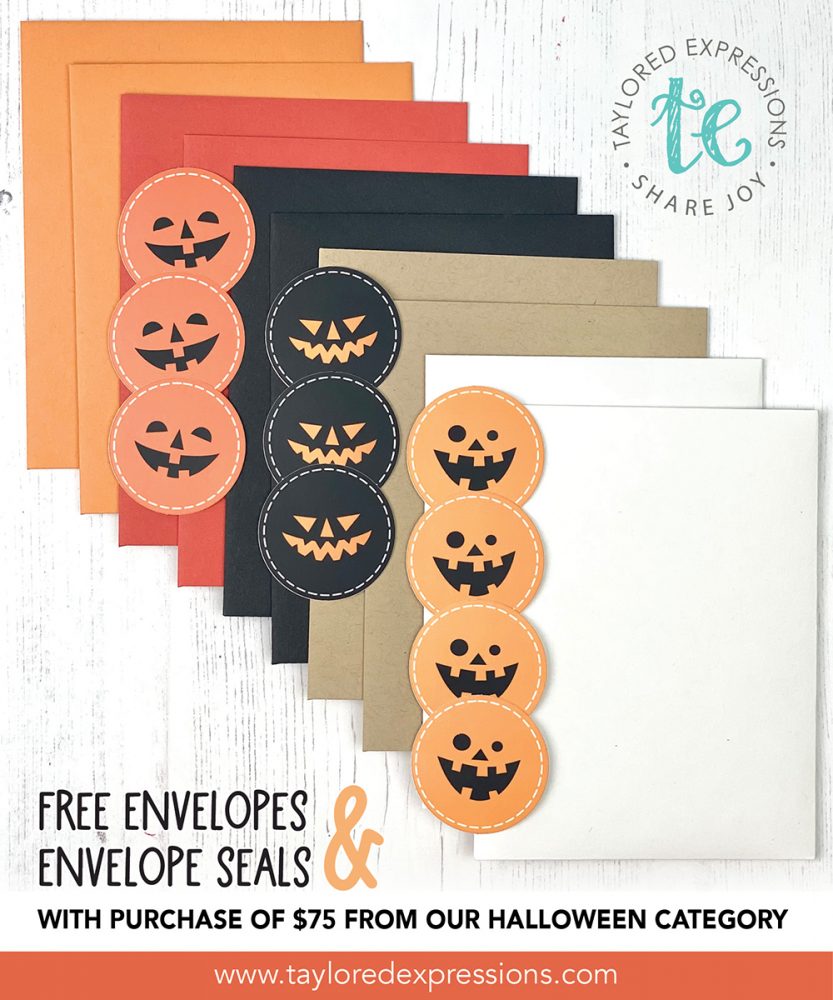
With any purchase of Halloween products (old and new!) of $75 or more, you will receive a FREE pack of envelopes and custom Halloween envelope seals. The pack includes 10 envelopes (2 each of Candy Corn, Pumpkin, Oreo, Toffee and Sugar Cube) and 10 exclusive envelope seals (these seals are not available to purchase). This offer is valid now through Sunday, August 15th, or while supplies last.
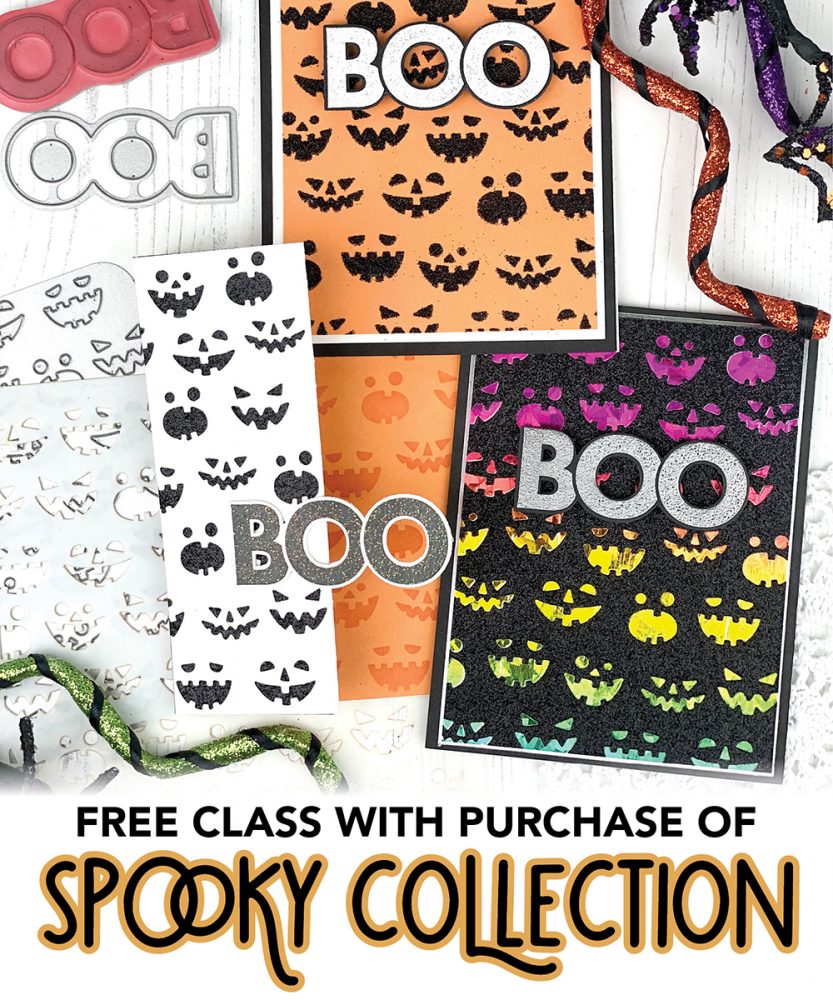
When you purchase the Spooky Collection (Jack-o-Lantern Cutting Plate, Jack-o-Lantern Stencil, On the Block – Boo and On the Block – Boo Shadow) through Sunday, August 15th, you will get a free exclusive 2-card video craft along class with Taylor!
This mini version of our Online Crafty Classes is a great way for you to put your new Halloween goodies to use right away making two different cards at your own pace! Watch the videos as often as you like and learn some new cardmaking tips and tricks while discovering inspiration for more designs!
Once you complete your purchase, you will receive an email (separate from your order confirmation email) with links to the class videos on YouTube, as well as a Tips & Tricks Download that you can use to jot down notes as you watch.
Although Taylor will recommend colors for ink and cardstock, you can use anything you have to make these projects uniquely yours!
Hurry! This offer is only valid through 11:59 pm (CT) on Sunday, Aug. 15, or while supplies last.
Click below to check out the new products in the TE webstore and keep scrolling for the inspiration!
- Tune in for new product inspiration: this release includes over 25 new products; new stamps, dies, stencils, great Halloween themed background options, a cute pumpkin treat wrap, products to create tiny Halloween tags, and a fun die collection perfect for creating cute Halloween critters from felt!
- Our TE blog posts this week today and Thursday will feature a new how-to tip, technique, or process video.
- Receive FREE shipping on orders of $50 or more in the United States!
- Earn a free, exclusive stamp with purchases of $100 or more. CLICK HERE for more information.
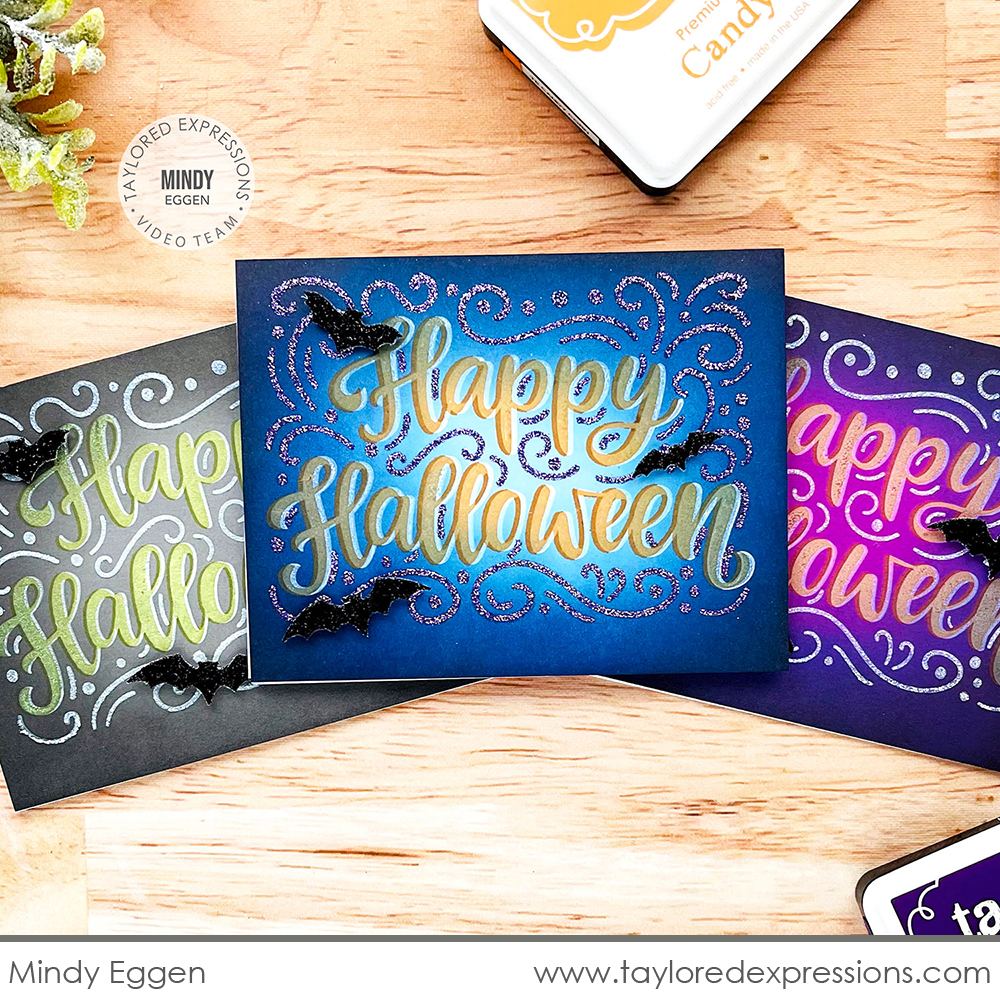
Today’s video is from Mindy Eggen and she is sharing three stunning Halloween cards that she created with the Happy Halloween Stamp & Stencil Combo set. Watch the video below to see how she made them:
In the video, Mindy shares how to stamp with dye inks on darker cardstock colors. She shares different color variations on the three cards created with the Happy Halloween Stamp & Stencil Combo set. Her cards include ink blending, shadow stamping, and adding a stenciled design using Glitter Grab, glitter, and other glitter pastes. The cards are finished off with glittery bats that Mindy die cut using the Little Bits – Bats die collection from black glitter cardstock.
Here’s a closer look at the new products that Mindy used on her projects:

The Happy Halloween Stamp & Stencil Combo set includes a red rubber stamp of the large, script ‘Happy Halloween’ sentiment that fills up your card front and a stencil to add flourishes around the letters. Use the etched alignment guides to layer the stencil over the stamped sentiment perfectly and add the flourishes with your blender brushes, glitter paste, and more.
Add the perfect touch of spooky to your Halloween projects with the three different bats included in the Little Bits – Bats die collection. Cut them from plain cardstock or add sparkle by cutting them out of our Premium Glitter Cardstock.
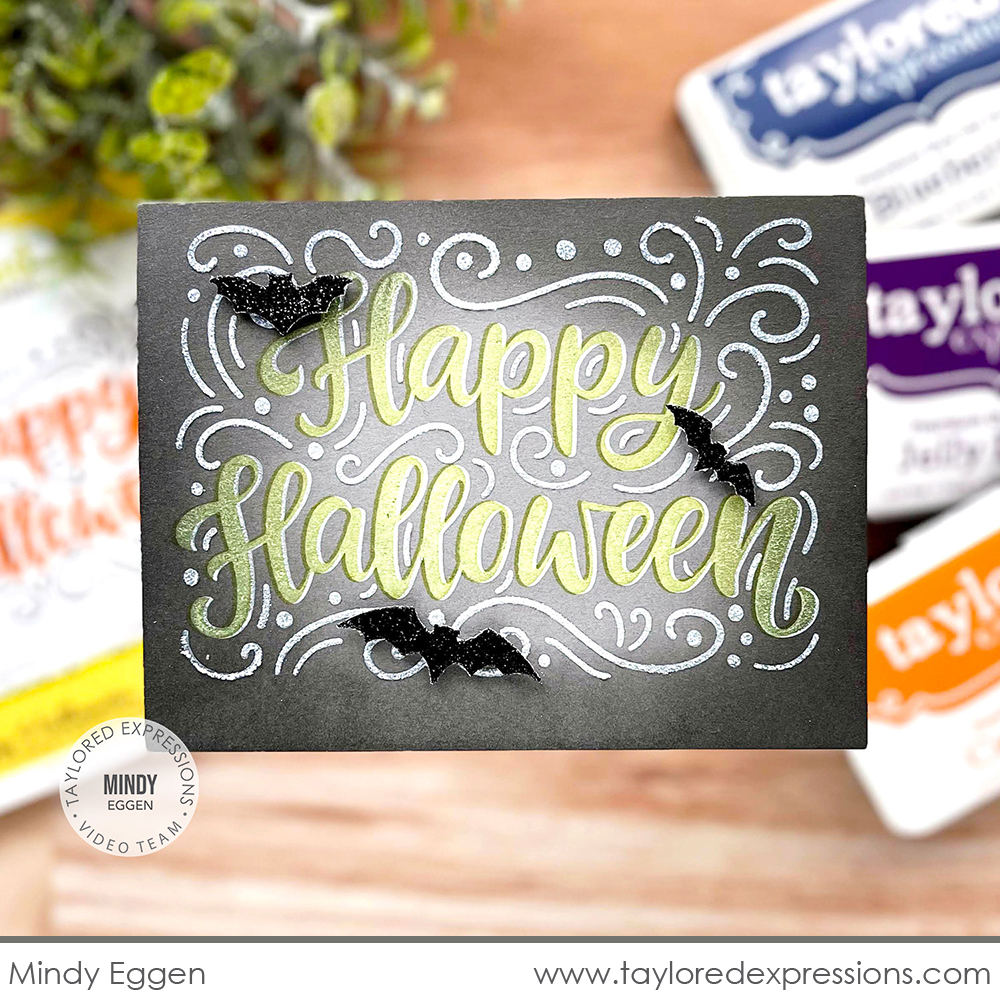
This first card starts with Mushroom cardstock that has Oreo ink blended around the edges, leaving the middle the lighter tone. She stamped the ‘Happy Halloween’ sentiment with Sugar Cube ink, let it dry (you can use a heat tool to speed up the process), shifted her cardstock over a tiny bit, and then stamped the ‘Happy Halloween’ sentiment again with Granny Smith ink to create a shadow effect. Don’t you think that the color just glows? The Sugar Cube ink acts as a base for the dye inks to sit on and that’s how you can help them show up on the darker colors of cardstock!
Mindy added the stenciled design with Sugar Cube ink before adding glitter paste over the top. The Sugar Cube ink once again helps the glittered design stand out.
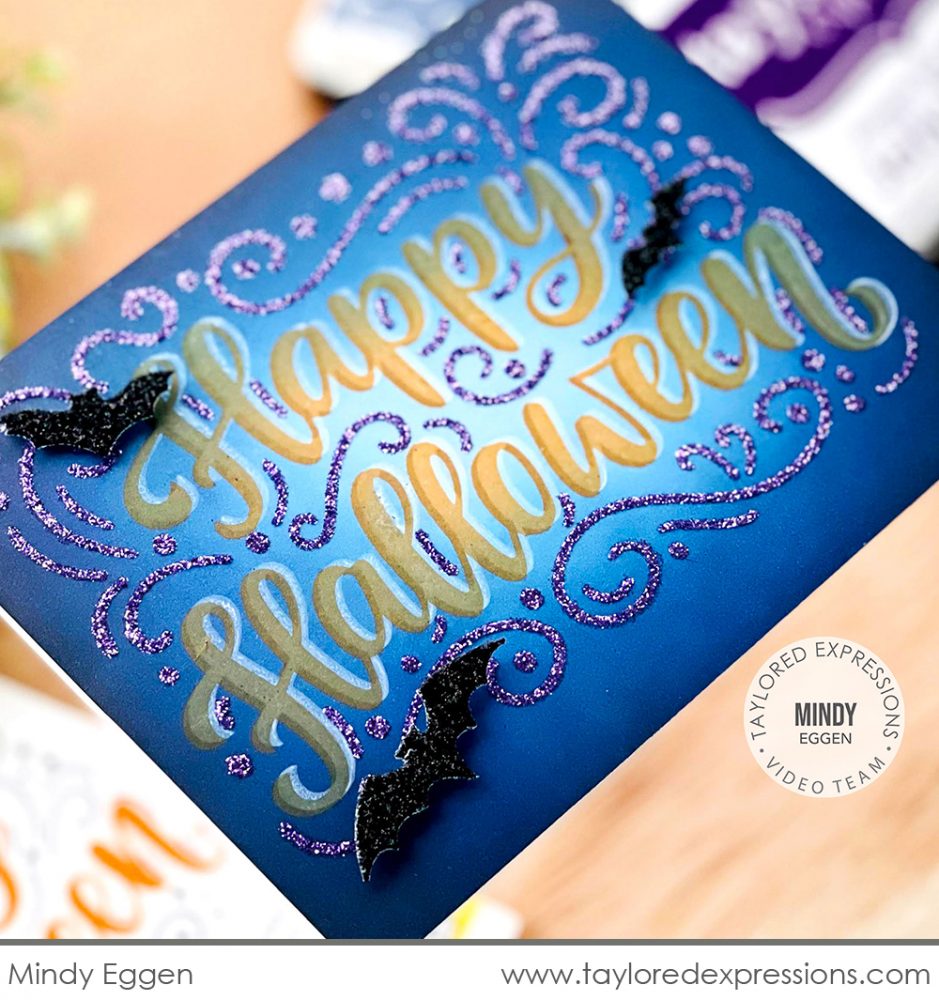
This next card starts with Gumball cardstock that has Blueberry, Jelly Donut, and Oreo inks blended around the edges. The ‘Happy Halloween’ is stamped this time with Candy Corn ink over a Sugar Cube ink impression, shifted over a bit to create that shadow effect.
For the stenciled design, Mindy used Glitter Grab and then sprinkled Jelly Donut glitter over the it. If your inks are still wet, the glitter does stick to the cardstock, but just let everything dry completely and the stray glitter can be brushed away with a soft brush.
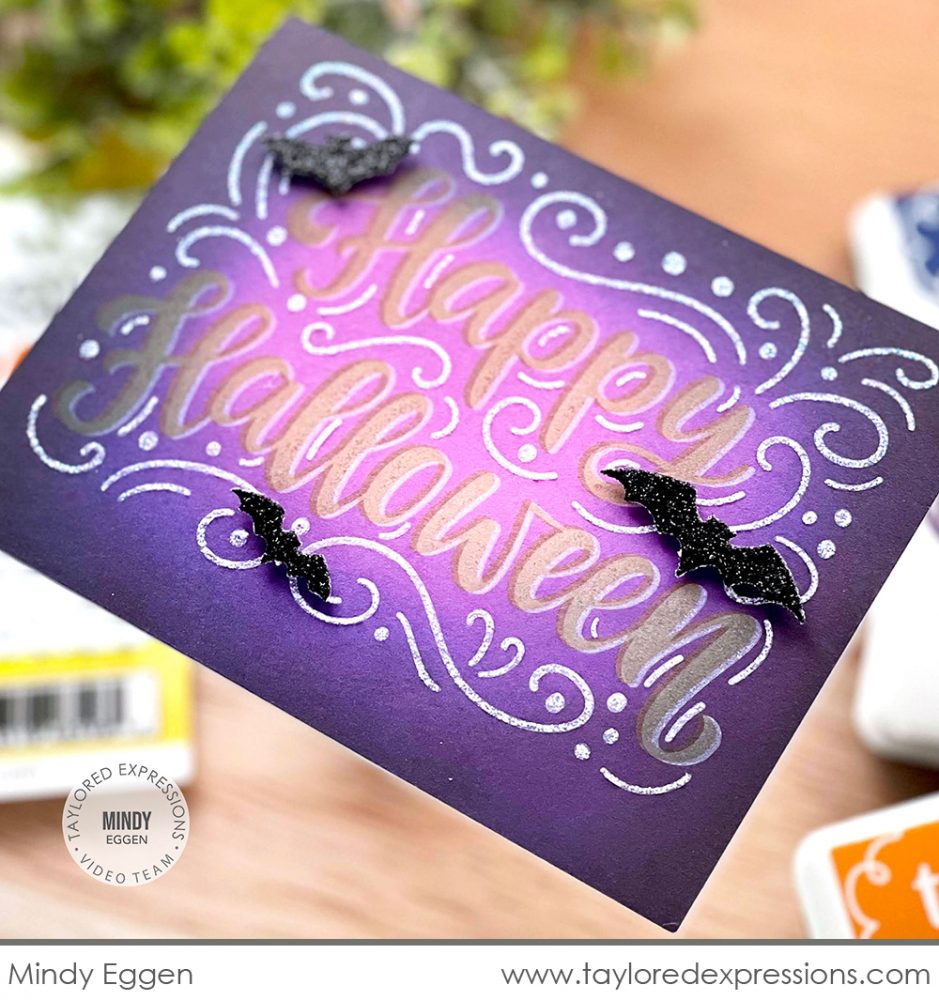
This last card starts with Plum Punch cardstock with Blueberry, Jelly Donut, and Oreo Ink blending around the edges. The ‘Happy Halloween’ is stamped with Granny Smith ink over the Sugar Cube ink impression. Mindy stenciled the design first with Sugar Cube ink and then added a glitter paste from her stash over the top.
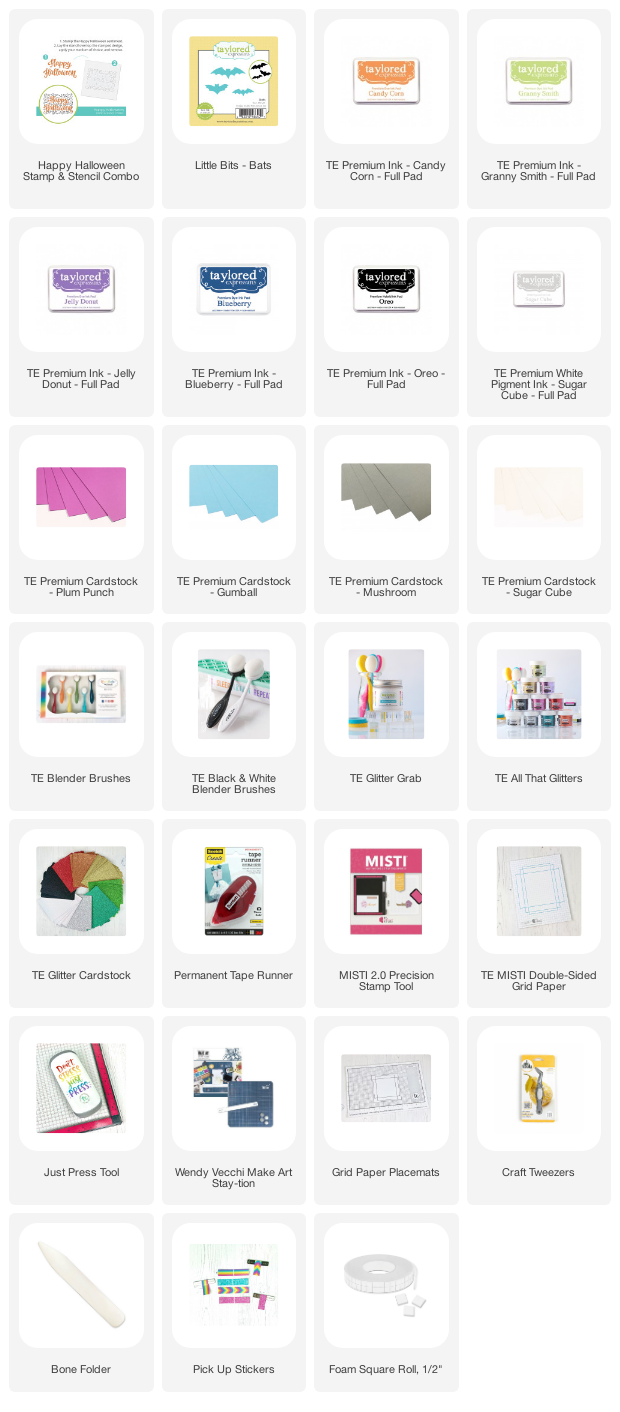
Are you inspired to play with color after seeing Mindy’s cards and how she did it like I am? Check out the list below for all of the supplies that Mindy used on this trio of cards.

Here’s more inspiration from members of the TE Creative Team as well as a closer look at a few more new products that are available to purchase today for our Halloween release!

The Jack-o-Lantern stencil features an all-over design of jack-o-lantern faces and they are designed with exactly the same placement as the Jack-o-Lantern Cutting Plate to allow for some fun techniques (Glitter Grab & foil!). You could also use the faces on the stencil on other pumpkin designs, like the new Layer It – Pumpkins die collection.

Latisha Yoast used the Jack-o-Lantern stencil as a backdrop behind the large, script ‘Happy Halloween’ sentiment from the Happy Halloween Stamp & Stencil Combo set. She stenciled the faces with Candy Corn ink on Pineapple cardstock, stamped the sentiment in Oreo Ink, and then added lots of bats around the design that are die cut from black glitter cardstock using the Little Bits – Bats dies.
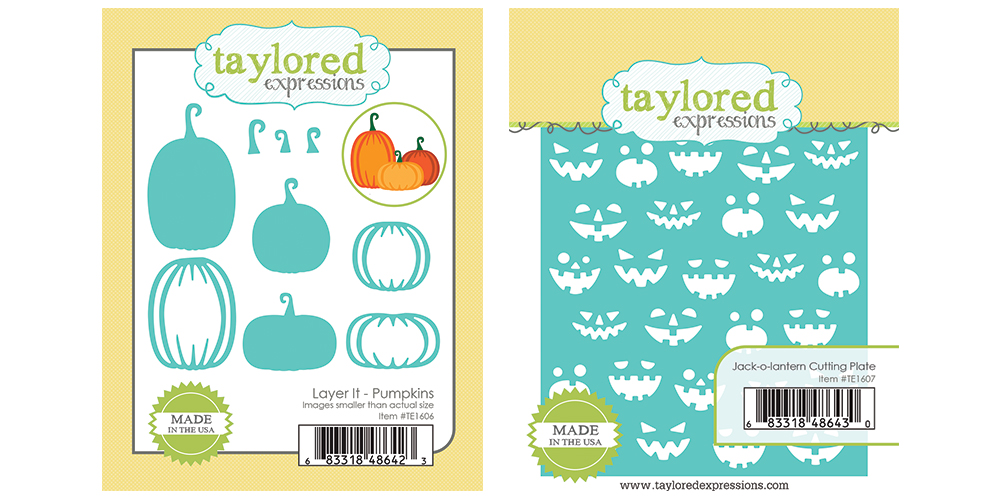
The new Layer It – Pumpkins die collection includes 3 pumpkin sizes to adorn your autumn and Halloween projects. This set includes nine separate dies that can be cut in various tones of cardstock and layered together to create the pumpkins.
The Jack-o-Lantern Cutting Plate die features an all-over design of jack-o-lantern faces and is designed with exactly the same placement and spacing as the Jack-o-Lantern stencil to allow for some fun color combinations and techniques (Glitter Grab & foil!). You can also use the faces that fall out of the cutting plate and add them to other pumpkin designs, like the new Layer It – Pumpkins die collection.

Melody Rupple gathered a trio of pumpkins for this Halloween card that she put together with the Layer It – Pumpkins dies and faces from the Jack-o-Lantern Cutting Plate. The spooky background scene is created with the Set the Scene – Clouds Stencil Strips and Build a Scene – Grassy Hills dies. The sentiment from the Happy Halloween Stamp & Stencil Combo set is embossed in gold and Melody added a few glittery Little Bits – Bats flying in the sky to complete the look.
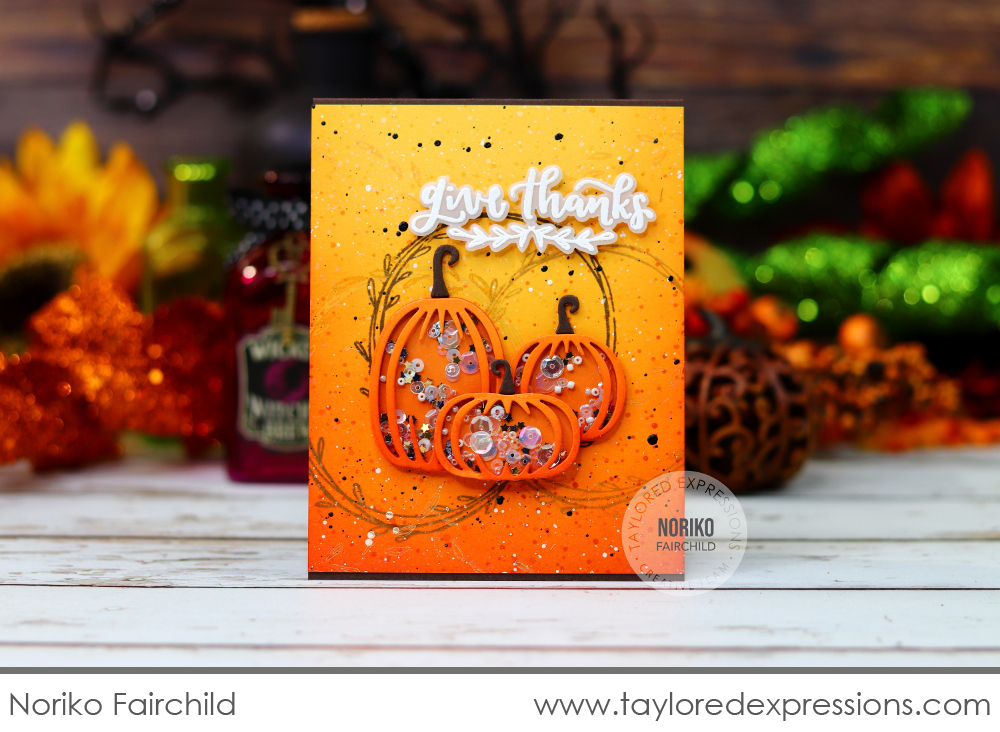
Noriko Fairchild used the Layer It – Pumpkins dies to create the sweetest pumpkin shaker card for fall! The pumpkin shakers are filled with beads and Snow Flurries sequins and set onto a blended background stamped with the wreath from the Farmhouse Wreath stamped set. The ‘give thanks’ sentiment from the Handlettered Thanksgiving stamp set is embossed in white on vellum.
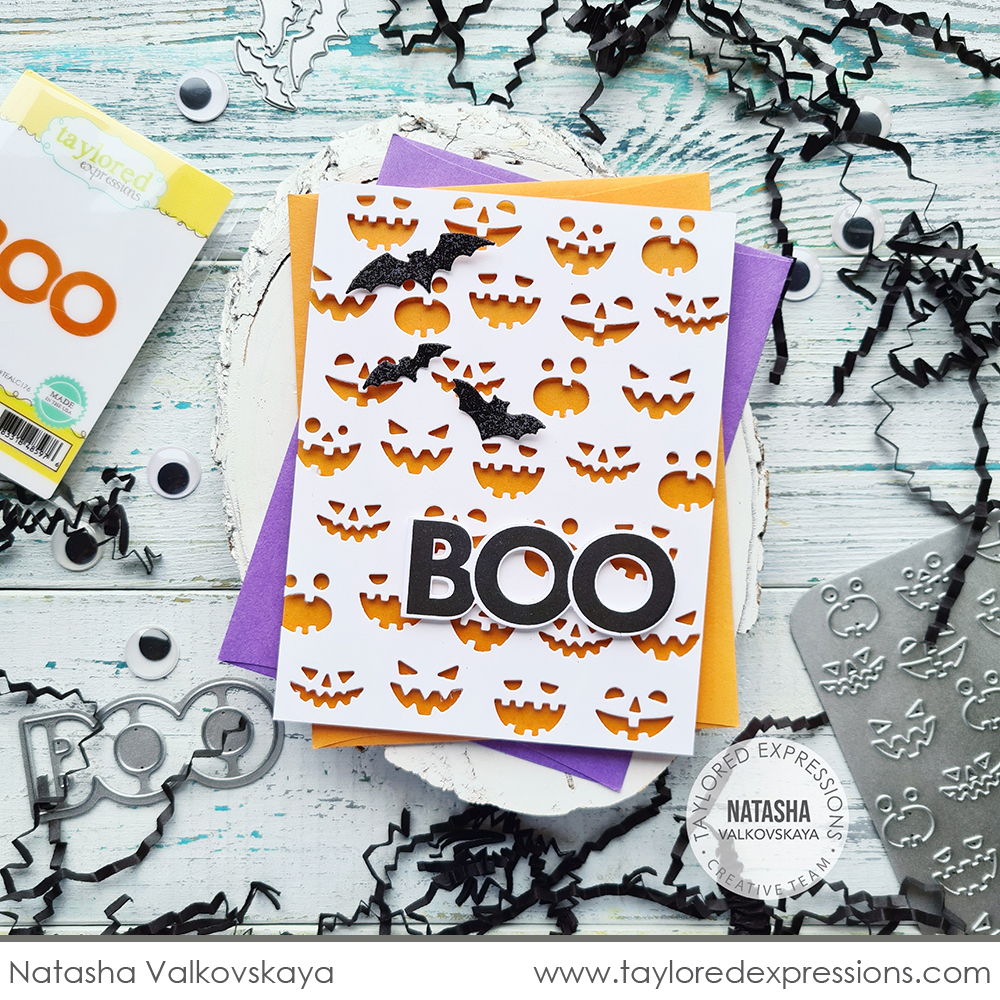
The background on this Halloween card by Natasha Valkovskaya is created by layering the JJack-o-Lantern Cutting Plate cut from Sugar Cube Cardstock over a Candy Corn card base. The ‘boo’ sentiment is stamped with the On the Block – Boo stamp and cut out with the coordinating die. For a spooky finishing touch, Natasha added a few bats cut out from black glitter Cardstock with the Little Bits – Bats dies.
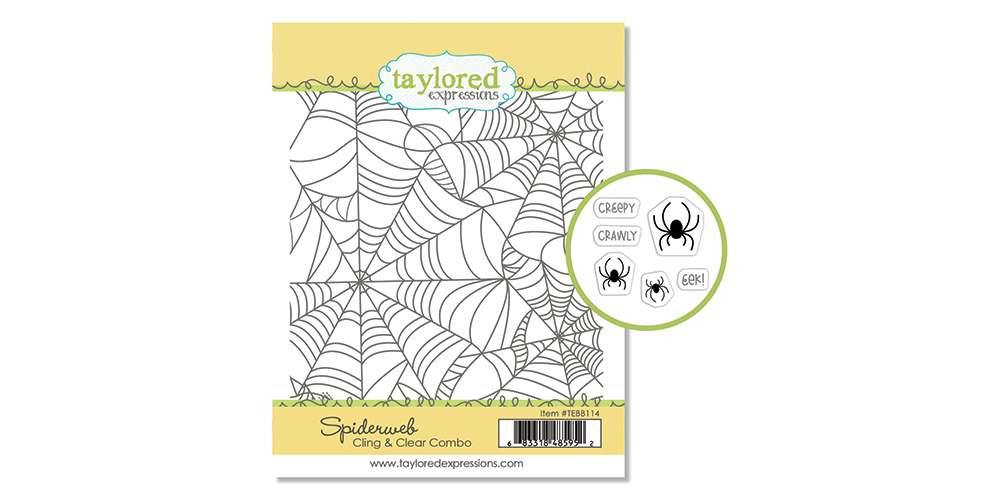
The Spiderweb Cling & Clear Combo set includes a red rubber stamp featuring a spooky spiderweb that fills up your A2 card, as well as six clear, photopolymer stamps to add several sizes of spiders and few ‘creepy, crawly’ words.

Laurie Willison used the Spiderweb Cling & Clear Combo for a background on this Halloween card. She stamped the spiderweb background with Oreo Ink on Sugar Cube cardstock and added a strip of black glitter Cardstock for a trio of jack-o-lanterns to perch on. The pumpkins are cut out with the Layer It – Pumpkins die collection and the faces are from the Jack-o-Lantern Cutting Plate. The extra shine on the faces is added using Glossy Accents to coat the front of the die cut pieces. The sentiment strip under the pumpkins is stamped with ‘boo to you’ from the Full Circle – Halloween stamp set.
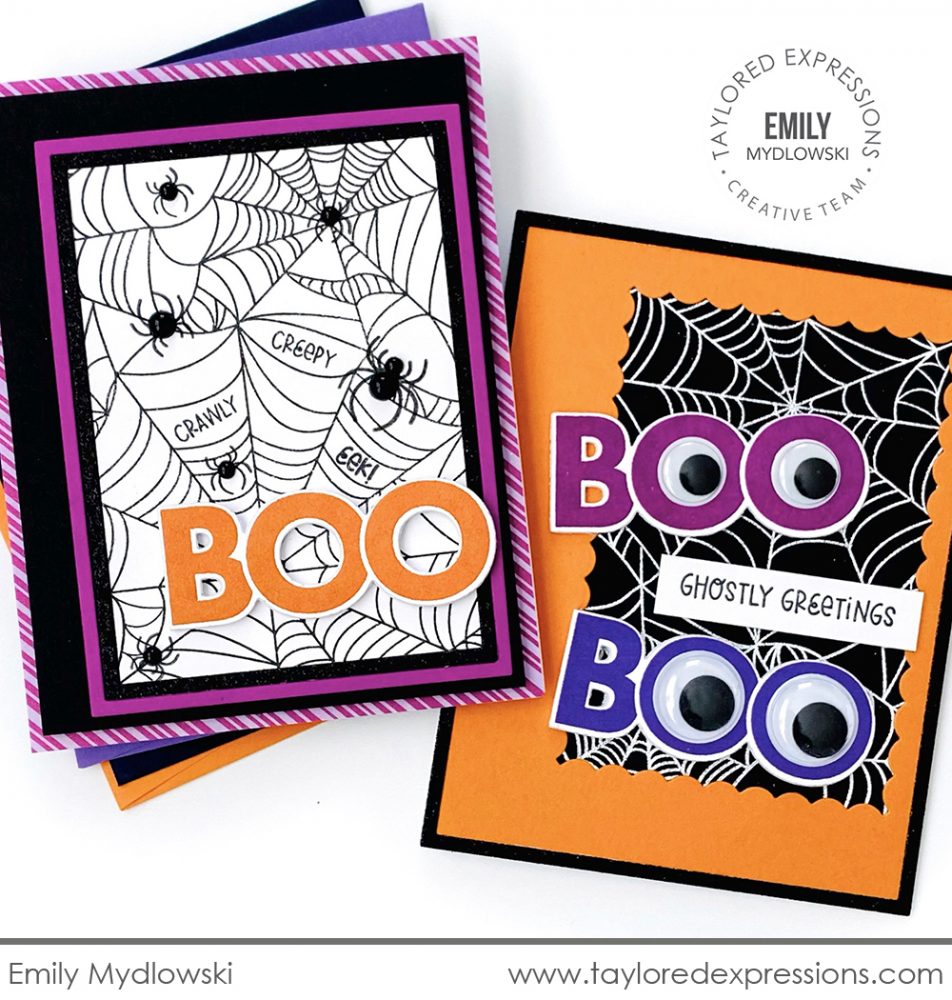
Here are a couple of ‘ghostly greetings’ created by Emily Mydlowski using the Spiderweb Cling & Clear Combo set. The card on the left features the spiderweb background stamped in Oreo ink on Sugar Cube cardstock and Emily used the clear stamps to add spiders and a few ‘creepy crawly’ words. The background is framed with a few thin frames cut out with the A2 Thin Frame Cutting Plate die and the sentiment is stamped with the On the Block – Boo stamp. For the card on the right, Emily embossed the spiderweb background in white on Oreo Cardstock and framed it with Candy Corn cardstock cut out with an Inside Scallop Rectangle Stacklets die. I love the google eyes that Emily added inside the Os of the ‘boo’s!
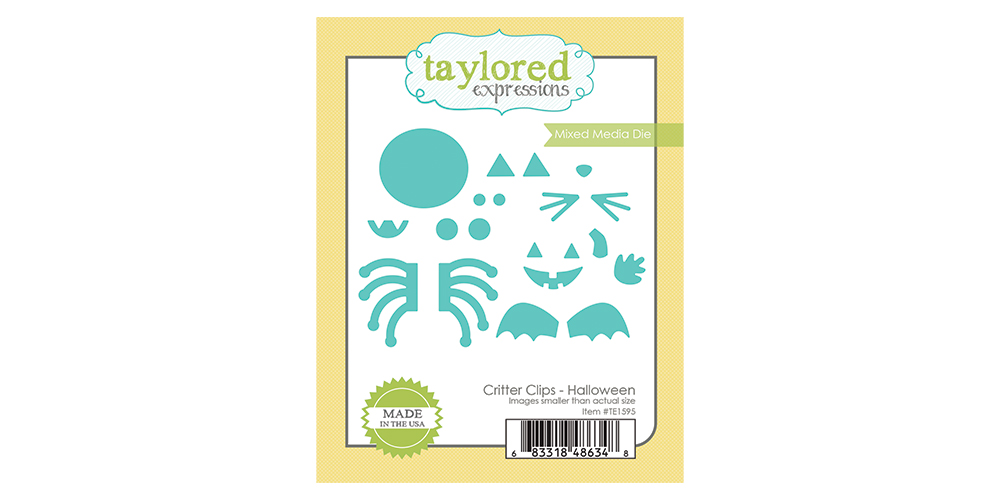
Create the cutest Halloween clips using the new Critter Clips – Halloween die collection. The set of Mixed Media dies includes a main body shape that can become a pumpkin, cat, bat, or spider. Cut out your critters from felt, cardstock, and more! Add the critters to a jumbo paper clip (the black clips are available in a set of 10) to create cute Halloween clips (a great non-food treat option!) or add the critters to cards, tags, and more.
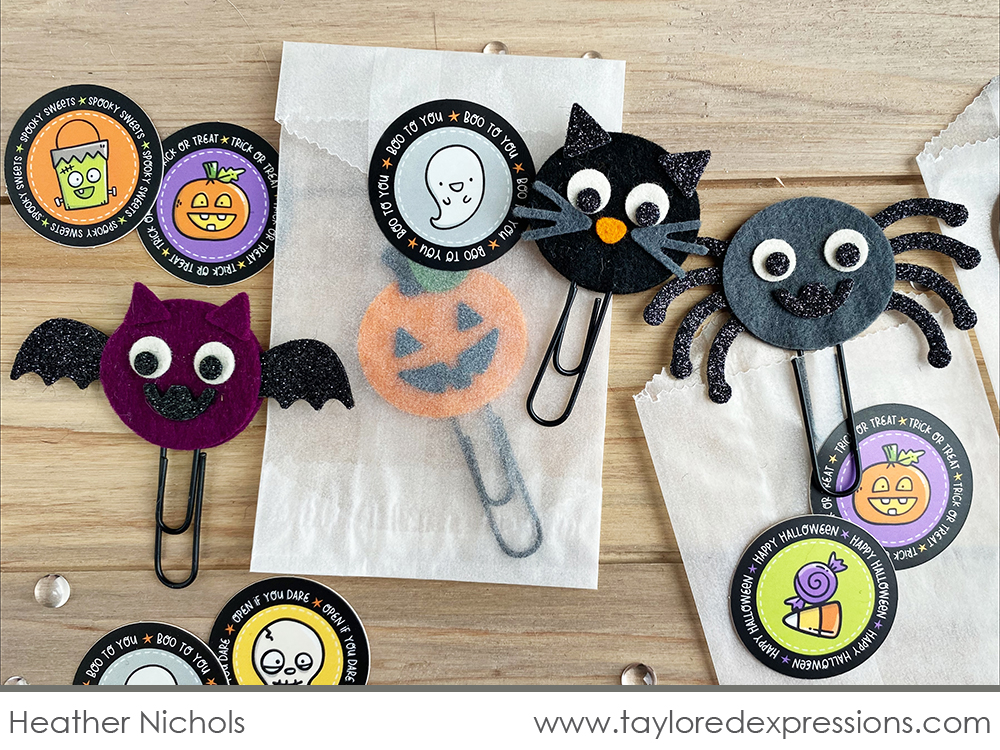
Here’s another look at the Critter Clips – Halloween created with felt and added to the black jumbo paperclips that I created (Heather Nichols). It’s so much fun to mix and match the felt colors to create different looks. These clips are a perfect gift themselves and the White Glassine Treat Bags and Halloween Treat Stickers are perfect for packaging with up to gift to friends and family.
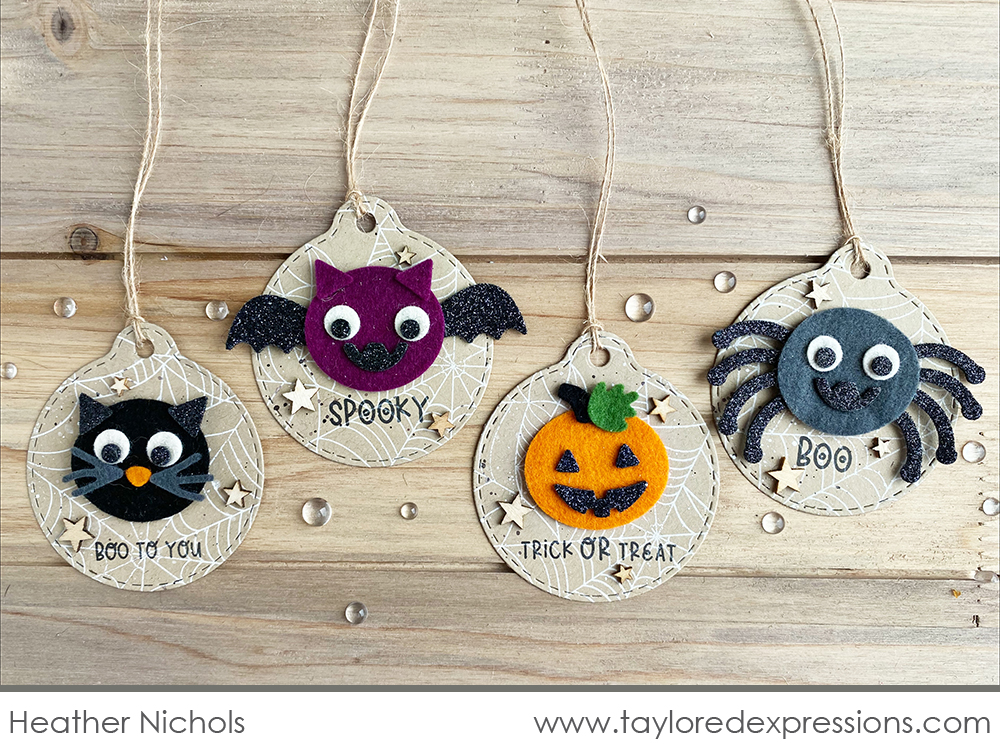
I also added the felt critters to tags and they are as cute as can be! The tag bases are cut out with the Tag Stacklets 3 die collection from Toffee cardstock that is stamped with the Spiderweb Cling & Clear Combo set using Sugar Cube ink. I added sentiments from the Full Circle – Halloween stamp set stamped in Oreo Ink at the bottom of the tags and a bit of burlap twine at the top to tie them onto Halloween treats.
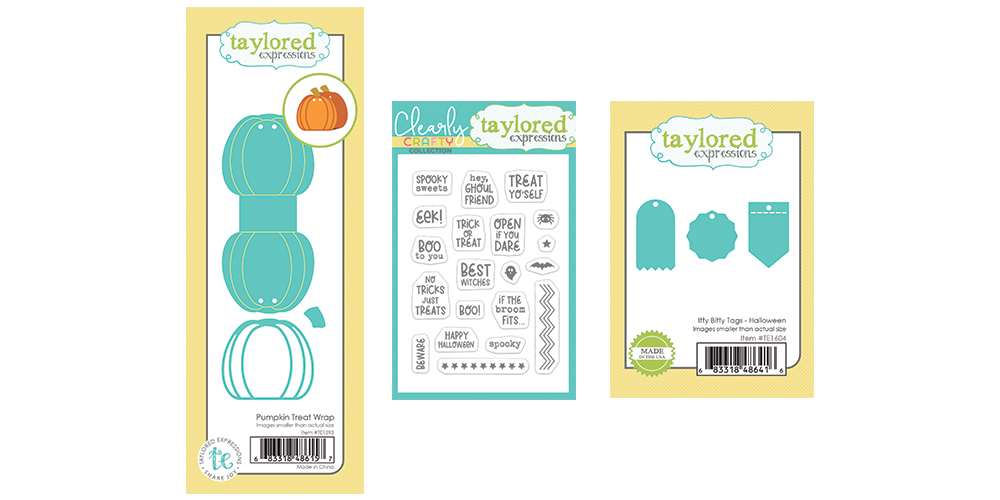
The new Pumpkin Treat Wrap is designed to wrap around a flat sucker, but also fits Ghirardelli chocolate squares and other candies too! Add details and dimension with the pumpkin outline and stem and tie with twine or ribbon.
Tie on tiny greetings to your Halloween treats with the Itty Bitty Sentiments – Halloween clear stamp set and Itty Bitty Tags – Halloween dies. The stamp set includes 14 tiny sentiments plus coordinating patterns and Halloween icons perfect for creating itty bitty tags for your treats. You can use the sentiments from the stamp set on their own too!
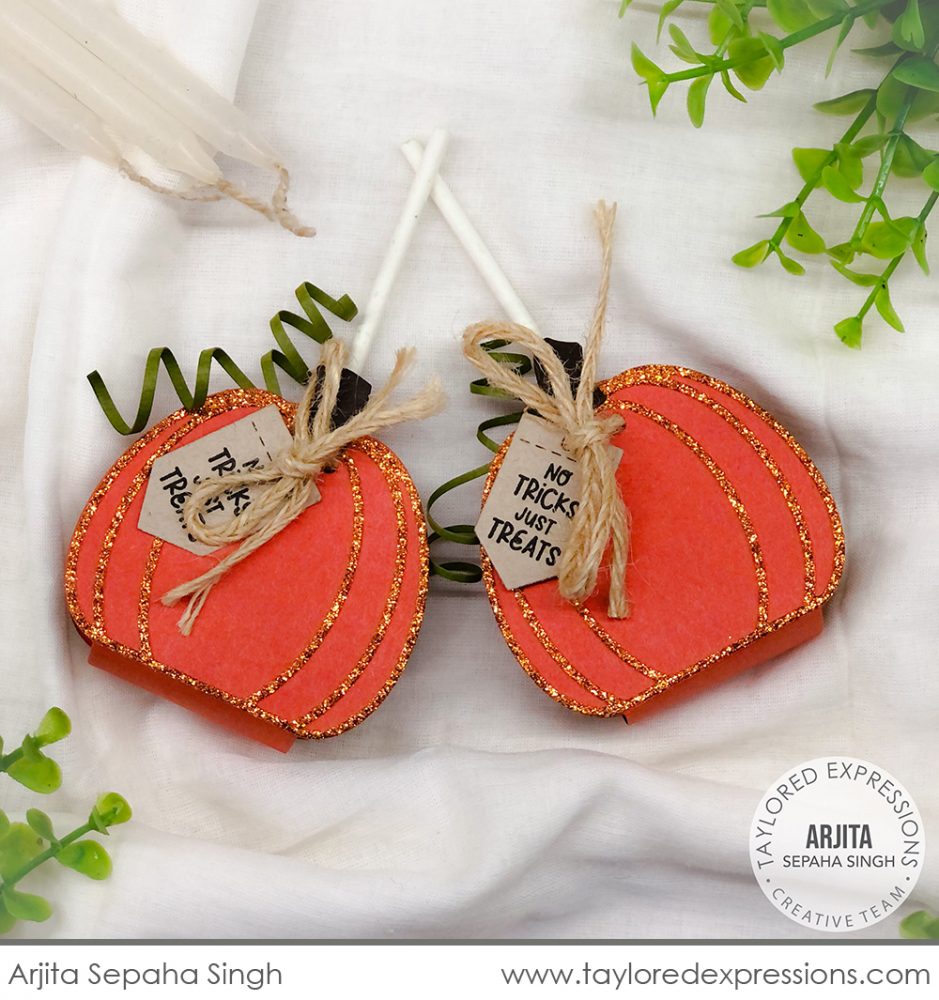
Arjita Sepaha Singh cut out her Pumpkin Treat Wrap using Pumpkin cardstock for the wrap and orange glitter cardstock for the detail layer. I love the curls of thin cardstock strips that she added to the pumpkins – it’s such a great and easy to create detail! The Itty Bitty Tags – Halloween dies are cut out from Toffee cardstock and the ‘no tricks just treats’ sentiment from the Itty Bitty Sentiments – Halloween stamp set is stamped onto the tags with Oreo ink.
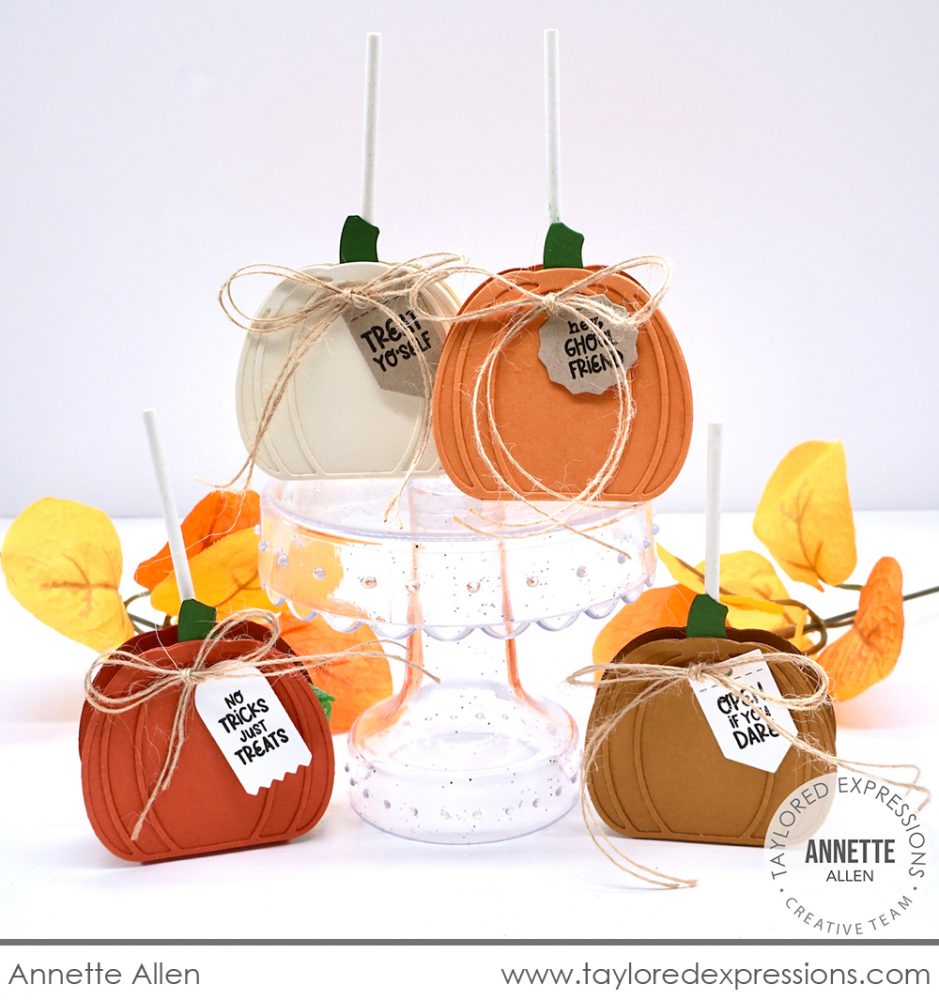
Annette Allen‘s group of pumpkin treats has me ready for fall! She cut out the Pumpkin Treat Wrap from several cardstock colors that are great autumn colors: Buttercream Frosting, Sweet Potato Pie, Candy Corn, and Djion. She cut out the tiny tags using the Itty Bitty Tags – Halloween dies and stamped different sentiments from the Itty Bitty Sentiments – Halloween stamp set onto each one. Burlap twine is the perfect rustic touch to tie up the Pumpkin Treat Wrap in all of these pretty autumn colors!

And now it’s time to check in with the lucky winners! If you find your name and comment listed below, please contact us with your mailing address and your selected ‘favorite product (must be one product, sorry… not a bundle) and we’ll get your prize in the mail right away! Congrats to all the prize winners!



Join Taylor live for “T Time” at 1pm Central today on the Taylored Expressions Facebook Page. She’ll be sharing a closer look at all of the new products in this Halloween release. We hope to see you there – come join in the fun!
Thank you so much for stopping by today! Make sure you check out the rest of the Taylored Expressions Creative Team projects using the new Halloween goodies from this release. Click on the faces below to visit their blogs. Stop back Thursday for more inspiration, another video, and a closer look at a few more new products from this release.


