Jan 06, 2022
Love & Hugs for Valentine’s Day Using NEW Valentine Products!
Hey, crafty friends! It’s Heather here again! Today’s post is one more look at projects created with the Valentine release from the TE Creative Team. Did you have a project that stood out for you as a favorite? Which product from the release is a must have for you? One thing I always love about the inspiration from the TE Creative Team is the different ideas that we all come up with. We all have our own style and that provides a wide variety of ideas for sure! Enjoy the projects below, including a video from Joy Baldwin that includes four cards!
Here’s one last reminder about the free class promotion with the purchase of the Donut Days collection – then start scrolling to enjoy today’s inspiration!
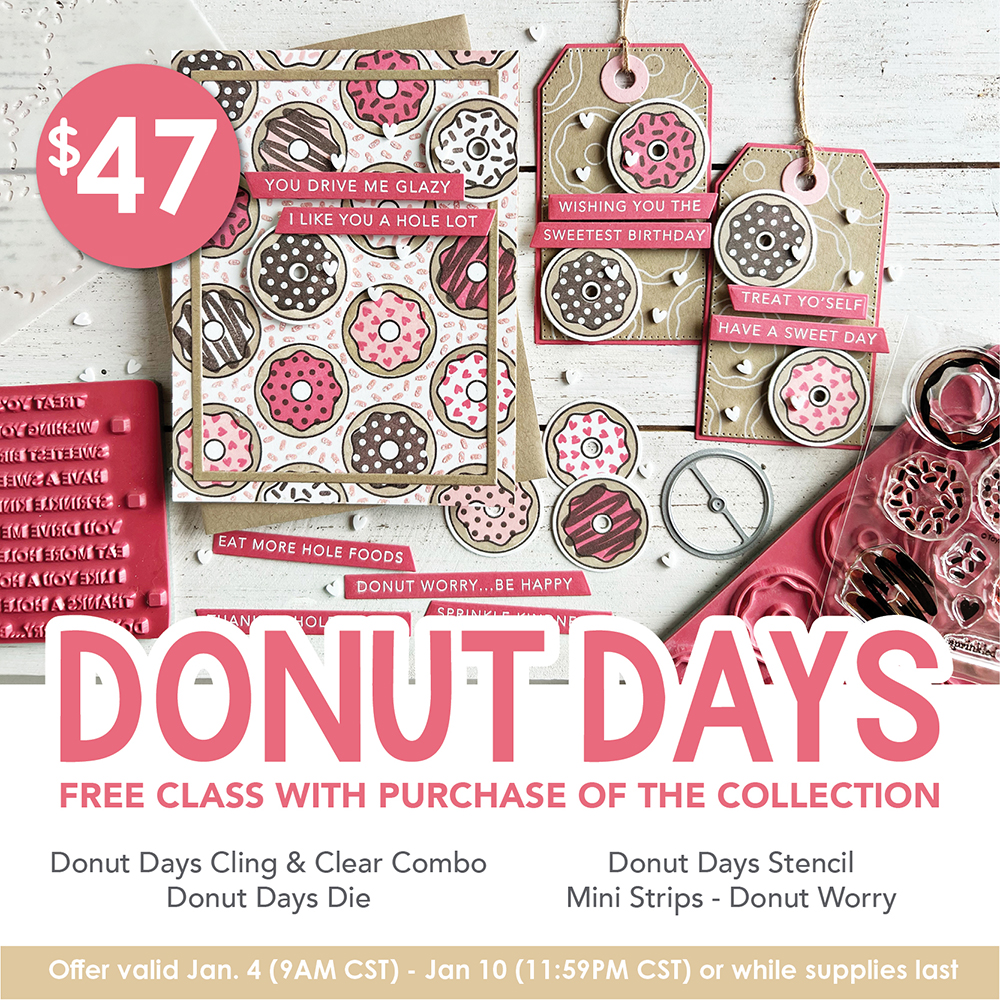
When you purchase the Donut Days Collection (Donut Days Cling & Clear Combo set, Donut Days stencil, Donut Days die, and Mini Strips- Donut Worry stamp) through Sunday, January 9th, you will get a free exclusive video craft along class with Heather!
This mini version of our Online Crafty Classes is a great way for you to put your new goodies to use right away making a card and tag set at your own pace! Watch the video as often as you like and learn some new crafty tips and tricks!
Once you complete your purchase, you will receive an email (separate from your order confirmation email) with links to the class video on YouTube.
Although Heather will recommend extra supplies (ink, cardstock, embellishments, etc.), you can use anything you have to make these projects uniquely yours!
Hurry! This offer is only valid through 11:59 pm (CT) on Sunday, January 9th, or while supplies last.
Click below to visit the new release products in the TE webstore and then keep scrolling for all of the inspiration!
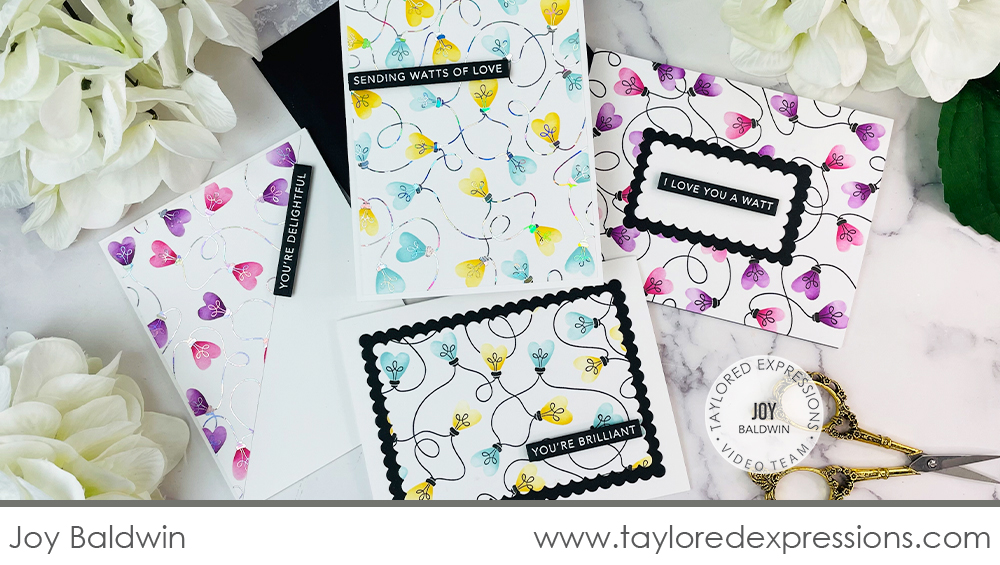
Today’s video is from Joy Baldwin and she is sharing a de-light-ful set of card that are created with the Love Lights Stamp & Stencil Combo set, the Foil It – Love Lights panels, and the Mini Strips – Watt’s Up stamp. See how all of the cards are created below:
In the video, Joy shares how she created this set of cards using the stencils from the Love Lights Stamp & Stencil Combo set with both the background stamp in the set and the Foil It – Love Lights panels that you can purchase separately. The Foil It panels are foiled with Silver Shattered Glass Deco Foil using a Minc machine (you can also use a heat laminator to foil with the panels). Joy used a few different color combinations for her cards, applying the color with her Bitty Blender Brushes, and gives a great look at the different effects you can get by either stamping or foiling. The sentiments on the cards are from the Mini Strips – Watt’s Up stamp, embossed in white on Oreo Cardstock, and cut out with the Mini Strips die.
Here is a closer look at the cards that Joy shared in the video:
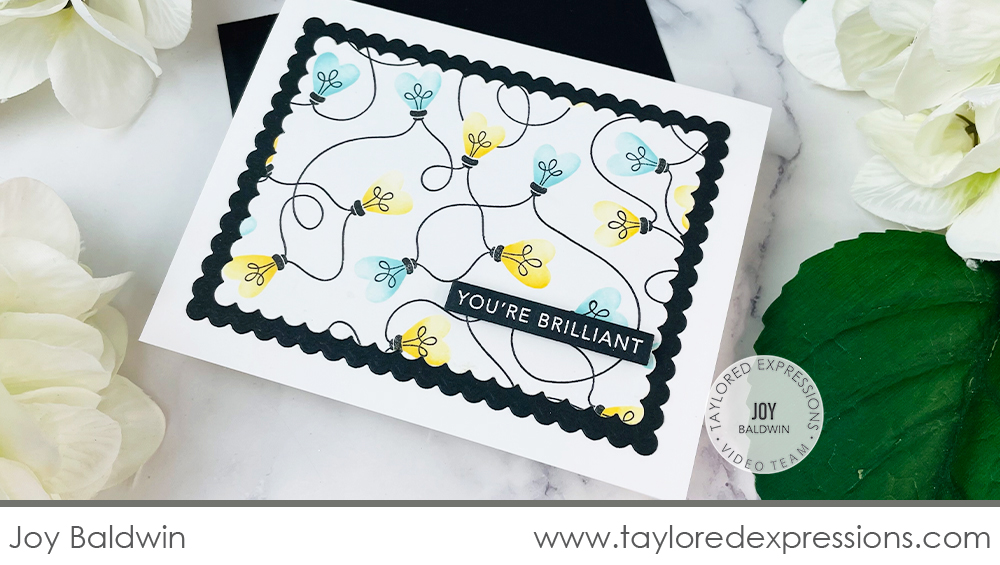
The color combination that Joy used on the heart bulbs for the first two cards is Confetti Cake and Pineapple. On this card, the background stamp is stamped with Oreo ink. Joy used Bitty Blender Brushes to apply the ink through the stencils and kept a light hand for a lighter tone at the top of the bulbs and a heavier hand towards the base of the bulbs for a darker tone.
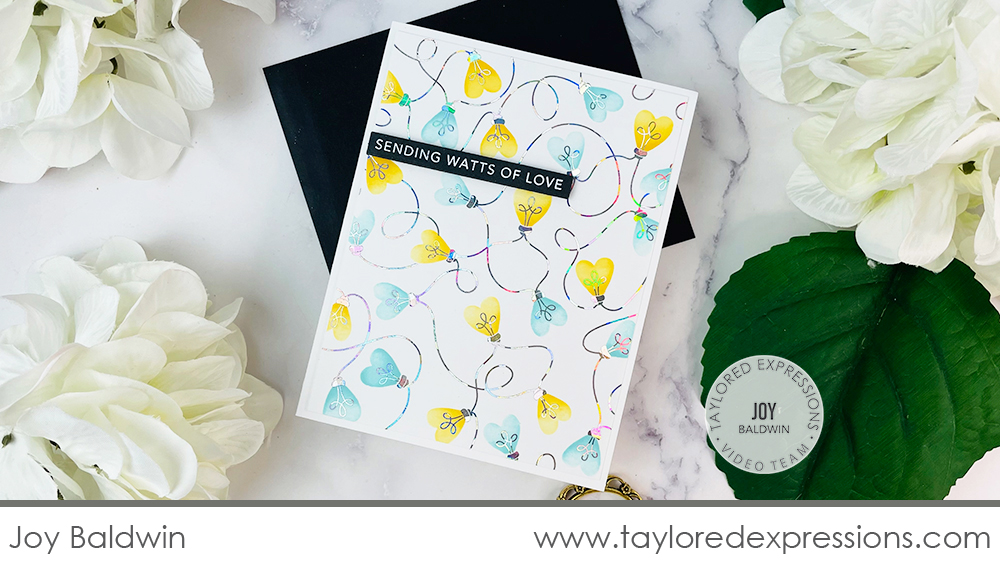
Here’s the same color combination as the card above, but this time on the foiled panel. Joy put her cards in the set together in a few different layouts and on this card she left the panel intact, added it to a Sugar Cube card base, and added one of the sentiment strips.
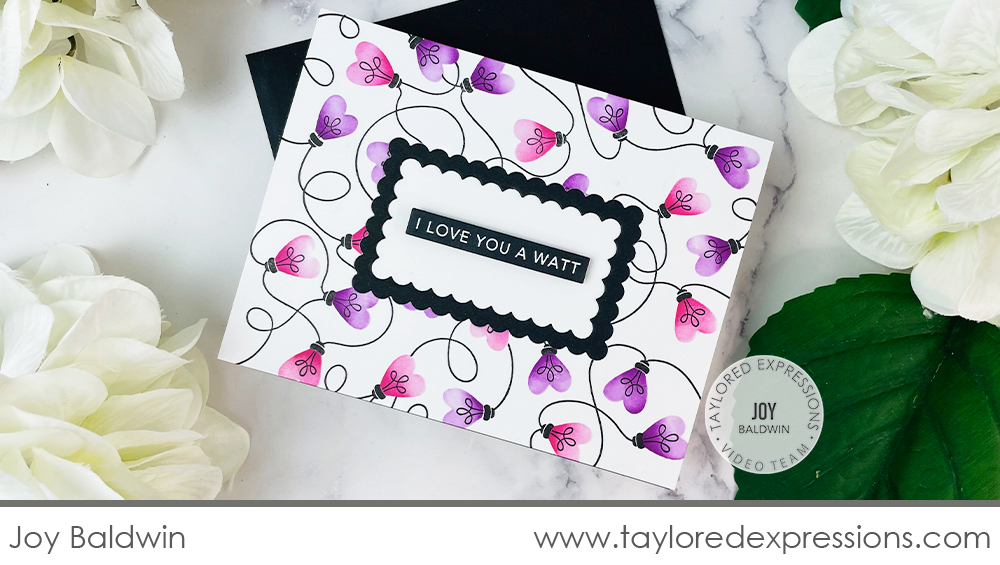
The next two cards feature Lollipop and Plum Punch inks for the heart bulbs and the bright colors give the image a completely different look! The bulbs are added to the background stamped with Oreo ink. Joy created a place for the sentiment from the Mini Strips – Watt’s Up stamp by layering a few panels cut out with the Petite Rectangle Stacklets die collection.
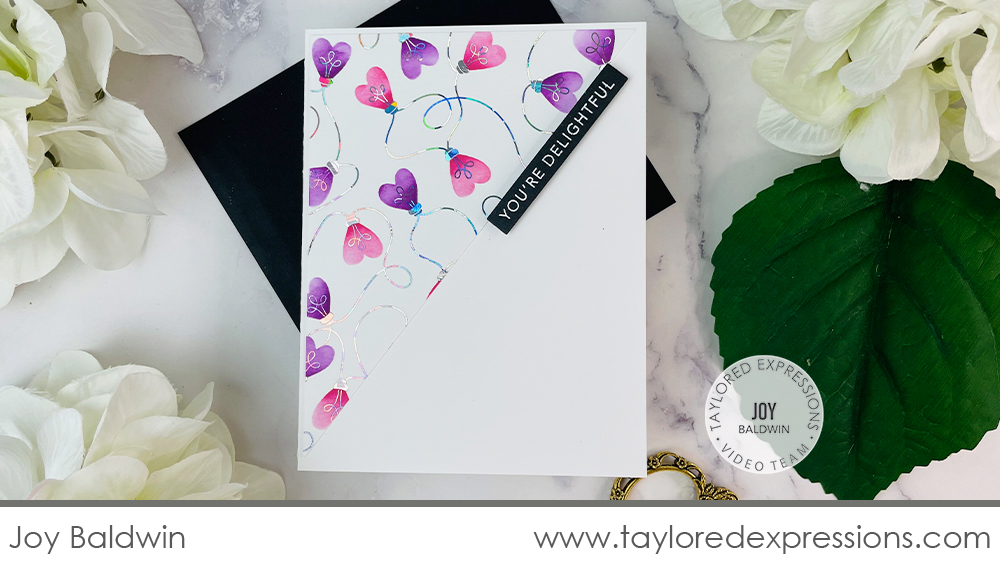
This last card again features the Lollipop and Plum Punch color combination, but this time on the foiled panel. After adding the color to the panel, Joy cut it on the diagonal to add it to the card base and then added the sentiment at an angle to match.
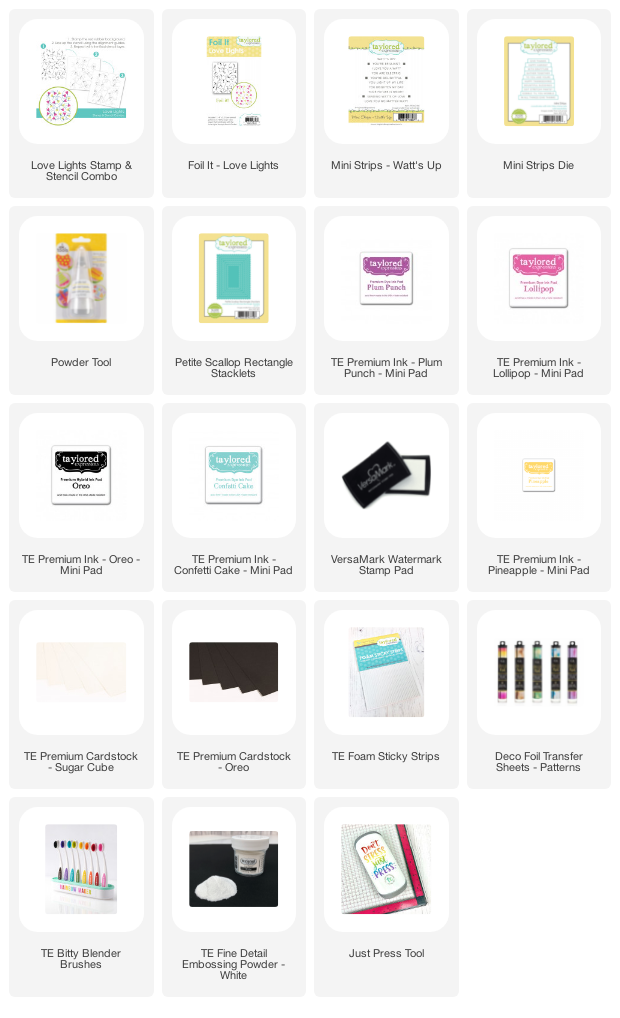
Check out the list below for all of the supplies that Joy used on her card set:

Here’s one last round up of projects from the TE Creative Team created with products from the Valentine release:
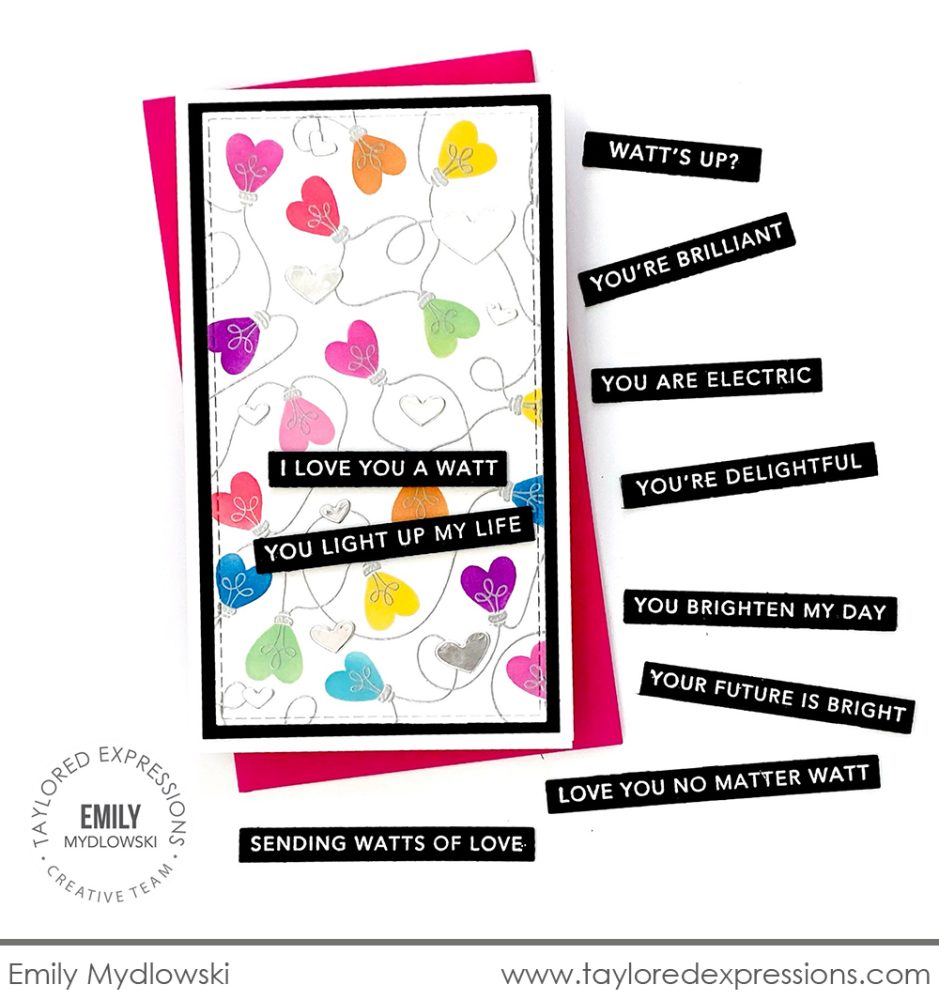
Here’s a mini slim card with lots of color created with the Love Lights Stamp & Stencil Combo set by Emily Mydlowski. Emily stamped and embossed the background in silver and then used her Bitty Blender Brushes to add the heart bulbs in a rainbow of colors. The panel is cut out with a Stitched Mini Slim Stacklets die so it could be added to a mini slim card base and then Emily finished the card off with a few sentiment strips from the Mini Strips – Watt’s Up stamp and Little Bits – Hearts cut out of silver foil cardstock.
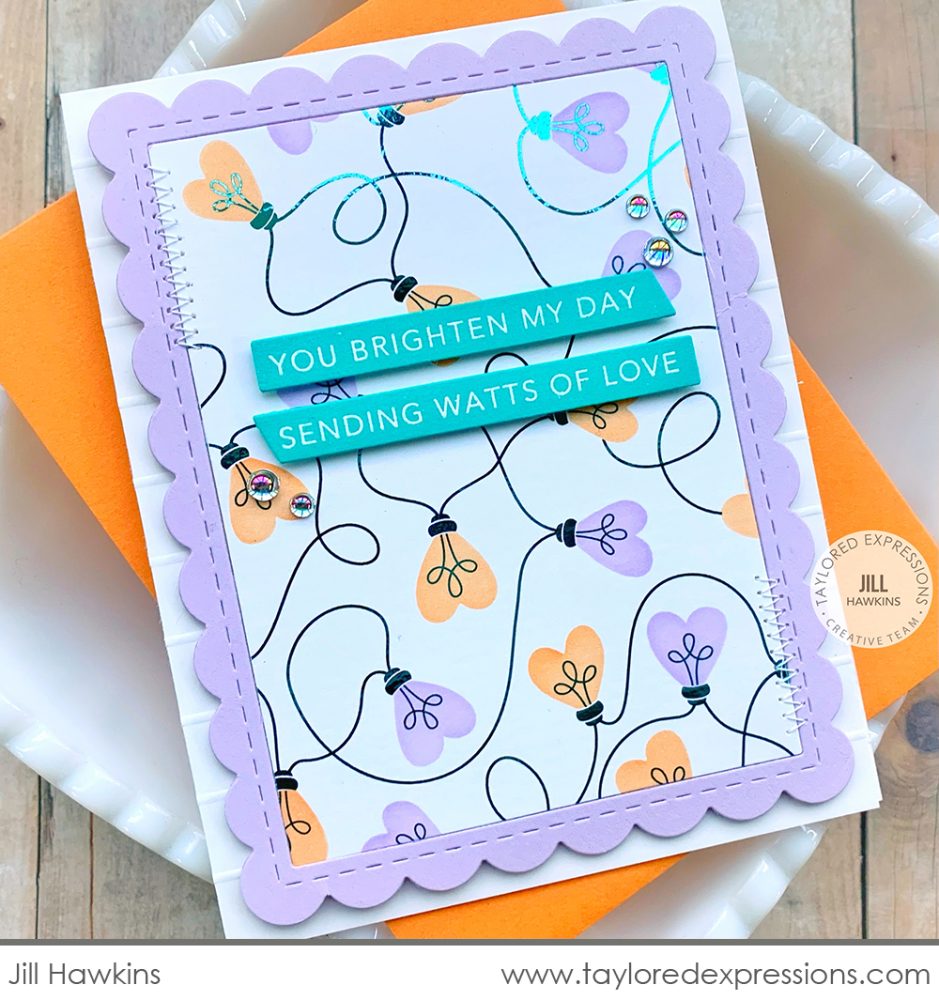
I love this unexpected color combination on this card created with the Love Lights Stamp & Stencil Combo set and Foil It – Love Lights panels by Jill Hawkins. Jill used Aqua Deco Foil with the Foil It panel (it’s so hard to capture foiling in a photo!) and then stenciled the heart bulbs with Lavender Glaze and Sweet Potato inks. Jill framed the background design with a Frame in Frame 2 Cutting Plate die cut and added a few sentiments from the Mini Strips – Watt’s Up stamp that are embossed in white on Cookie Monster cardstock to match the foil and cut out with the Mini Strips – Asymmetrical die.
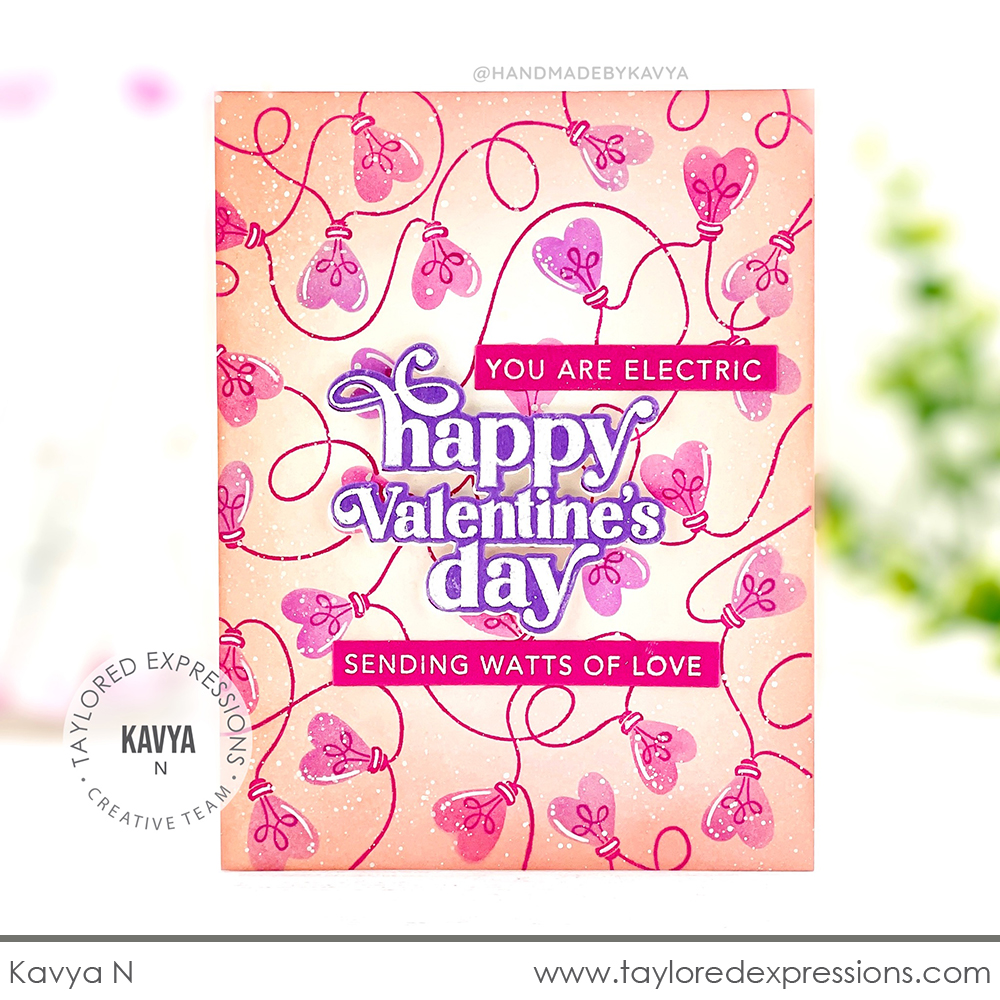
Kavya created the perfect Valentine’s Day look on this card made with the Love Lights Stamp & Stencil Combo set. She stamped the background with Lollipop inks and added the heart bulbs stenciled with Lollipop and Jelly Donut inks. She put her white gel pen to use adding highlights and then added several embossed sentiments. The ‘happy Valentine’s day’ is from the Love & Hugs stamp set and the sentiment strips are from the Mini Strips – Watt’s Up stamp.
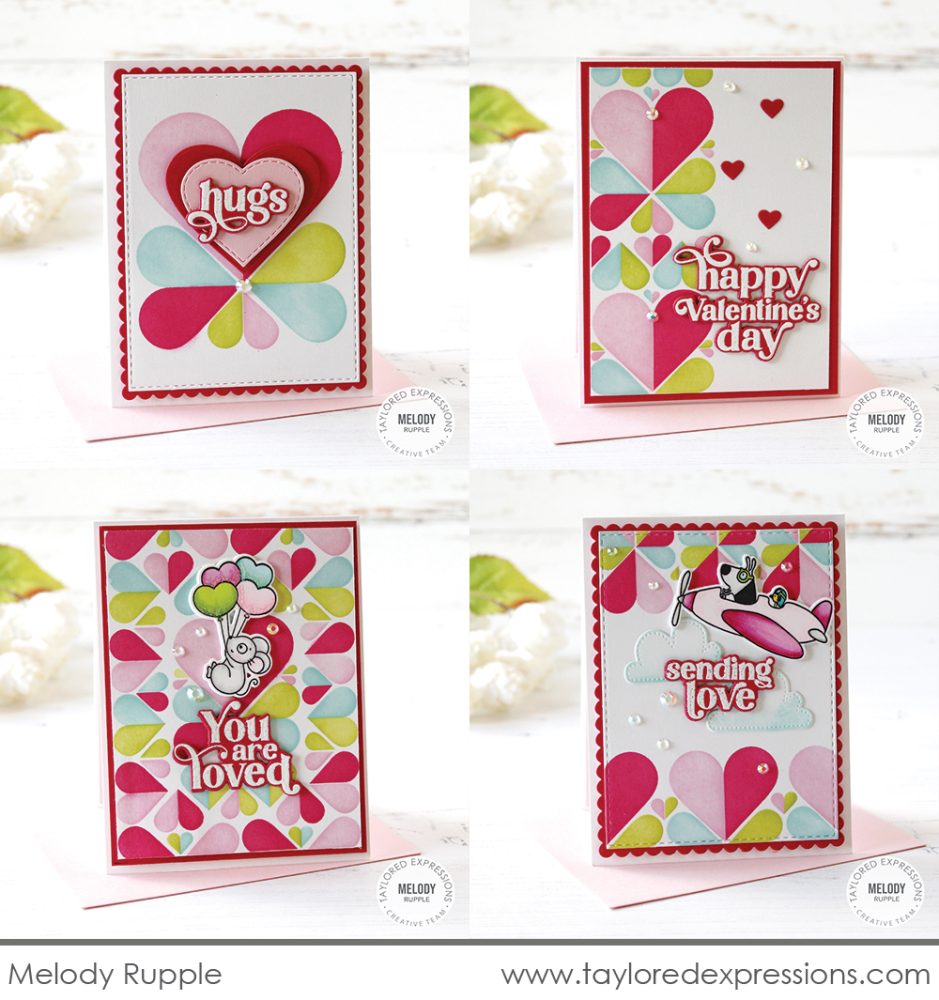
Melody Rupple created this set of cards with the Create-in-Quads Hearts Layering Stencil set. The hearts designs are stenciled with Cupcake, Fruit Punch, Granny Smith, and Confetti Cake inks. Melody added sentiments to each card from the Love & Hugs stamp set embossed in white on Fruit punch Cardstock and cut out with the coordinating dies. There are images from the Gus & Gertie – Best Buds and Love from Max & Millie stamp sets on a few of the cards and a bit of extra sparkle added with Bits & Pieces – Iridescent Rhinestones.
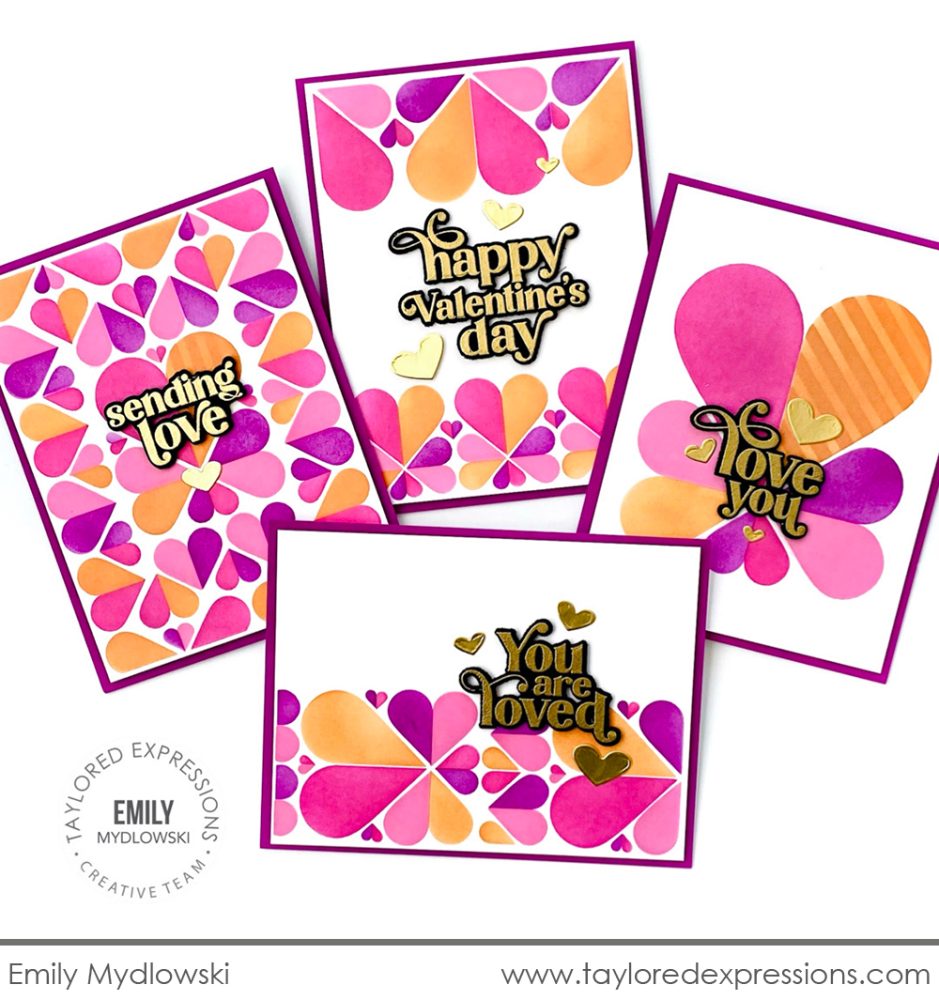
The color combination that Emily Mydlowski used on this set of cards created with the Create-in-Quads Hearts Layering Stencil set is so unexpected and fun! The design is stenciled using Lollipop, Strawberry Milkshake, Plum Punch, and Candy Corn inks. I also love how Emily added a stenciled stripe pattern to a few of the larger hearts! The sentiments from the Love & Hugs stamp set are embossed in gold on Oreo cardstock and there are gold foil cardstock Little Bits – Hearts added around the sentiments for a finishing touch.
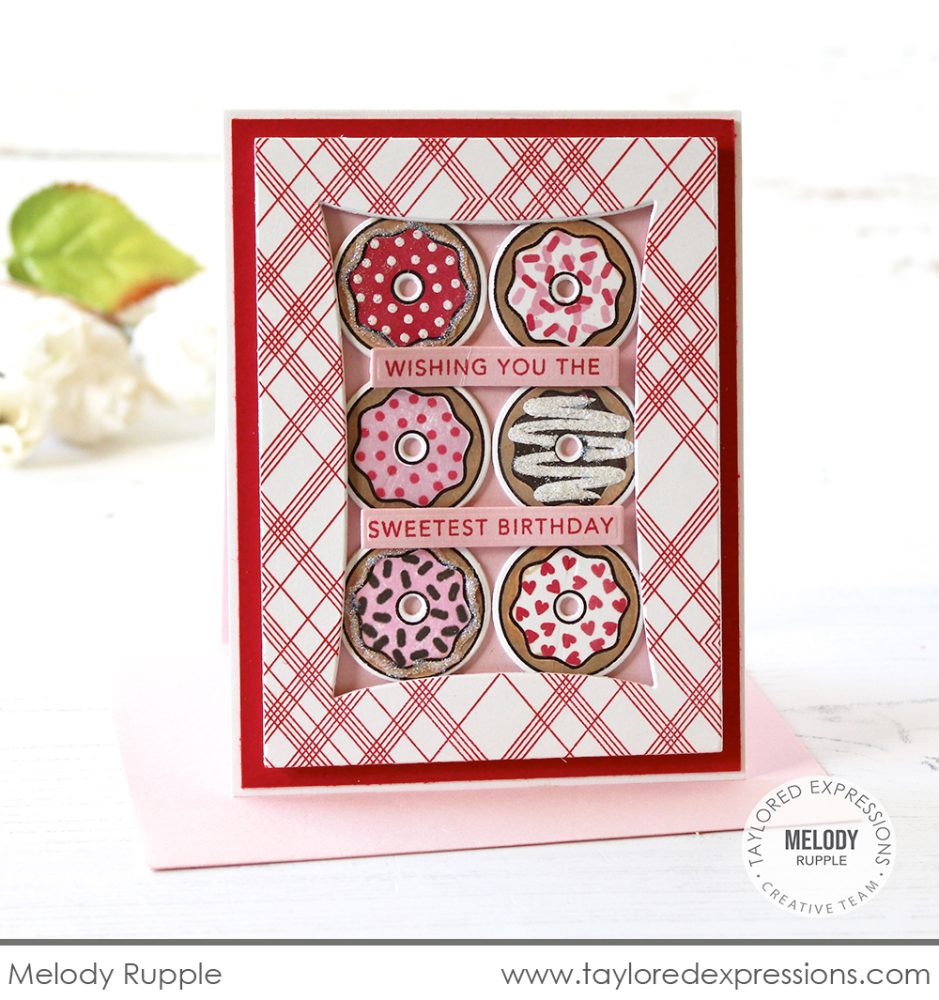
Here’s the last card I have to share for this Valentine release and it was created by Melody Rupple with the Donut Days Cling & Clear Combo set! Melody stamped a variety of delicious looking donuts and added details with the clear stamps, white embossing, and a bit of glitter too. She set the donuts into a “box” created with the Box Top Stacklets die collection that is stamped with the Diagonal Diamonds Background stamp. The sentiments from the Mini Strips – Donut Worry stamp are stamped with Watermelon ink on Cupcake cardstock and cut out with the Mini Strips die.

Today, join me (Heather Nichols) live for “T Time” at 10AM Central on the Taylored Expressions Facebook Page. I have Valentine crafting ideas to share with you! We hope to see you there – come join in the fun! (Don’t worry, if you miss the live you can always watch the saved broadcast afterward!)
That does it for our Valentine release this week, but we aren’t done with Valentine’s Day yet! Next week there are more crafty products and ideas for Valentine cards, tag, and treats coming your way – including for the kiddos in your life! I’ll have sneak peek coming your way this weekend and then make plans to check in with the TE blog next Tuesday.
Did you know that you can subscribe to our blog and get our posts right in your inbox? Just sign up right HERE – that’s all there is to it to make sure you don’t miss any of our crafty inspiration!


