Jan 05, 2022
More Ways to Send Your Love With NEW Valentine Products!
Hey, crafty friends! It’s Heather here today with more to share for our Valentine release! One thing I love about so many of the new products is how they can be used for occasions throughout the year – not just for Valentine’s Day! You can send your love just because, for Valentine’s Day, to celebrate a wedding or anniversary, and more. It adds value to a product when you can use them for multiple occasions for sure! Today, I have lots of ideas from the TE Creative Team for creating with the new Valentine goodies, including projects that aren’t just for Valentine’s Day. Sit back, relax, scroll, and enjoy!
Don’t forget about the free class promotion that you can earn with the purchase of the Donut Days collection. I had fun putting these projects together and hope that you’ll enjoy crafting along with me. I share a bit about a few of my favorite donut shops and favorite kinds of donuts in the class….! Check out the details below:
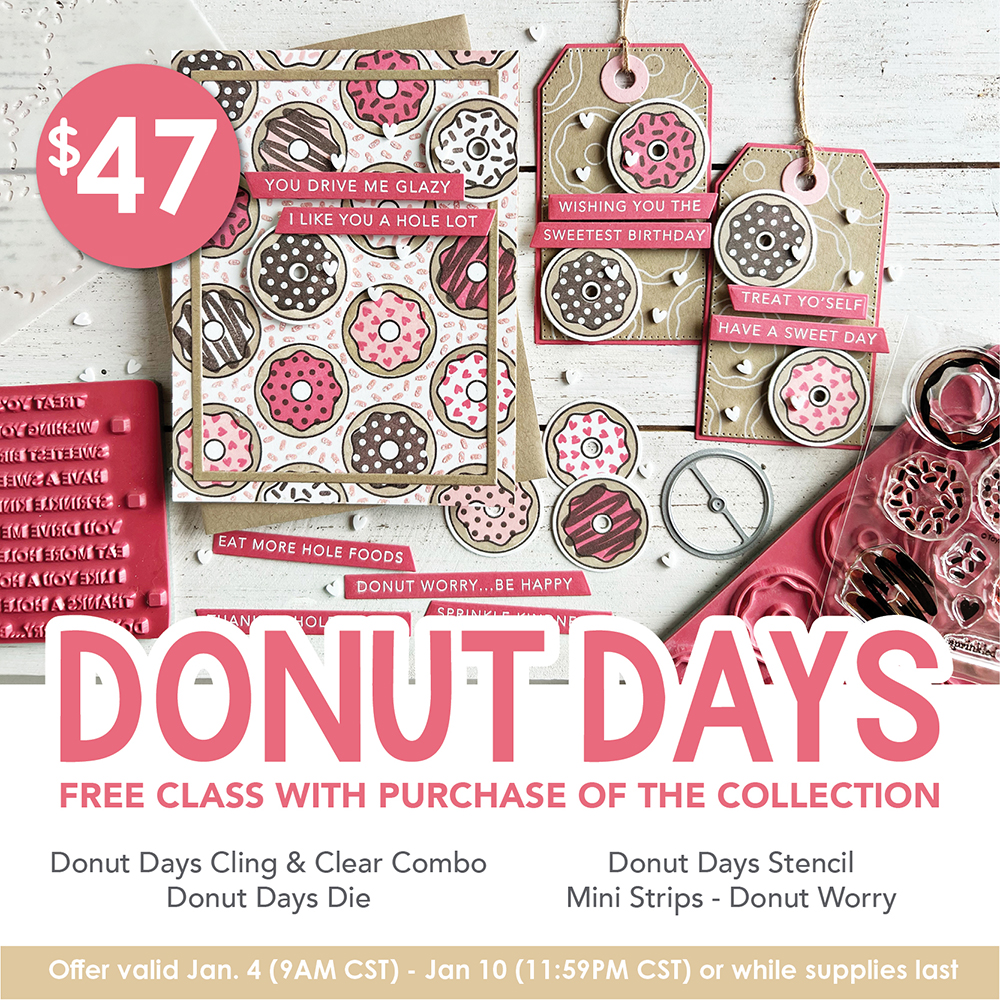
When you purchase the Donut Days Collection (Donut Days Cling & Clear Combo set, Donut Days stencil, Donut Days die, and Mini Strips- Donut Worry stamp) through Sunday, January 9th, you will get a free exclusive video craft along class with Heather!
This mini version of our Online Crafty Classes is a great way for you to put your new goodies to use right away making a card and tag set at your own pace! Watch the video as often as you like and learn some new crafty tips and tricks!
Once you complete your purchase, you will receive an email (separate from your order confirmation email) with links to the class video on YouTube.
Although Heather will recommend extra supplies (ink, cardstock, embellishments, etc.), you can use anything you have to make these projects uniquely yours!
Hurry! This offer is only valid through 11:59 pm (CT) on Sunday, January 9th, or while supplies last.
Click below to visit the new release products in the TE webstore and then keep scrolling for all of the inspiration!
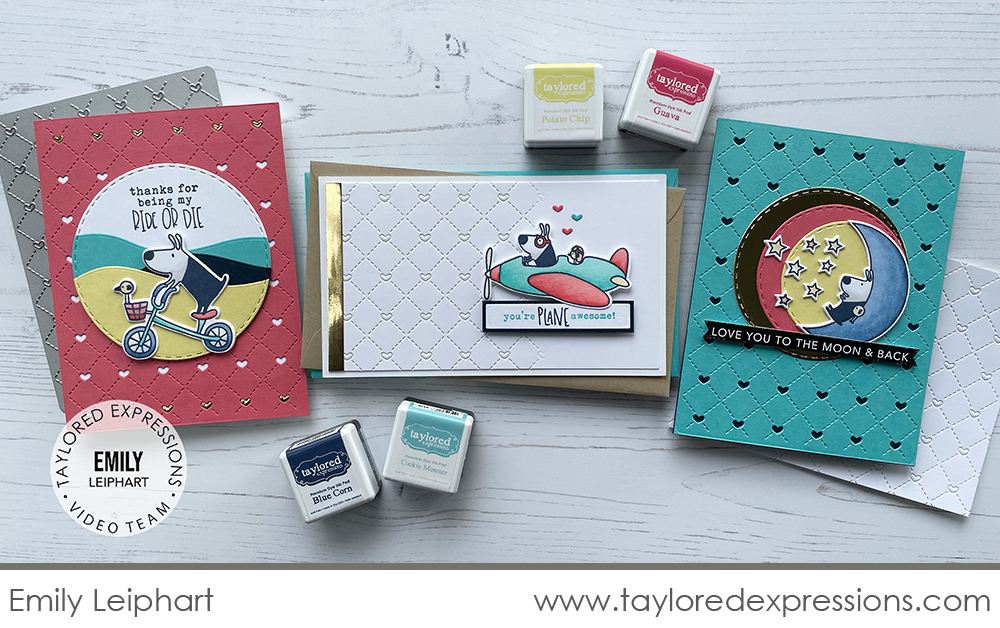
Today’s video is from Emily Leiphart and she is sharing three adorable cards that are created with the new Gus & Gertie – Best Buds stamp set and Stitched with Love Cutting Plate. Watch below to see how these cards come together from start to finish:
In the video, Emily shares ideas for how to approach using the Stitched with Love Cutting Plate. She shares great tips and tricks to use the cutting plate on a landscape card design as well as how to avoid the edge of the cutting plate impressing into your projects. Emily creates three cards using backgrounds created with the Stitched with Love Cutting Plate that feature images from the Gus & Gertie – Best Buds stamp set. The images are colored with Copic markers, cut out with the coordinating dies, and added to each of the cards. Each project uses gold foil cardstock in different ways.
Here’s a closer look at the cards that Emily created:
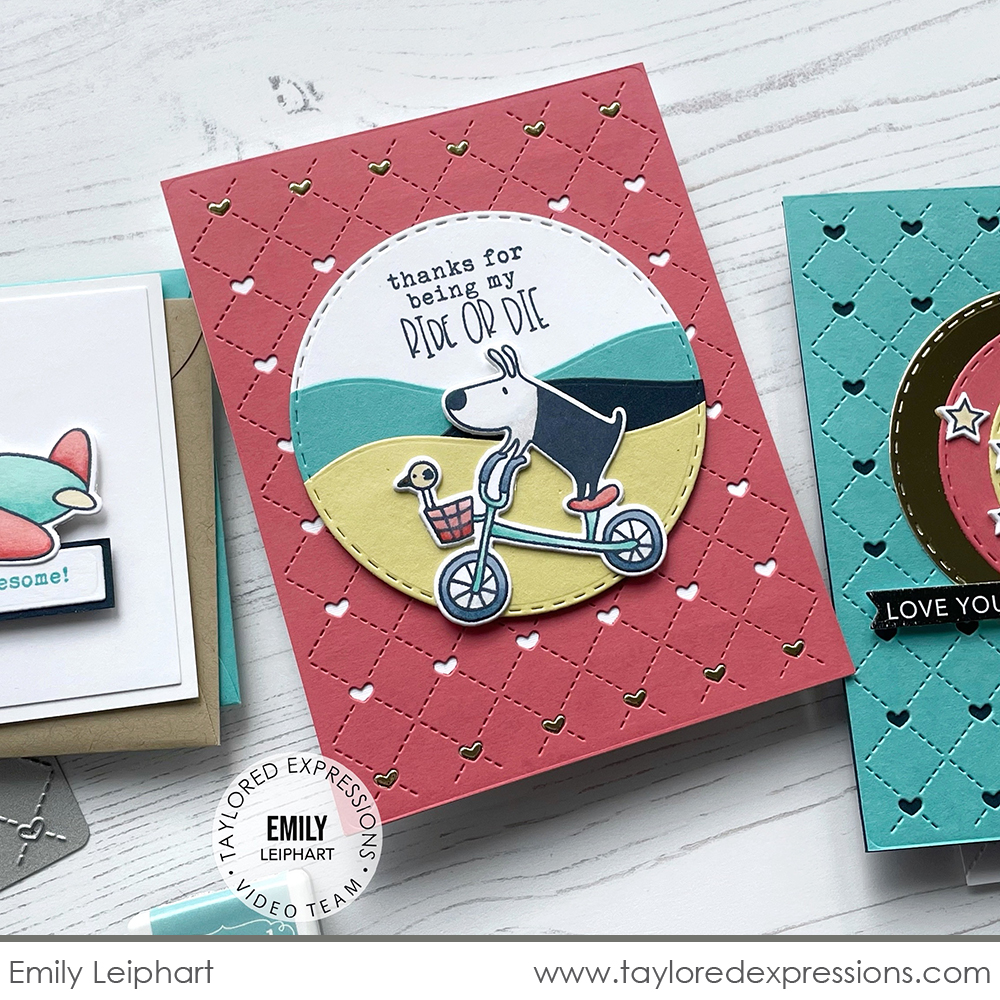
For this card, Emily layered Guava cardstock that is cut out with the Stitched with Love Cutting Plate onto a Sugar Cube card base and she inset gold foil cardstock hearts into the row of hearts on the top and bottom of the card. The Gus on a bike image is layered onto a Stitched Circle Stacklets die cut with scene cut out with the Build a Scene – Rolling Hills die collection.
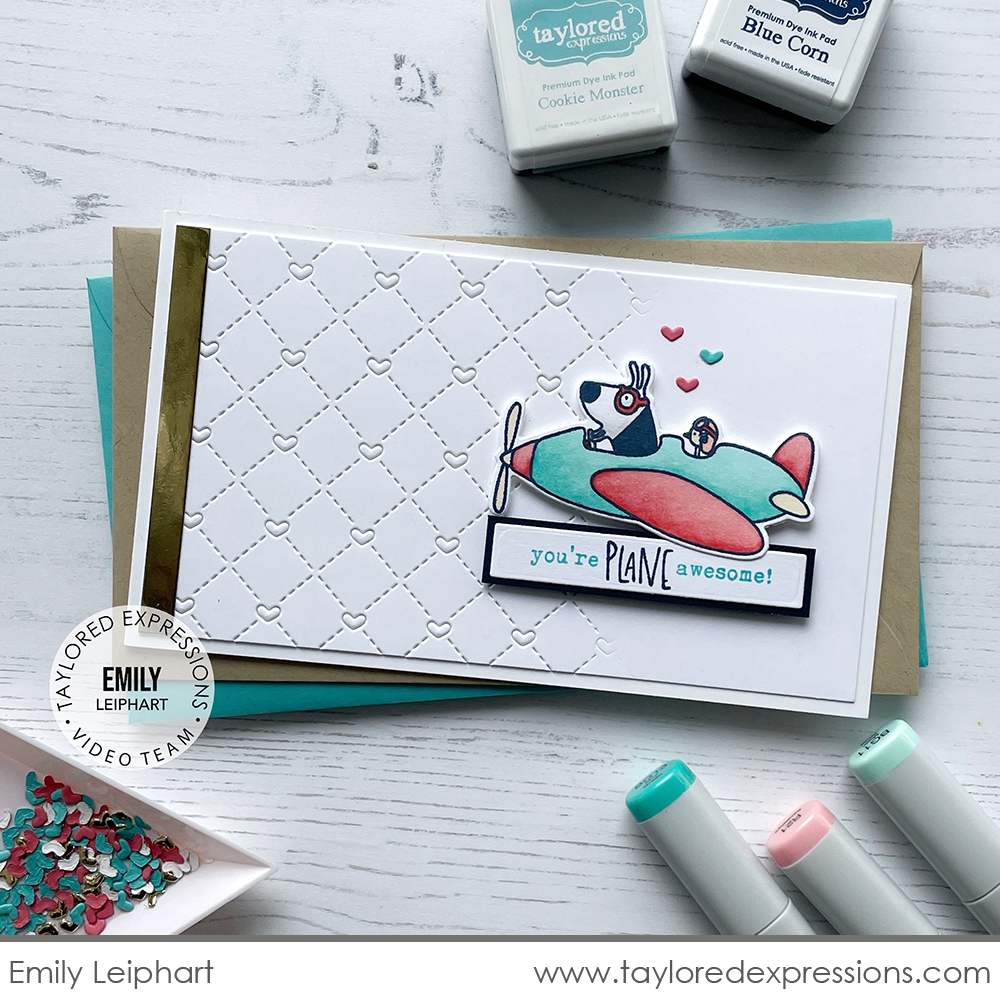
This next card is the mini slim size (3.5″ x 6″) and the background on this card has the Stitched With Love Cutting Plate impressed across just part of the background. Emily left the tiny hearts intact instead of punching them out of the design. She added the Gus in an airplane image, sentiment, added a few tiny hearts to coordinate, and added a strip of gold foil cardstock to one end of the background.
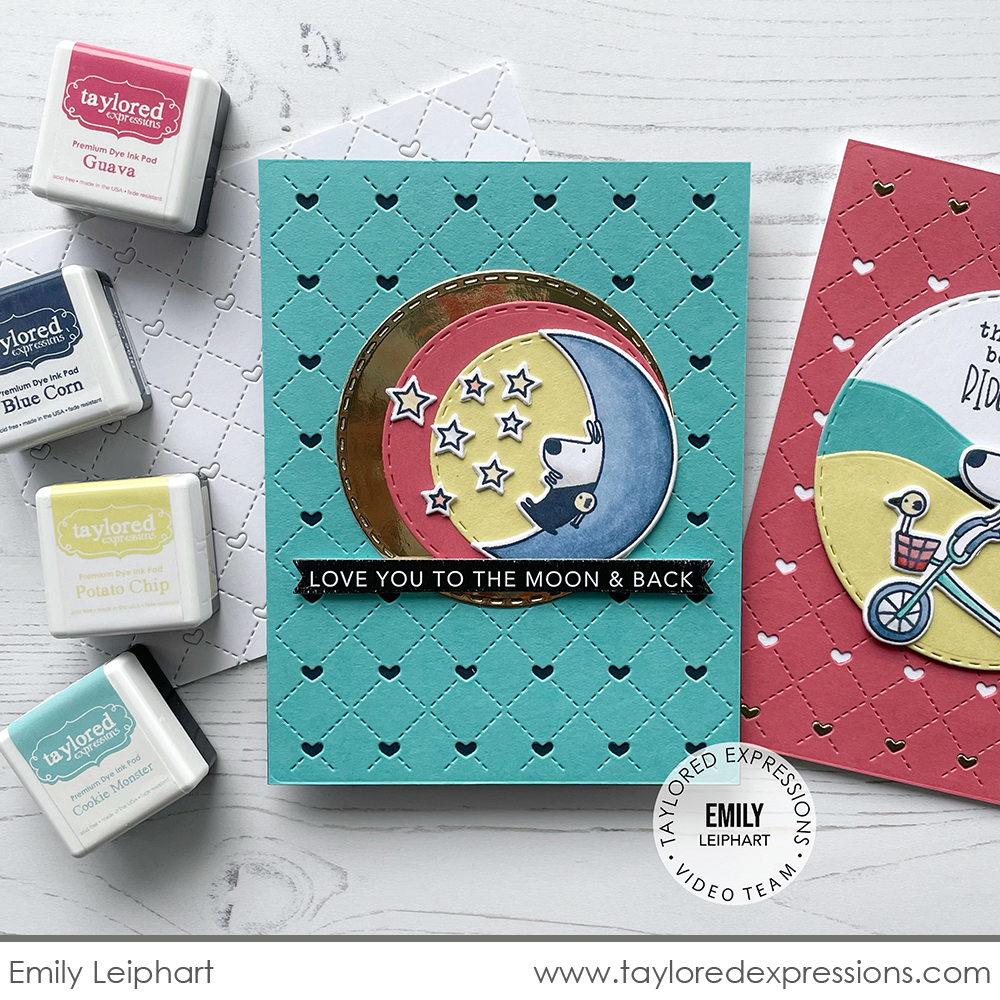
For this last card, Emily layered a piece of Cookie Monster cardstock cut with the Stitched with Love Cutting Plate onto a Blue Corn card base. The Gus on the moon image is added to a layered circle cut out with the Stitched Circle Stacklets dies. Emily used a piece of vellum cut with the coordinating Gus & Gertie die as a template for adding the stars to the card exactly how they are arranged on the stamp. The sentiment on this card is from a Simple Strips In Reverse – Love panel that is foiled and cut out with the Simple Strips die.
Check out the list below for all of the supplies that Emily used on her cards:

Here’s more inspiration from the TE Creative Team created with the new products from the Valentine release:
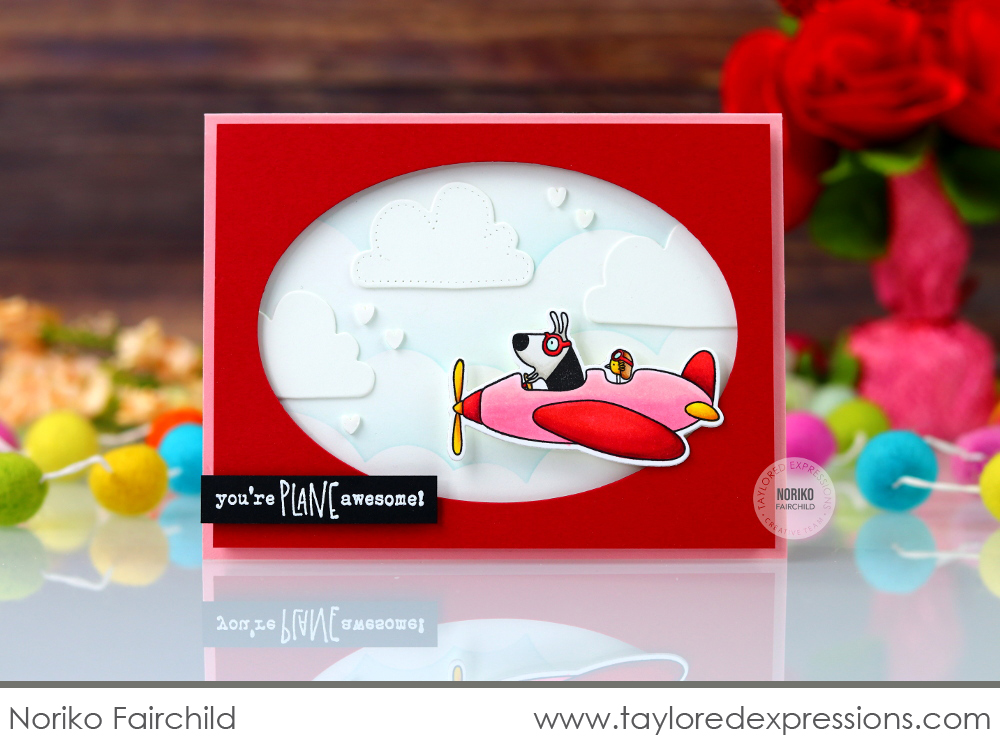
Noriko Fairchild has Gus & Gertie flying through a sky of puffy clouds on this card created with the Gus & Gertie – Best Buds stamp set. The sky is created with the Set the Scene – Clouds Stencil Strips set and Rainbow Cloud Duo dies. Noriko framed the image with a piece of Cherry Pop cardstock cut with a Stitched Oval Stacklets die, set Gus into the frame opening, and added the sentiment embossed in white on an Oreo Cardstock strip to the card.
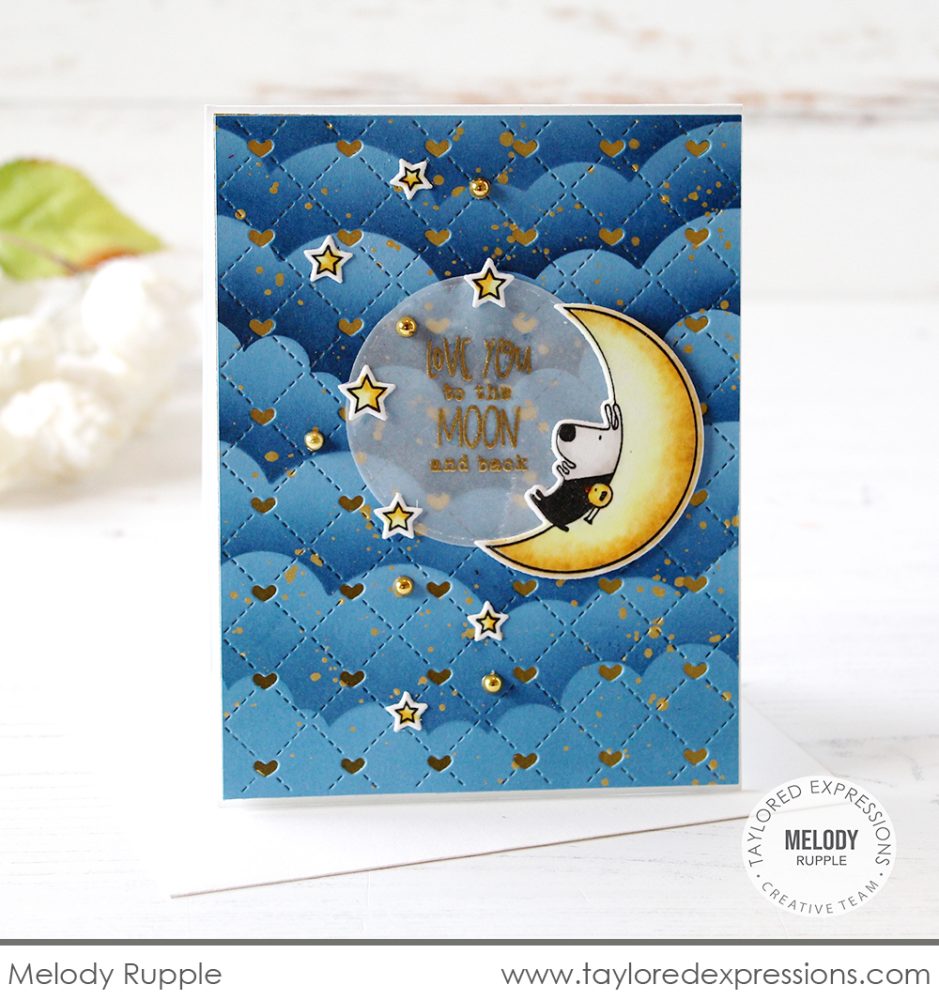
I just love the background that Melody Rupple created on this card! She stenciled the clouds with the Set the Scene – Clouds Stencil Strips set and then cut the stenciled panel with the Stitched With Love Cutting Plate. The background is splattered with gold paint and layered onto a piece of gold foil cardstock. Melody added the moon image from the Gus & Gertie – Best Buds stamp set to the card along with the sentiment that is embossed in gold on a vellum circle. The stars from the stamped image are scattered down the card front with Bits & Pieces – Gold Drip Drops for a finishing touch.
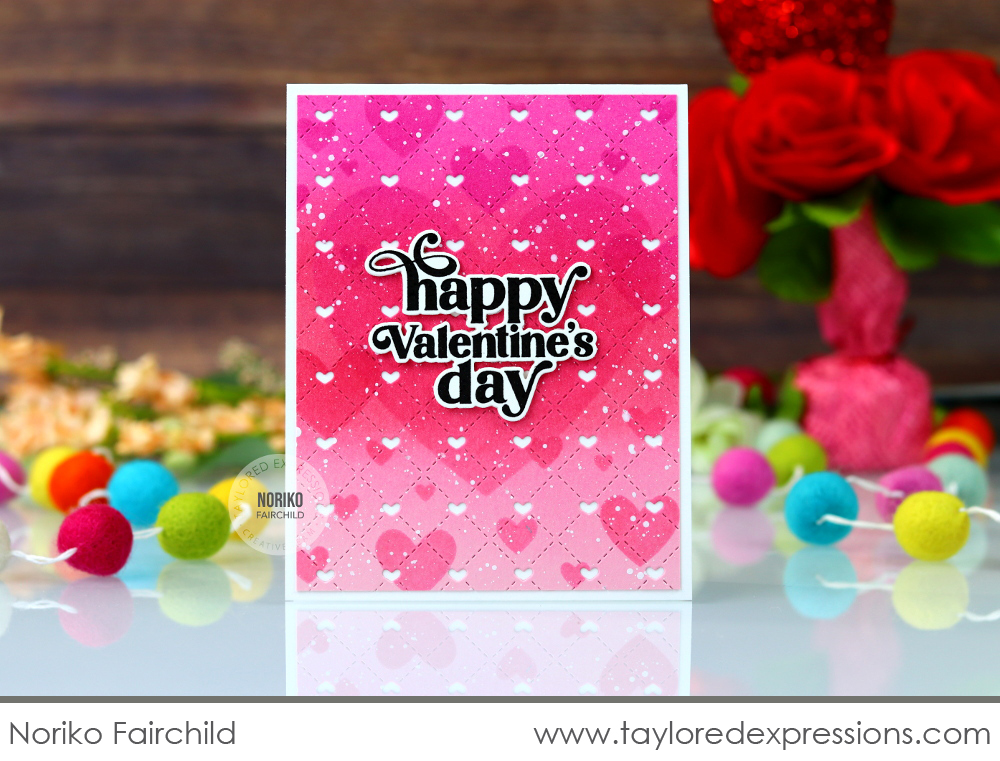
Noriko Fairchild stenciled a pretty heart background using the Heart of Hearts Layering Stencil set, cut the panel using the Stitched With Love Cutting Plate, and added lots of splatters with white ink. The result is stunning and doesn’t need much to finish the card off except the sentiment from the Love & Hugs stamp set (+ coordinating dies) stamped in Oreo ink.

Jill Hawkins kept the background that she created with the Stitched With Love Cutting Plate a bit simpler, cutting it from Cupcake cardstock, and framing it with a Frame in Frame 2 Cutting Plate die. It’s the perfect backdrop for the cats from the Max & Millie and Love From Max & Millie stamp sets. Jill colored the cats with Copic markers and added them to the card on a Heart Stacklets die cut. A few Little Bits – Hearts and stitching added with a sewing machine complete the look.
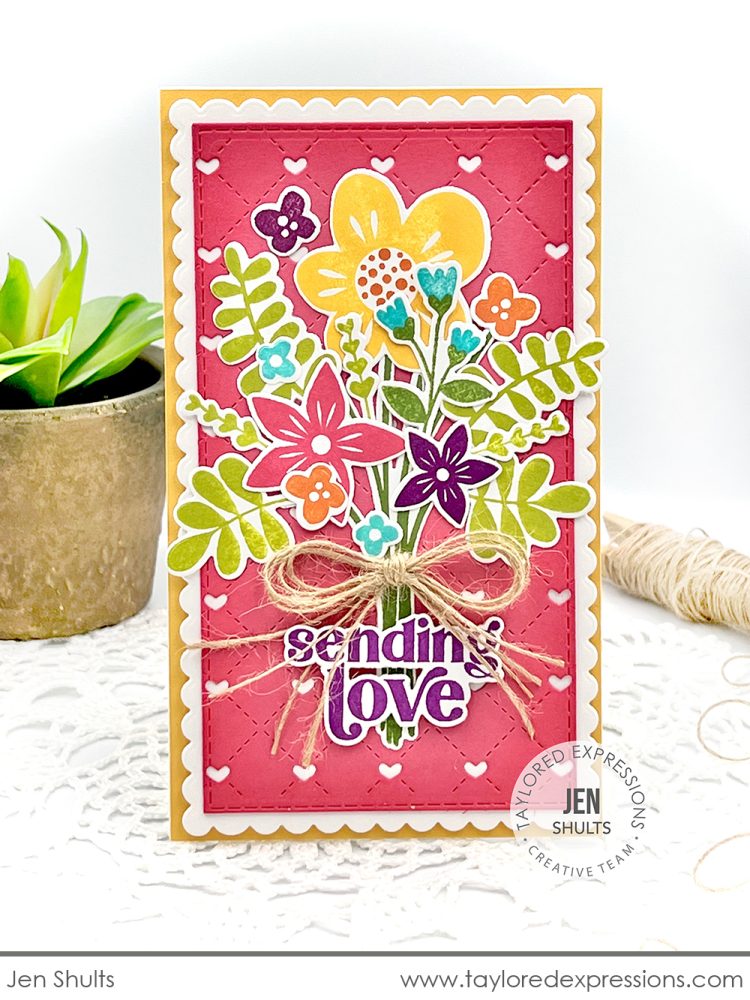
This mini slim card by Jen Shults is a great example of how you can use a few of the new Valentine release products for any other time of the year. Jen used the Stitched with Love Cutting Plate for a background behind a beautiful bouquet of flowers that she stamped with the Bouquet Whimsy stamp set (+ coordinating dies). The ‘sending love’ sentiment from the Love & Hugs stamp set is stamped in Plum Punch to coordinate with the flower bouquet. A bit of twine wrapped around the bottom of the bouquet is the perfect finishing touch!
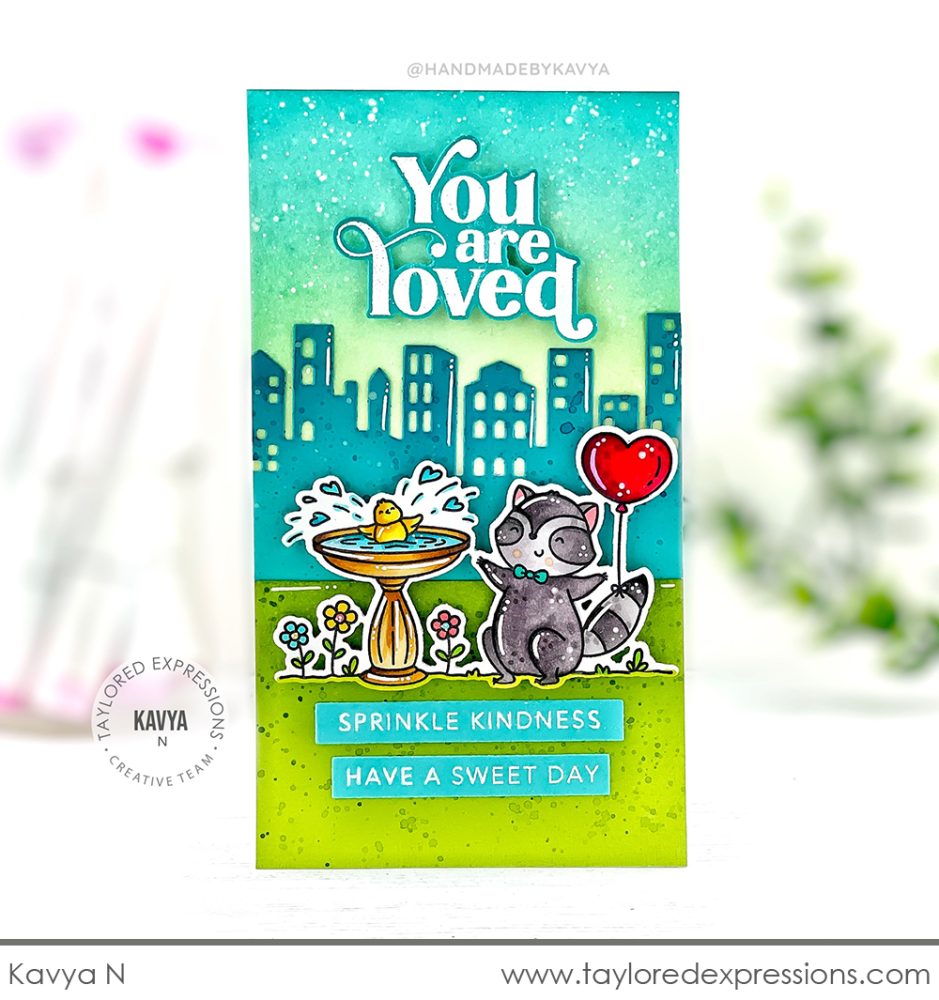
Kavya created a fun scene for this mini slim Valentine’s Day card that features the new Chip & Charlie Valentine Stamp & Die Combo set. She created a city scape with the Downtown Border die layered over a blended sky created with Granny Smith and Cookie Monster inks. The ground is a piece of Granny Smith cardstock and Kavya added blending, splatters, and highlights to the whole scene. The sentiment on the card is put together with the ‘you are loved’ stamp from the Love & Hugs stamp set and a few sentiments from the Mini Strips – Donut Worry stamp.
……
That wraps up the Valentine release inspiration for today! I hope you enjoyed all of the great projects from the TE Creative Team and make plans to stop back here again tomorrow! I’ll have more to share as well and a video from Joy Baldwin – see you then!
Did you know that you can subscribe to our blog and get our posts right in your inbox? Just sign up right HERE – that’s all there is to it to make sure you don’t miss any of our crafty inspiration!


