
Apr 03, 2025
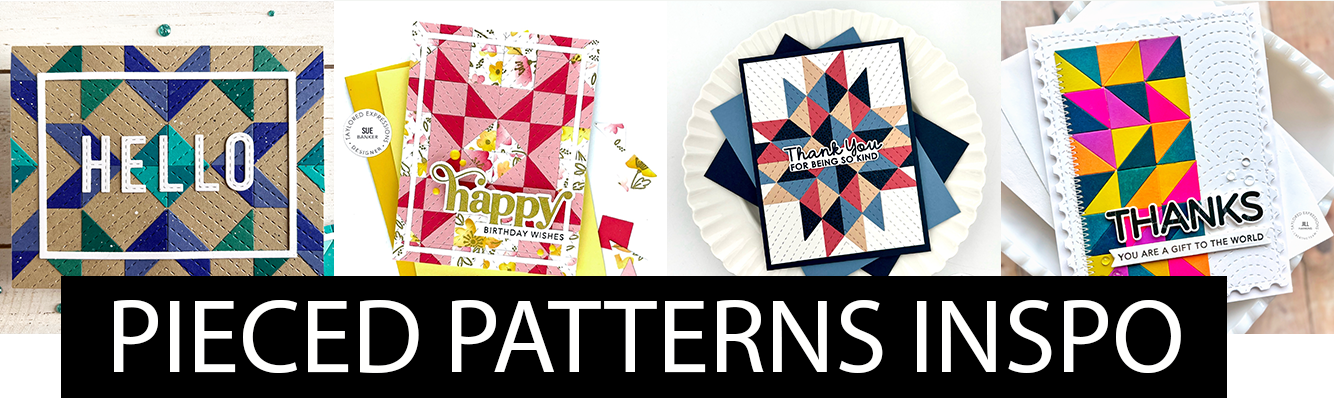
Pieced Patterns Inspo and Tutorial from Jill Hawkins!
Hey, crafty friends, Rachel here! Guess what? Throwback Thursdays are back for April! Each week, we’re bringing back popular past releases along with brand-new coordinating products to give them a fresh spin.
We’re kicking things off with Pieced Patterns! The dies from this fan-favorite cardmaking kit are making a return, and we’ve added some new goodies and inspiration to pair with them.
Scroll down to soak up more Pieced Patterns inspiration and check out a tutorial from Jill Hawkins using the Pieced Patterns collection. Then, join Susan Block live at 10 AM Central for some crafty fun!
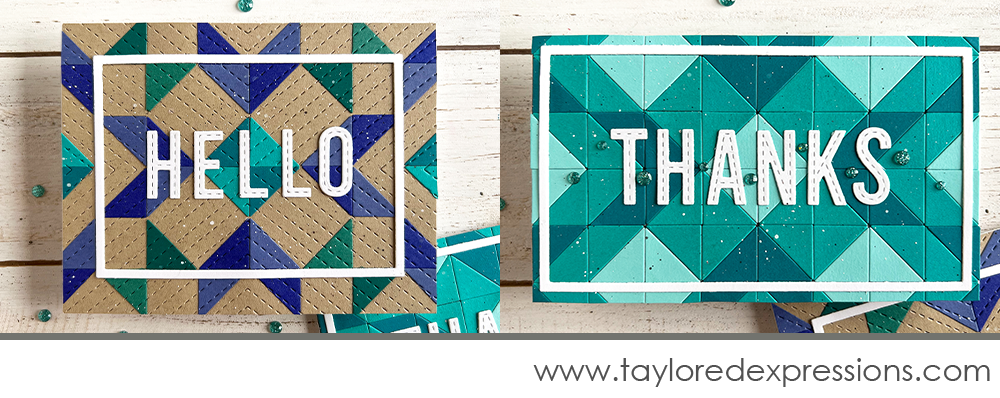
Heather Nichols created more Pieced Pattern inspiration! Check out her two cards below—one in A2 and one in Mini Slim—both featuring teal tones.
TE designers Sue Banker and Susan Block both made beautiful projects using the Pieced Patterns collection!

Pieced Patterns Tutorial with Jill Hawkins

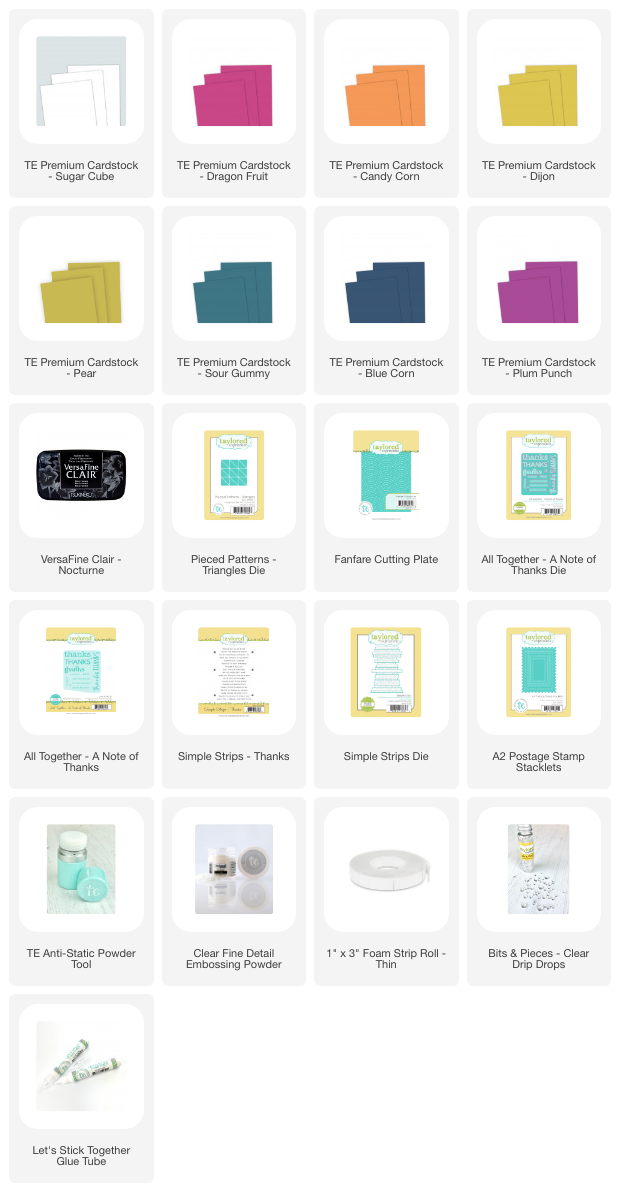
For this project you will need a variety of cardstock colors. The colors I used in my project are Dragon Fruit, Candy Corn, Dijon, Pear, Sour Gummy, Blue Corn, and Plum Punch.
1. Die Cut the Triangles from all the colors of cardstock using the Pieced Patterns – Triangles Die.
2. Create the Pieced Background:
- Take a 2 ¼” x 4 ½” piece of graph paper or typing paper.
- Glue the colored triangles in a random order, keeping them straight and ensuring no two same colors are directly next to each other.
3. Prepare the Card Panel:
- Cut a 4 ¼” x 5 ½” panel from Sugar Cube (white) cardstock.
- Die cut the Sugar Cube cardstock panel with the Fanfare Cutting Plate
- Then, using the largest A2 Postage Stacklets die, run it through your die-cut machine again to create the final panel.
4. Assemble the Layers by gluing the pieced triangle panel onto the Fanfare panel.
(Optional: Add stitching for extra detail!)
5. Stamp & Die Cut the Sentiments:
- Tap anti-static powder across your cardstock to prep for embossing.
- Stamp All Together – A Note of Thanks with VersaFine Clair – Nocturne ink.
- Coat the stamped image with TE Clear Embossing Powder, tap off any excess, and set it with a heat tool.
- Once the image has cooled, buff off any remaining anti-static powder with a clean, dry cloth.
- Die cut the sentiment with the coordinating All Together – A Note of Thanks Die.
- Stamp Simple Strips – Thanks with the same ink then die cut with the Simple Strips Die.
6. Add Finishing Touches:
- Use foam tape to attach the sentiments to the panel.
- Embellish with Bits & Pieces – Clear Drip Drops, placing them in clusters of three near the sentiments.
- Pop up the finished panel to a Sugar Cube card base with foam tape.
Your vibrant and heartfelt thank-you card is complete! Visit Jill’s blog at https://fastestturtle.wordpress.com/ to see more!

Join Susan Block live at 10AM Central on the Taylored Expressions Facebook Page or on our Taylored Expressions YouTube Channel as she uses the Pieced Patterns to create a quilt-inspired project! Come join the fun! (Don’t worry, if you miss any of our live broadcasts, you can always watch the live replay afterwards!)
Thanks for visiting the TE blog today. Stop by this weekend for a sneak peek!

